Actions in the OXARI system are automated tasks that are integral to the intelligent workflow management of tickets and event handling. They work together with rules and workflows to create a dynamic and flexible environment that increases the efficiency and effectiveness of handling processes. Actions are predefined actions that the system can perform automatically. They range from sending email notifications to assigning tasks to updating ticket statuses. They can be thought of as automation building blocks that are triggered in response to specific events or the fulfillment of specific conditions in the system.
More about Rules: Go >
More about Workflows: Go >
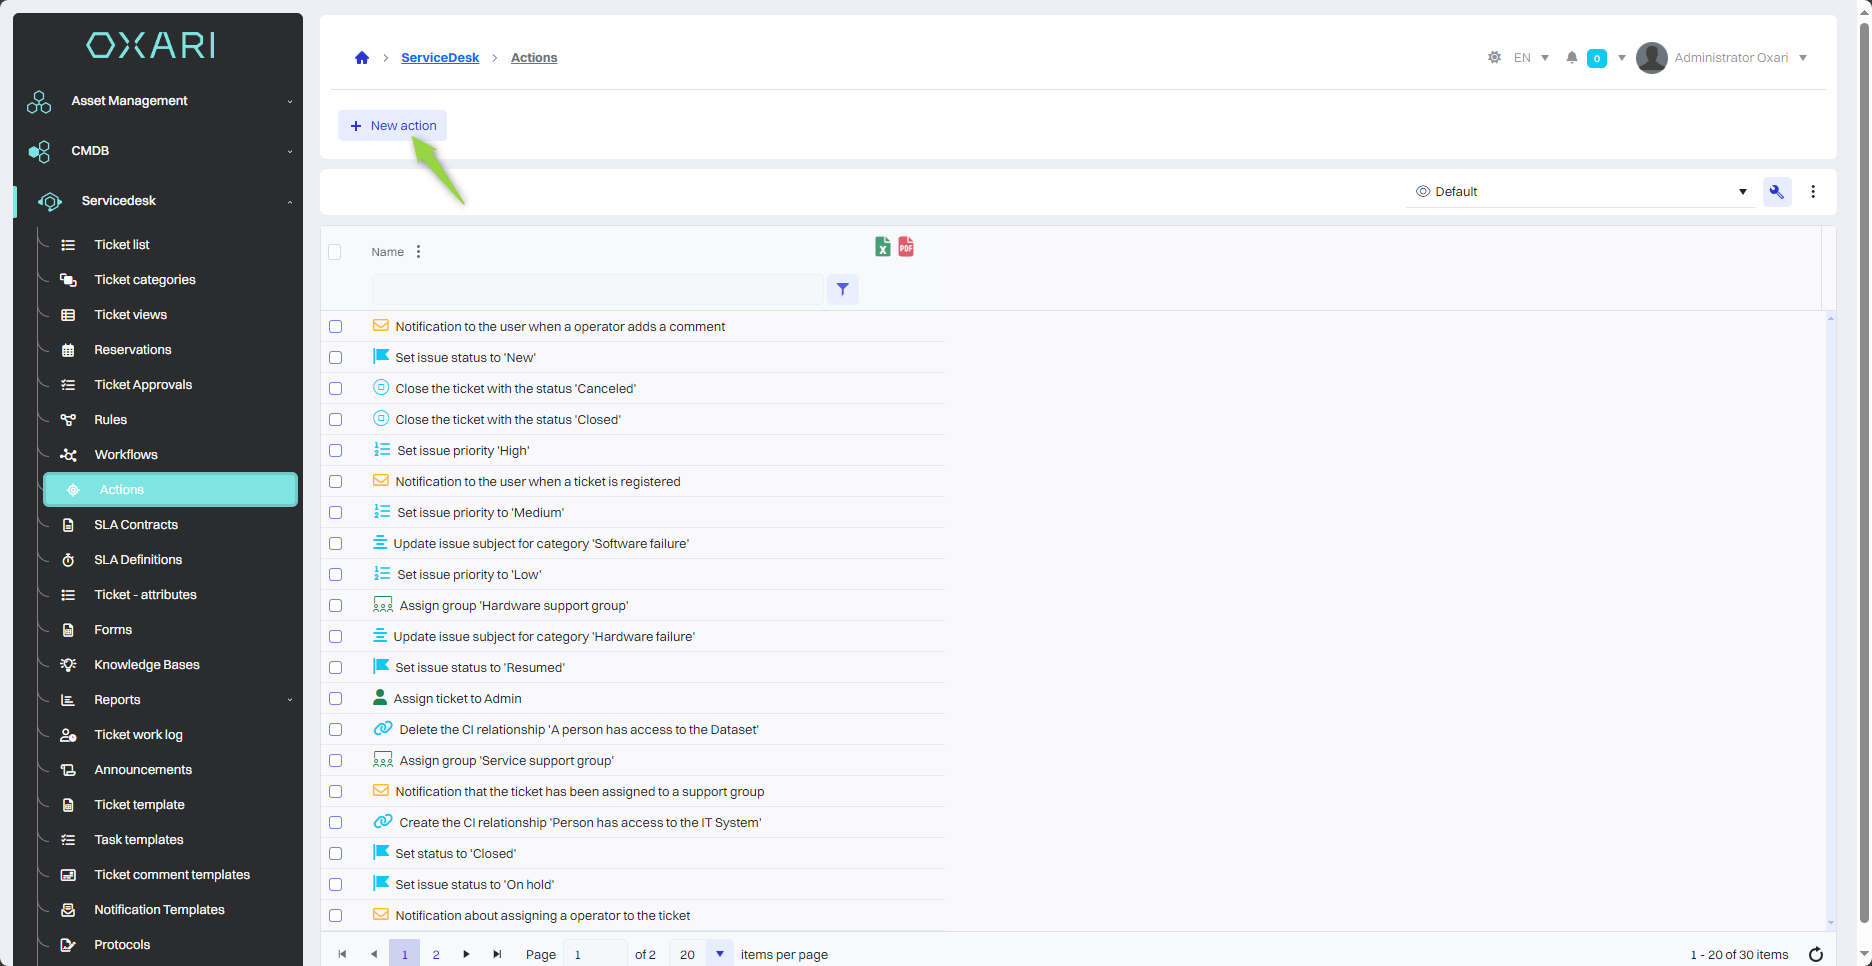
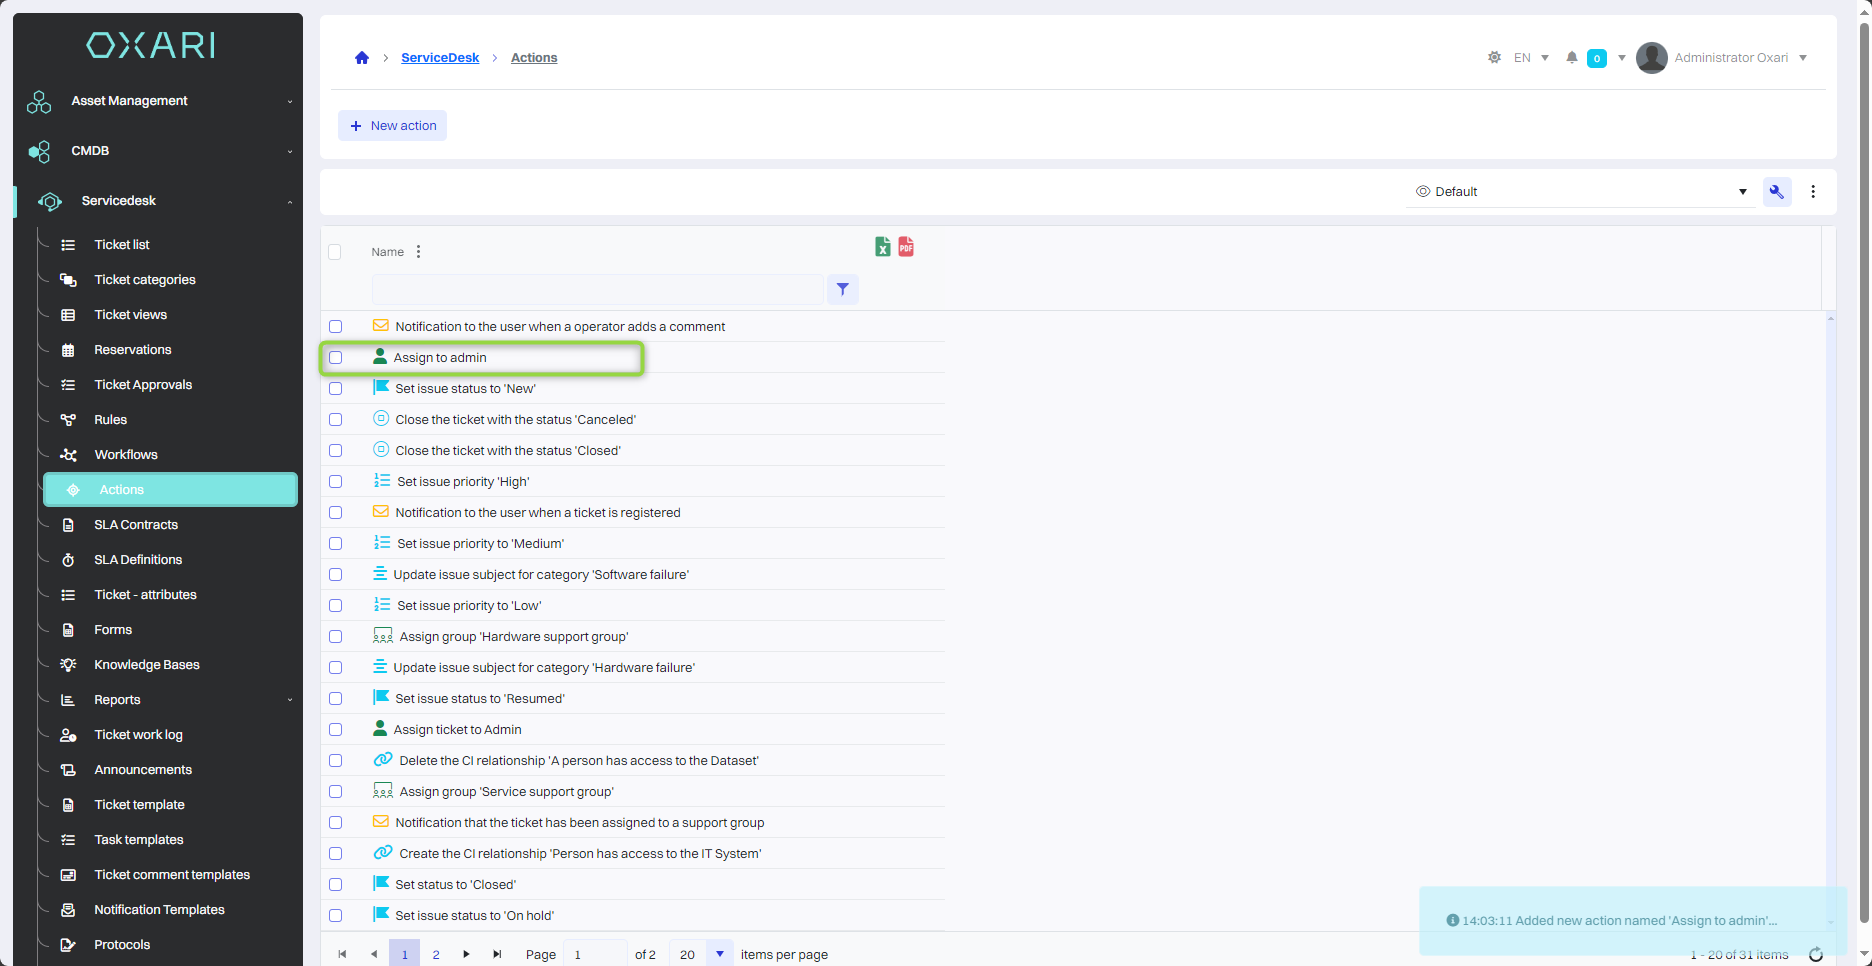
New action
To add a new action, go to Servicedesk > Actions, then click the “New action” button.
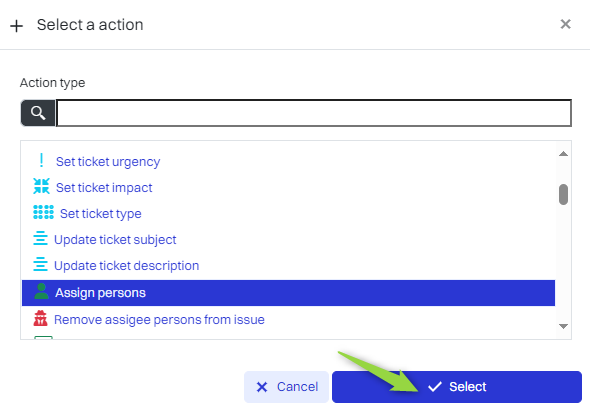
Action selection
Next, in the “Select action” window, there are action types to choose from, such as:
|
1 |
Set ticket category - Assign the ticket to a specific category, which can help classify it and assign it to the appropriate people or teams. |
|
2 |
Set ticket priority - Set the priority of a ticket, which can affect the speed of its handling. More about tickets: Go > |
|
3 |
Assign/remove watchers - Manage the people who follow the progress of a ticket. |
In the example discussed here, the “Assign watcher” action is assigned, click in the field, and then click the “Select” button.
In this step, in the “Assign person” window, name the action, select the person to be assigned and click the “Save” button.
More about persons: Go >
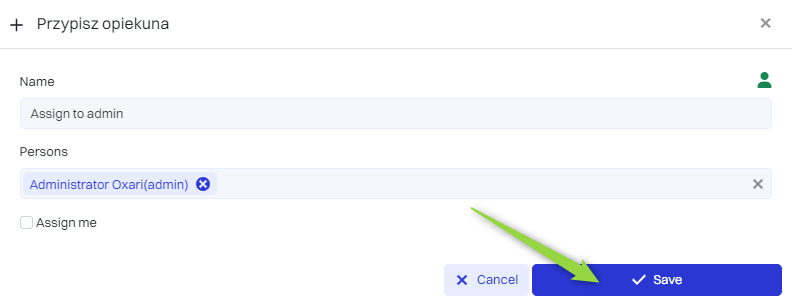
The action has been added to the list.
Action description
The following table describes the actions from the Servicedesk section:
|
1 |
Send Email/SMS/WWW - Automatically send notifications or information via email, SMS or on the OXARI website according to the template. To set up notification templates: Go > |
|
2 |
Set notification category - Assign notifications to a specific category, which can help classify and assign them to the right people or teams. |
|
3 |
Set notification status - Change the status of a notification, such as from “New” to “Resolved” or “Closed.” |
|
4 |
Set ticket priority - Determine the priority of a ticket, which can affect the speed of its handling. |
|
5 |
Add tags to a ticket - Assign tags that make it easier to sort and search for tickets. Tags are attributes in forms. For example, in the case of a ticket for a printer failure, it is possible to tag it with tags such as “failure”, “printer” or “urgent”. More about forms: Go > |
|
6 |
Set the urgency of the ticket - Set how urgent the ticket is, which can affect the order of processing. |
|
7 |
Set the impact of the ticket - Set how much impact the ticket has on the organization's operations. |
|
8 |
Set ticket type - Specify the type of ticket, such as incident, service, problem. |
|
9 |
Set subject/description of a ticket - Define or change the subject or description of a ticket. |
|
10 |
Assign supervisor/group of supervisors - Assign responsibility for a ticket to specific individuals or teams. |
|
11 |
Assign a service company to a ticket - Associate a ticket with a service provider. More about organizations: Go > |
|
12 |
Add comments/tasks to a ticket - Introduce new information or tasks related to a ticket. More about task templates: Go > |
|
13 |
Close a ticket - Mark a ticket as closed. |
|
14 |
Approve ticket - Accept the ticket before proceeding. |
|
15 |
Change ticket status in Jira - Integrate with the third-party project management system Jira to update statuses. To connect the OXARI system to Jira: Go > |
|
16 |
Create/Update/Delete CI Relationships - Manage the relationship between a ticket and configuration items in the CMDB. More about CI relationships: Go > |
|
17 |
Assign resources/configuration items to a ticket - Assign specific resources or configuration elements that are associated with a ticket. More about configuration items: Go > |
|
18 |
HTTP task - Execute an HTTP task. |
|
19 |
Generate ticket protocol - Create a document containing the ticket information. More about protocols: Go > |
|
20 |
Assign/remove watchers - Manage the people who follow the progress of a ticket. |
|
21 |
Copy submitter attributes - Transfer submitter information to other parts of the system. |
|
22 |
Add user to domain group - Manage user membership in groups in the domain. More about the domain controller: Go > |
|
23 |
Grant/Remove mailbox permissions - Manage access to the mailbox. |
|
24 |
Assign watch group - Add a group of users who will receive updates about the ticket. More about user groups: Go > |
|
25 |
Add approval - Introduce an approval process for the ticket. |
|
26 |
Set ticket source - Specify where the ticket came from, such as email. |
|
27 |
Install products - Ability to manage software or hardware associated with a ticket. |
|
28 |
Synchronize with domain - Integrate ticket data with a domain system. |
|
29 |
Assign a workflow to a ticket - Assign a specific workflow process to a ticket. More about workflows: Go > |
|
30 |
Set dictionary attribute value - Modify the value in the system dictionary. |
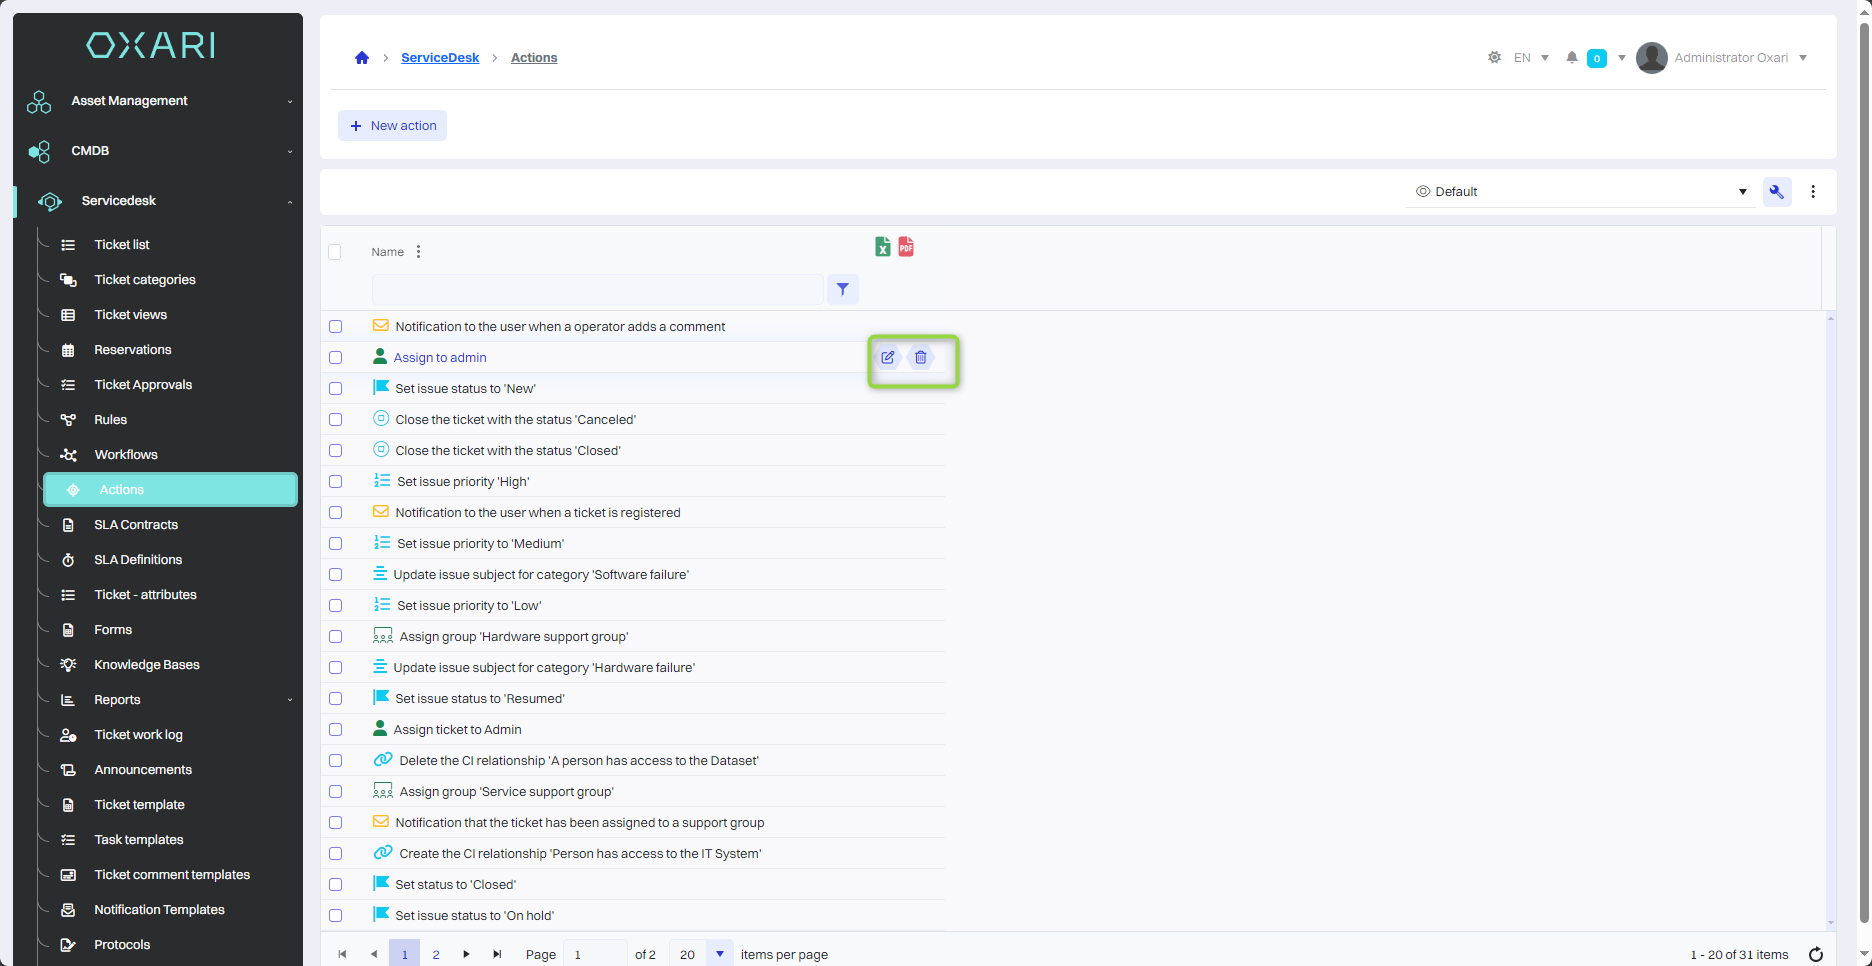
Editing/Deleting actions
To edit or delete actions, go to Servicedesk > Actions. Hover over the desired action. The edit/delete buttons will be displayed.
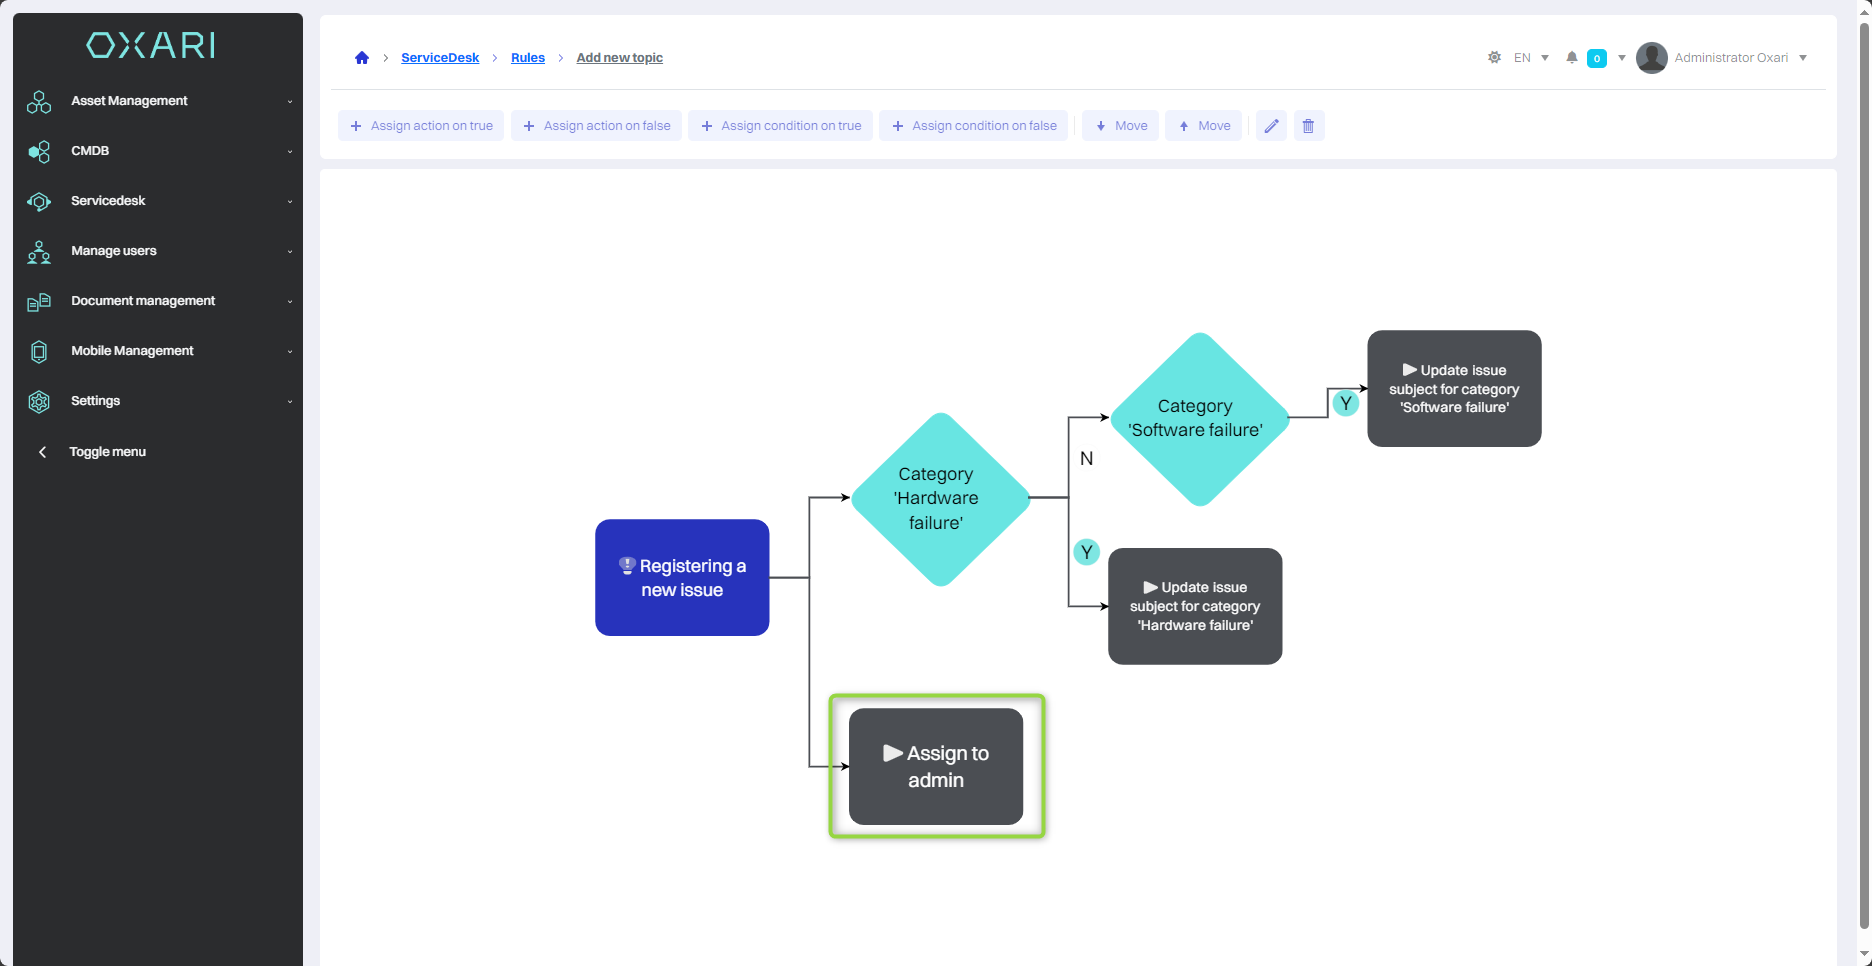
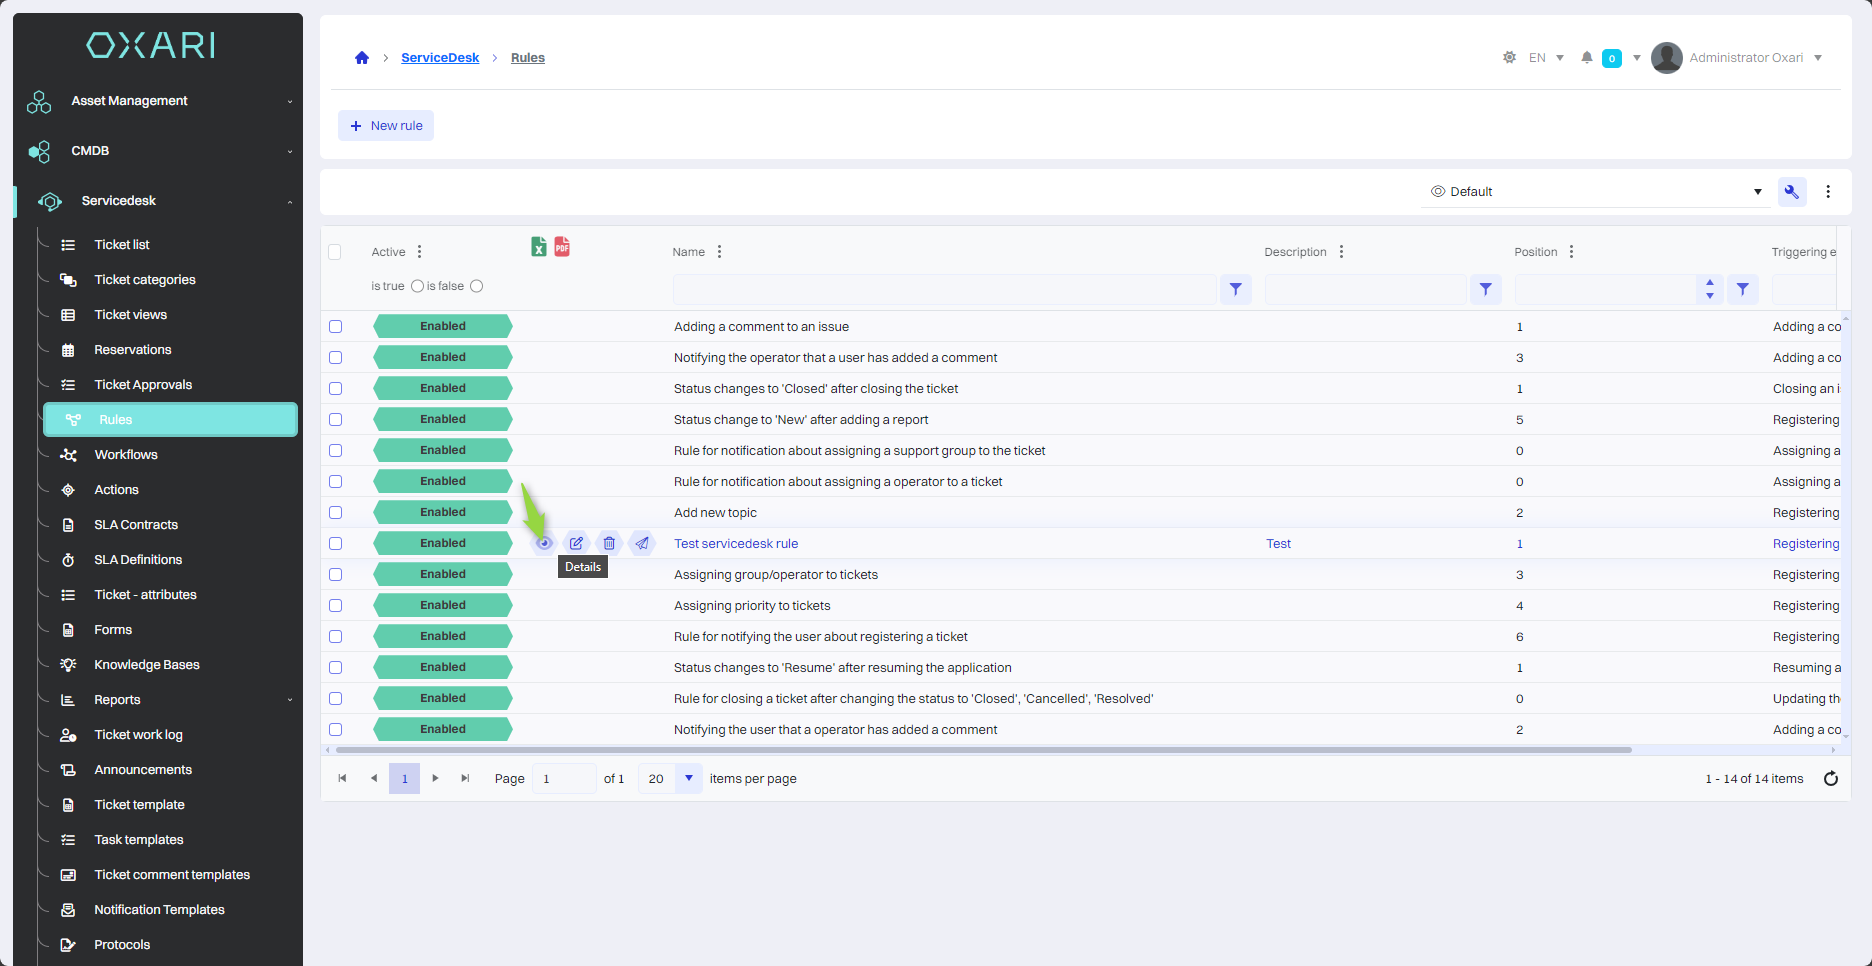
Assigning an action to a rule
Assigning actions to rules allows you to automate tasks. To assign a created action to a rule, go to Servicedesk > Rules, then click the “Details” button next to the rule.
Next, assign an action to the rule, click on the respective tile and click the “Assign action for TRUE” button.
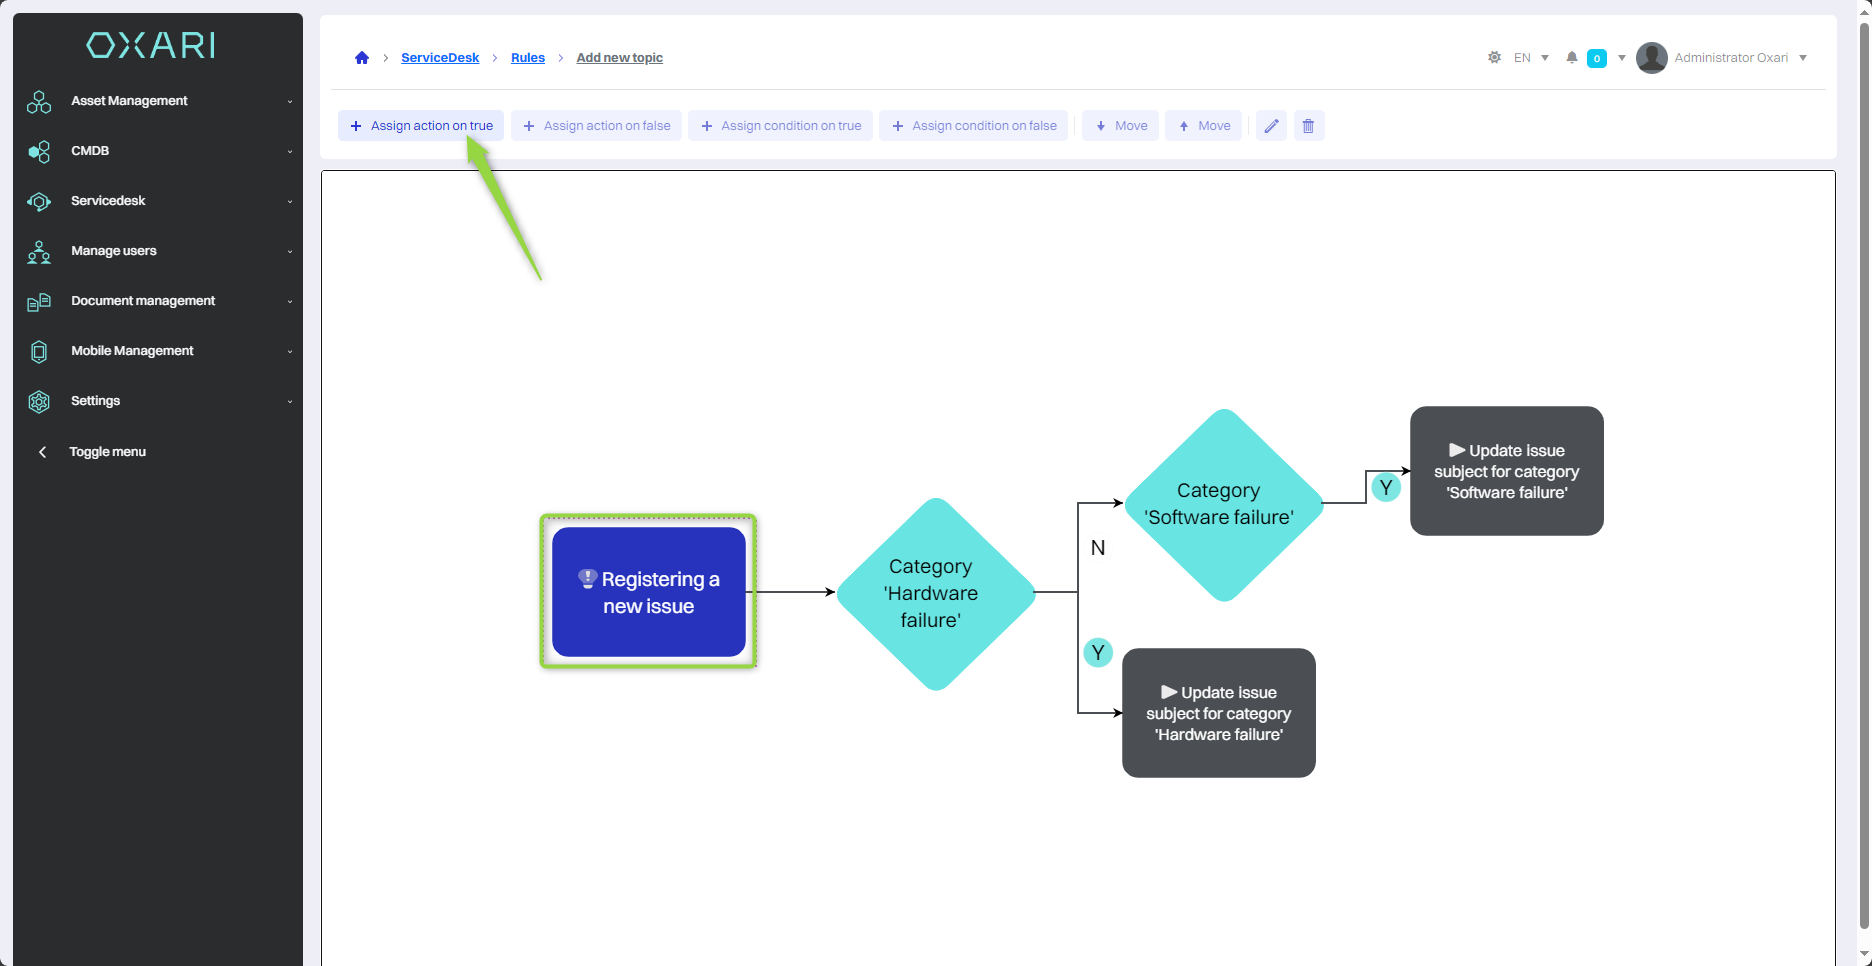
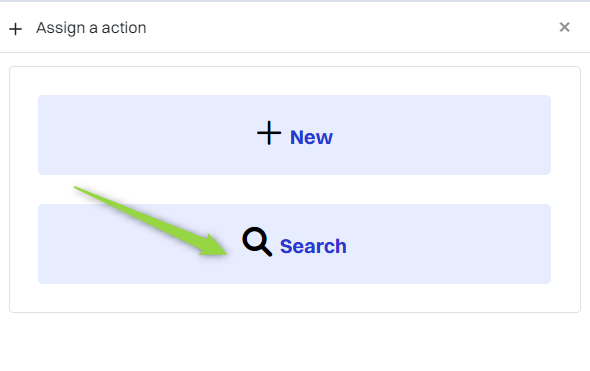
In the “Assign action” window, click the “Search” button.
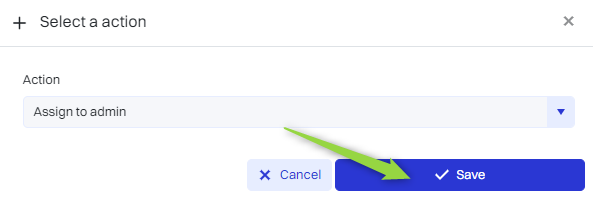
Next, in the “Select action” window, select the appropriate action from the list in the “Action” field and click the “Save” button.
The action has been assigned to the rule: