The "Organizations" section allows you to create and manage organizational and location structures, assign contacts, track finances through cost centers, manage SLAs and classify organizations by type, which supports effective coordination and management within the organization and in external relationships.
Organizations can be downloaded from the domain by creating a synchronization with the directory service: Go >
New organization
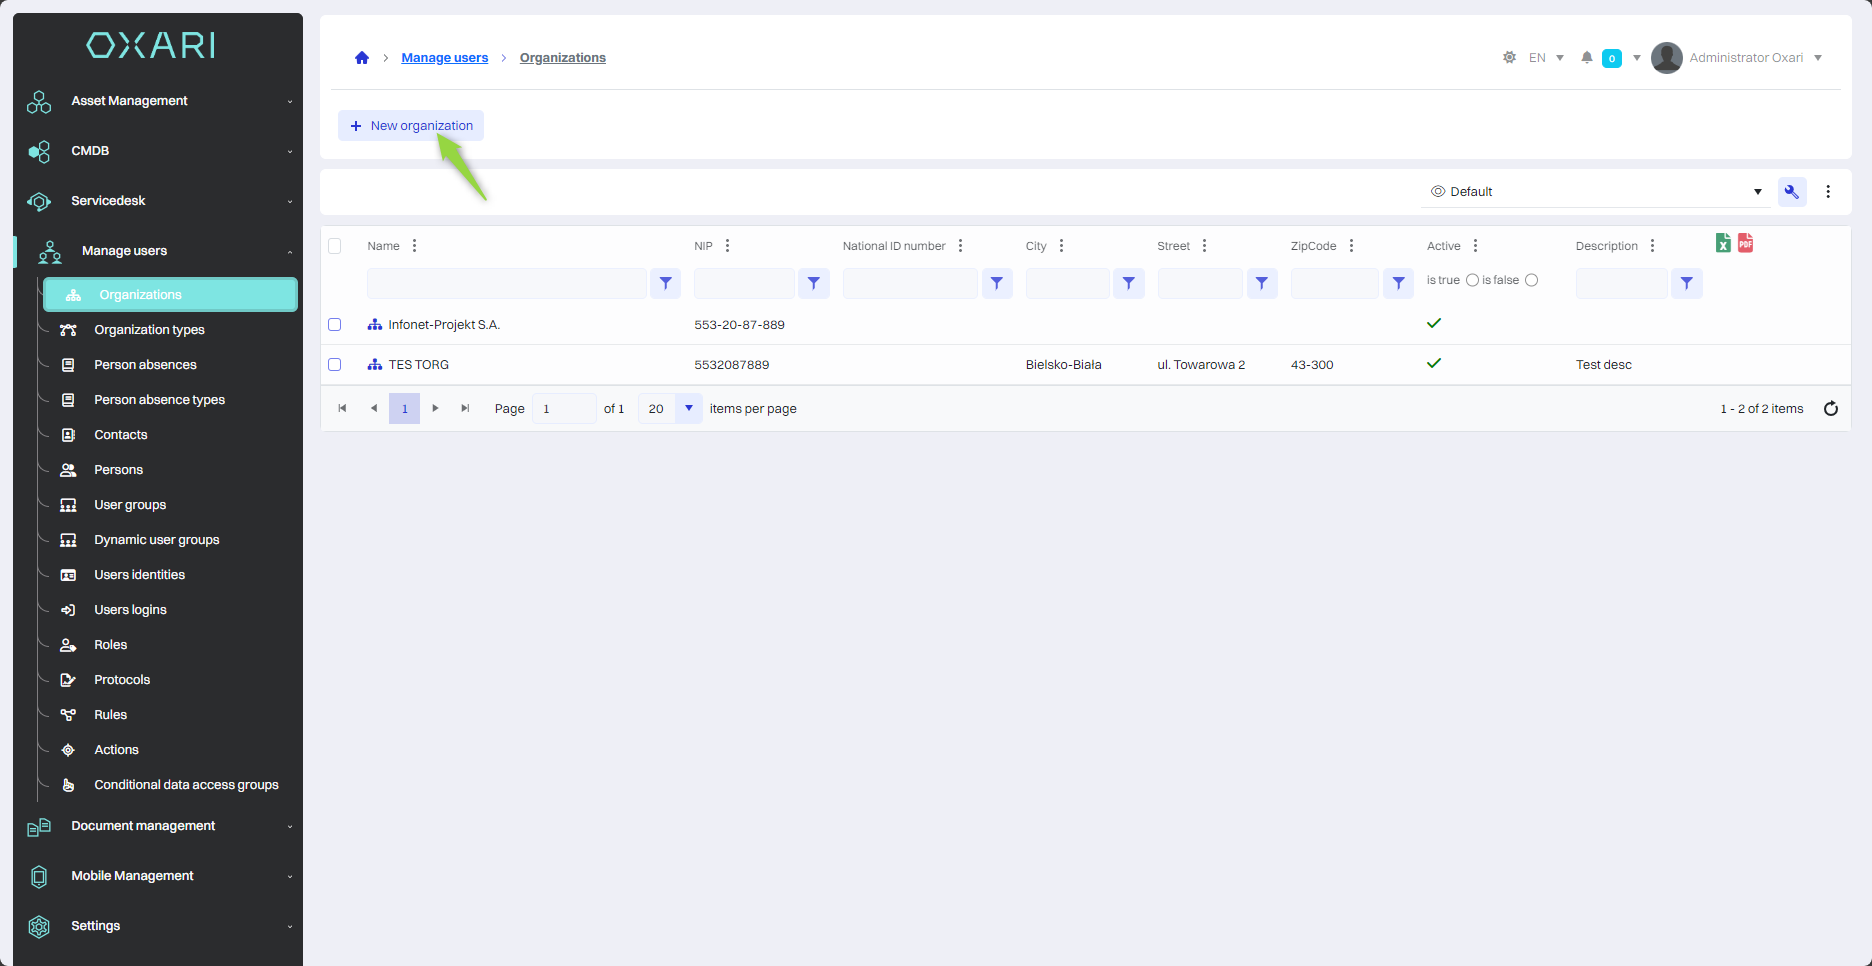
To add a new organization, go to User Management > Organizations, and then click the "New Organization" button.
Filling
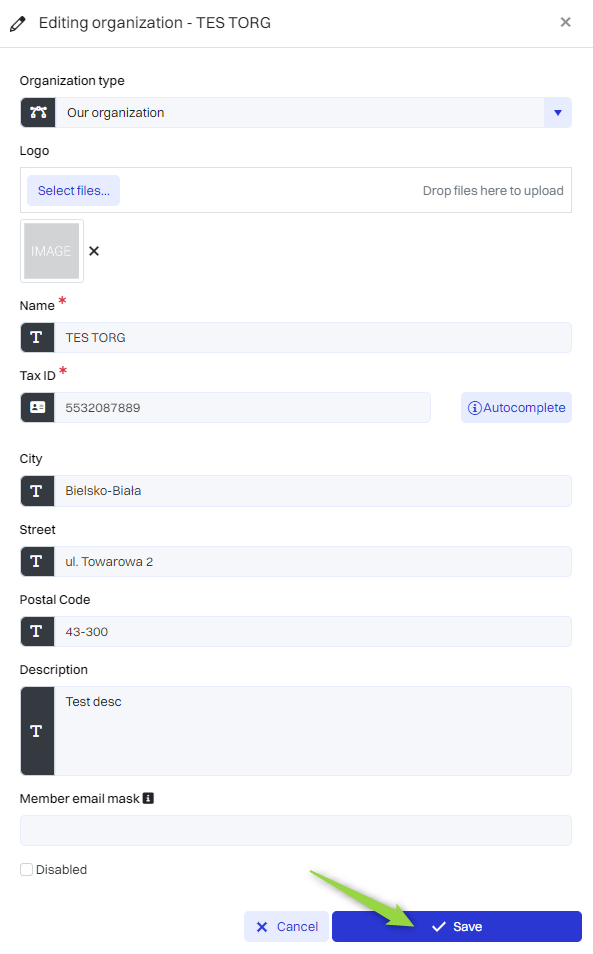
Next, in the "New organization" window, there are elements:
|
1 |
Organization type - Here the user can specify the nature of the organization's business using a drop-down menu that offers predefined categories (Supplier, Our organization, Subcontractor, Customer, Individual). To configure a new organization type: Go > |
|
2 |
Logo - There is an option to upload a graphic symbol of the organization. The user can select the file from disk or drag it to the designated place. |
|
3 |
Name - In this field you enter the official name of the organization that will be visible in the system. |
|
4 |
NIP - The organization's Tax Identification Number is entered here, with the option to use the autocomplete function, which pulls data directly from the CSO registry based on the number provided. You will need to enter the GUS Api in advance here: Go > |
|
5 |
City - Text field for entering the city where the organization has its headquarters or branch. |
|
6 |
Street - This is where you enter the exact street address, including the house or apartment number. |
|
7 |
Postal code - The postal code corresponding to the organization's address is entered here. |
|
8 |
Description - This is a space for any additional information that may be useful to describe the activities or specifics of the organization. |
Fill in the fields and then click the "Save" button.
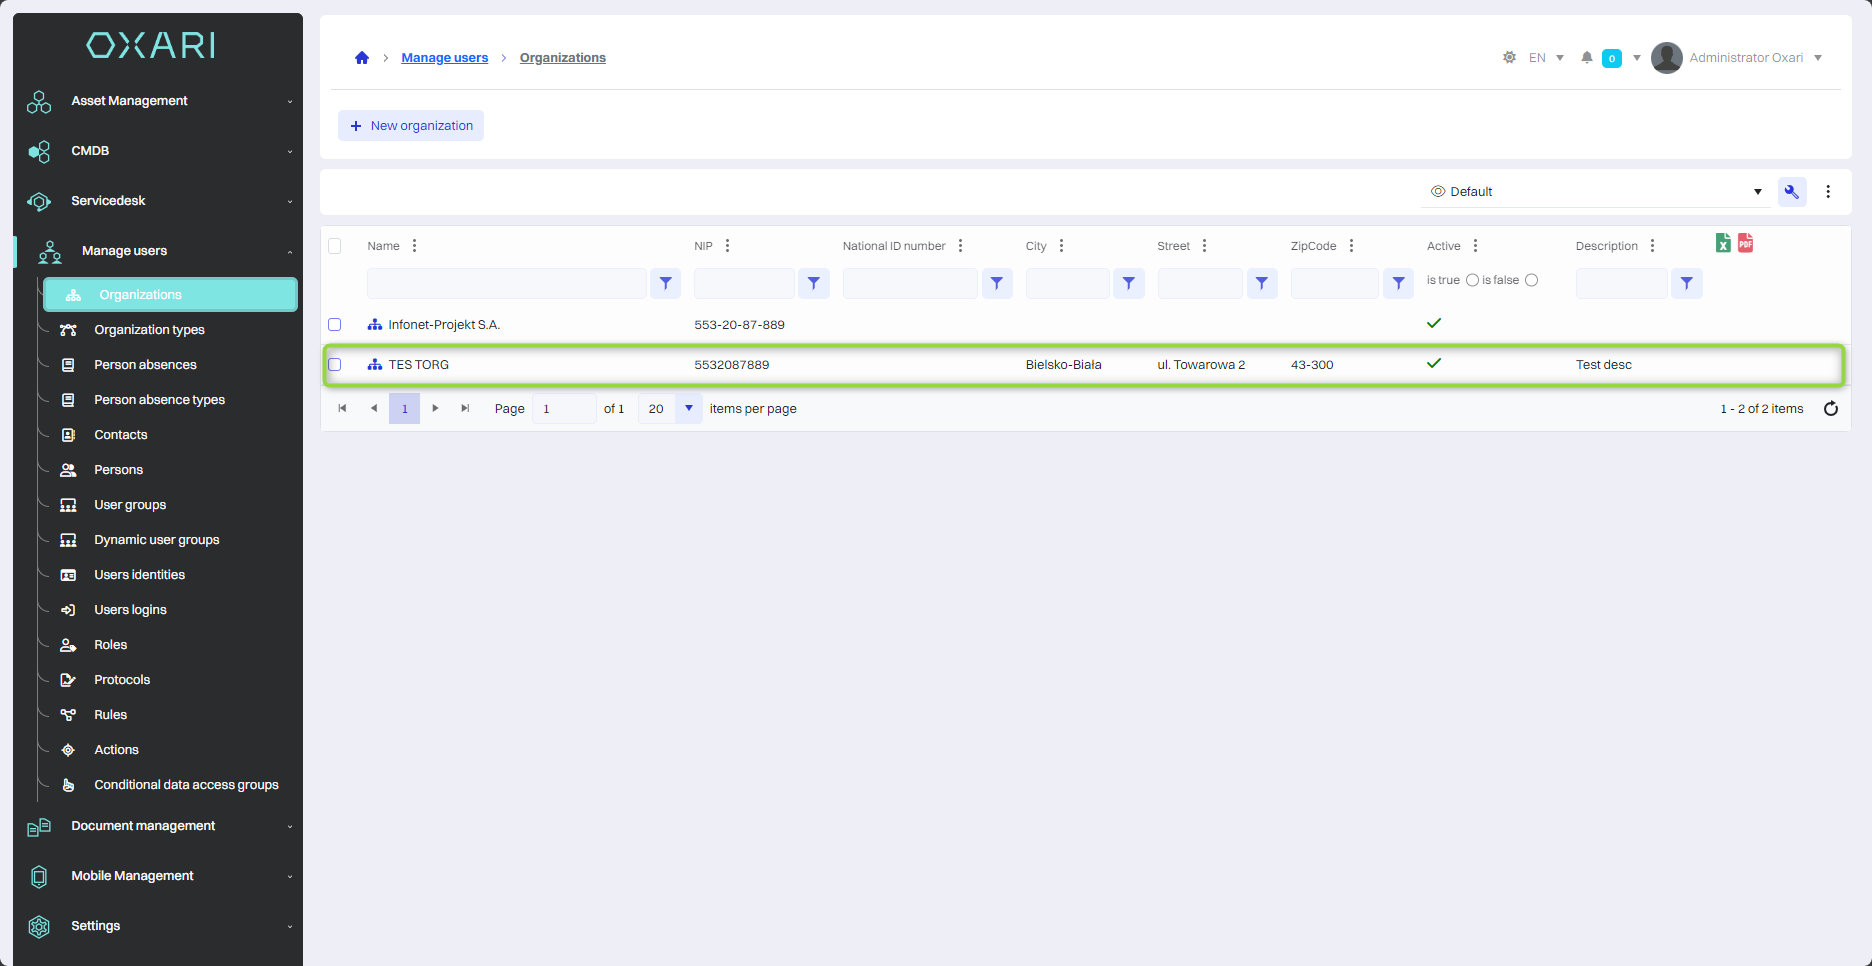
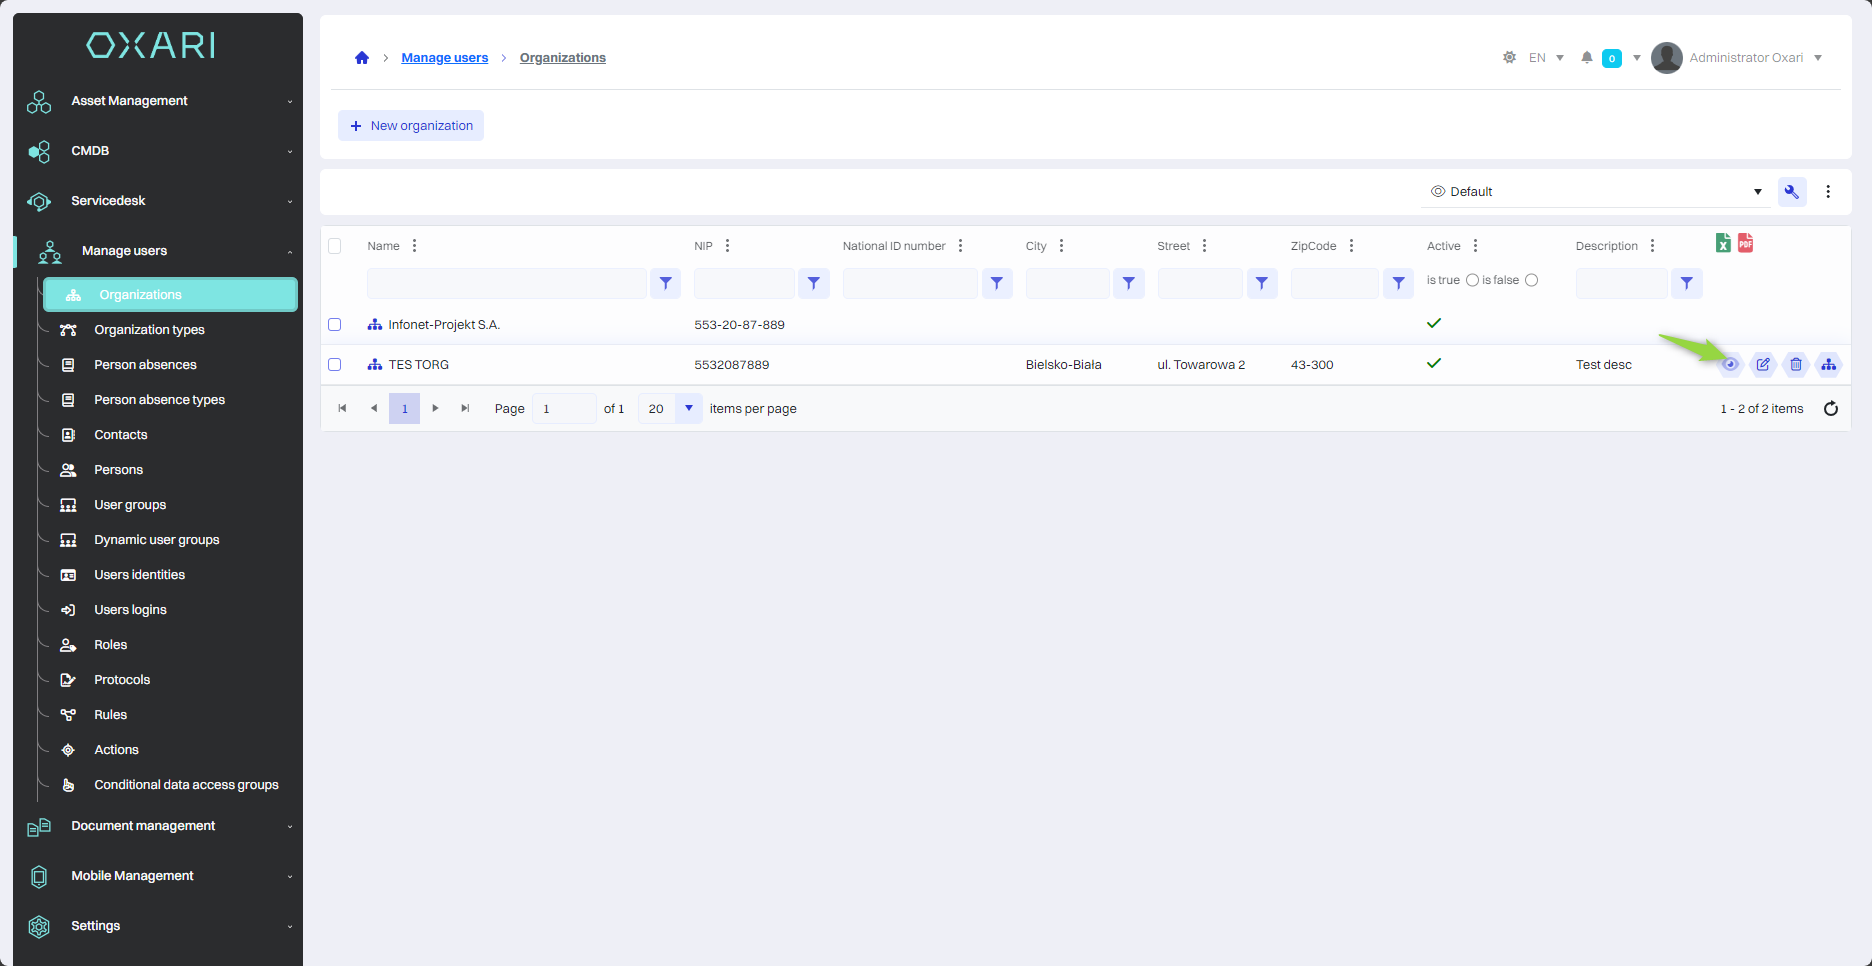
Organization appeared on the list:
Configuring an Organization
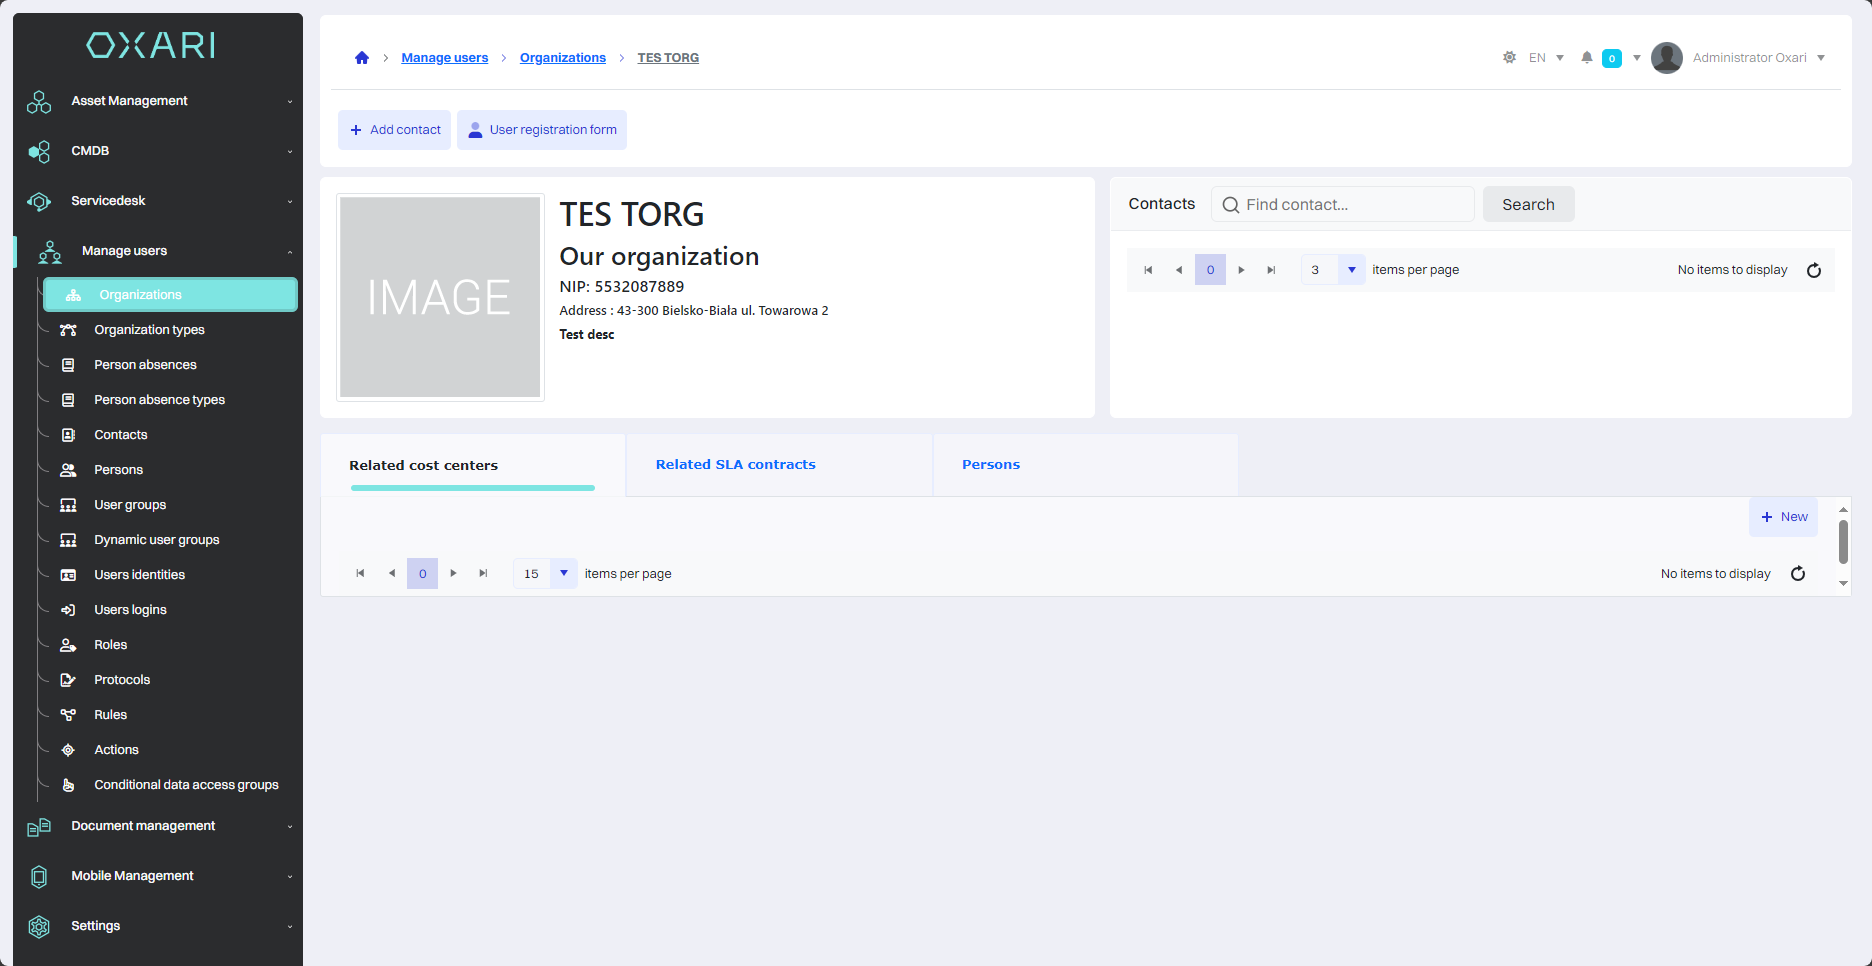
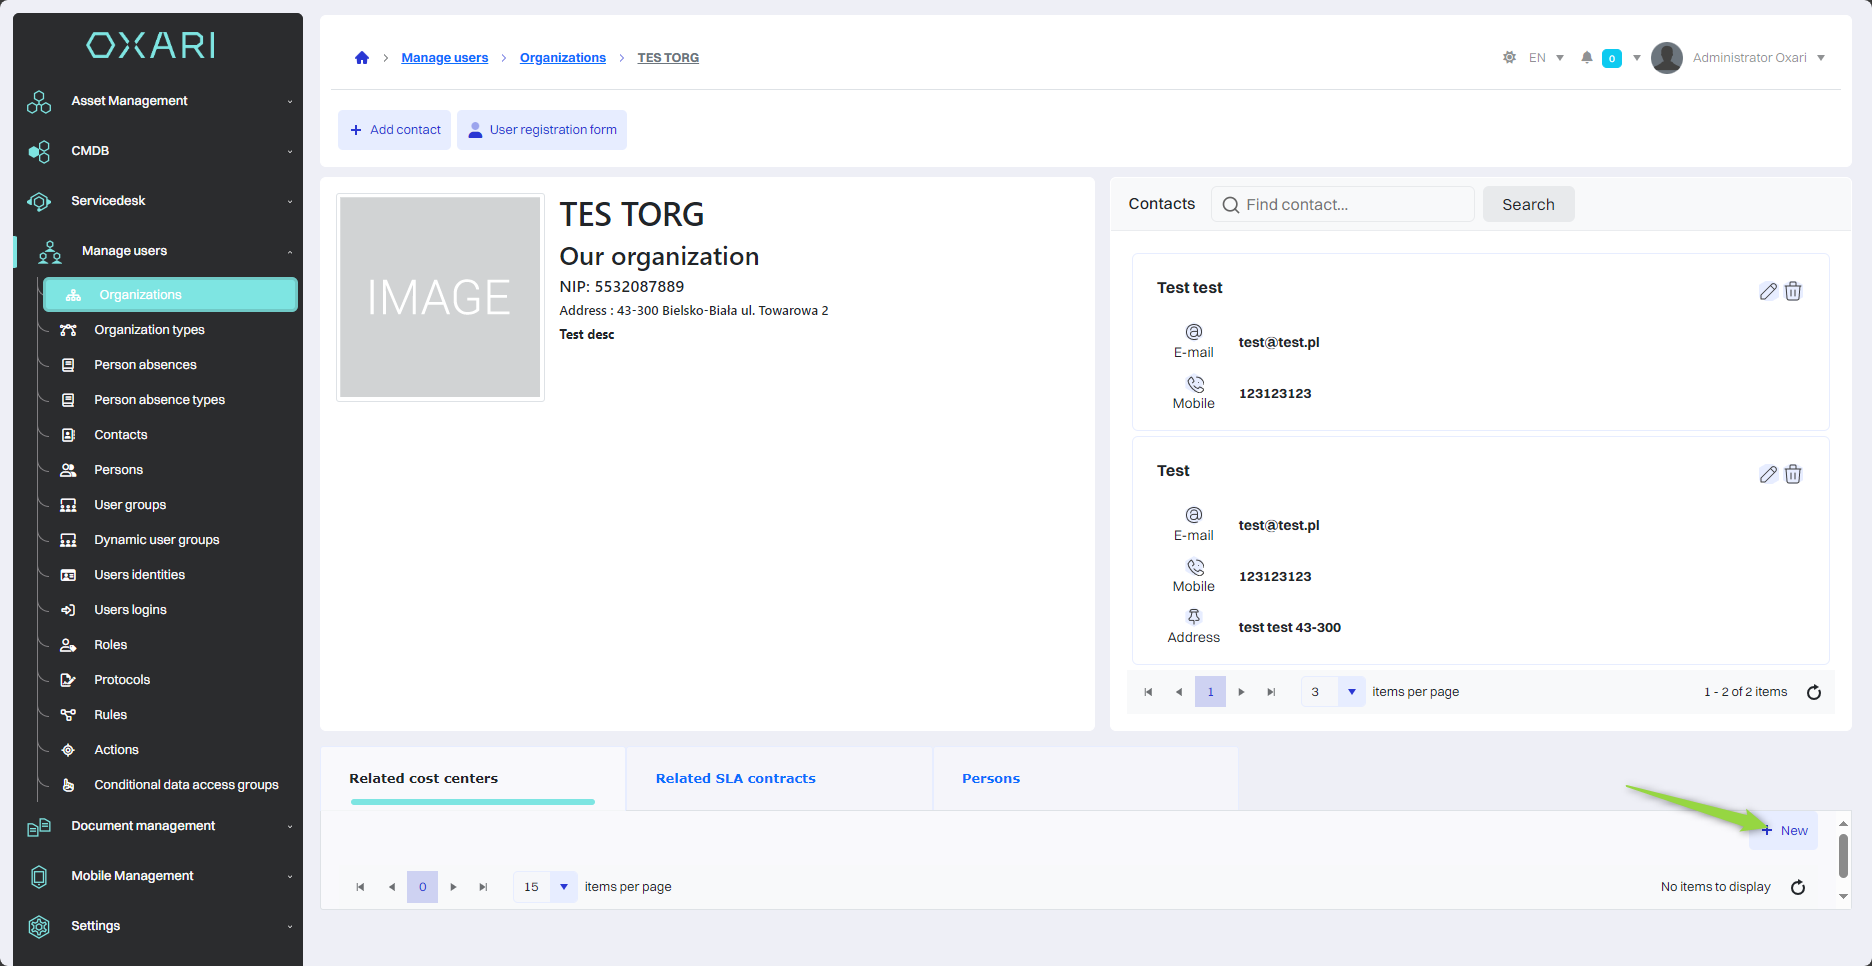
To configure an organization, go to User Management > Organizations, then click the "Details" button, next to the desired organization.
There is an option in this view:
|
1 |
Add Contact - Allows you to add new contact information to your organization's profile. More about contacts: Go > |
|
2 |
User registration form - This function allows you to add a new user to the OXARI system. More about the individuals: Go > |
|
3 |
Related cost centers - Allows for financial management within an organization. More about cost centers: Go > |
|
4 |
Related SLAs (Service Level Agreement) - Refers to the management of service level agreements. More about SLAs: Go > |
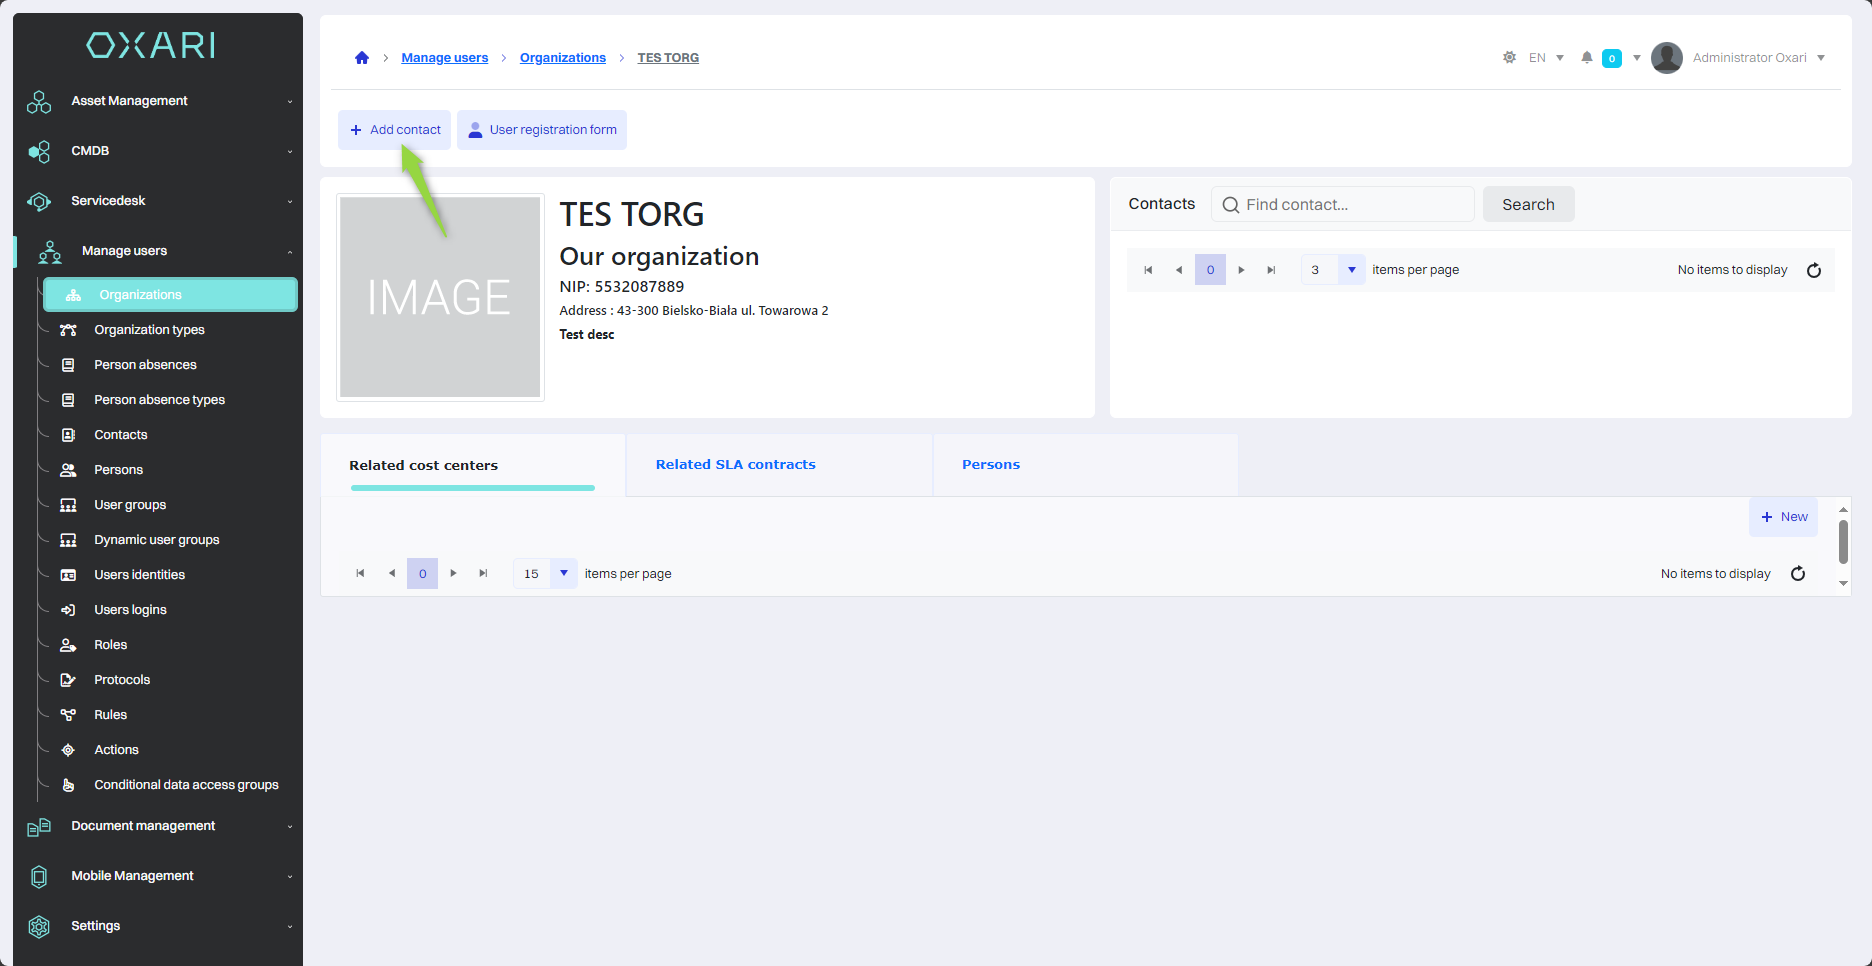
Adding a contact to an organization
To add a contact to an organization, click the "Add Contact" button.
Then, in the "Assign Contact" window, click the "New" button.

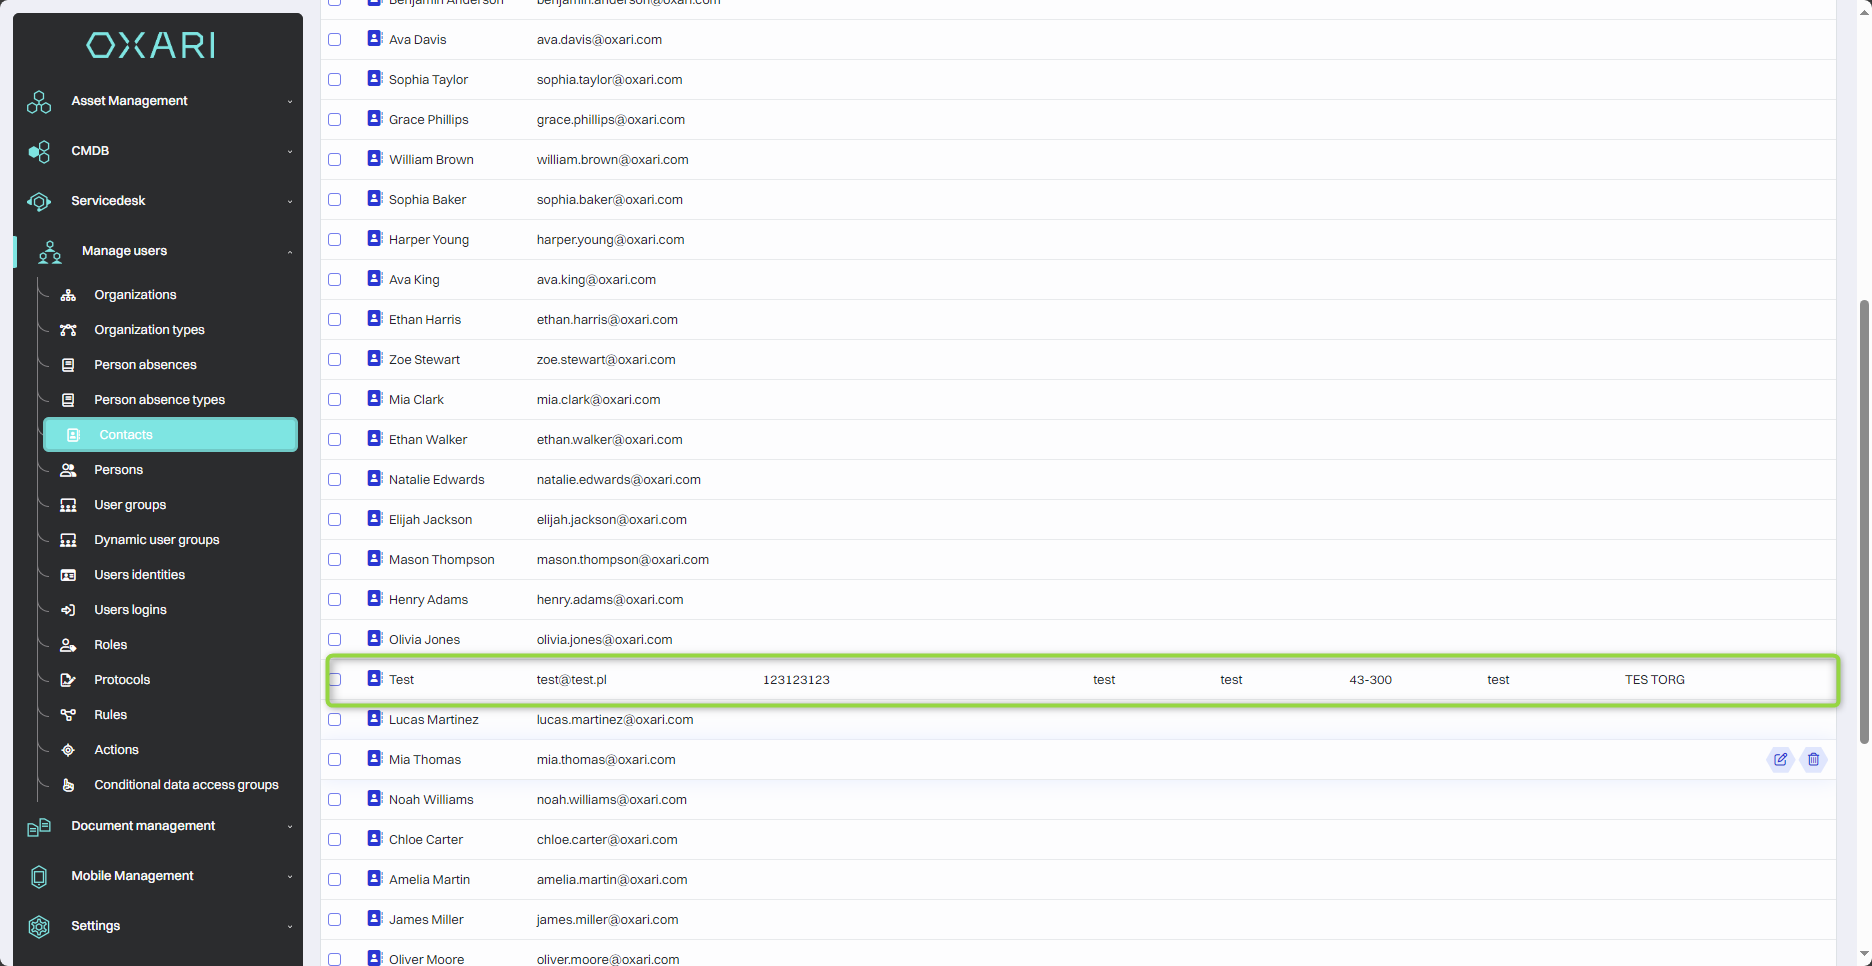
In this step, fill in the data for the desired contact under the organization, and then click the "Save" button.
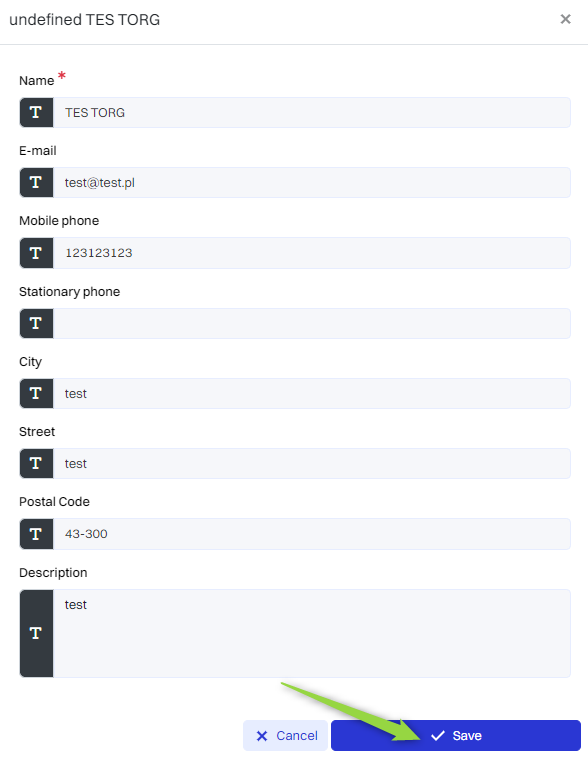
The contact has been saved, it appears under User Management > Contacts.
More about contacts: Go >
User registration form
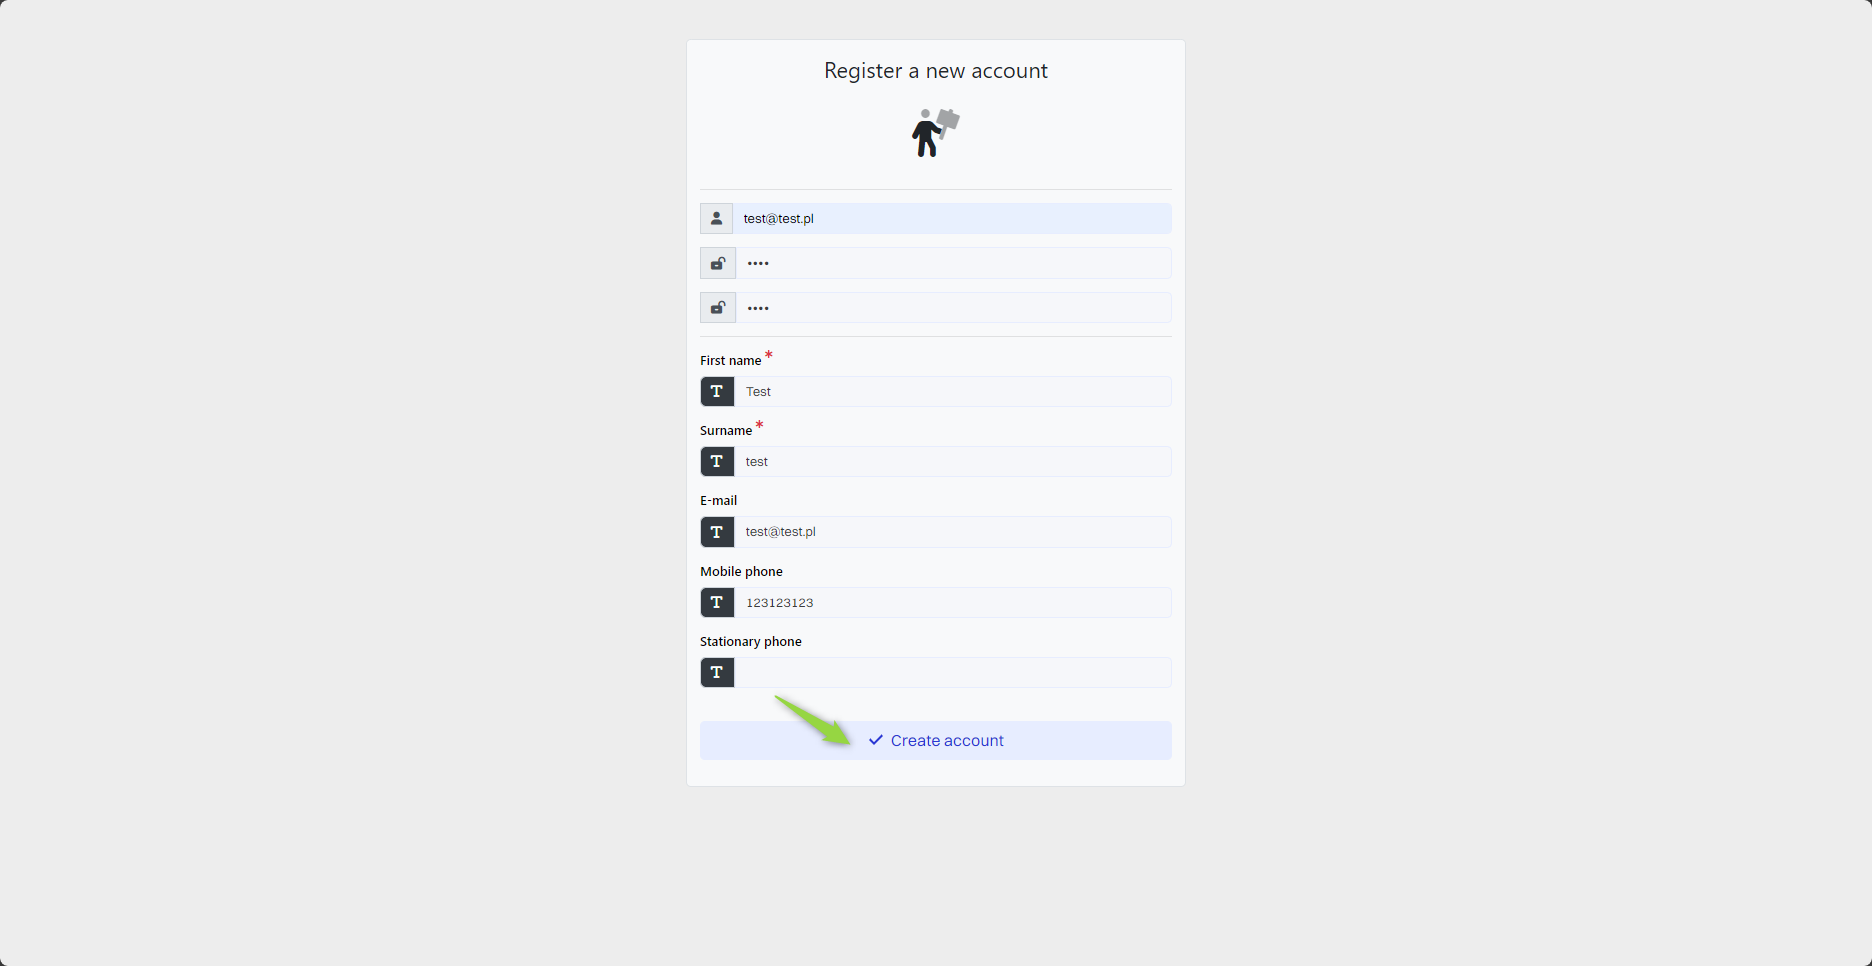
To use the user registration form, click the "User Registration Form" button.

Then, in the "Register a new account" window, fill in the required fields and click the "Create account" button.
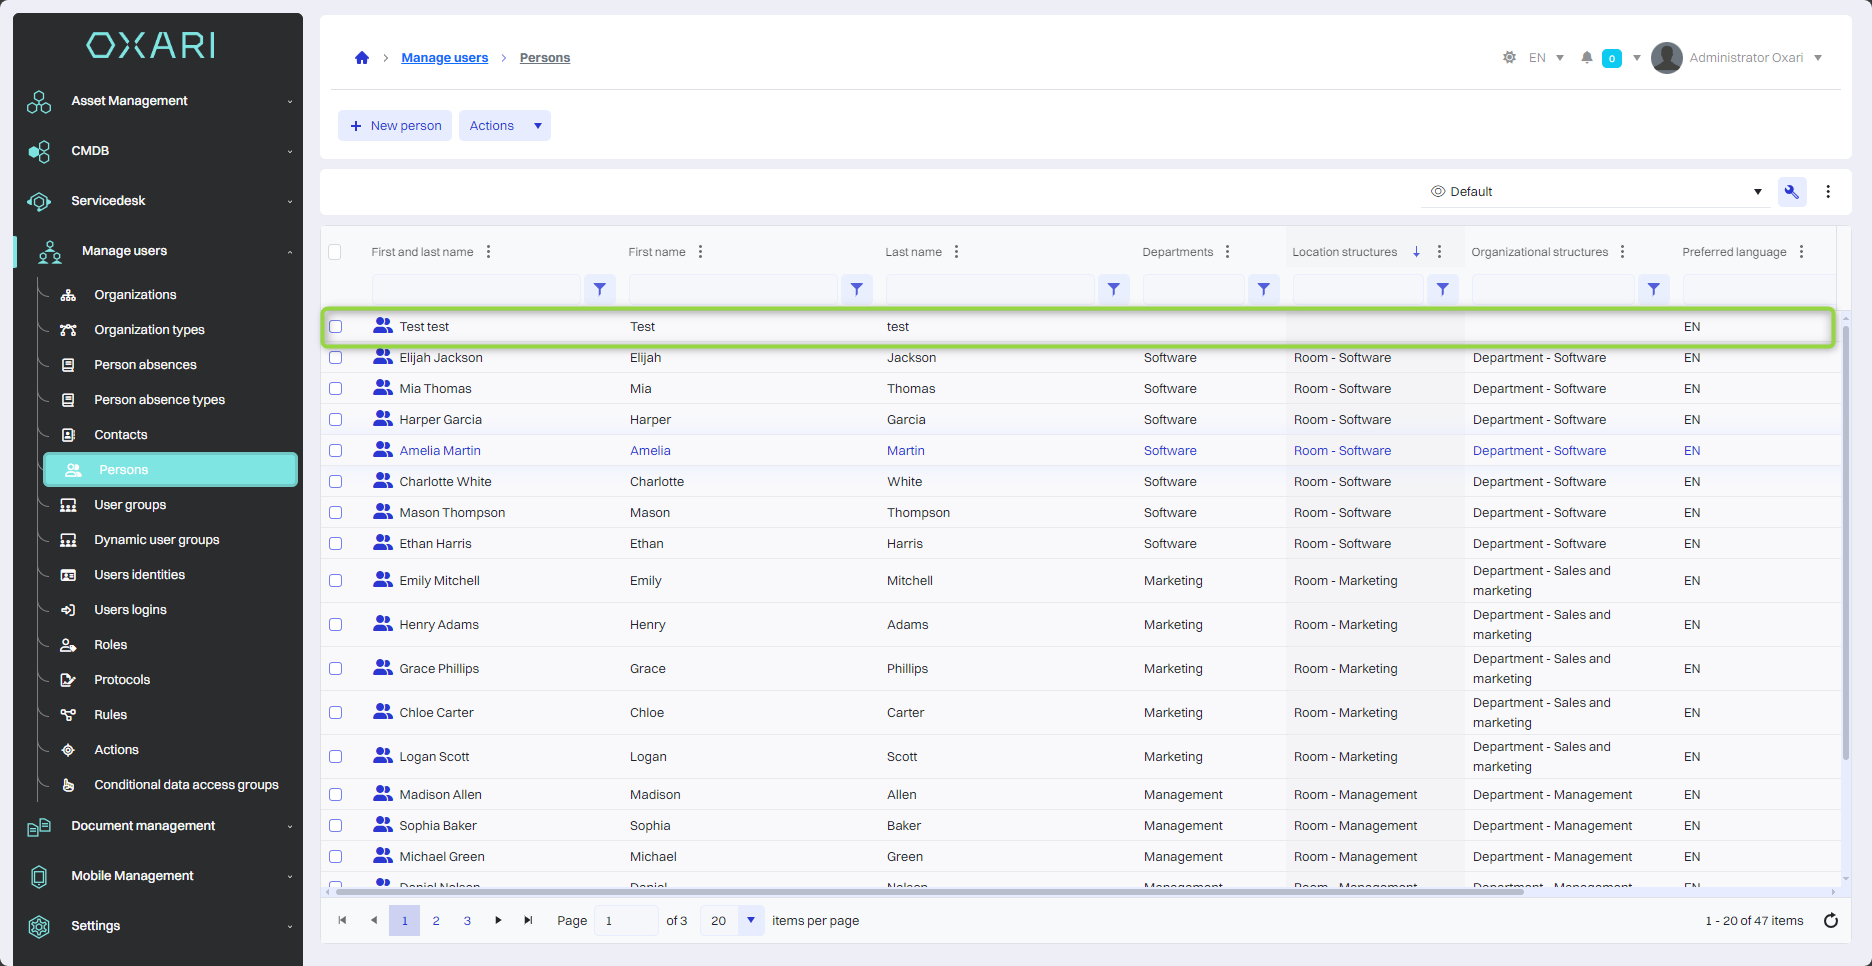
The account is added, the person appears under User Management > Persons.
More about the persons: Go >
Linking a cost center to an organization
To link a cost center to an organization, click the "New" button in the "Related cost center" tab.
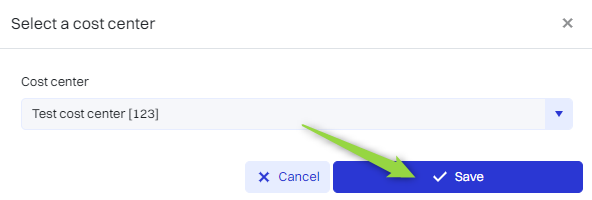
Then, in the "Select a cost center" window, select the desired cost center and click the "Save" button.
To create a cost center: Go >
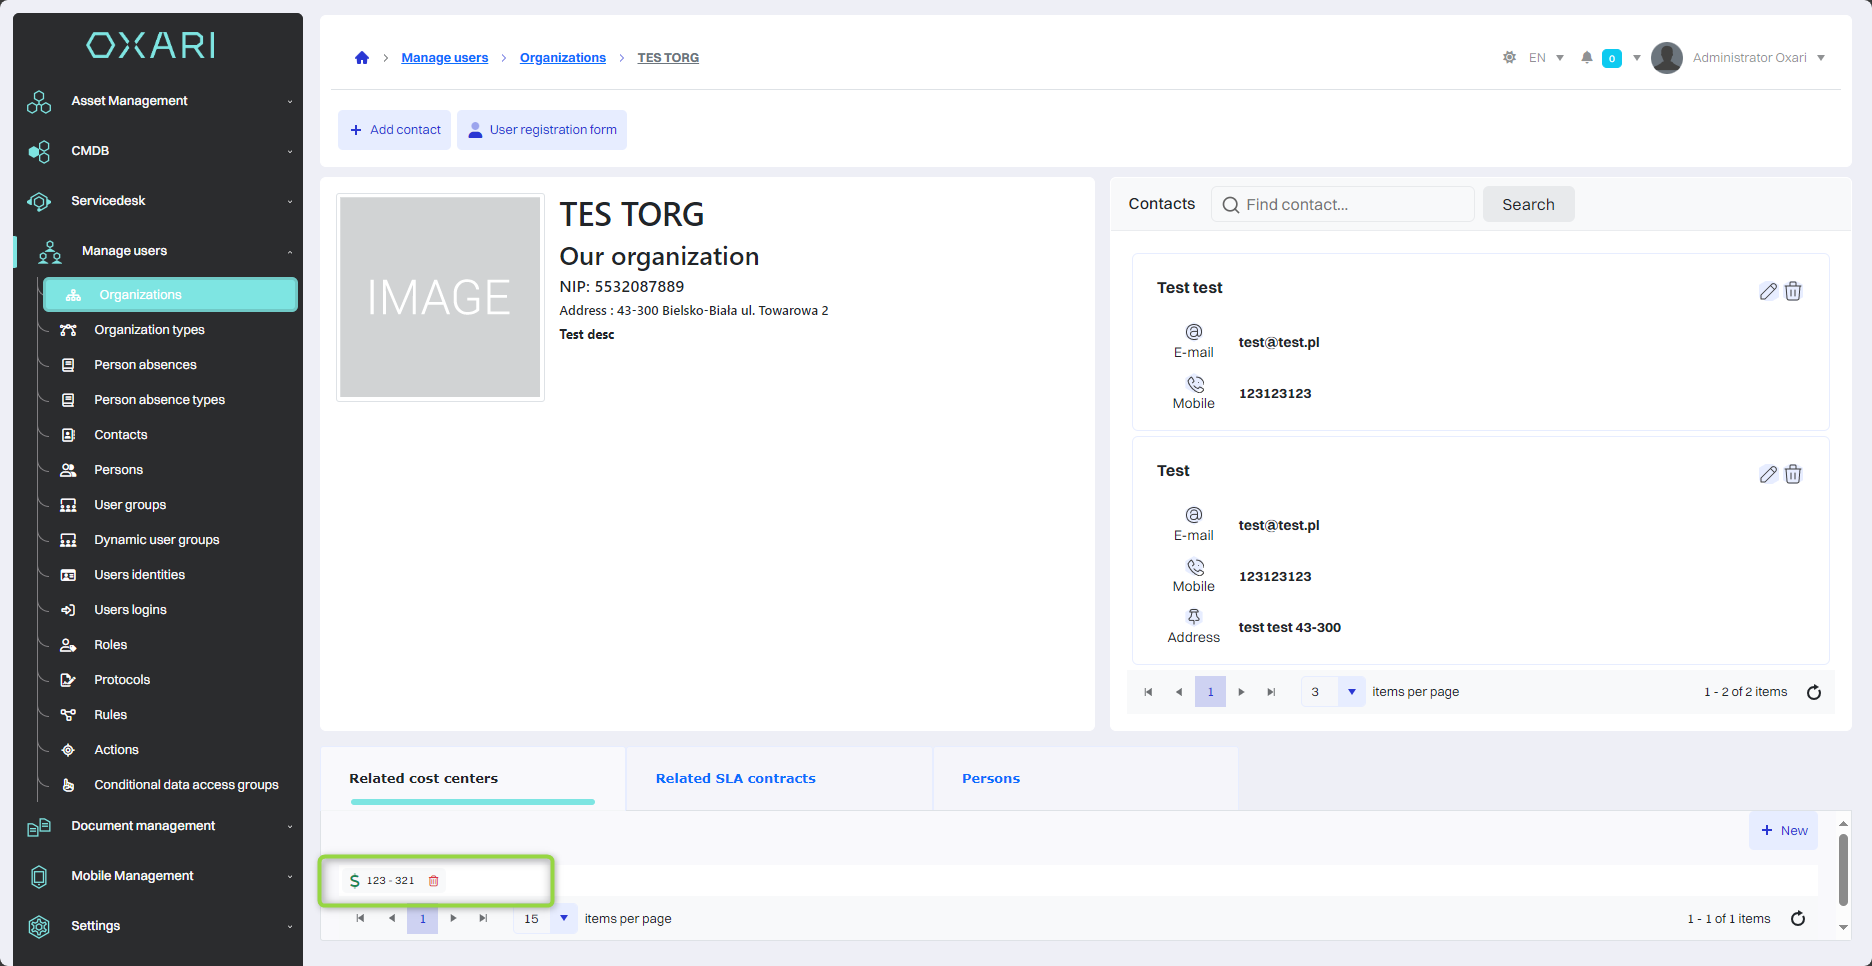
The cost center becomes affiliated with the organization.
Linking an SLA with an organization
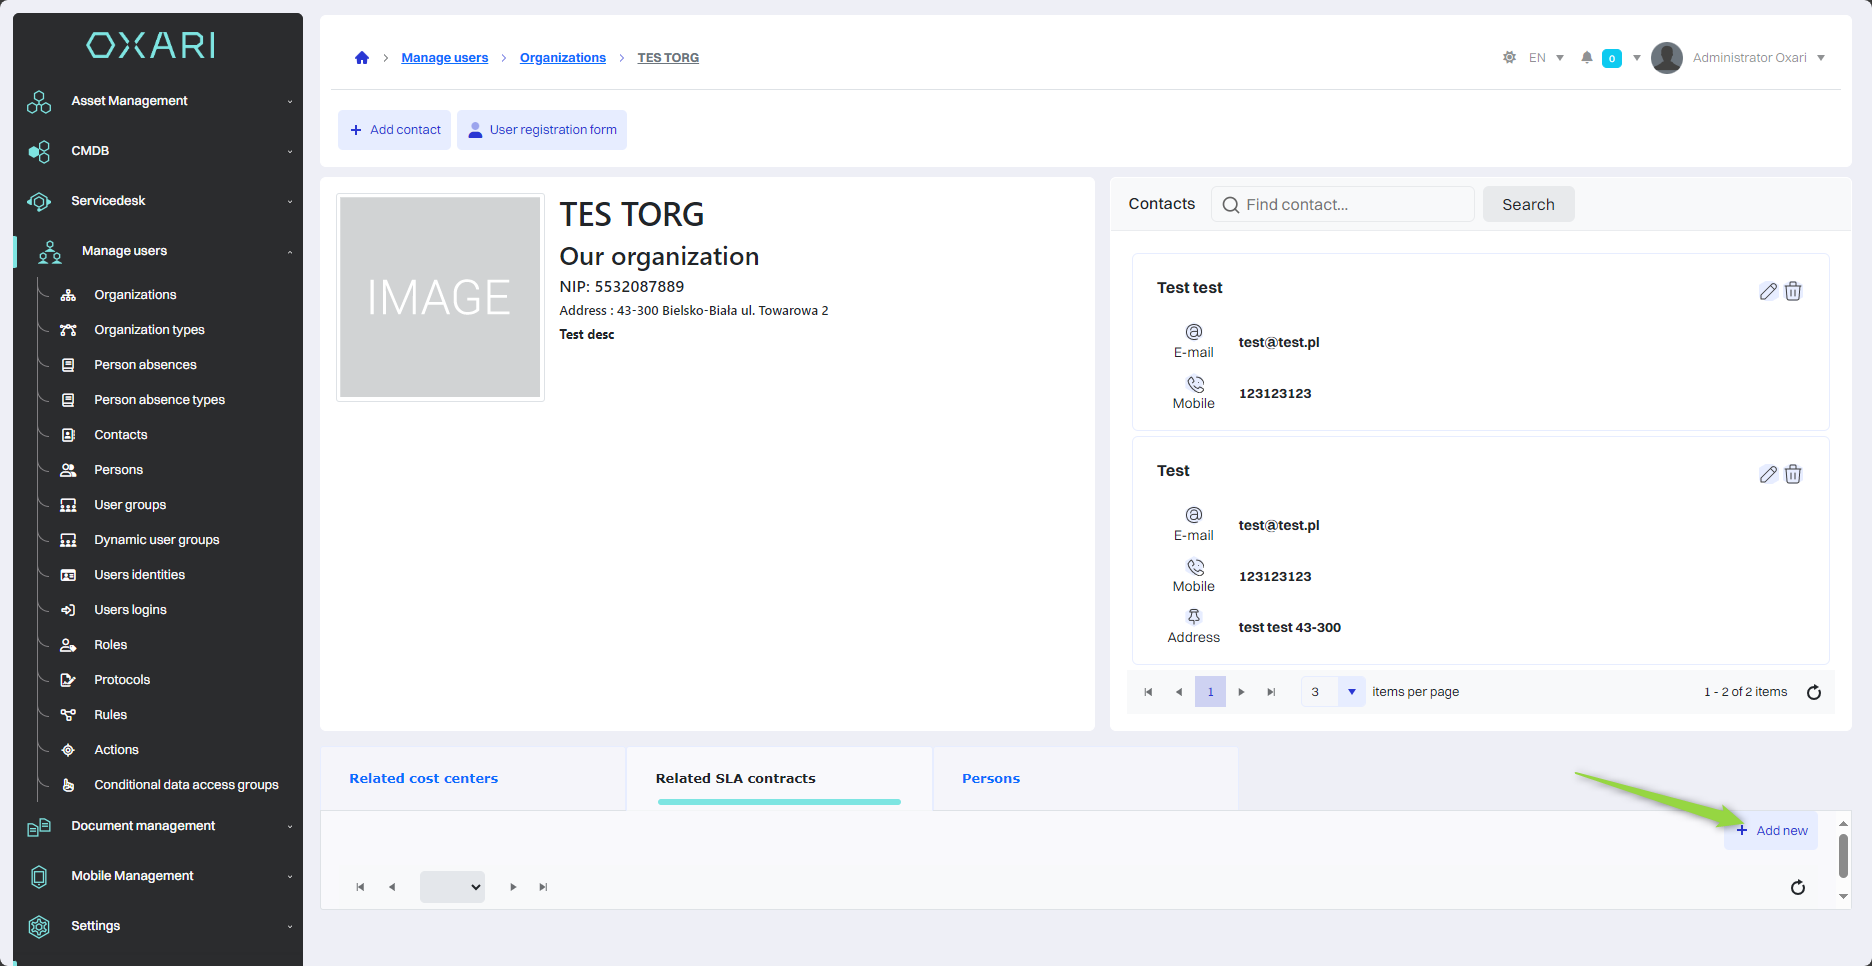
To associate an SLA with an organization, click the "Add New" button in the "Related SLAs" tab.
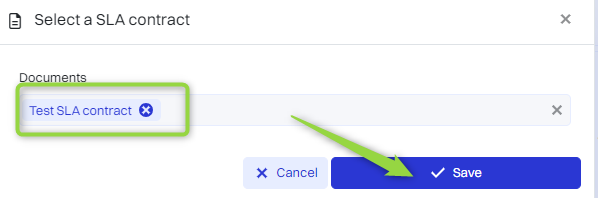
Then, in the "Select SLA" window, select the desired SLA and click the "Save" button.
To configure the SLA: Go >
The SLA becomes associated with the organization.

Editing/Deleting
To edit or delete organizations, go to User Management > Organizations. Hover over the desired organization. The edit/delete buttons will appear.

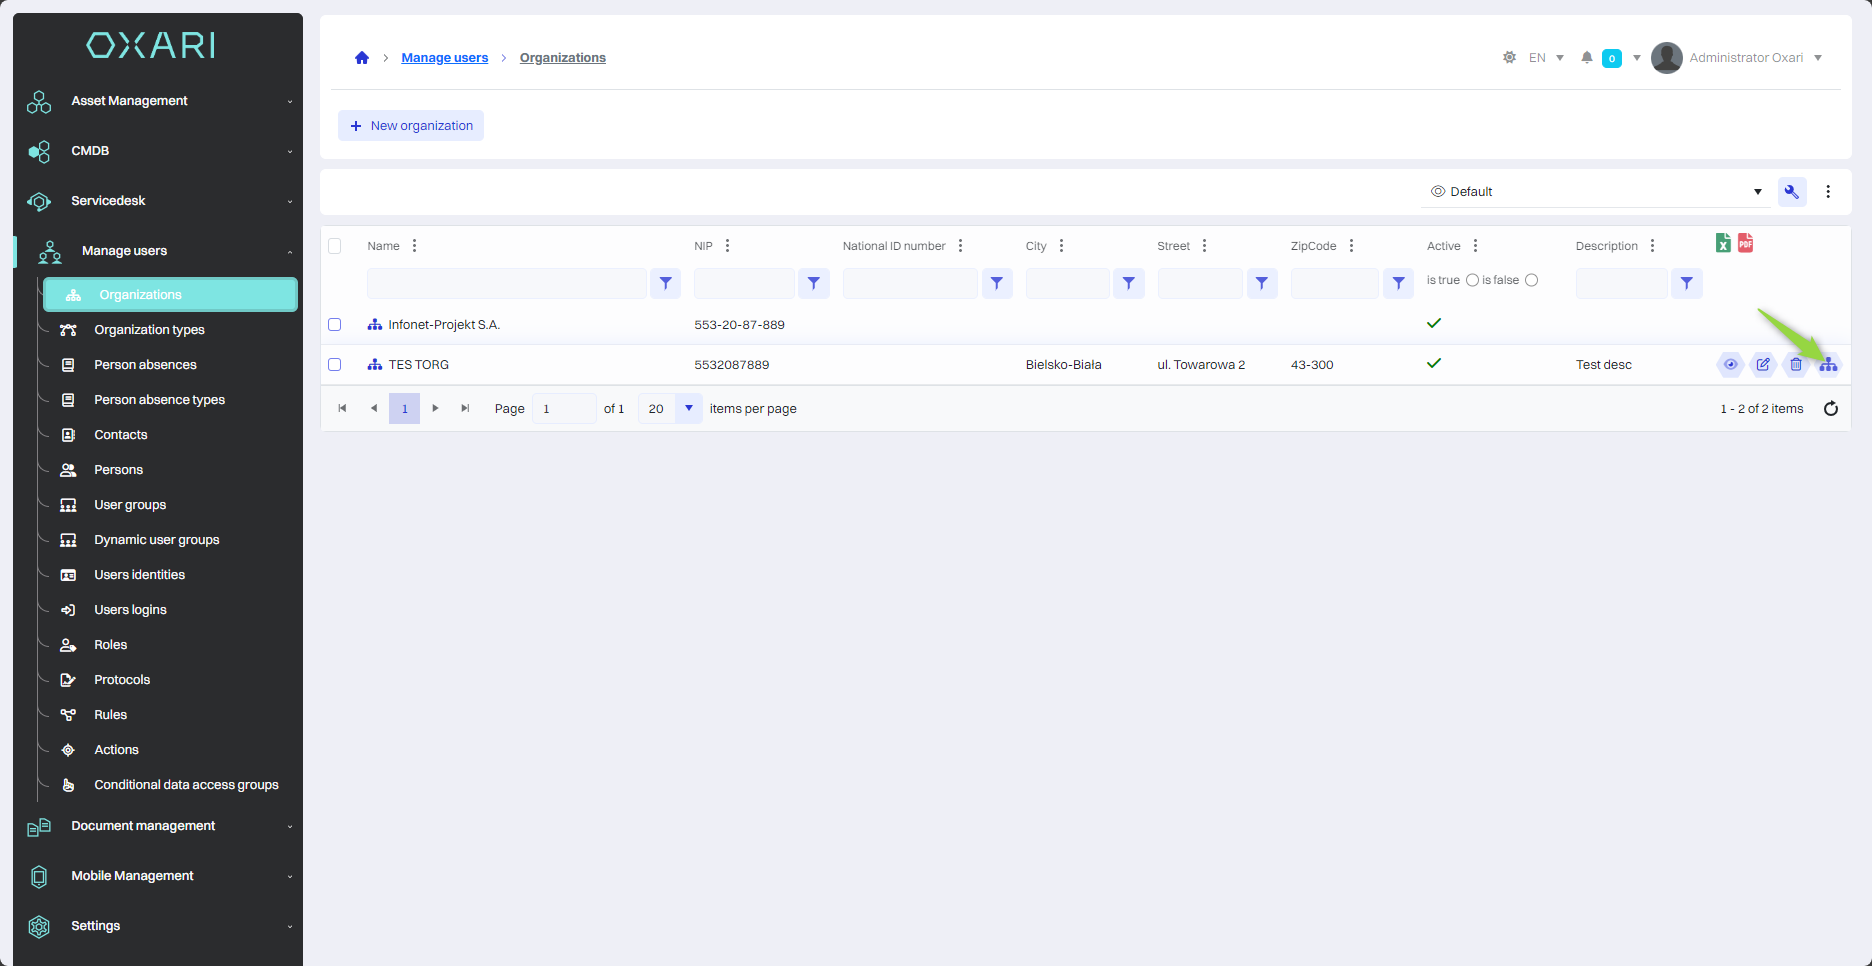
Create organization structures and locations
To access the organization structures view, go to User Management > Organizations. Hover over the desired organization. Then click the "Organization structures" button.
By synchronizing with the directory service, the management system can dynamically reflect current organization structures, locations and changes in the domain controller.
Organizations and structures can also be retrieved from the domain by configuring synchronization with the directory service: Go >
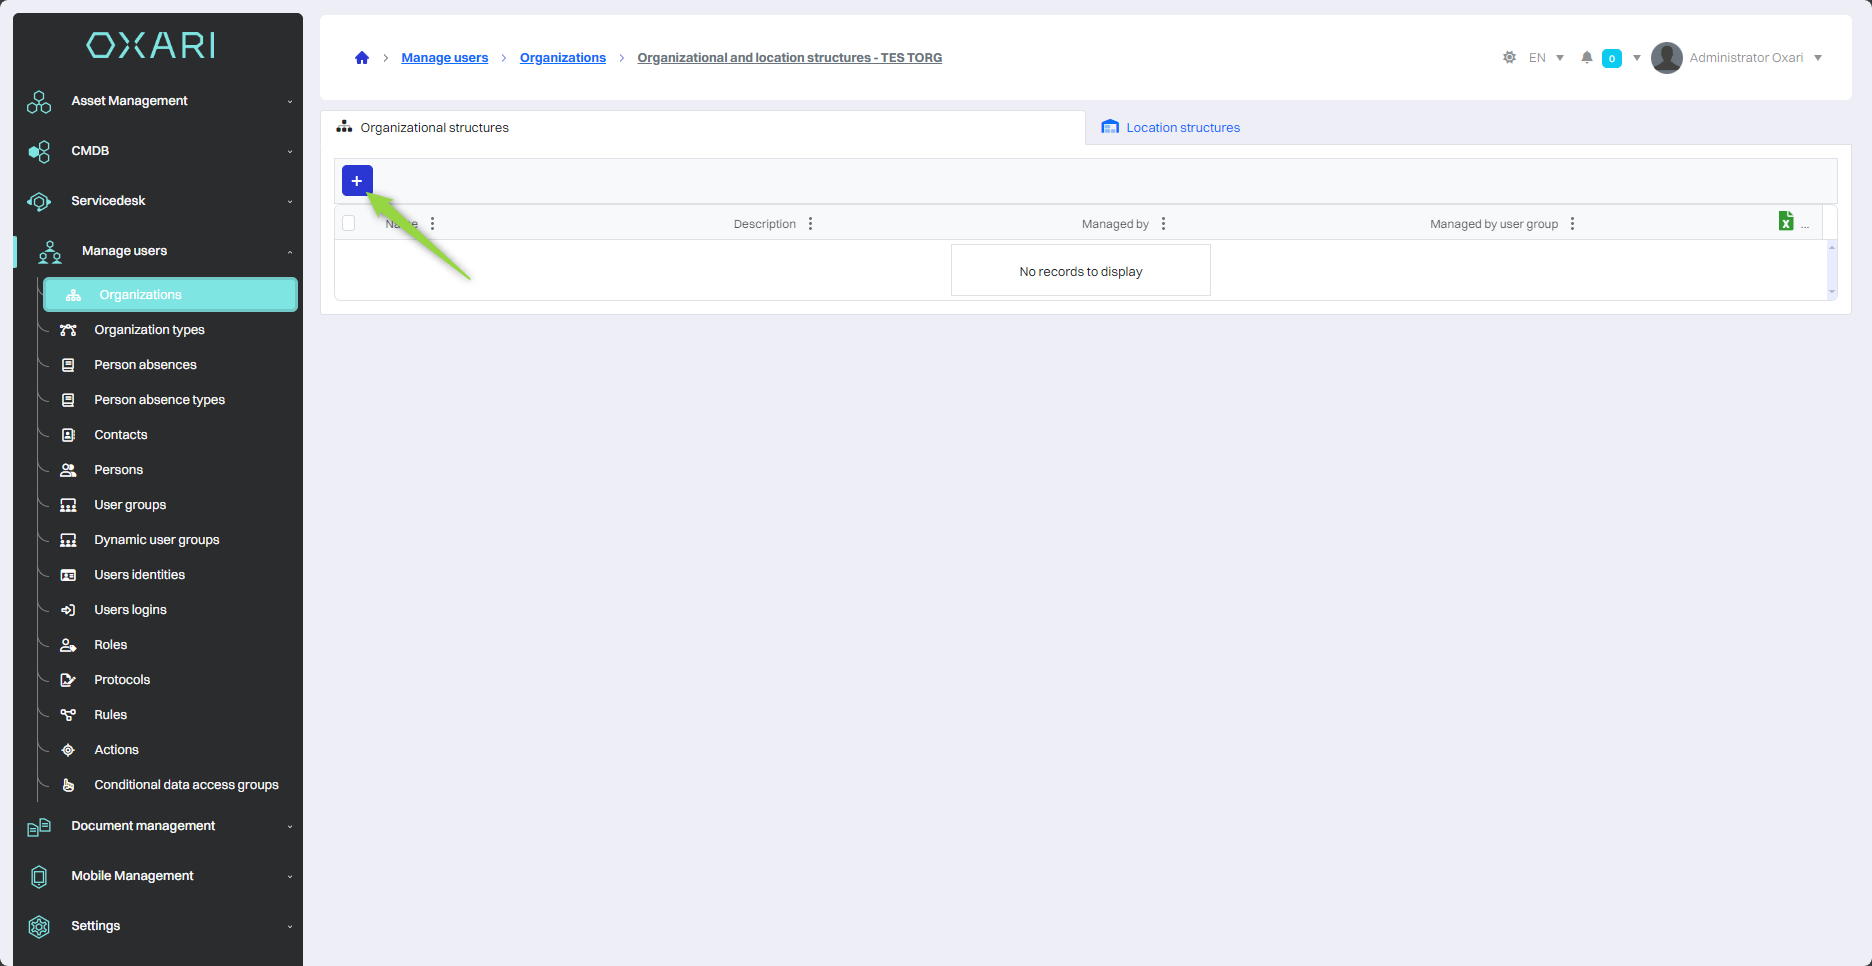
Adding an organizational structure
To manually add organizational structures, click the "+" button in the "Organizational Structures" tab.
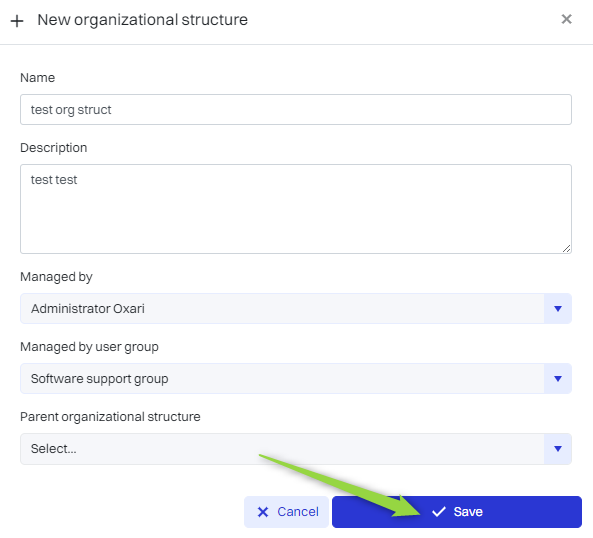
Then in the "New organizational structure" window there are elements:
|
1 |
Name - Here the user enters a name for the new organizational structure that will identify the structure in the system. |
|
2 |
Description - In this field you can provide additional information describing the organizational structure, its functions, responsibilities or other relevant details. |
|
3 |
Managed by - The drop-down menu allows you to select the person who will manage this organizational structure. This selection determines who will have administrative responsibility for the structure. |
|
4 |
Managed by user group - Another drop-down menu allows you to assign a group of users to jointly manage the organizational structure. To configure a user group: Go > |
|
5 |
Overarching organizational structure - This field allows you to assign a new organizational structure to an already existing, higher-level structure in the company's hierarchy. This allows you to create complex organizational hierarchies. |
Fill in the desired fields and click the "Save" button.
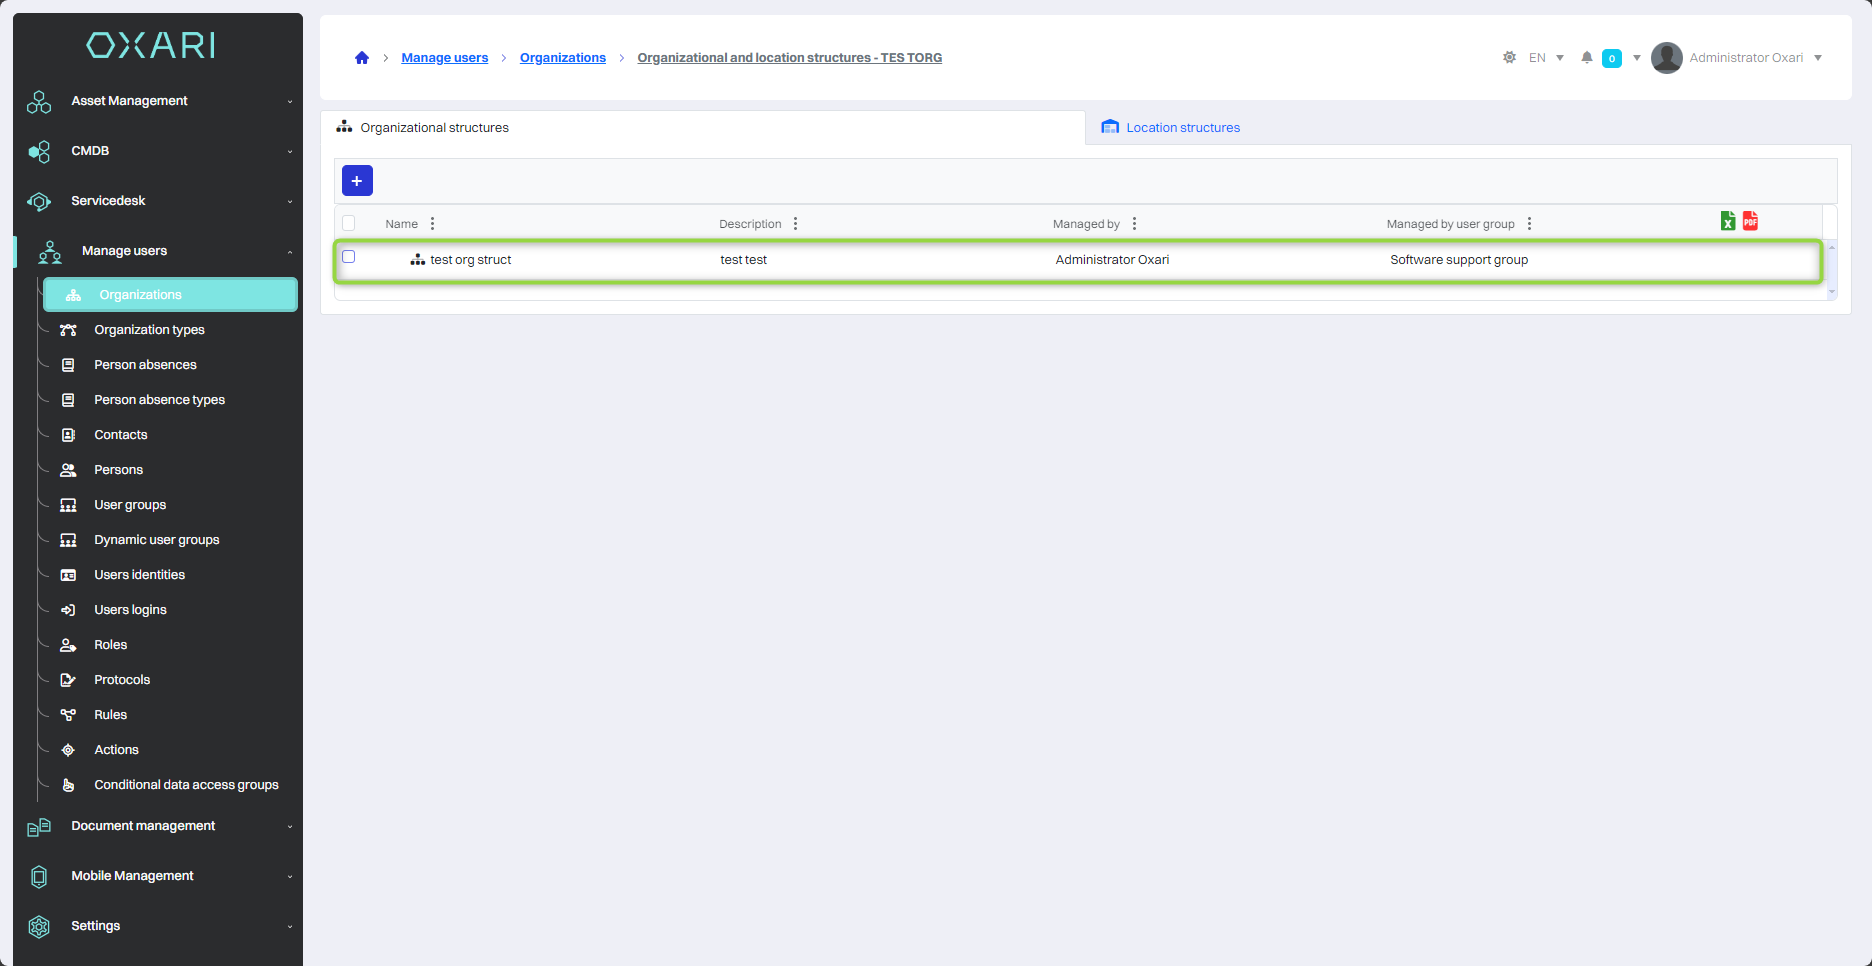
The organizational structure is added.
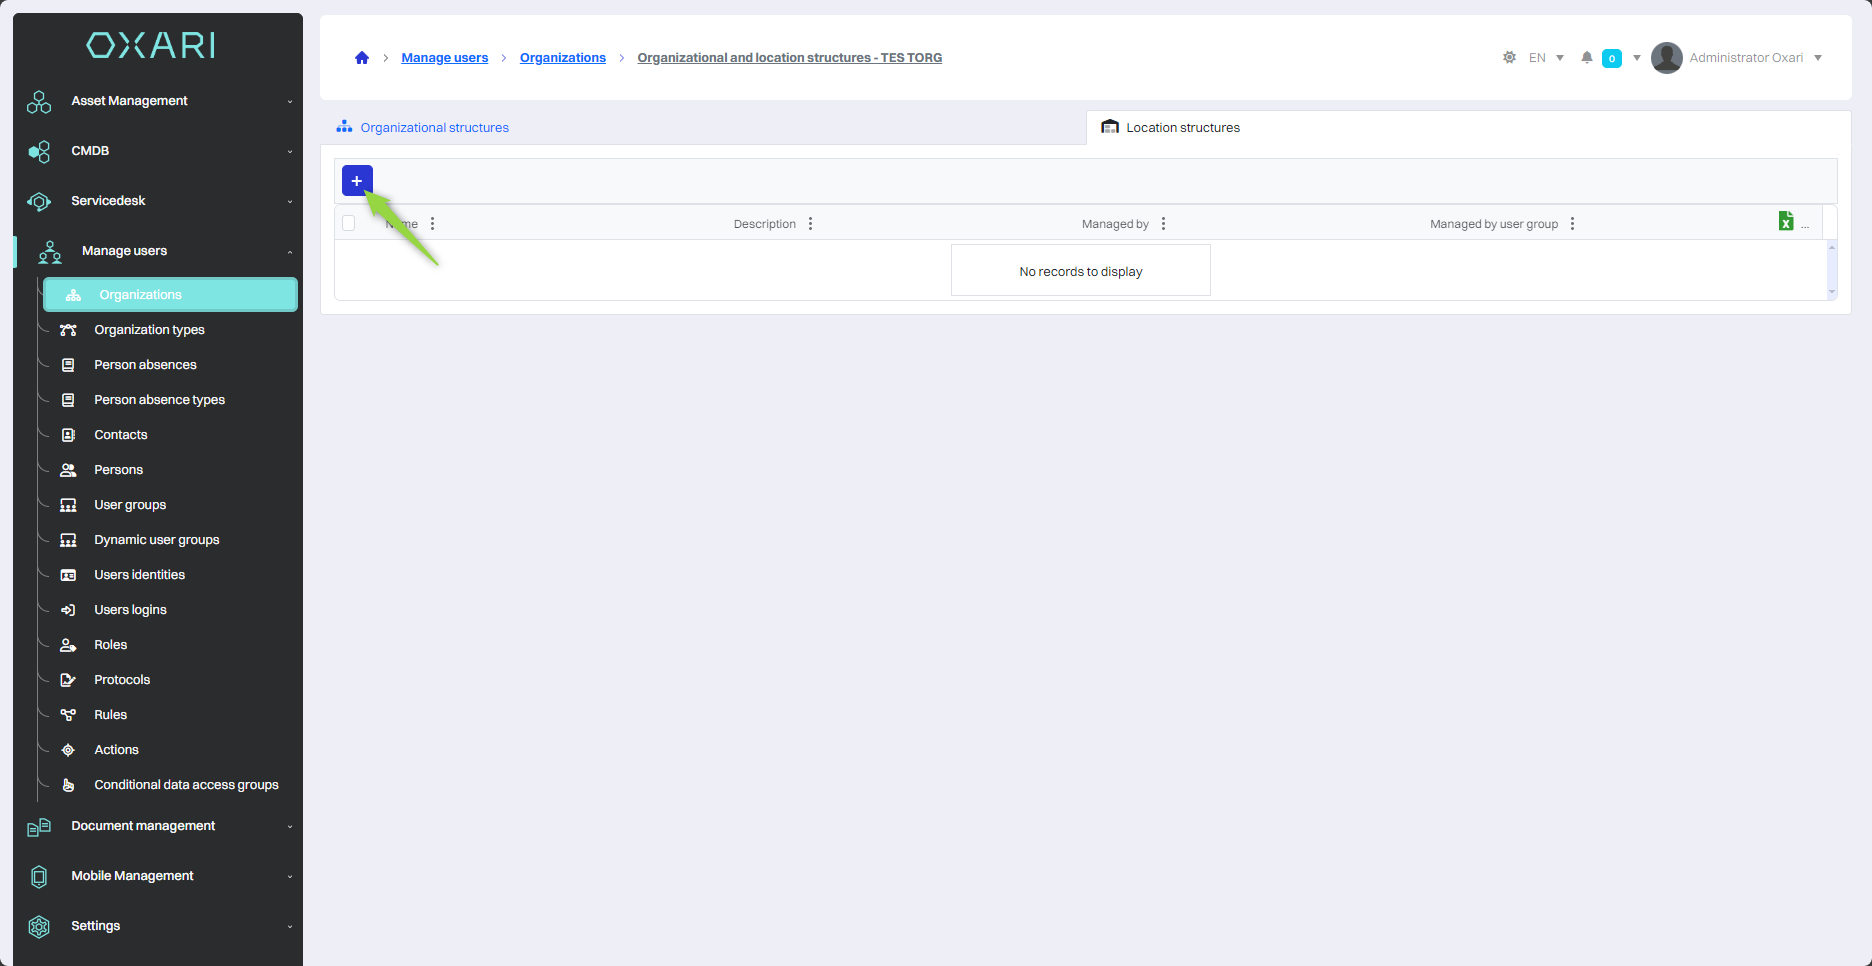
Adding a localization structure
To manually add localization structures, click the "+" button in the "Localization structures" tab.
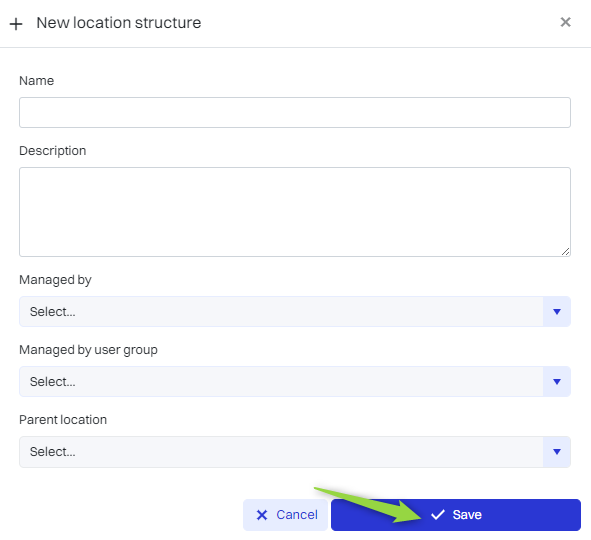
Next, in the "New location structure" window, there are elements:
|
1 |
Name - Here the user enters a name for the new location structure that identifies it in the system. |
|
2 |
Description -In this text field you can add a detailed description of the new location structure. |
|
3 |
Parent location - The drop-down menu allows you to select an existing location structure under which the new structure will be subordinated. This allows you to create a hierarchical organization of locations. |
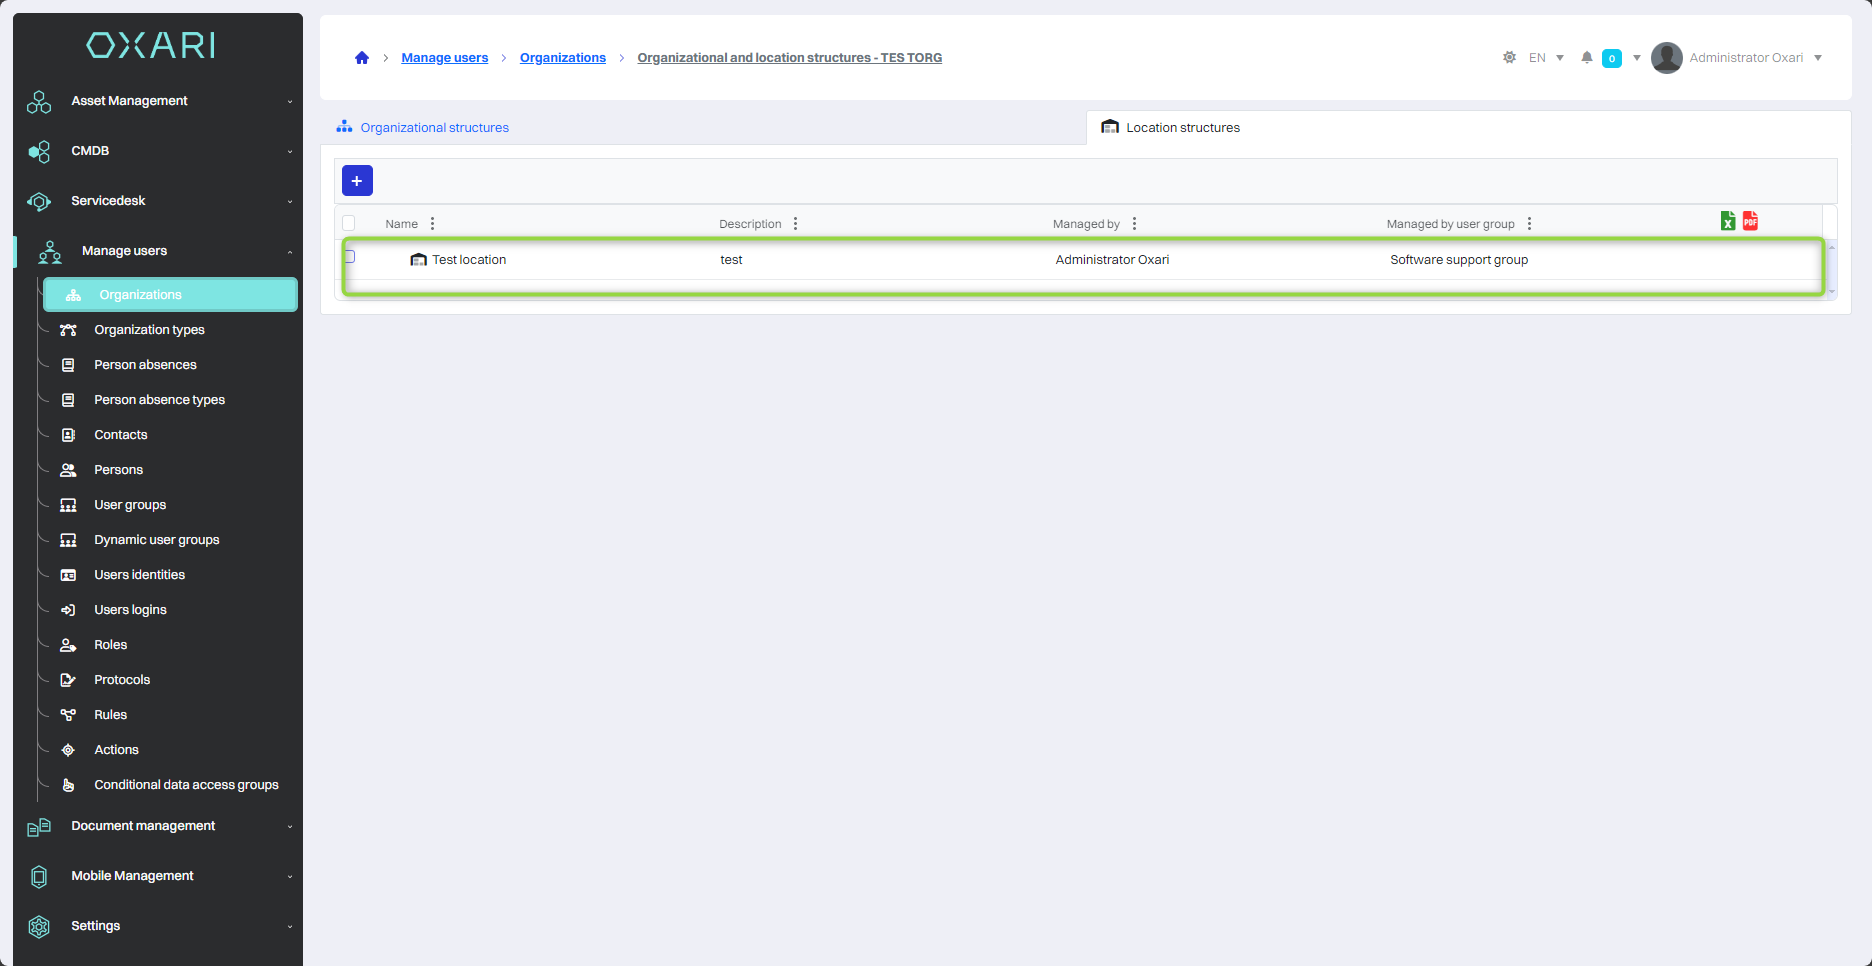
Fill in the desired fields and click the "Save" button.
The location structure is added.