The "Persons" section of the OXARI system is used to centrally manage the profiles of individual employees, customers or other Persons associated with the organization. It allows collecting their contact information, assigning them to specific organizations, managing user accounts and documents.
New person
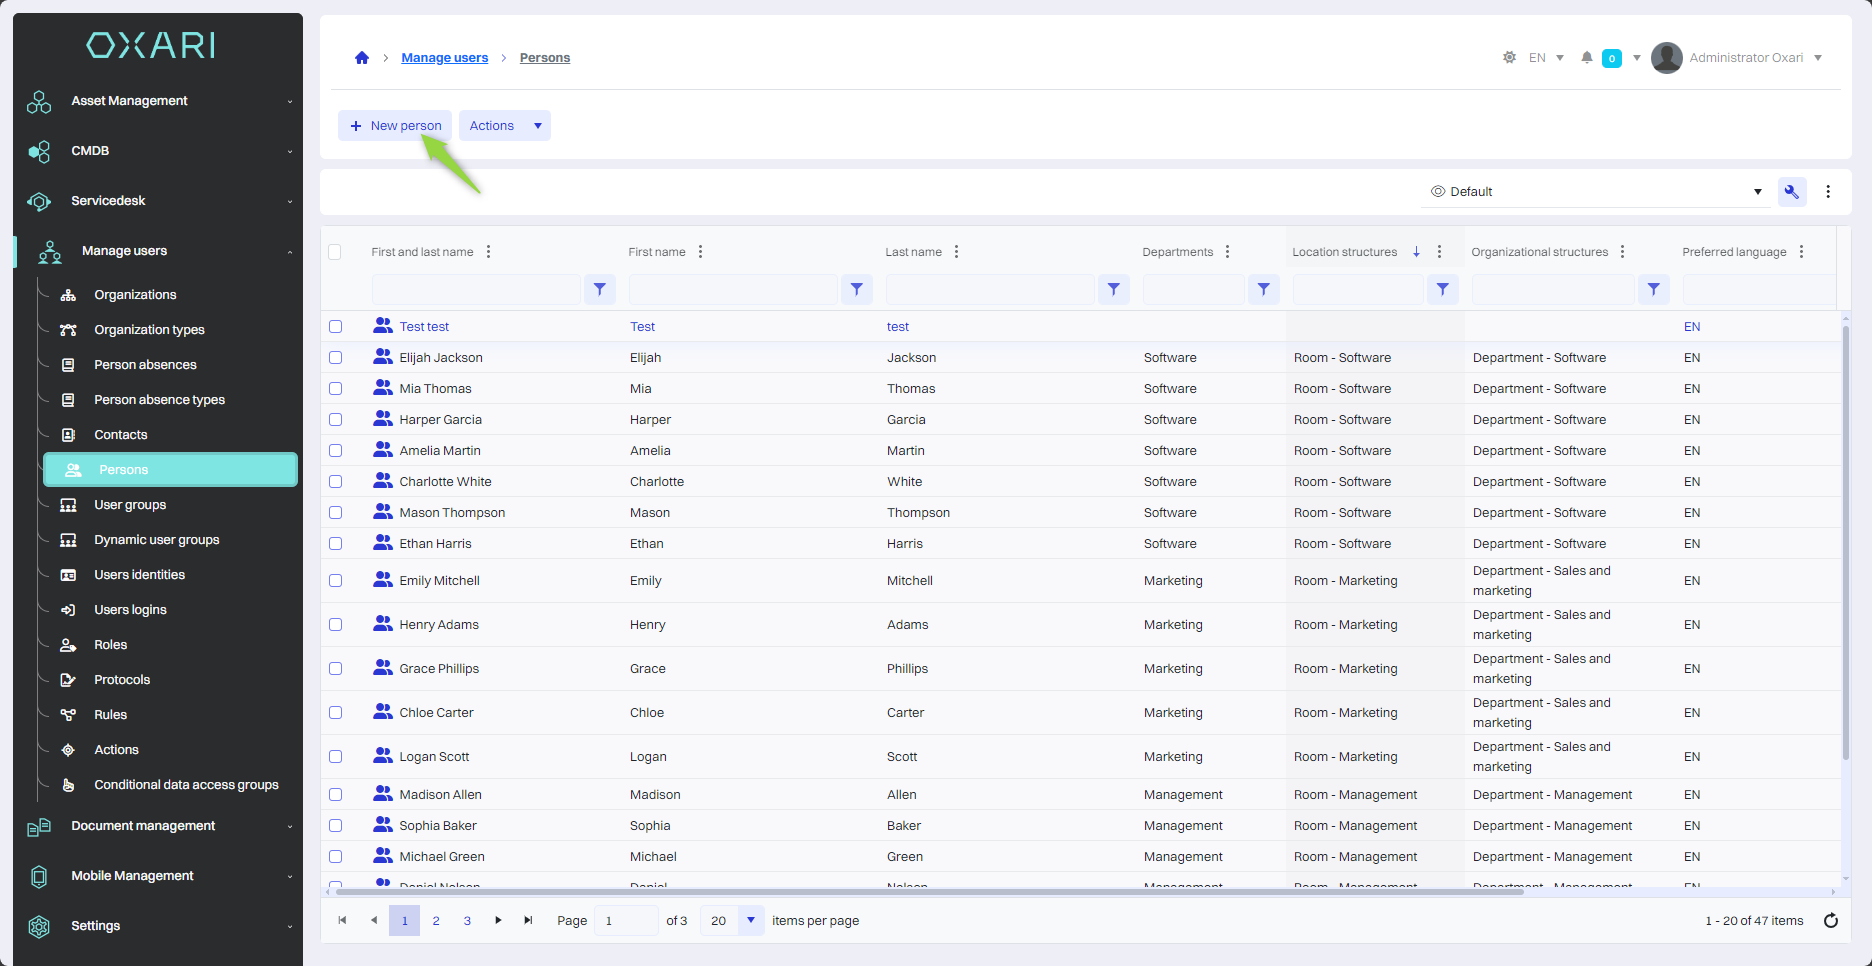
To add a new person, go to User Management > Persons, and then click the "New person" button.
Filling
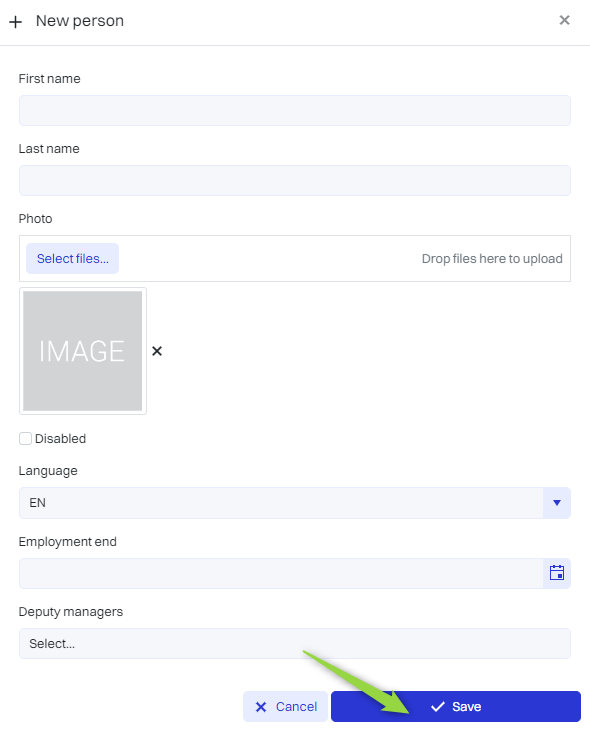
Next, the "New Person" window contains the following items:
|
1 |
First name - A field for entering the person's first name. |
|
2 |
Name - A place to enter the person's name. |
|
3 |
Photo - The ability to add a photo to represent a person. |
|
4 |
Inactive - Checkbox, used to indicate whether the person's account is active or inactive. |
|
5 |
Preferred language - A drop-down menu for selecting the preferred language for communicating with a person (PL, EN, DE). |
|
6 |
End of employment date - A calendar field for selecting the end of employment date. |
|
7 |
Substitutes (assistants) - A field where you can add persons assisting a particular employee. |
Fill in the desired fields, and then click the "Save" button.
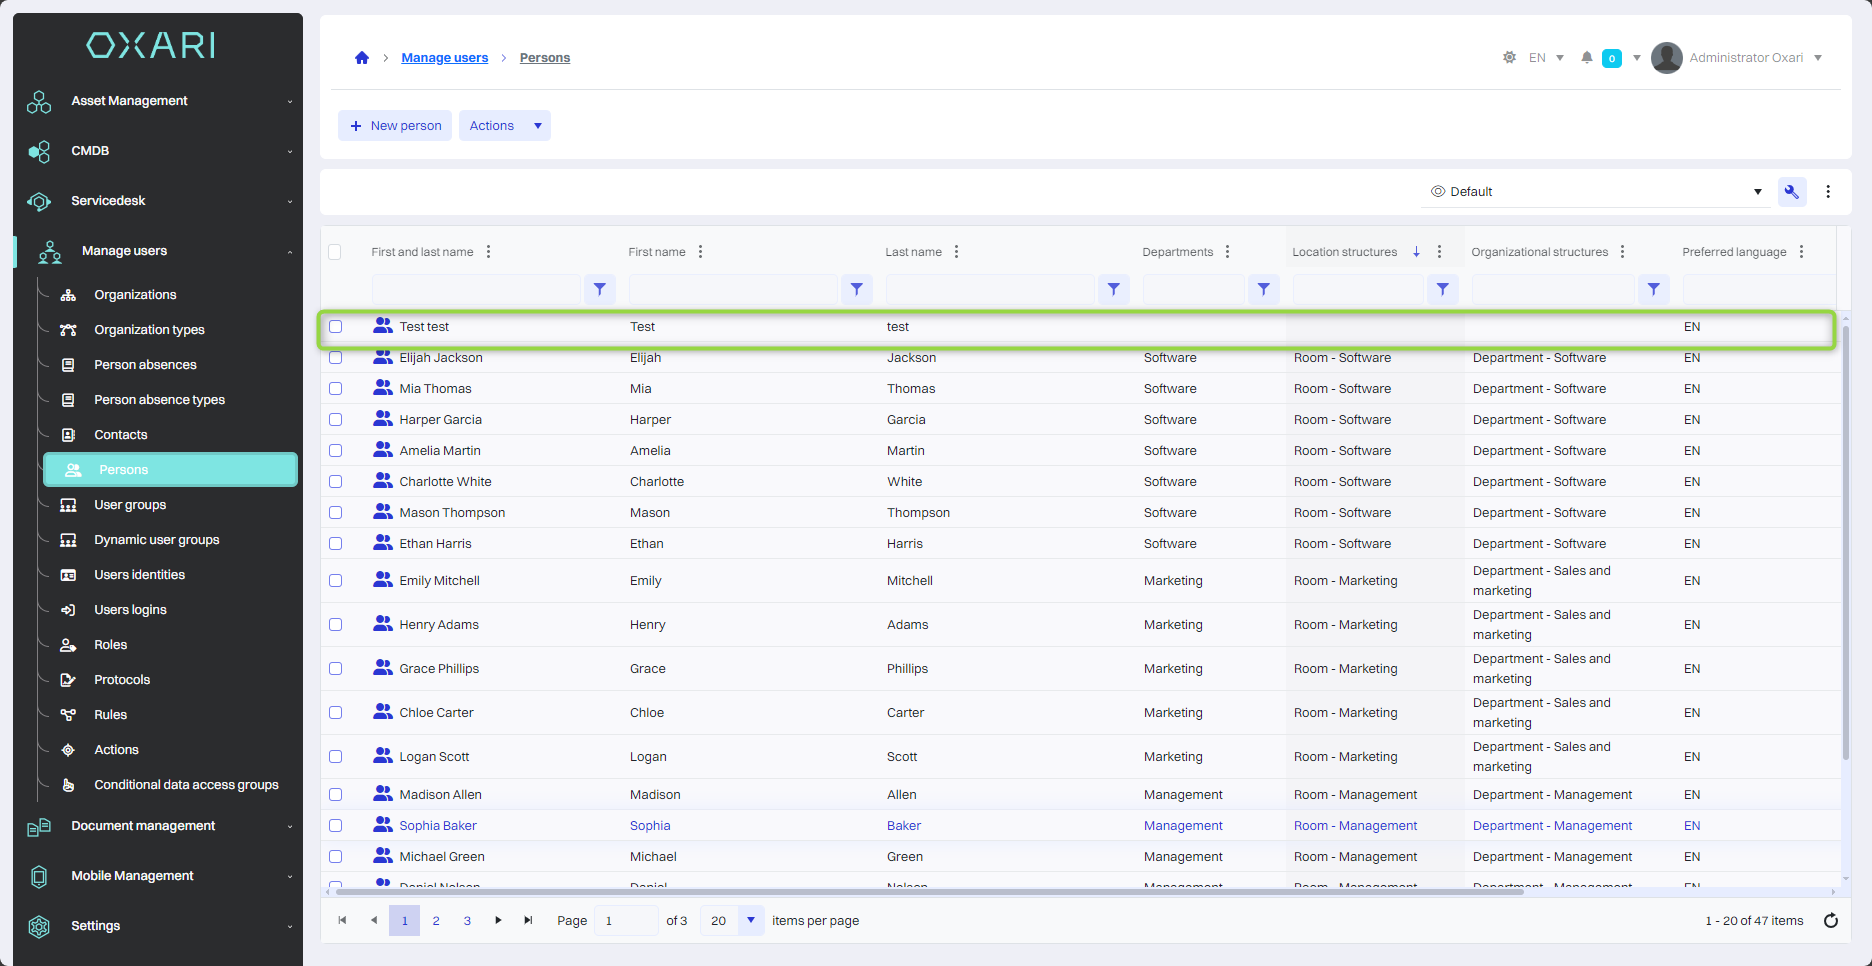
The person has been added to the list of Persons:
Actions from the main view
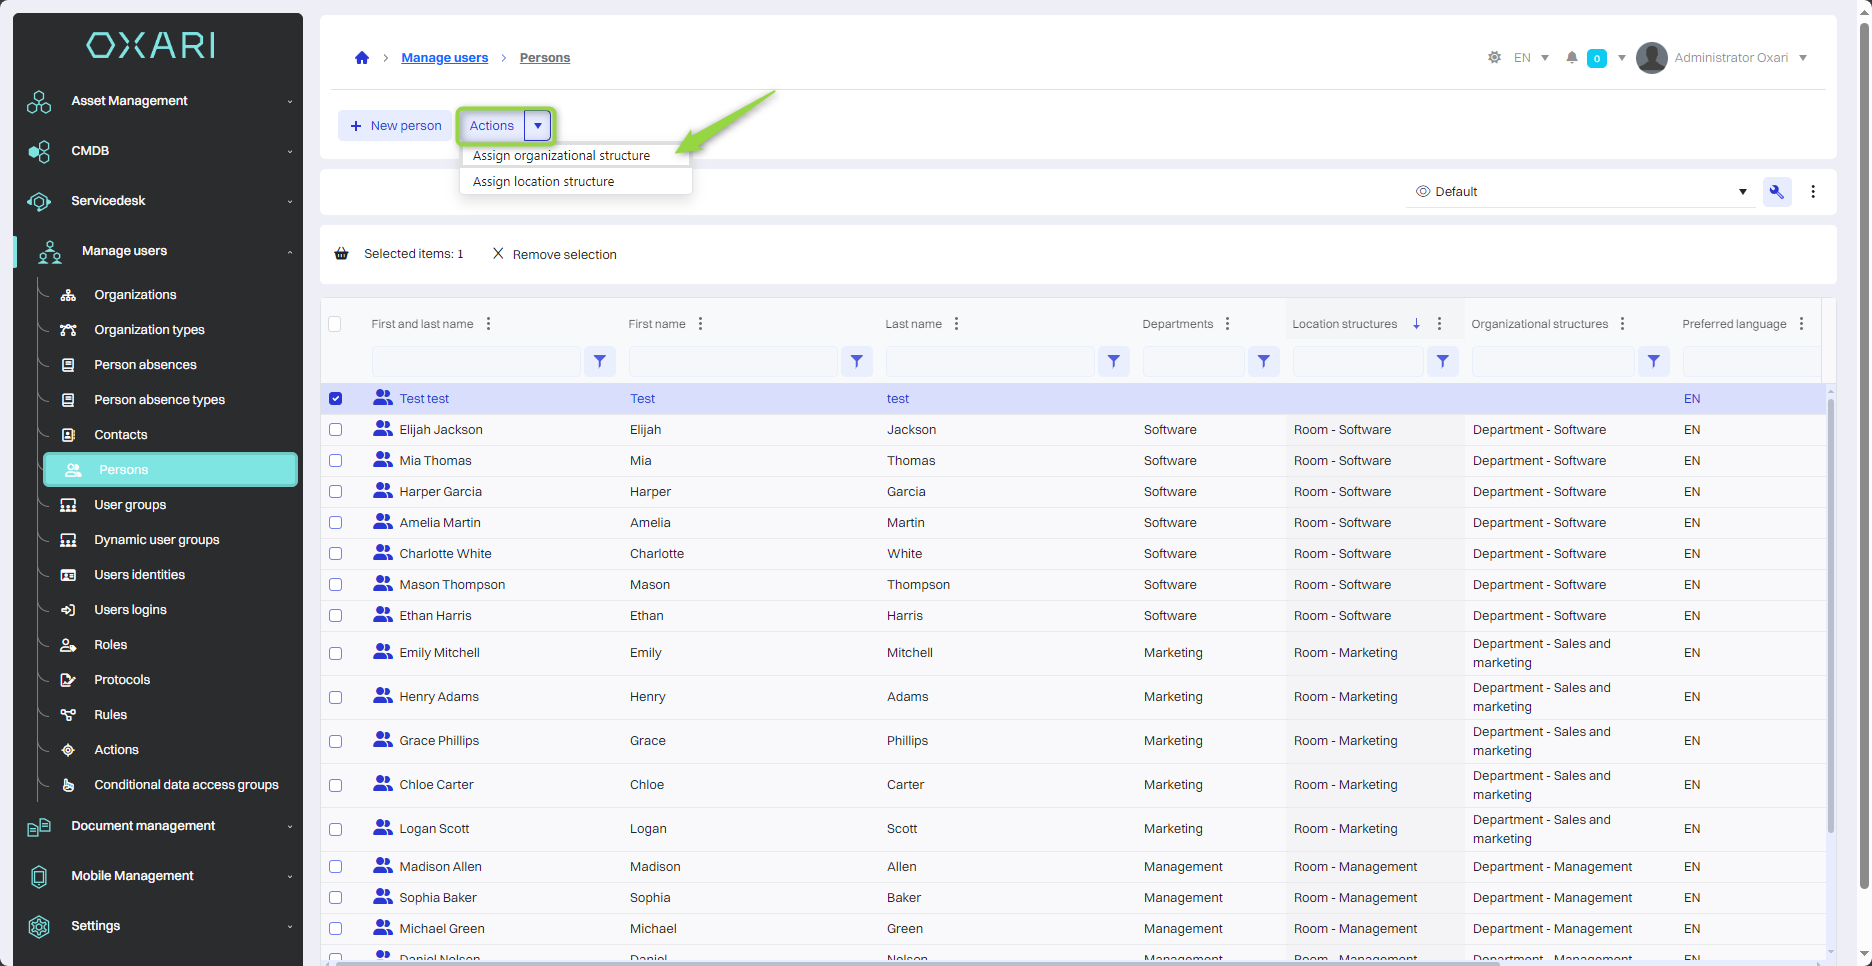
In the main view to a person you can perform actions such as: "Assign organizational structure" and "Assign location structure".
Read more about organizational structures: Go >
To perform an action, go to User Management > Persons, select the desired person, and then click the "Actions" button and select the desired action.
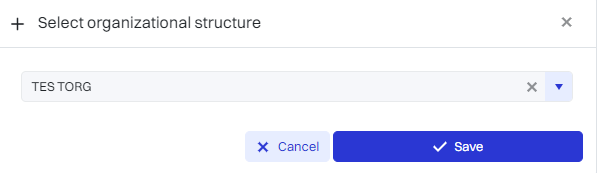
In this step, in the "Select organizational structure" window, select the desired structure from the list, and then click the "Save" button.
The structure has been assigned to a person, it is visible in the person's detail view in the "Organizations" section.

Detailed view of a person
The detailed view allows you to comprehensively manage information about individuals, including their contact information, organization assignment, user accounts, permission management and documentation. To open the detailed view, go to User Management > Persons, then click the "Details" button next to the desired person.
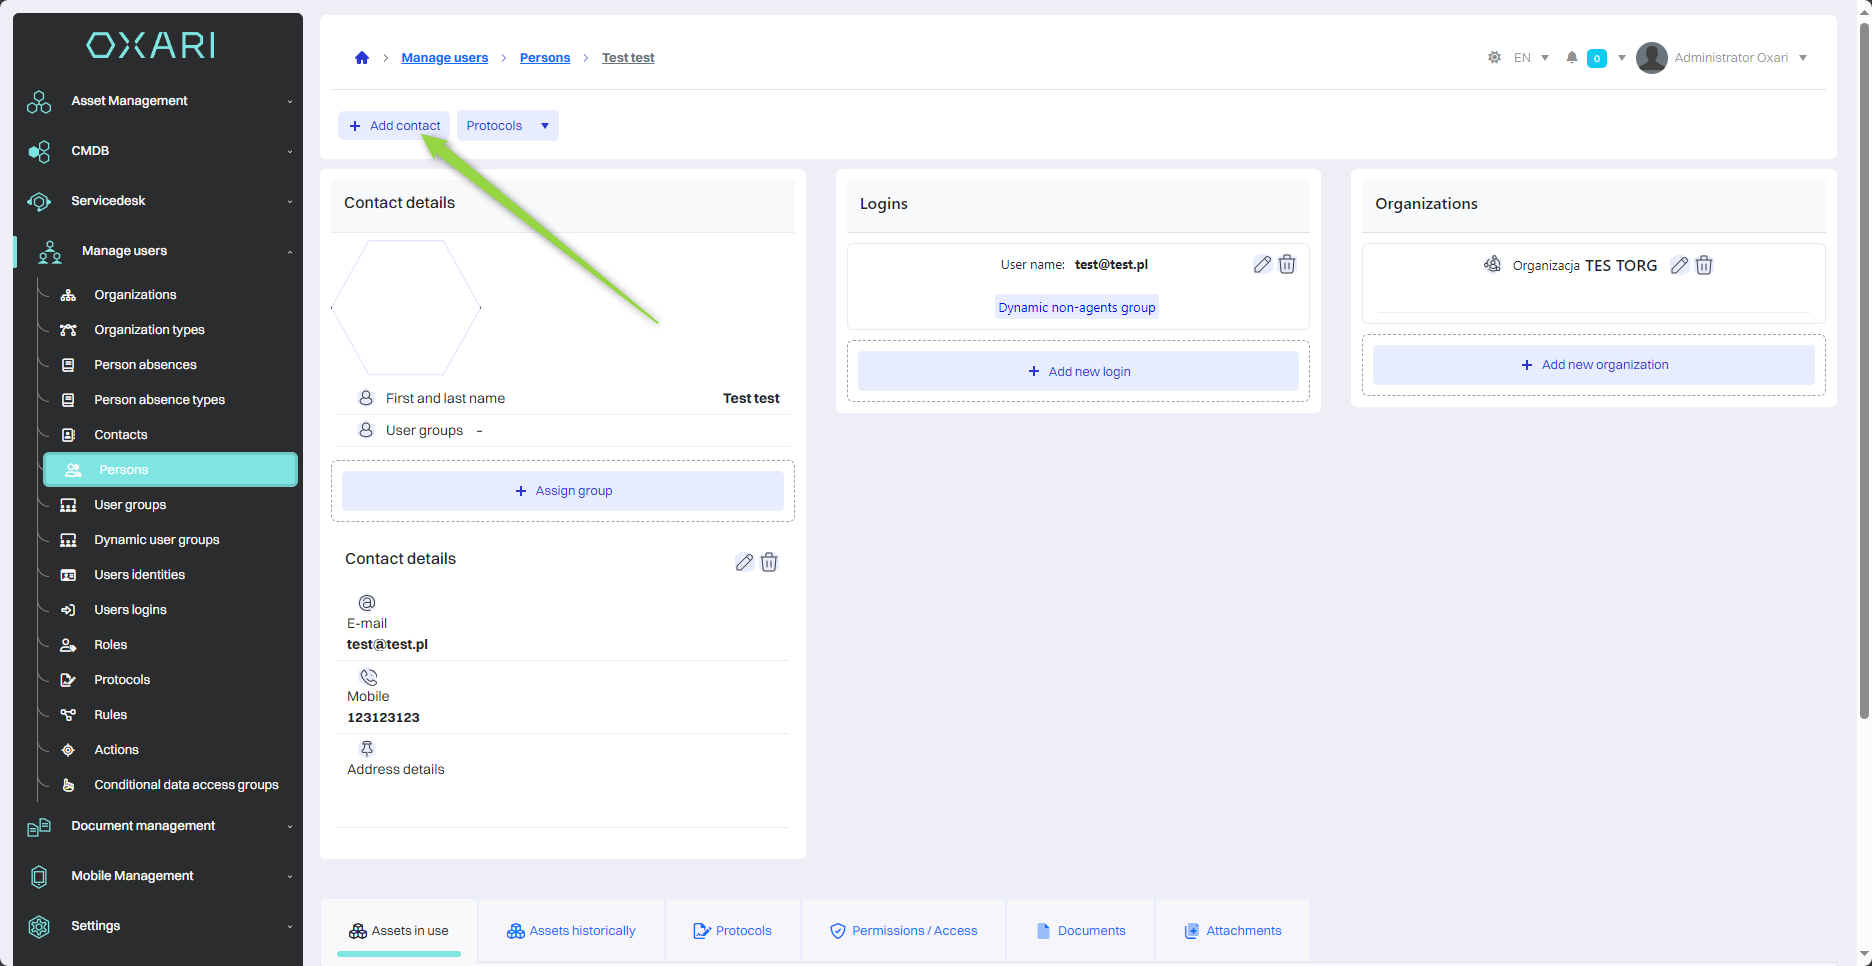
Contact details section
Here you will find basic information about the person, such as name and contact details, including email address, cell phone number and address details.

To add a contact to a person, click the "Add Contact" button.
Then in the "Assign Contact" window there are options to choose from: "New" and "Search", with the "Search" option you should have a contact created.
To create a contact: Go >
To assign a contact to a person: Go >
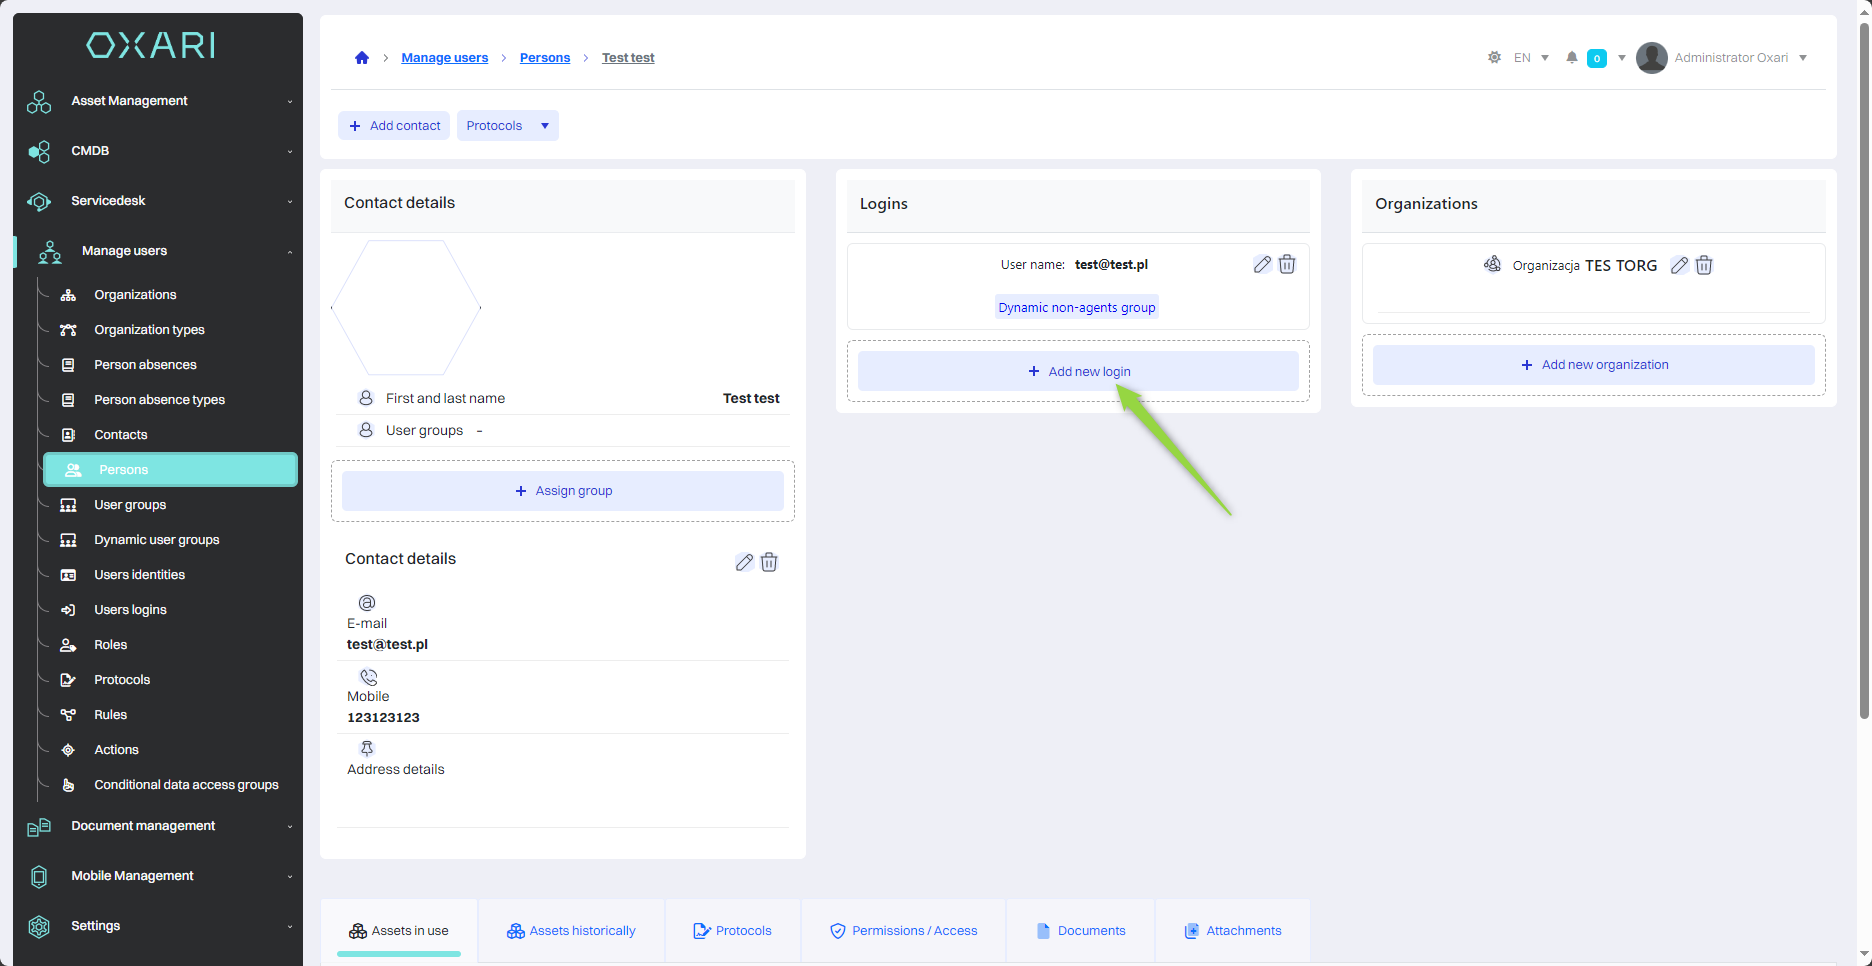
Logins section
This section displays various user accounts that can be associated with a person in the system. It is possible to add a new login, click the "Add new login" button.
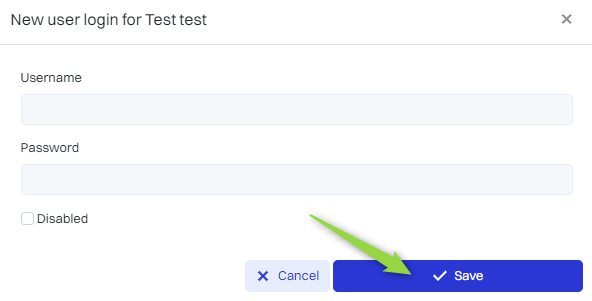
Then the "New user login for" window contains the following items:
|
1 |
User name - The place where you enter the unique name of the user account. |
|
2 |
Password - A place to enter the password assigned to a person. |
|
3 |
Inactive - Checkbox, used to indicate whether the person's login is active or inactive. |
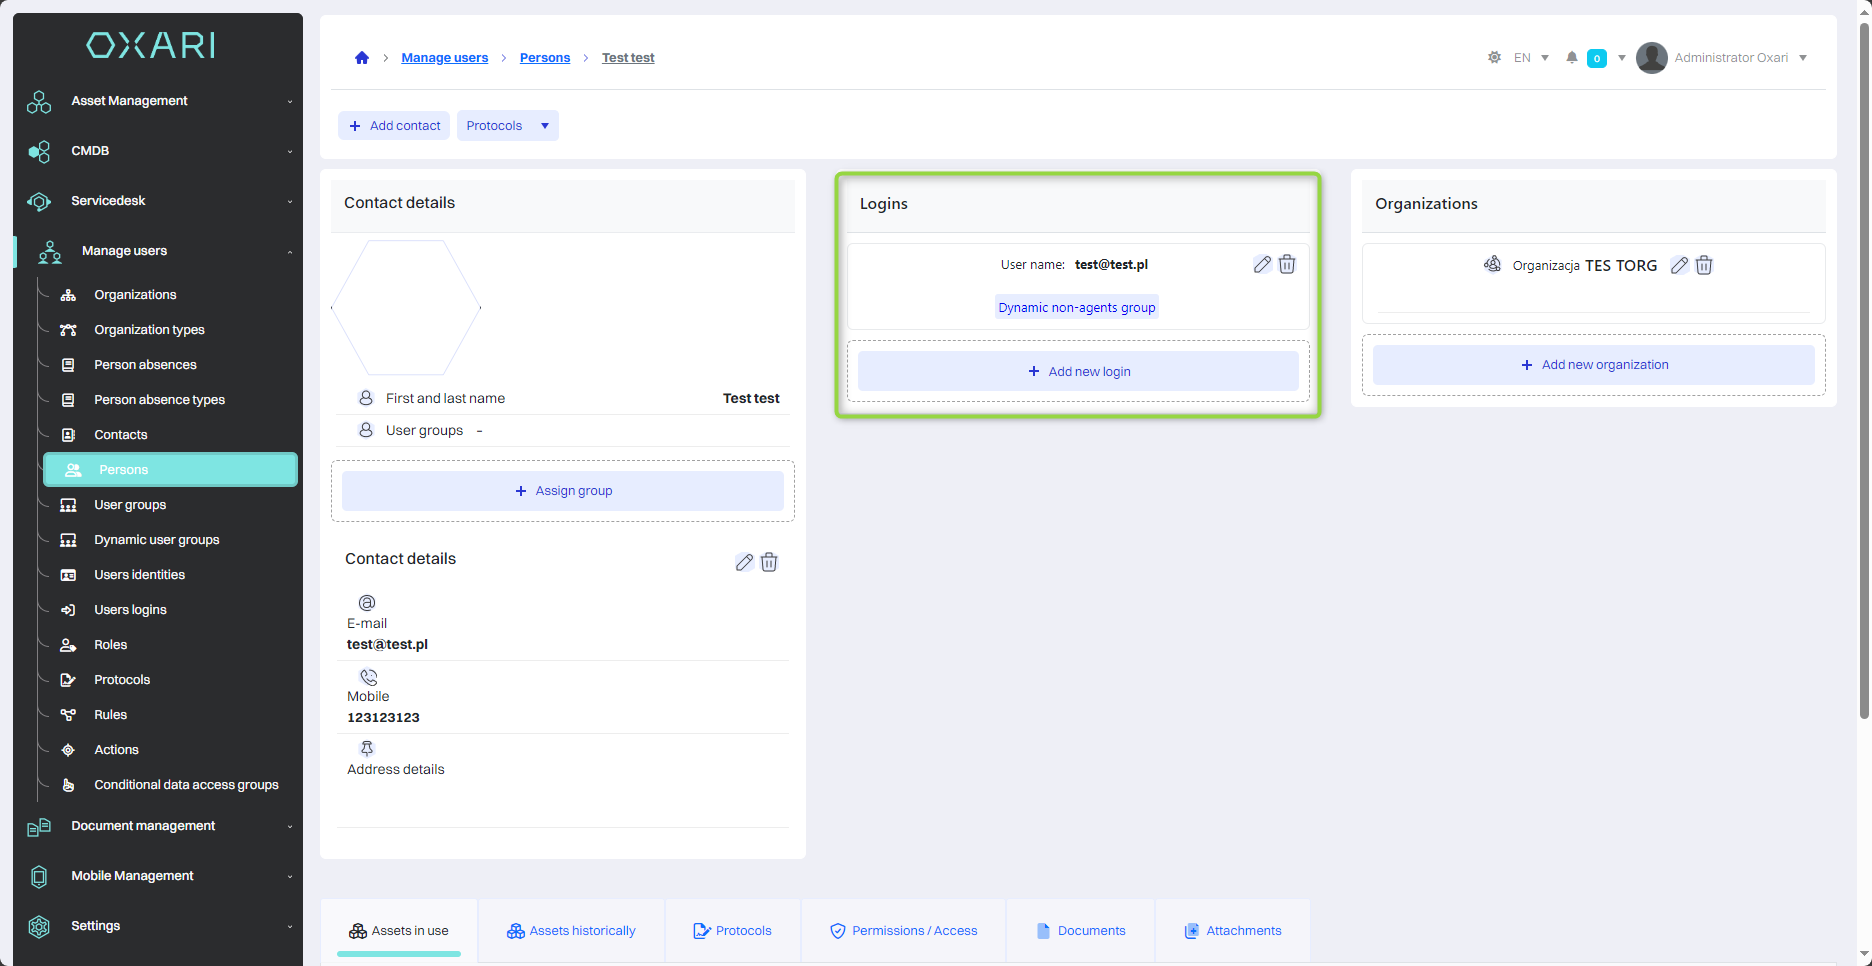
Fill in the desired fields, and then click the "Save" button.
Login has been added to the section.
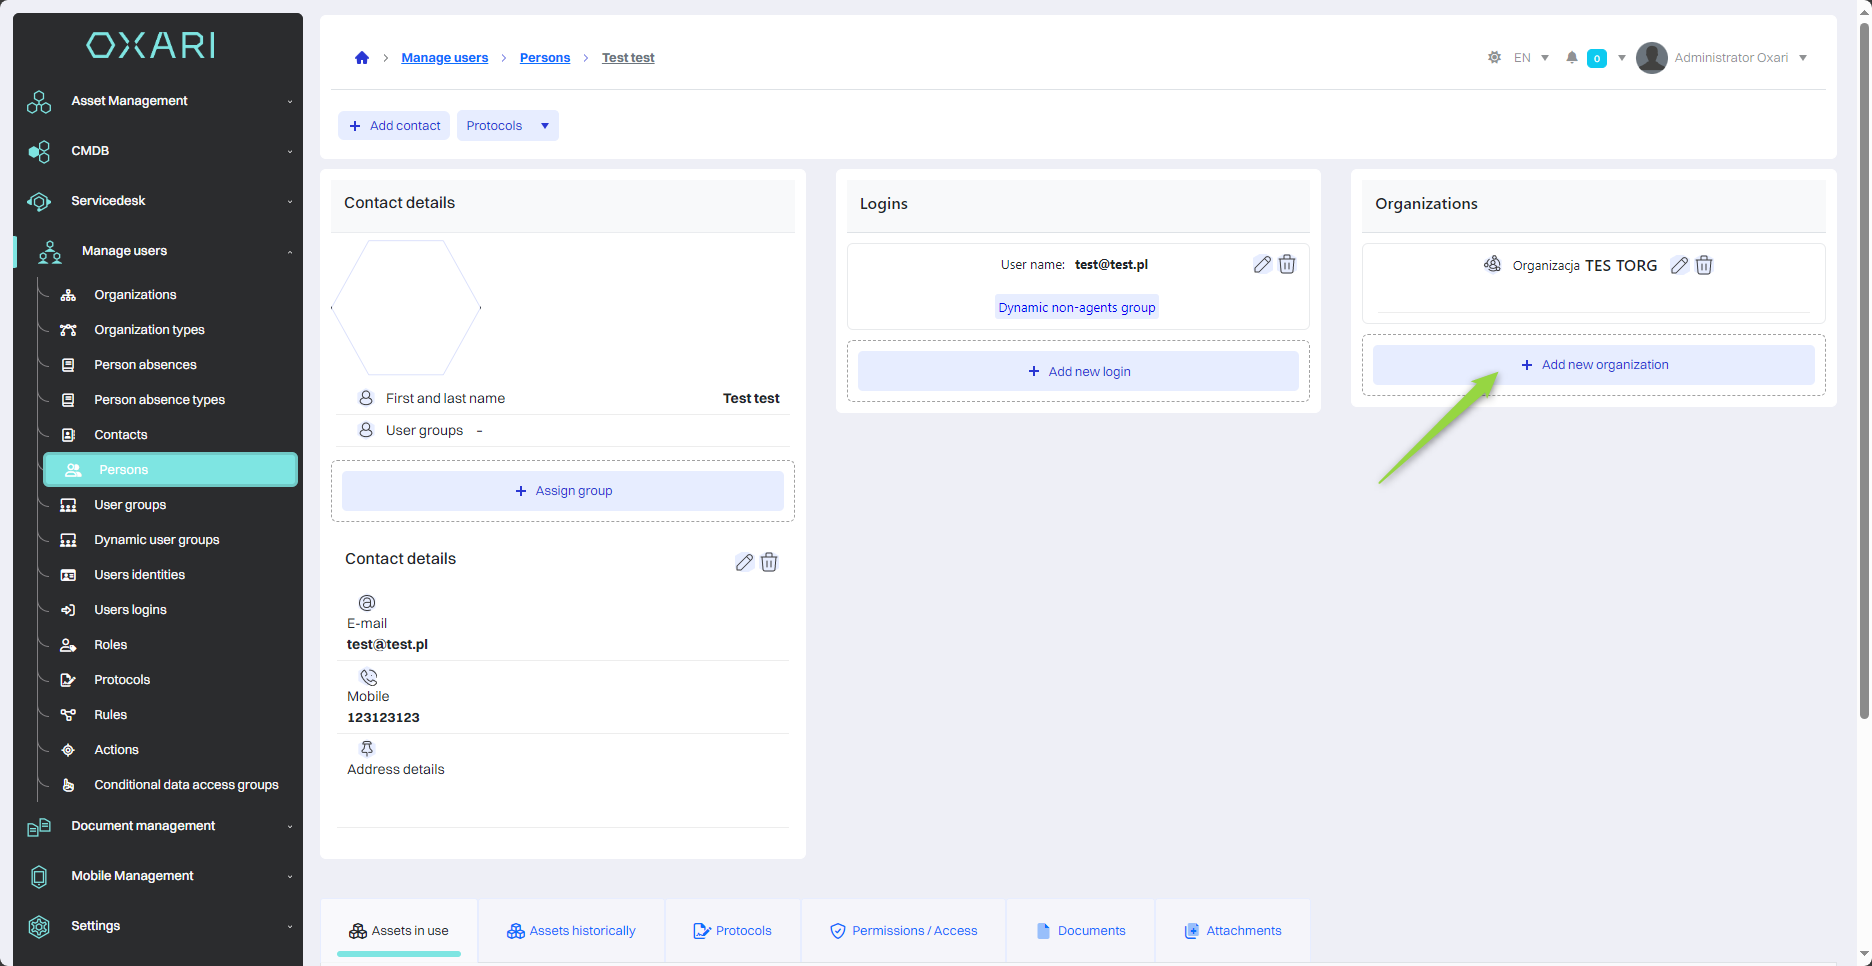
Organizations section
This section allows you to quickly add or update organizational information about a person, including assigning them to a specific organization, defining their place in the organizational structure, defining their position and designating their immediate supervisor. To add a new organization, click the "Add New Organization" button.
More about the organizations: Go >
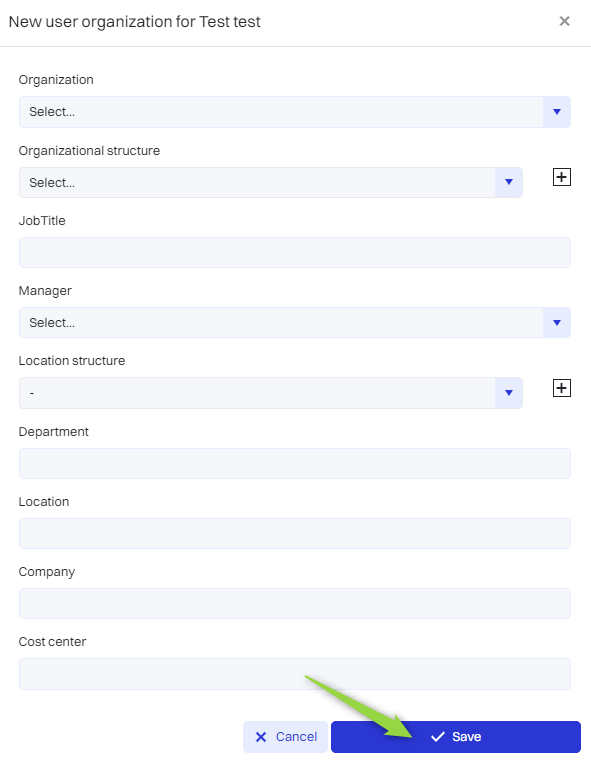
Next, the "New organization for" window contains the following items:
|
1 |
Organization - A drop-down menu where you can select an existing organization. More about the organizations: Go > |
|
2 |
Organizational structure - Here you select where in the organizational hierarchy the assigned person is located. Read more about the organization's structures: Go > |
|
3 |
Position - Text field for entering the position the person holds in the organization. |
|
4 |
Manager - Drop-down menu to select the direct supervisor or manager of a person in the organization's structure. |
|
5 |
Location structure - Drop-down menu for selecting the organization's location. To add a location structure: Go > |
|
6 |
Department - A text field in which the name of the department in which the person works is entered. |
|
7 |
Location - A text field for entering a specific location, such as the address of the office where the person works. |
|
8 |
Company - A text field for entering the company name if it is different from the default organization. |
|
9 |
MPK - A text field that can be used to enter an internal identification code, if applicable. |
Fill in the desired fields, and then click the "Save" button.
The organization is assigned to a person.

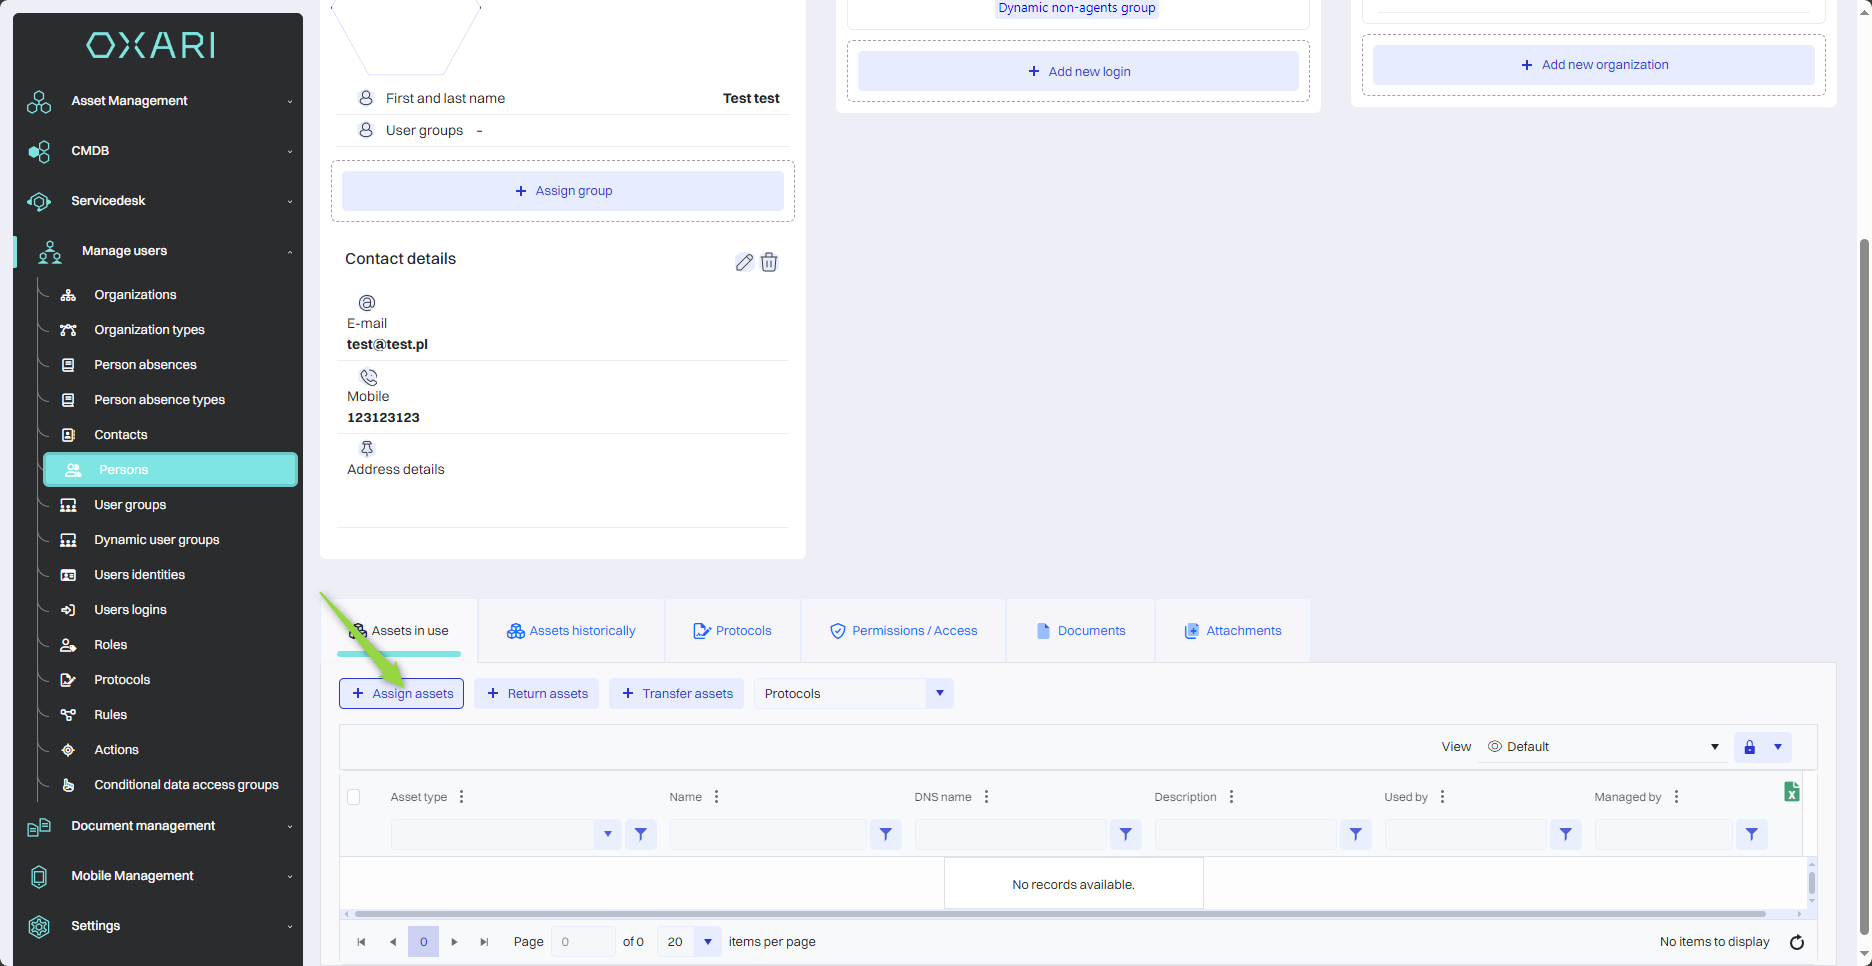
Assets section
The section allows you to assign specific assets or company assets to a person, such as computer equipment, cars, or other work tools. Once a asset is assigned to a person, it is also possible to use protocols that document, for example, the return of a asset, the release from storage, the transfer of a asset.
More on assets: Go >
To assign a asset, click the "Assign assets" button.
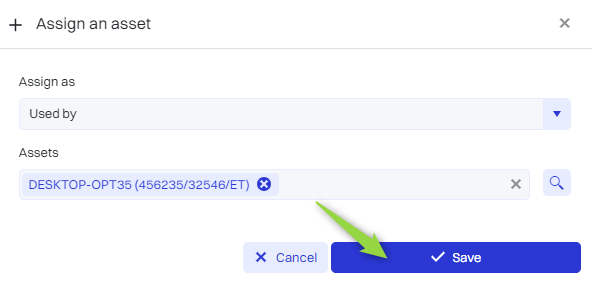
Then in the "Assign asset" window there are elements:
|
1 |
Assign as - There are three possible options to choose from: (Used by - indicates that the asset will be used by the specified person), (Managed by - means that the asset will be under the supervision of the specified person), (Managed and used by - the asset is both used and managed by the selected person). |
|
2 |
Assets - Ability to select a asset from a list. To add a Asset: Go > |
Fill in the desired fields and click the "Save" button.
The asset has been assigned to a person.
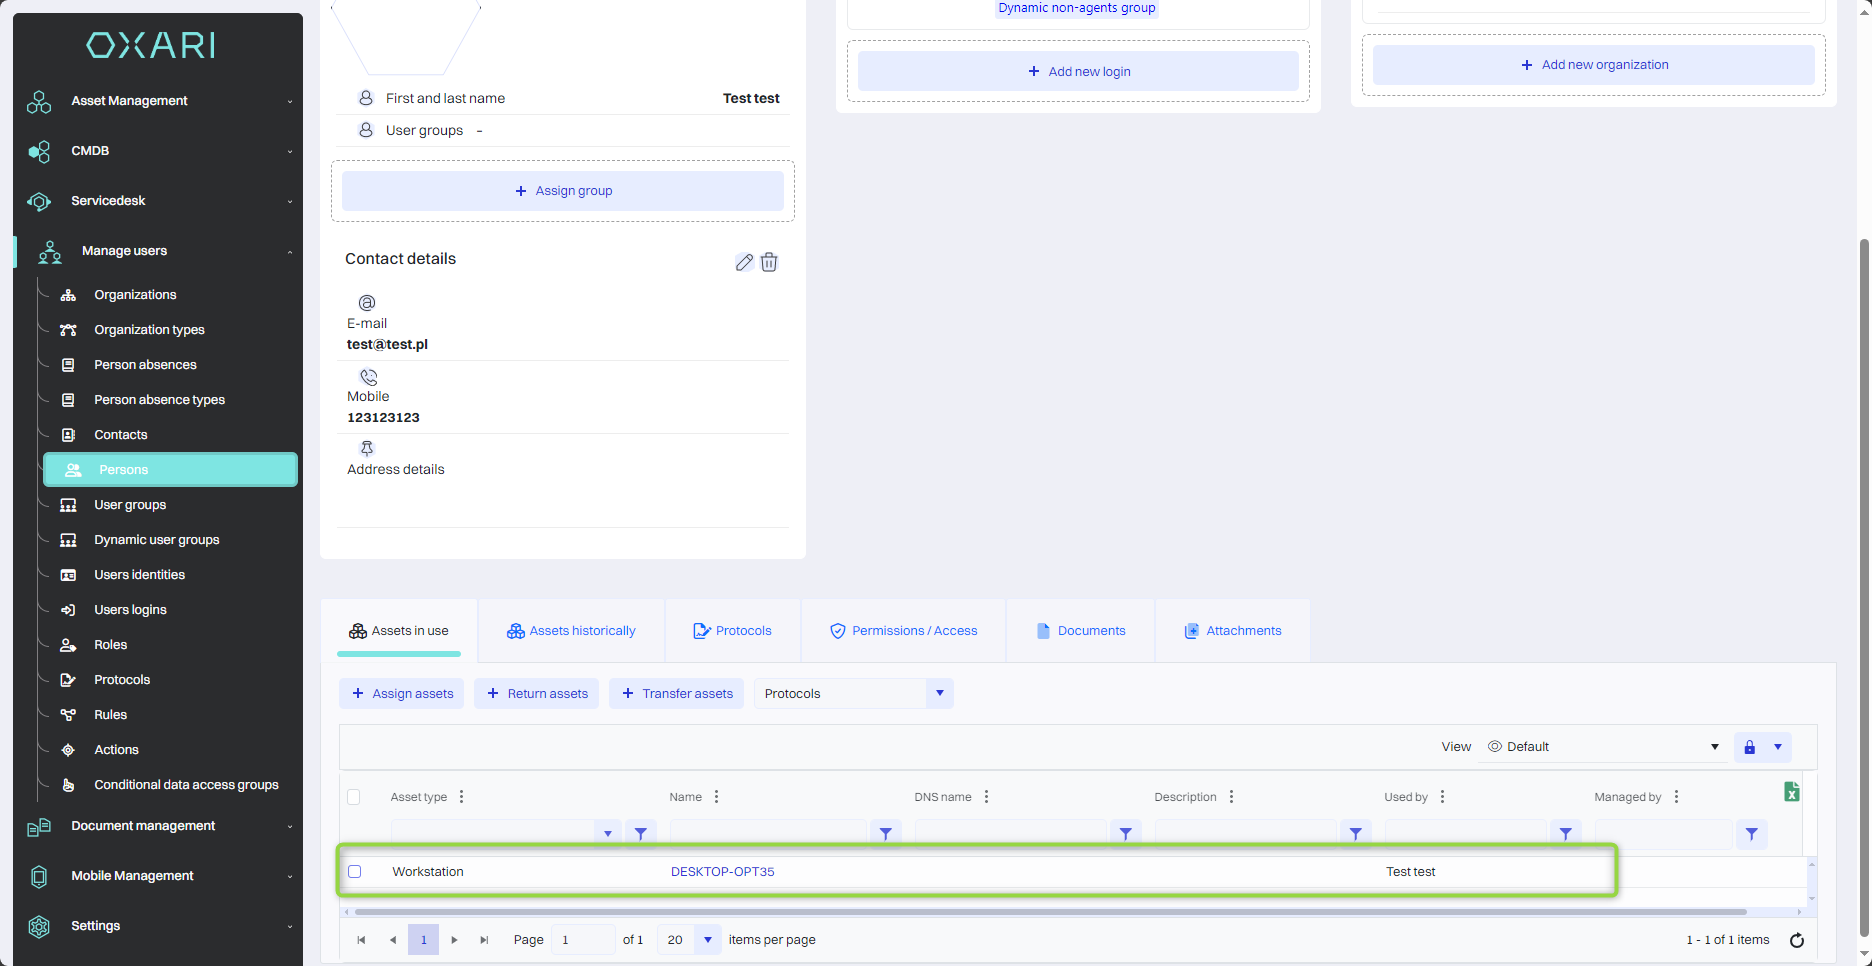
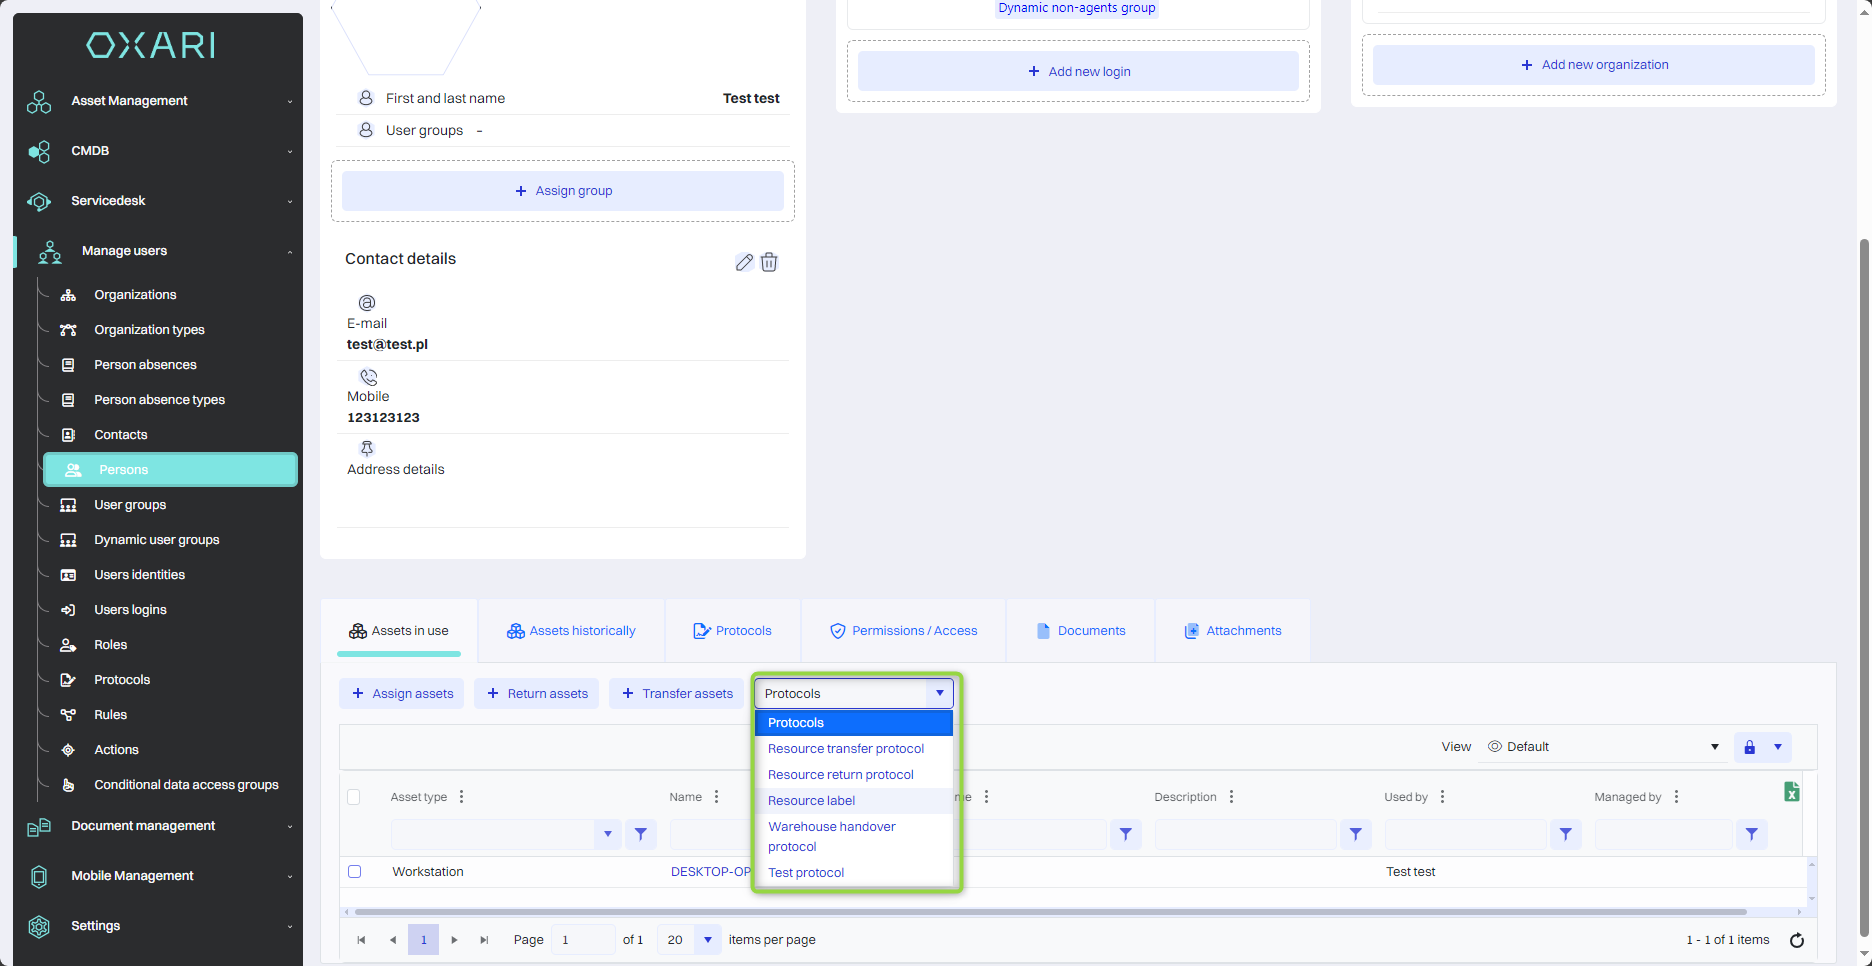
To use a protocol for a particular asset, select the desired asset and then choose a protocol from the list.
More about the protocols: Go >
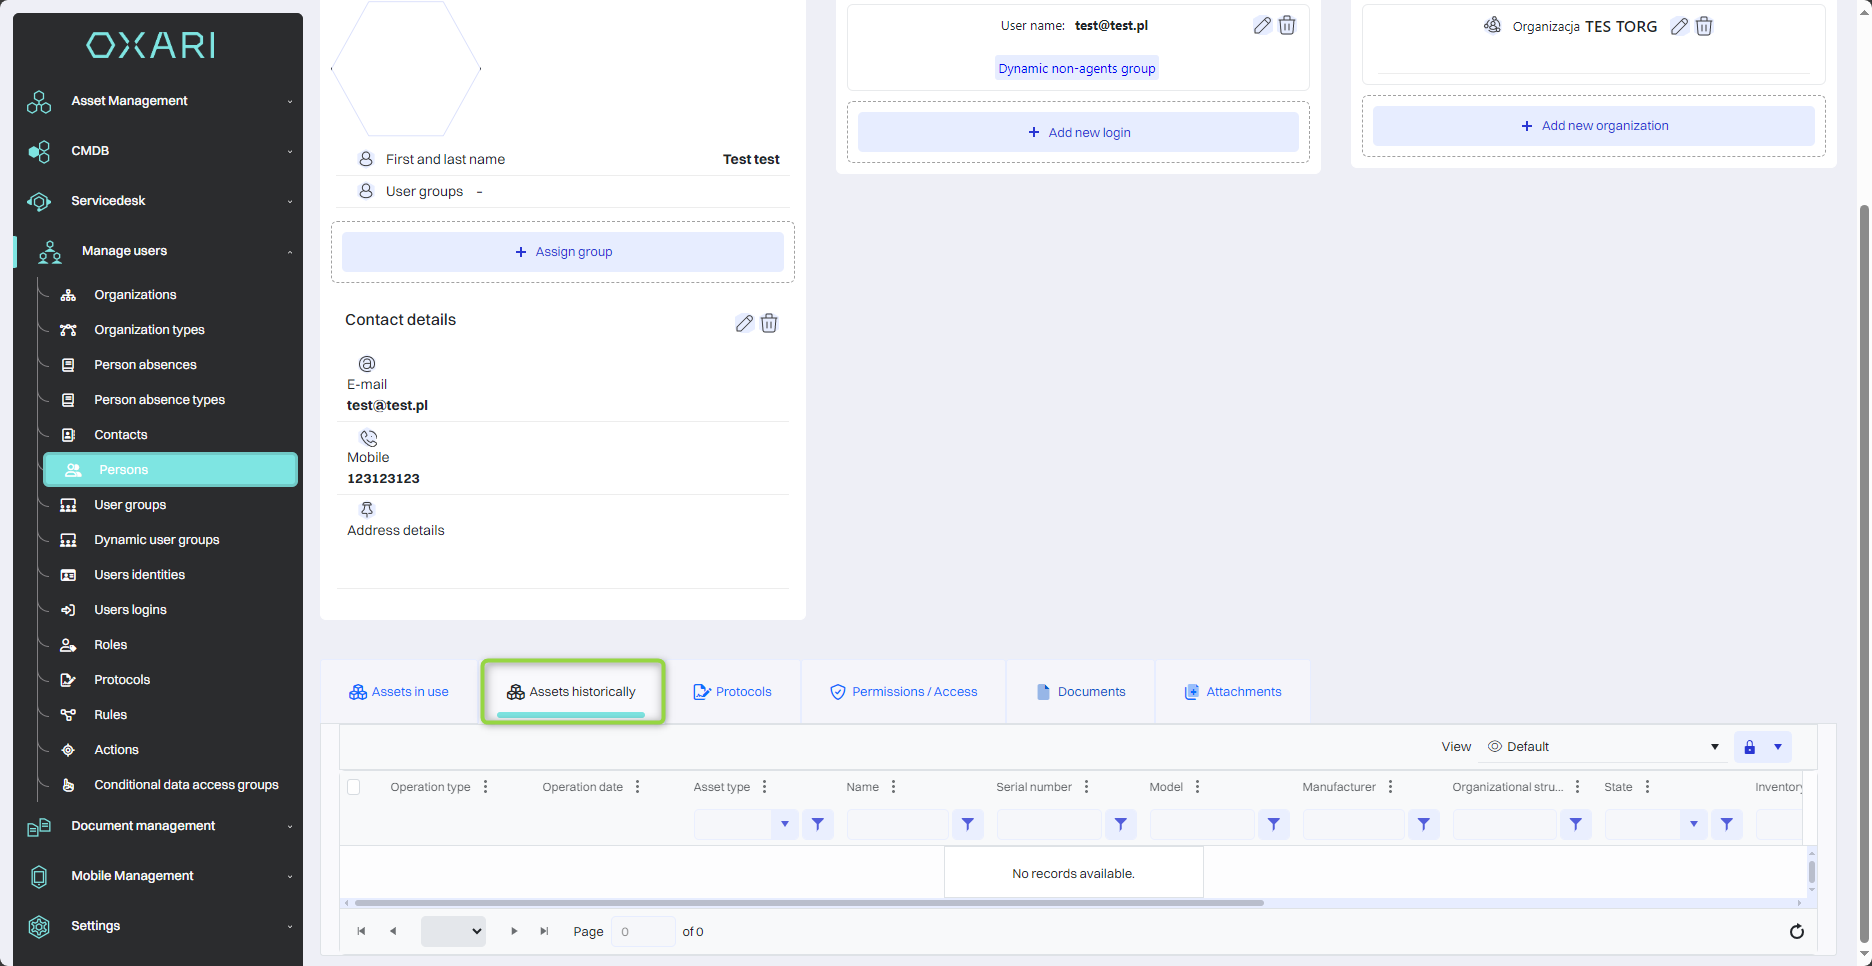
Asset historically
The "Protocols" section is used to track and display the usage history of protocols from assets assigned to individuals.
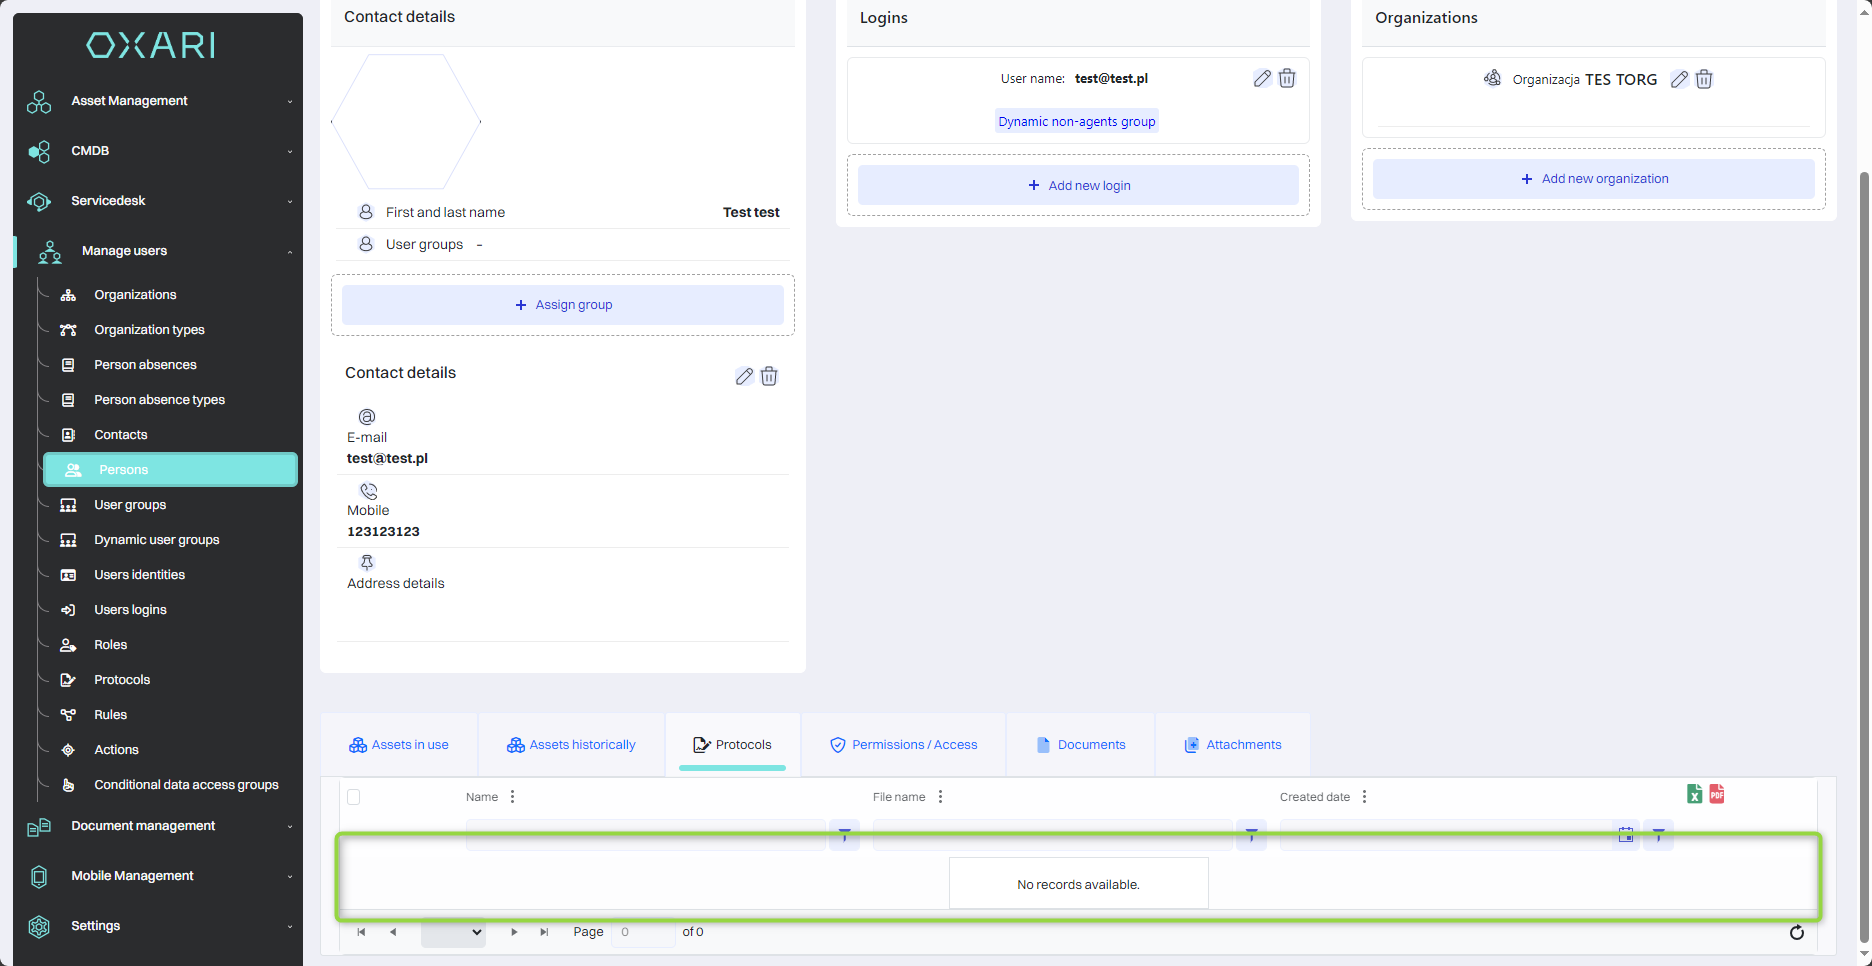
Protocols section
The "Protocols" section is used to track and display the usage history of protocols from assets assigned to individuals.
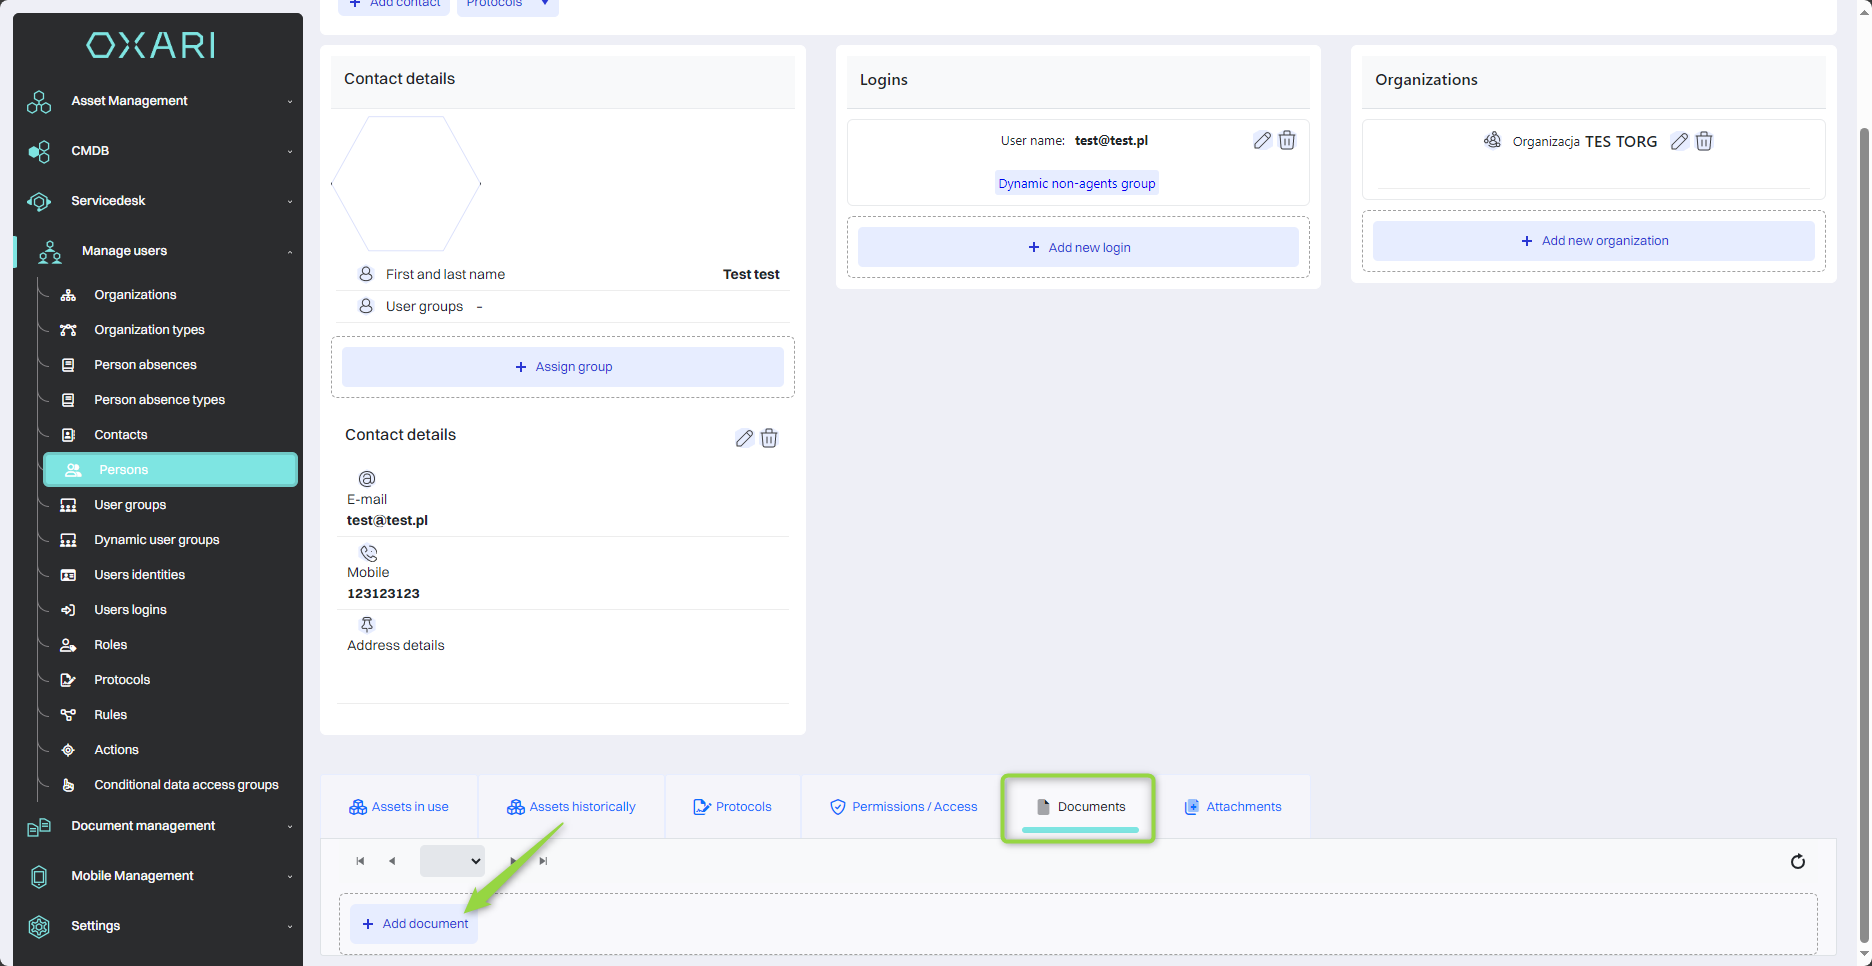
Documents section
Here you can manage documents related to a person, such as contracts, certificates, etc.
More about the documents: Go >
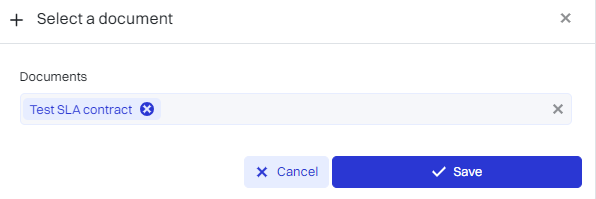
To add a document, click the "Add Document" button.
Then, in the "Select Document" window, select the desired document from the list and click the "Save" button.
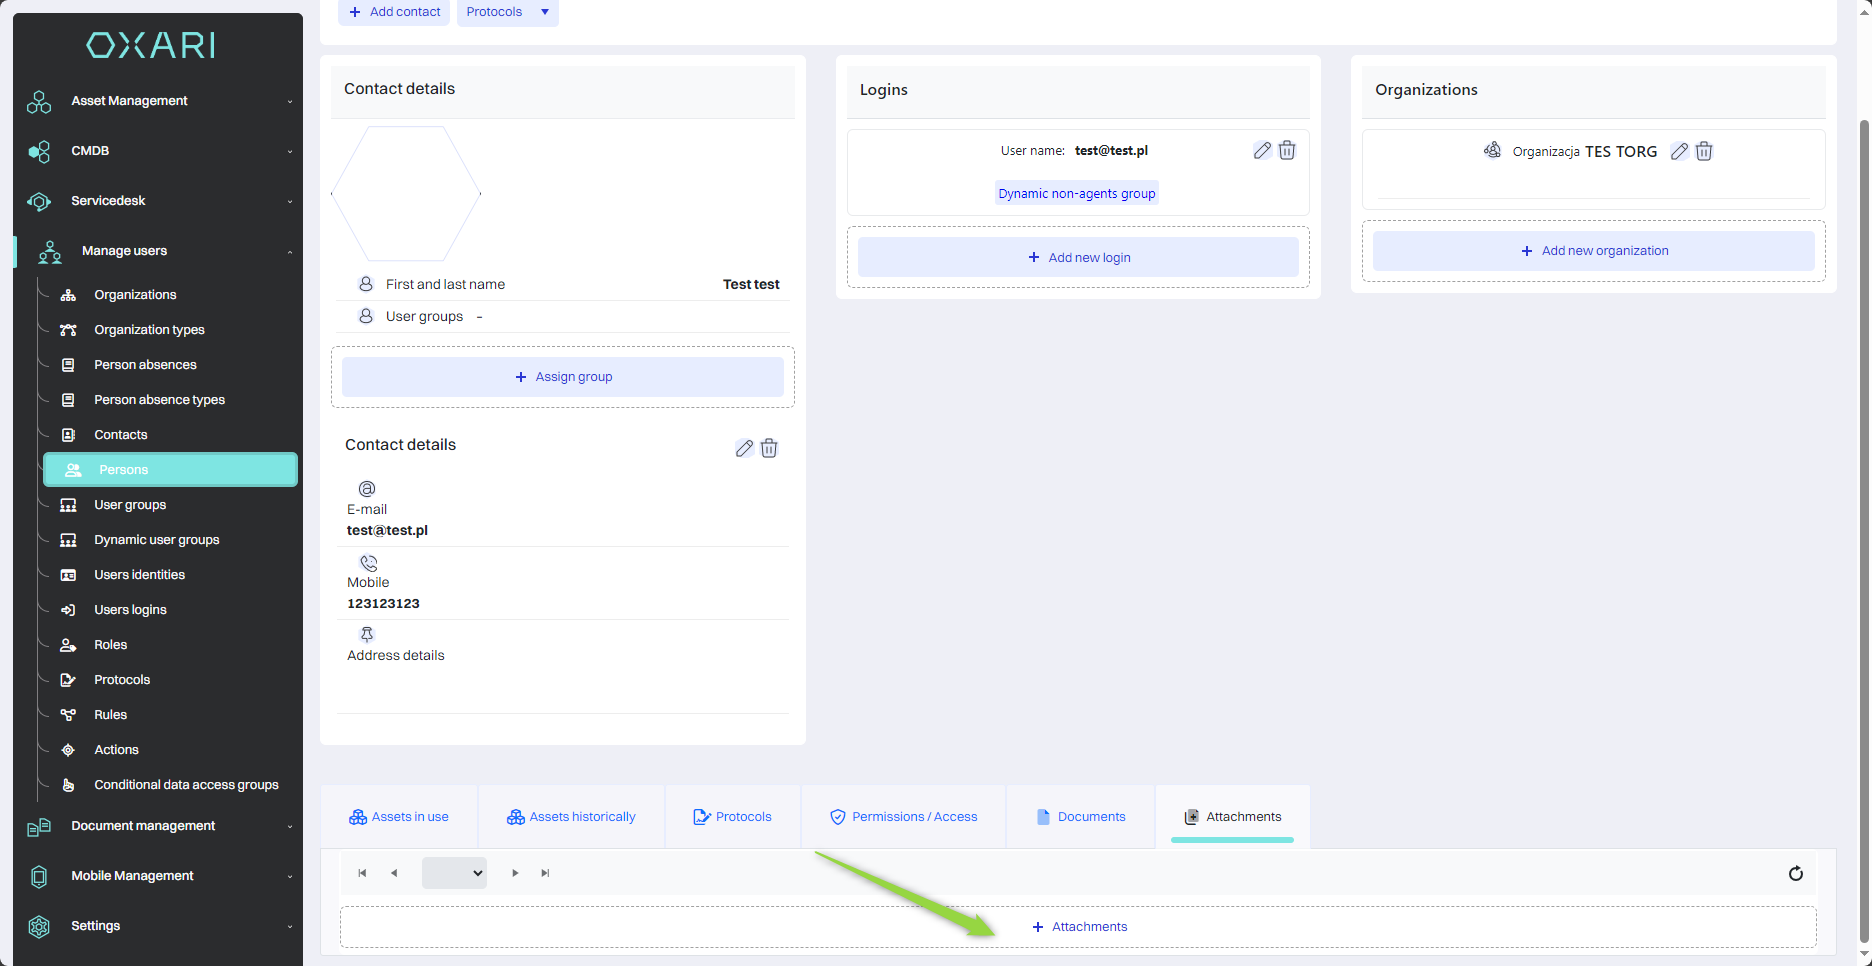
Attachments section
Possibility to add additional files related to a person, for example, scans of identification documents or other important documents. To add an attachment, click the "Attachments" button.
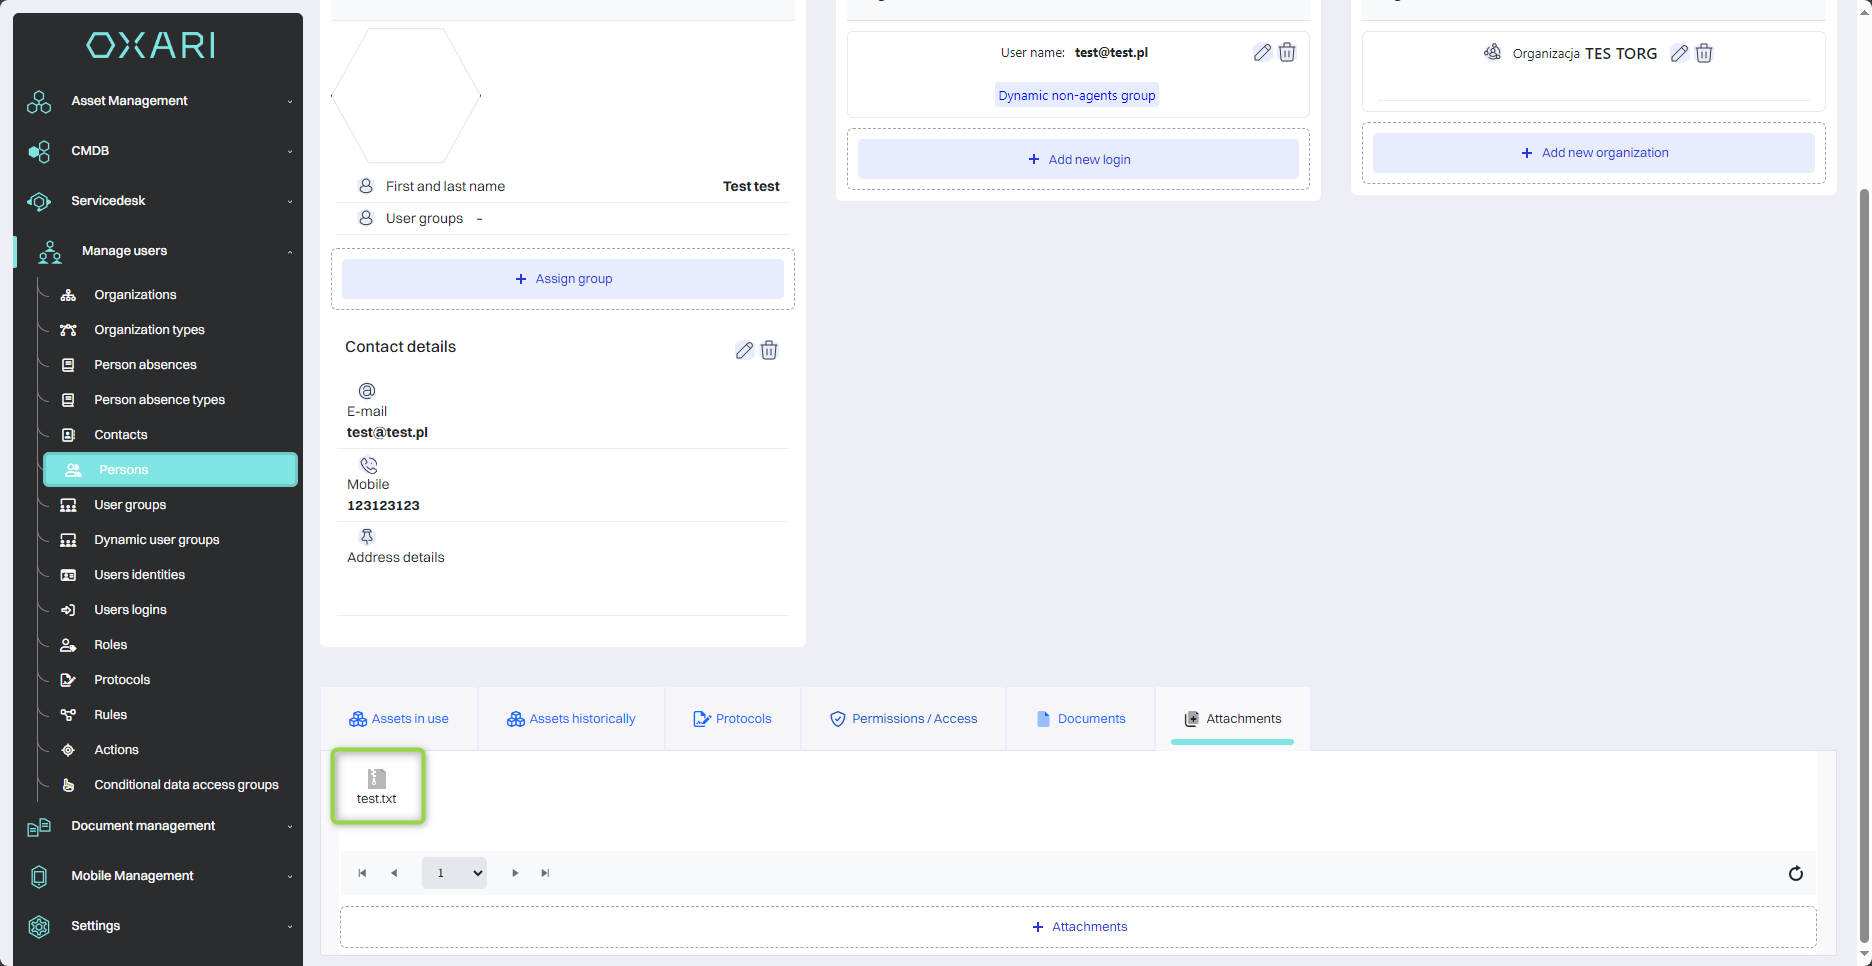
Then, in the "Select attachments" window, select an attachment from the disk and click the "Save" button.

The attachment is added to the list.
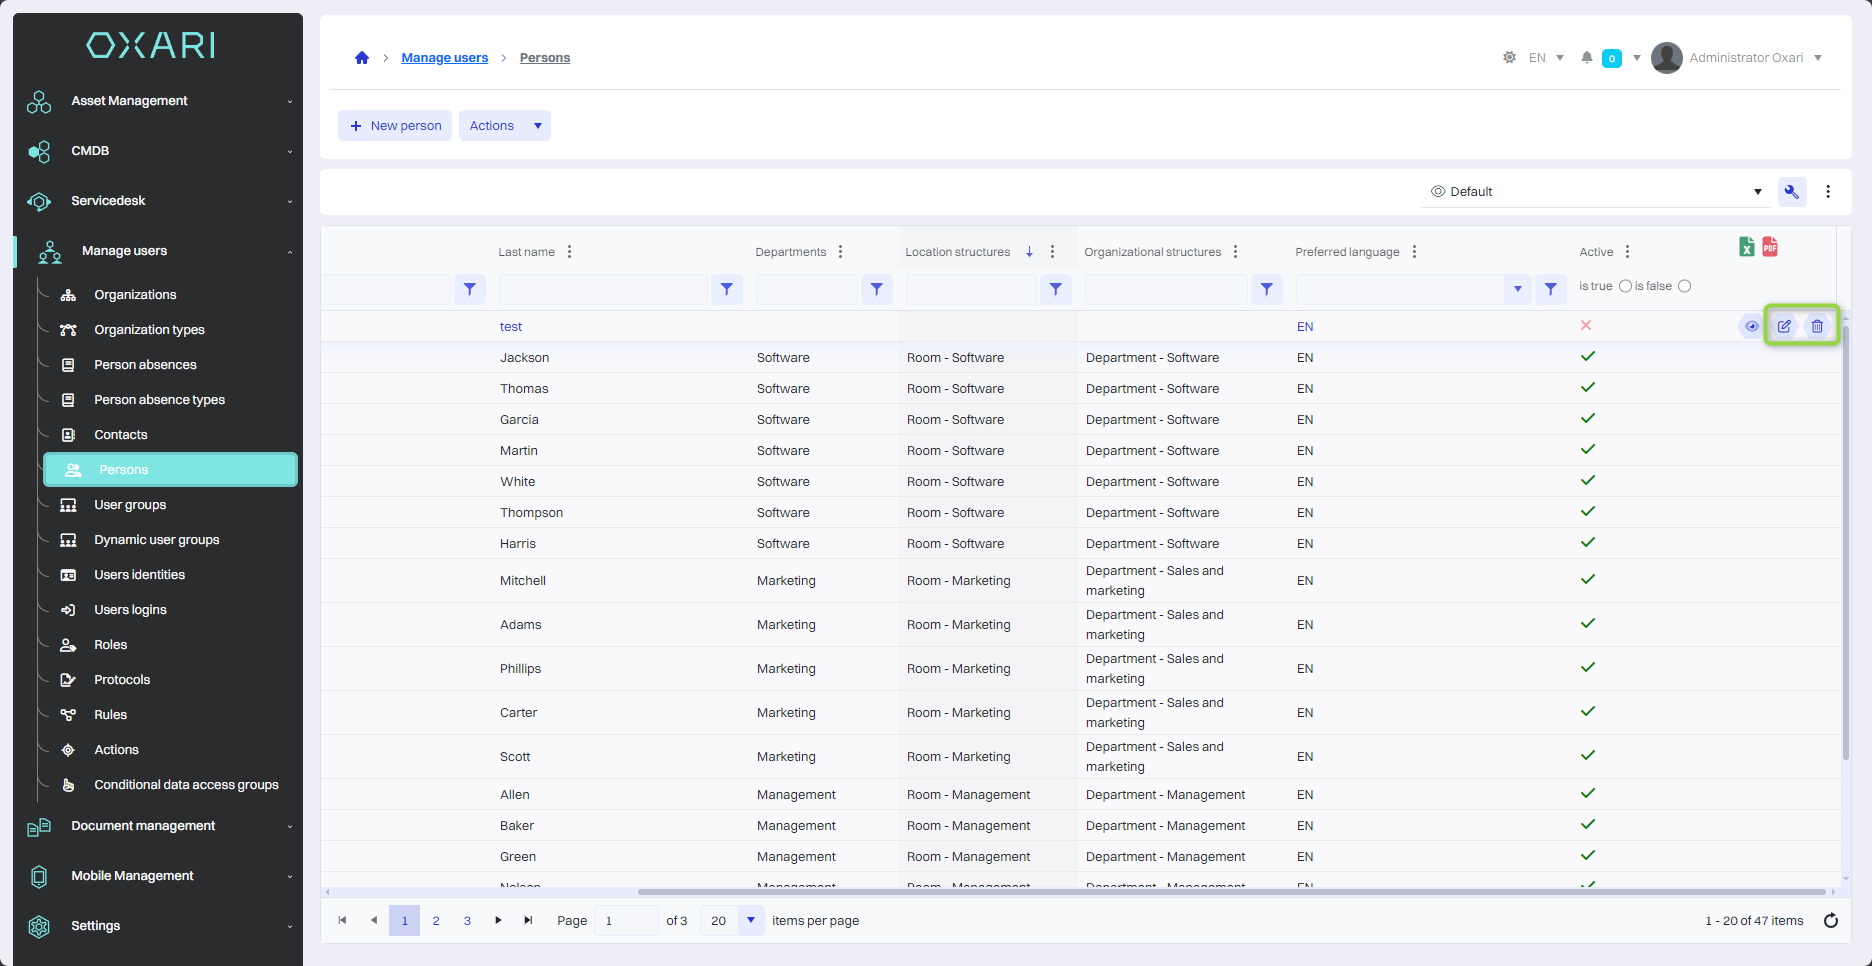
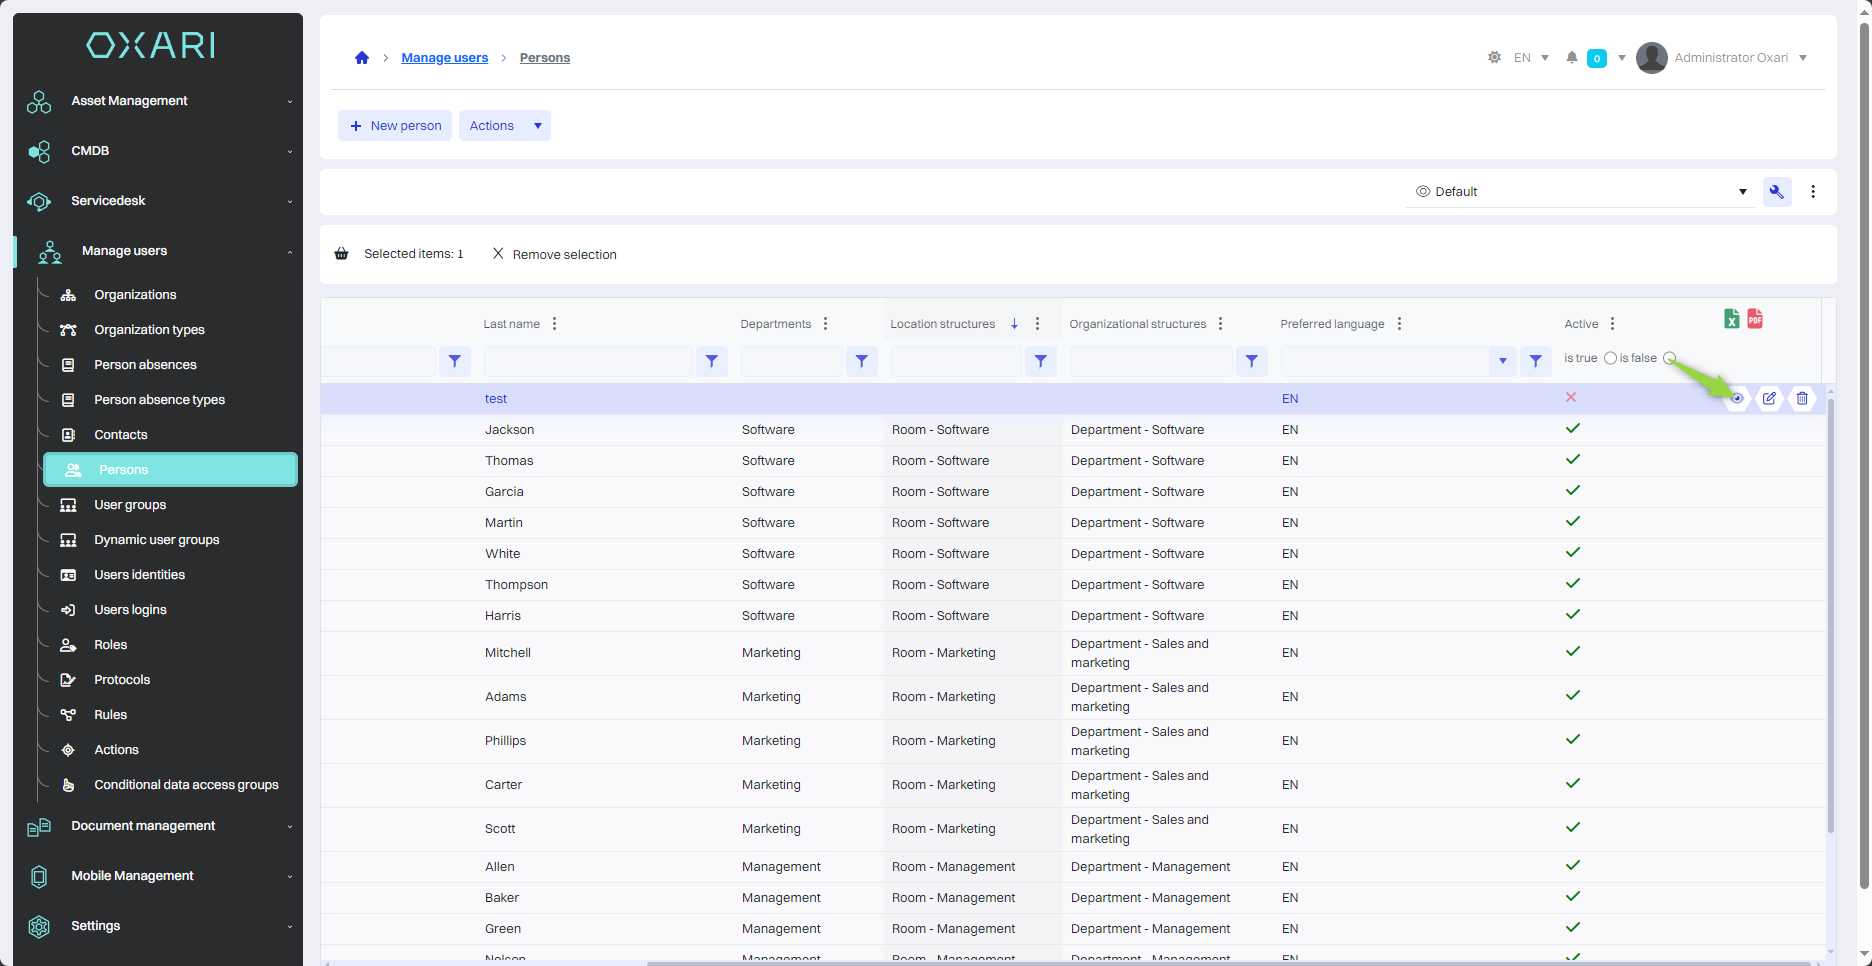
Editing/Deleting a Person
To edit or delete a person, go to Document Management > Persons. Hover over the desired person. The edit/delete buttons will be displayed.