Forms in the ServiceDesk section are assigned to different types of tickets, but also play a key role in workflows, serving to standardize the process of collecting information from users. They are an integral part of the ticket flow, enabling data entry, review and processing. Each form, consisting of various attributes such as text boxes, date selectors, drop-down list options, checkboxes or spaces for attachments, is designed to collect the detailed information necessary to handle each ticket, conditions can also be added to the form, for example, a form visible only to the incident ticket category. For example, an incident ticket form can include attributes such as problem description, location, priority, or expected resolution time, allowing service teams to work quickly and efficiently. In the context of workflows, these forms are used to transfer tickets between different process steps in the ServiceDesk.
More about attributes: Go >
More about forms: Go >
More about workflows: Go >
New ticket form
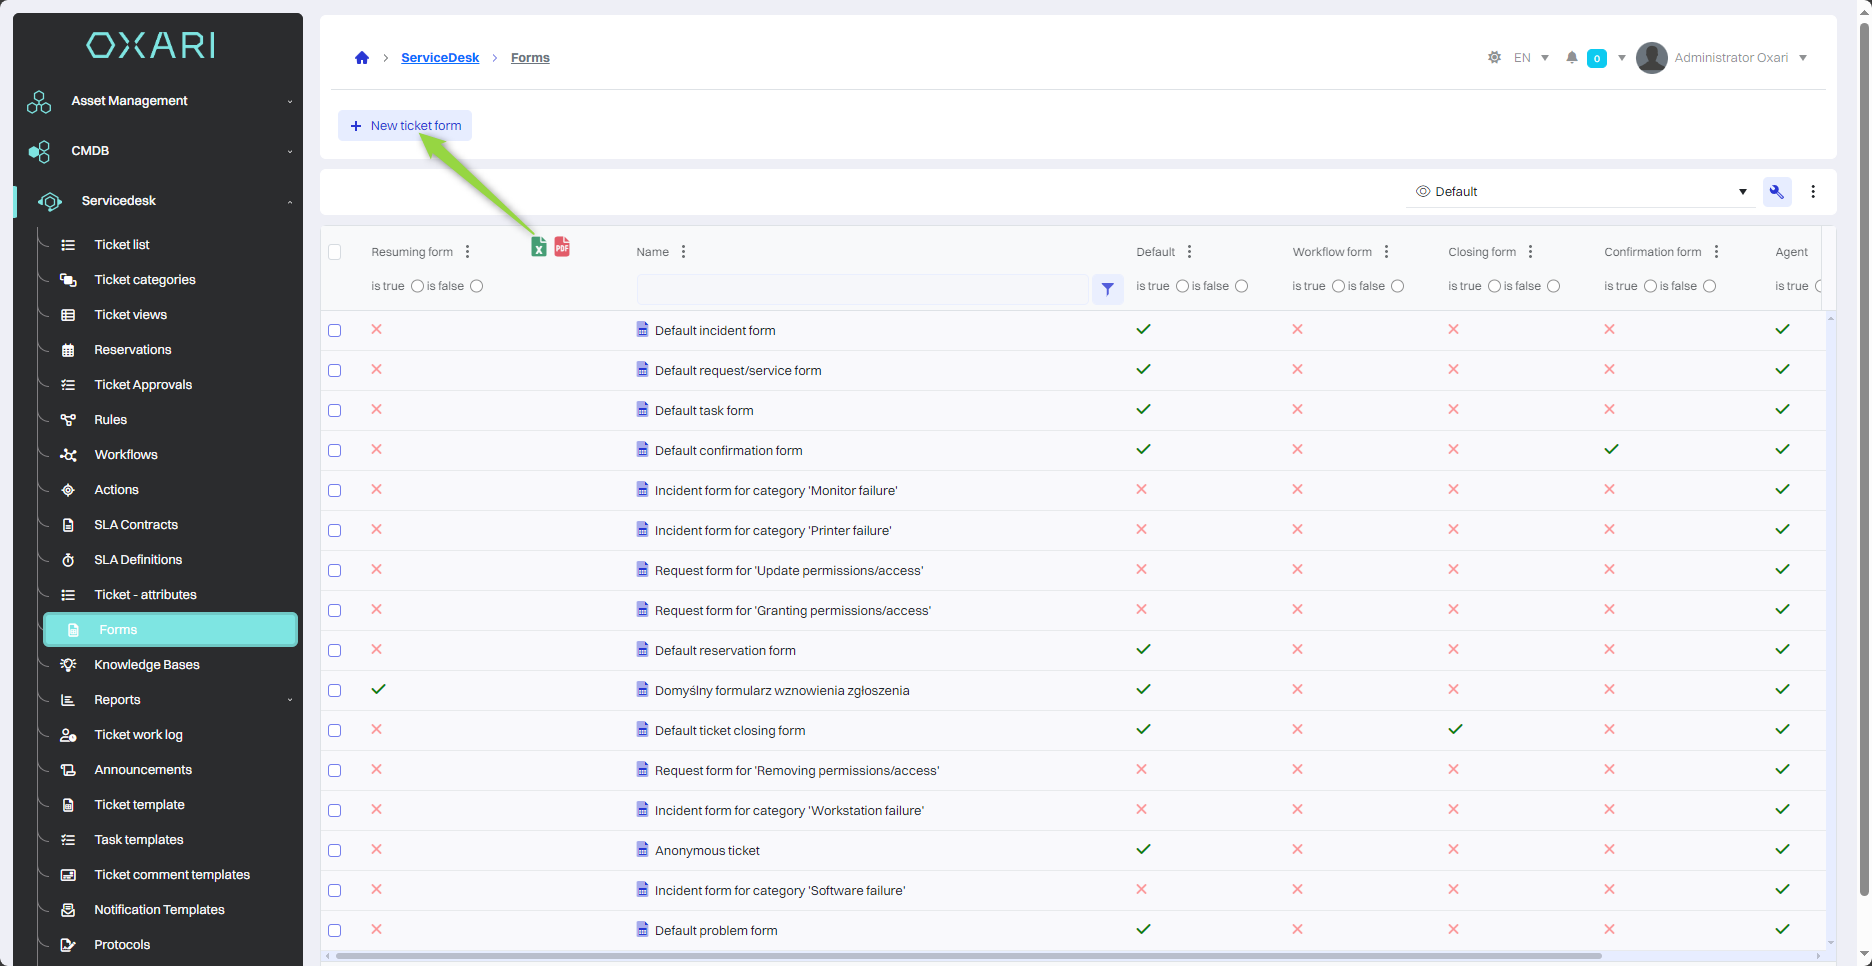
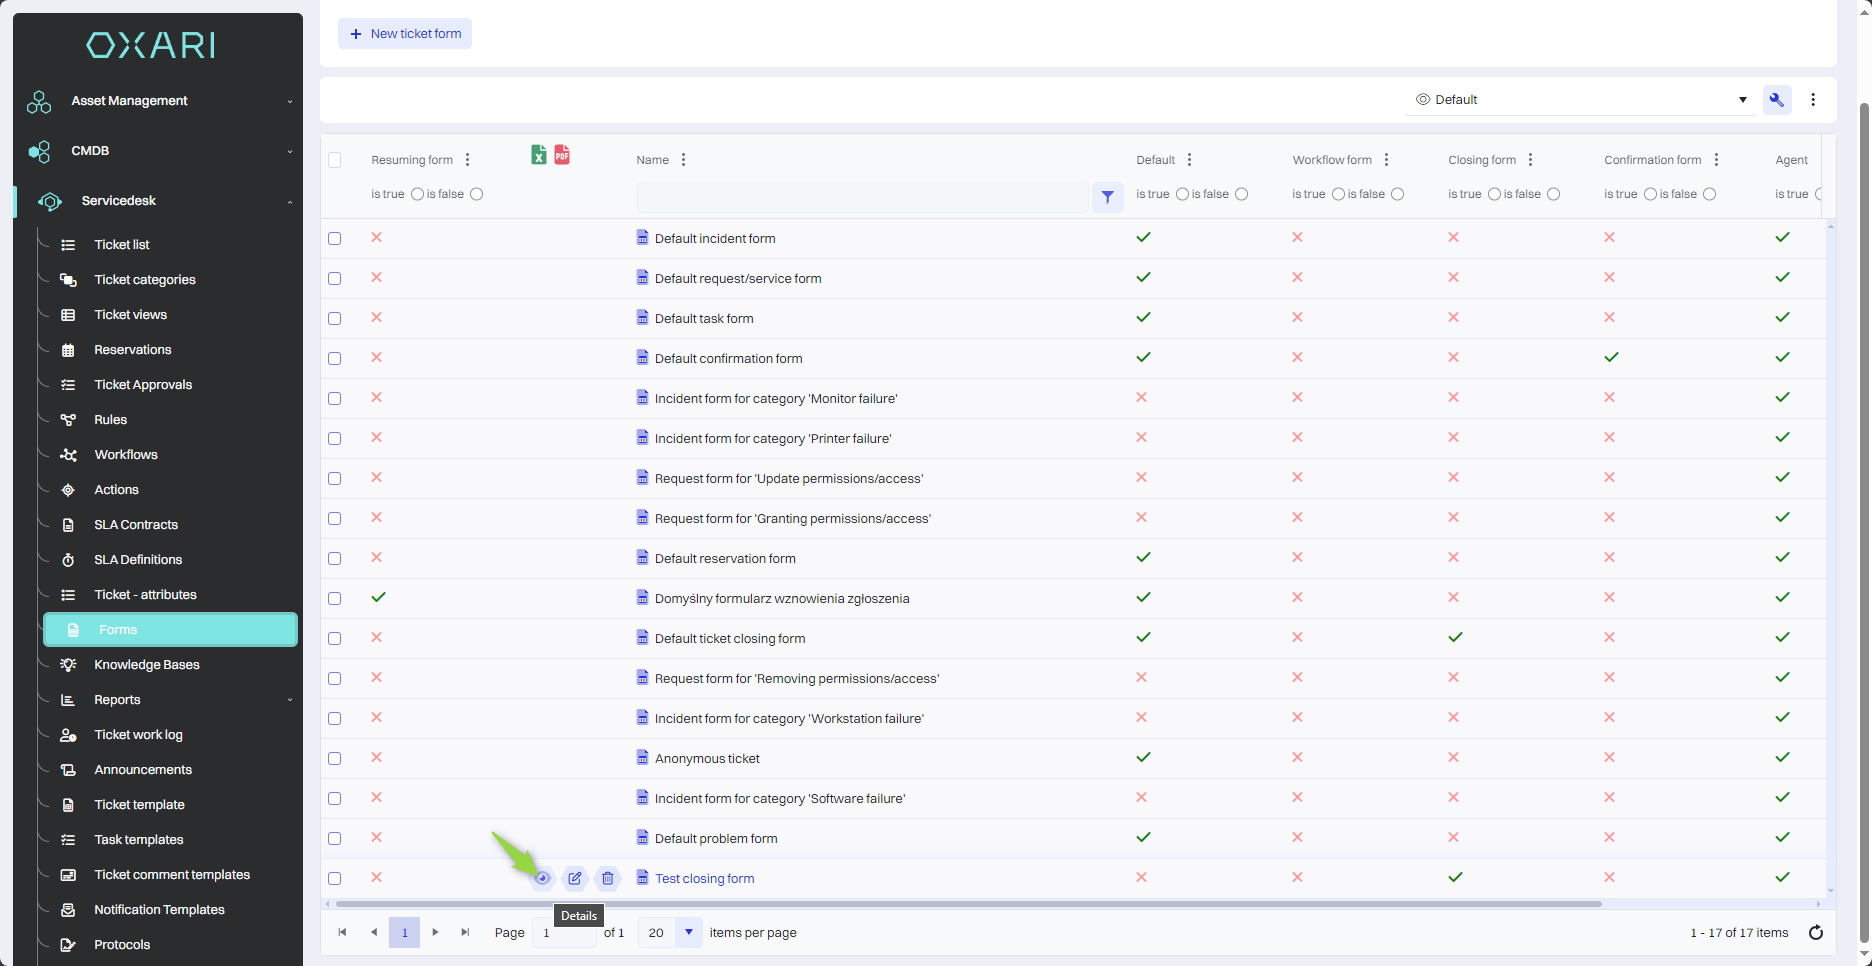
To create a new form, go to Servicedesk > Forms, then click the “New ticket form” button.
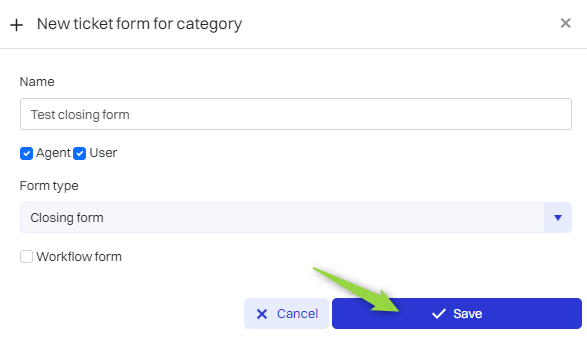
Next, the “New ticket form/task for category” window contains the items:
|
1 |
Agent/User - Determines who will fill out the form - whether it is for service agents or for reporting users. |
|
2 |
Form type - Form type options. Options are available: Ticket form - the form used when adding an ticket. Closing form - the form used when closing a ticket. Resuming form - form used when resuming ticket Confirmation form - Form used for the approval process of a ticket or task, may include options for acceptance or rejection. Questionnaire form - Used to collect feedback from users after handling a ticket. Change form - A form designed to make changes to existing tickets. |
|
3 |
Workflow form - A form that is used in document workflow processes. |
Fill in the desired fields and then click the “Save” button.
The form has been added to the list.

Adding attributes to a form
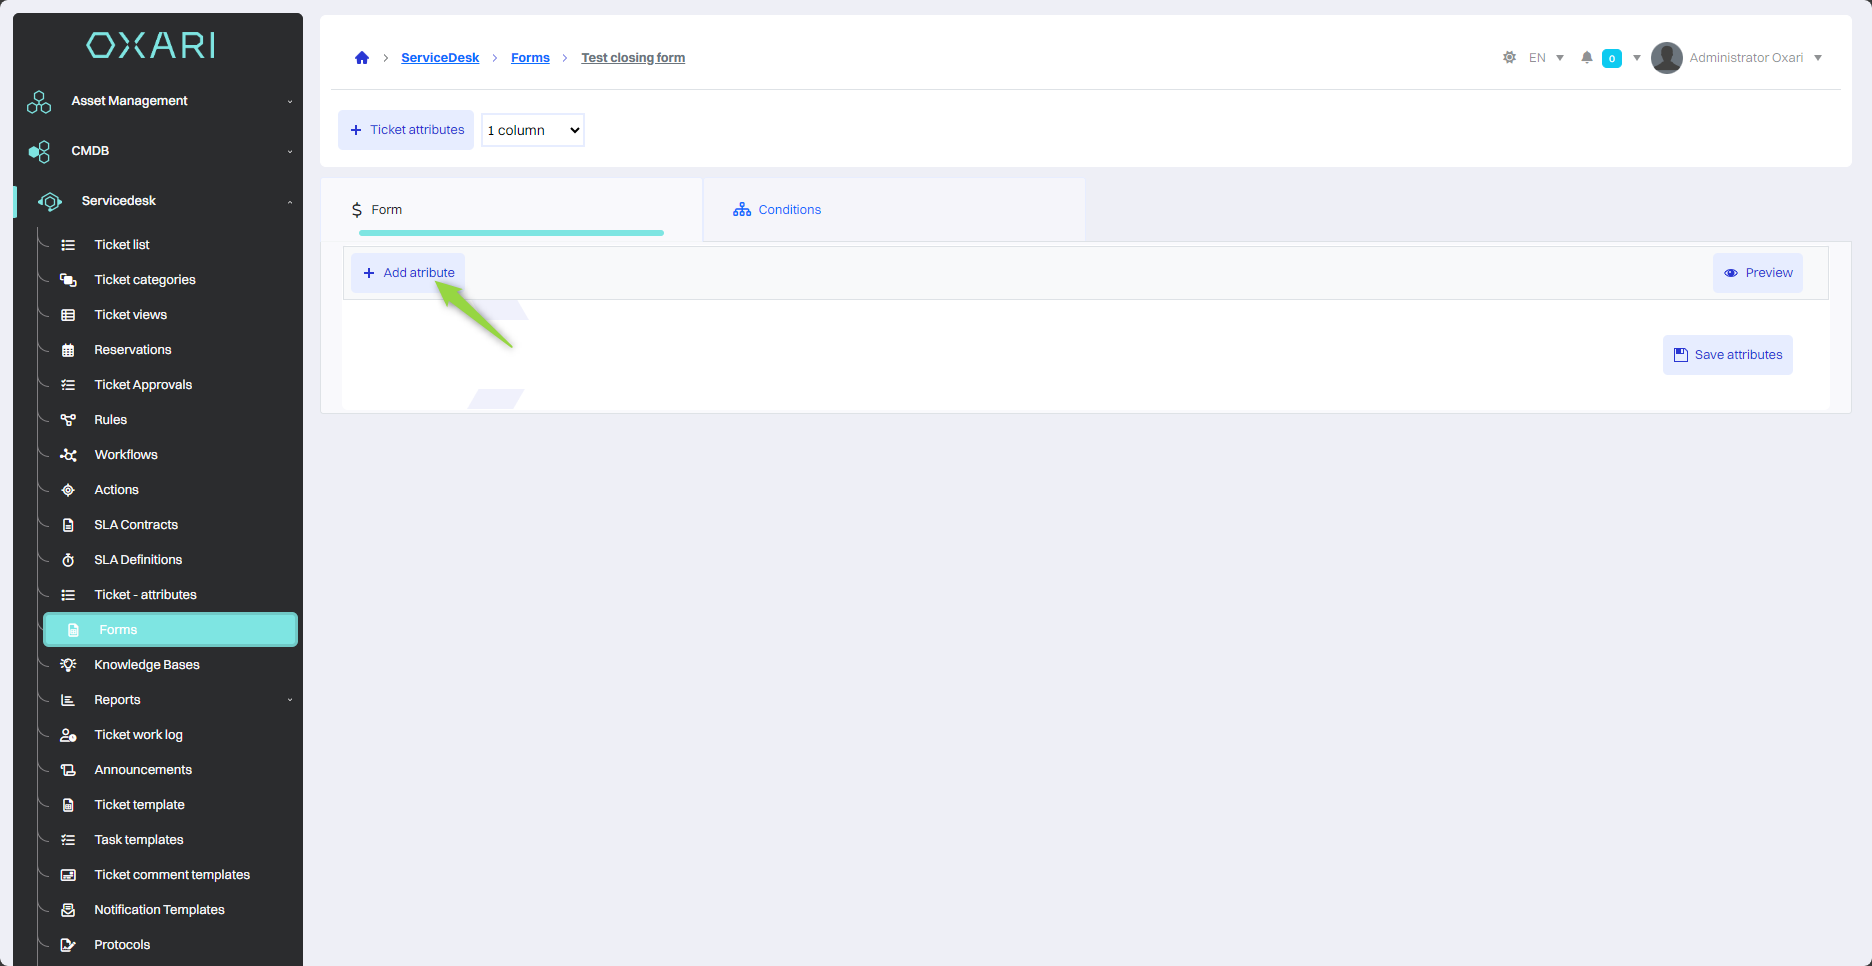
To add an attribute to a form, go to Servicedesk > Forms, and then click the “Details” button, next to the desired form.

Adding an attribute from the list
New attributes can be added as part of form editing. To add a new attribute, click the “Add attribute” button.
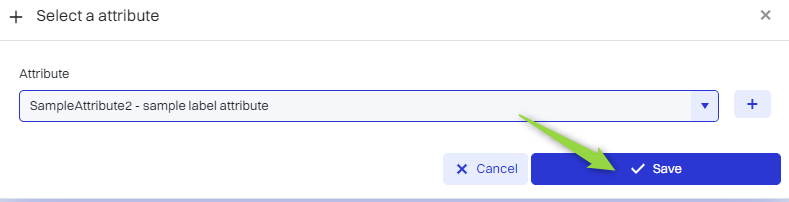
Then select the attribute from the list of saved attributes, finally click the “Save” button.

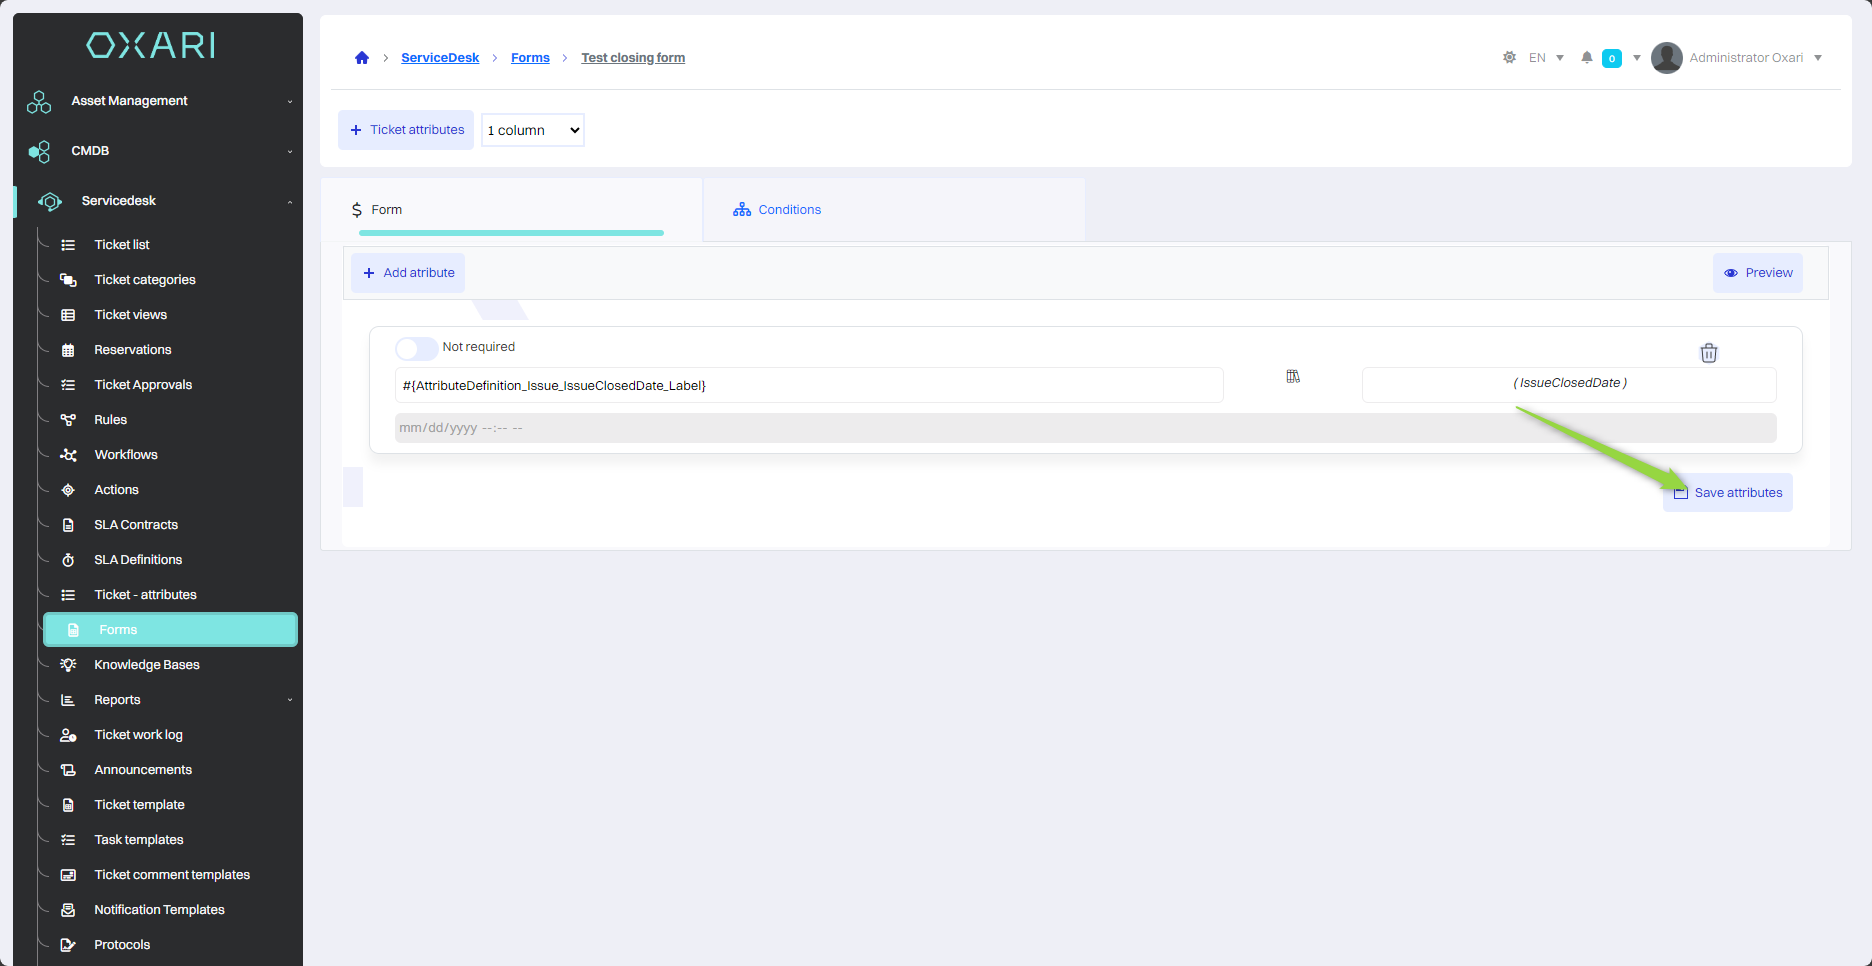
To save the attribute to the form at the very end, you need to click the “Save attributes” button.
Adding a new attribute
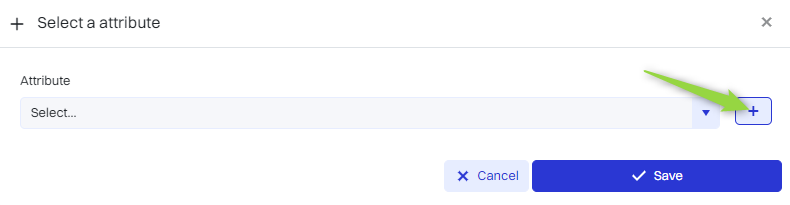
It is possible to adjust attributes under organizational requirements, in this case, you need to create a new attribute. To add a new attribute in the “Select attribute” window, click the “+” button.
Next, in the new attribute view, configure the attribute, and then click the “Save” button.
|
1 |
Name - The unique identifier of the attribute in the system. |
|
2 |
Label - Set the attribute's label in different languages, if the system offers multilingualism. |
|
3 |
Data type - Selection of the type of data that will be stored as an attribute, for example, “Boolean value” for yes/no type data. |
|
4 |
Checkbox Required - Select the option if the attribute is mandatory in the form. |
|
5 |
Attribute also visible outside the form - An option that, when enabled, allows the attribute to be displayed elsewhere in the system as well. |
|
6 |
Attribute type associated CI with a ticket - Checkbox that indicates whether the attribute is associated with a specific configuration item (CI). |
|
7 |
Hint - A place where user support text can be added regarding the attribute. |
|
8 |
Value display template - Determine the format for presenting the attribute value, if required. |
|
9 |
Position - Determining where in the form structure the attribute should appear. |

The attribute will be saved, it will be visible in the list of saved attributes. To use the attribute, select it from the list and click the “Save” button.
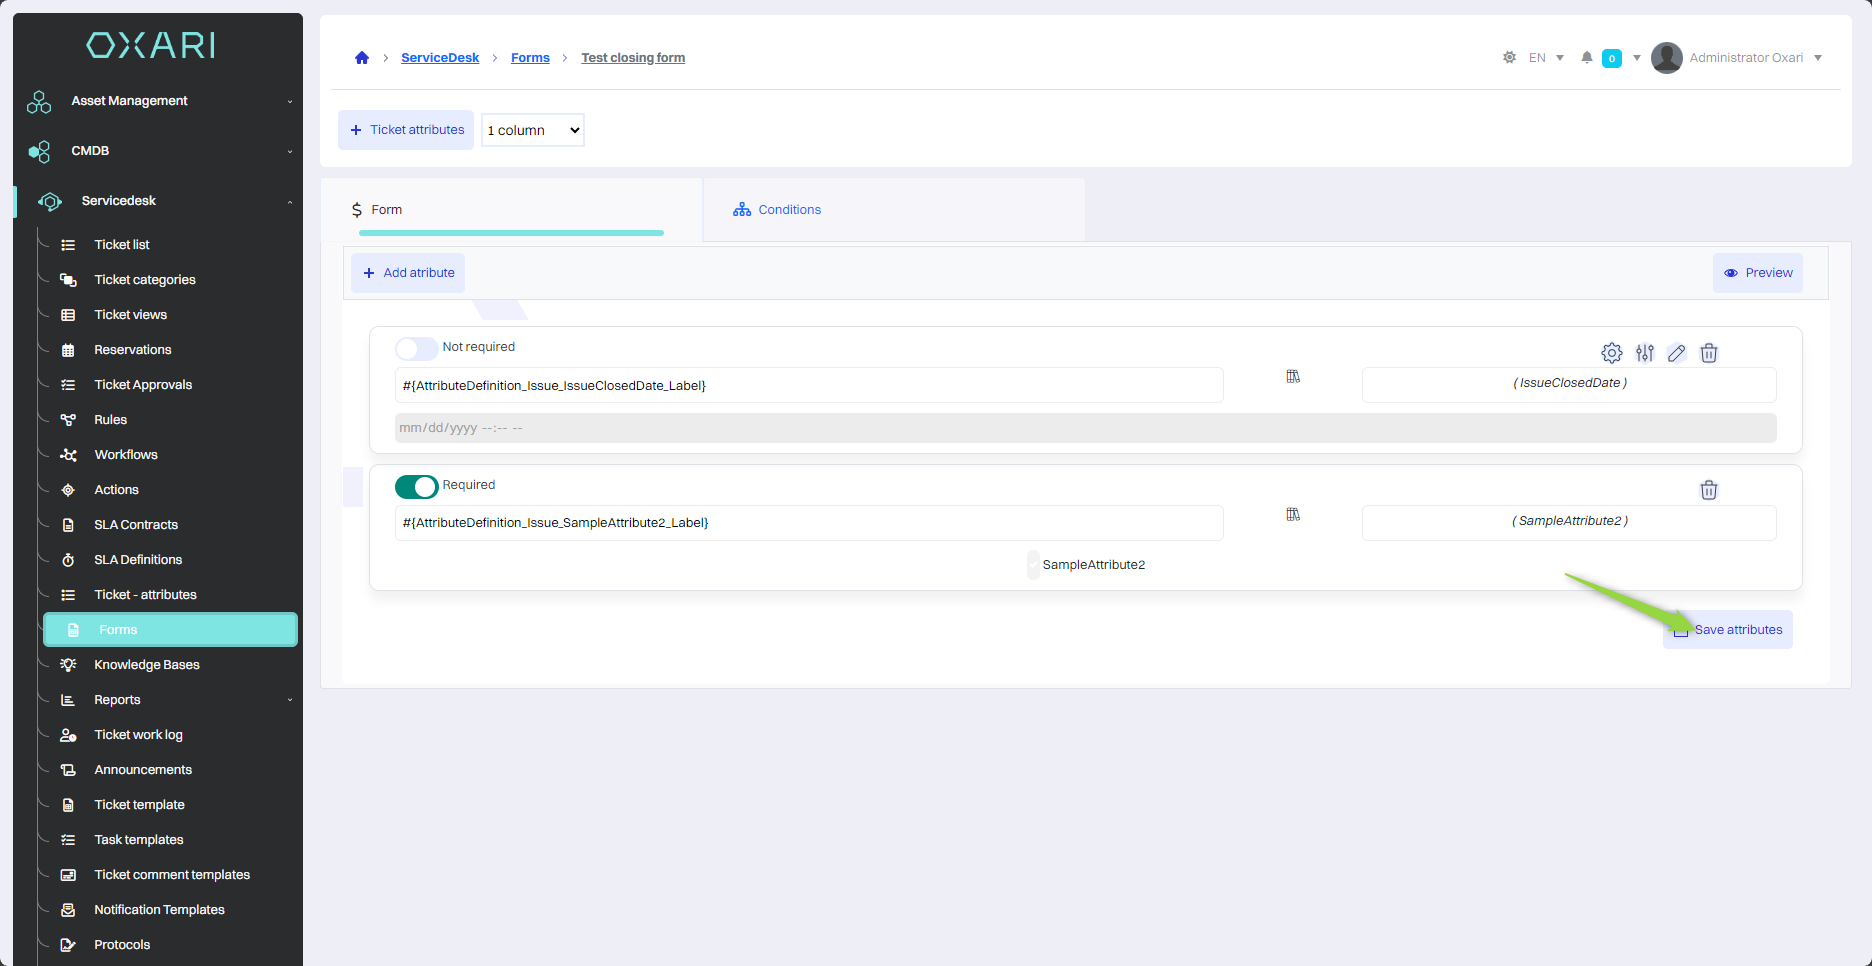
To save the attribute assignment to the form at the very end, you need to click the “Save attributes” button.
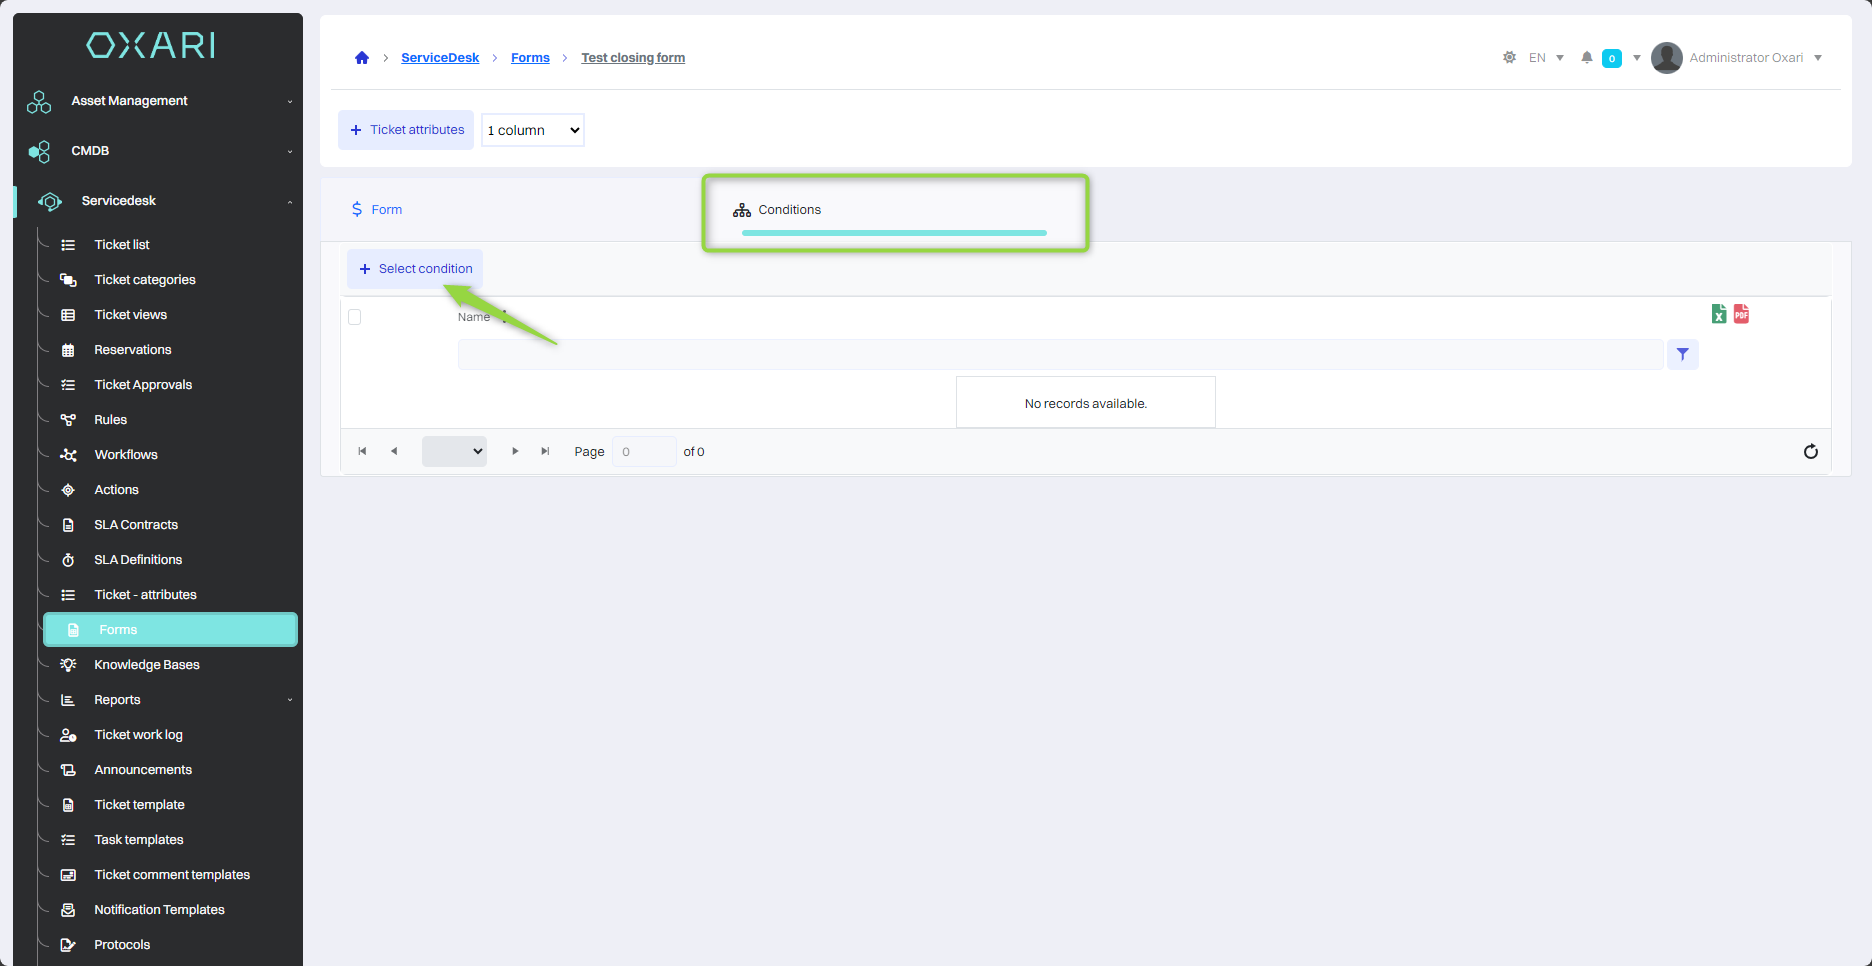
Adding a condition
To add a condition to the form, go to the “Conditions” tab, and then click the “Select condition” button.
Then in the “Select condition type” window, there are condition types:
|
1 |
Request type - Condition that specifies the type of ticket such as incident, task, problem, reservation, service. |
|
2 |
Ticket category - Classification of the ticket according to the defined categories, for example, printer failure. |
|
3 |
Ticket status - The current stage or status in which the ticket is, such as “New”, “In progress”, “Closed”. |
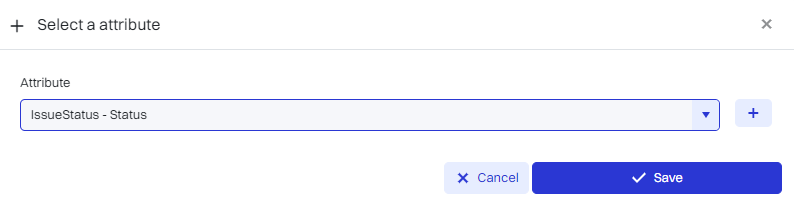
Select the desired type of condition and then click the “Select” button.

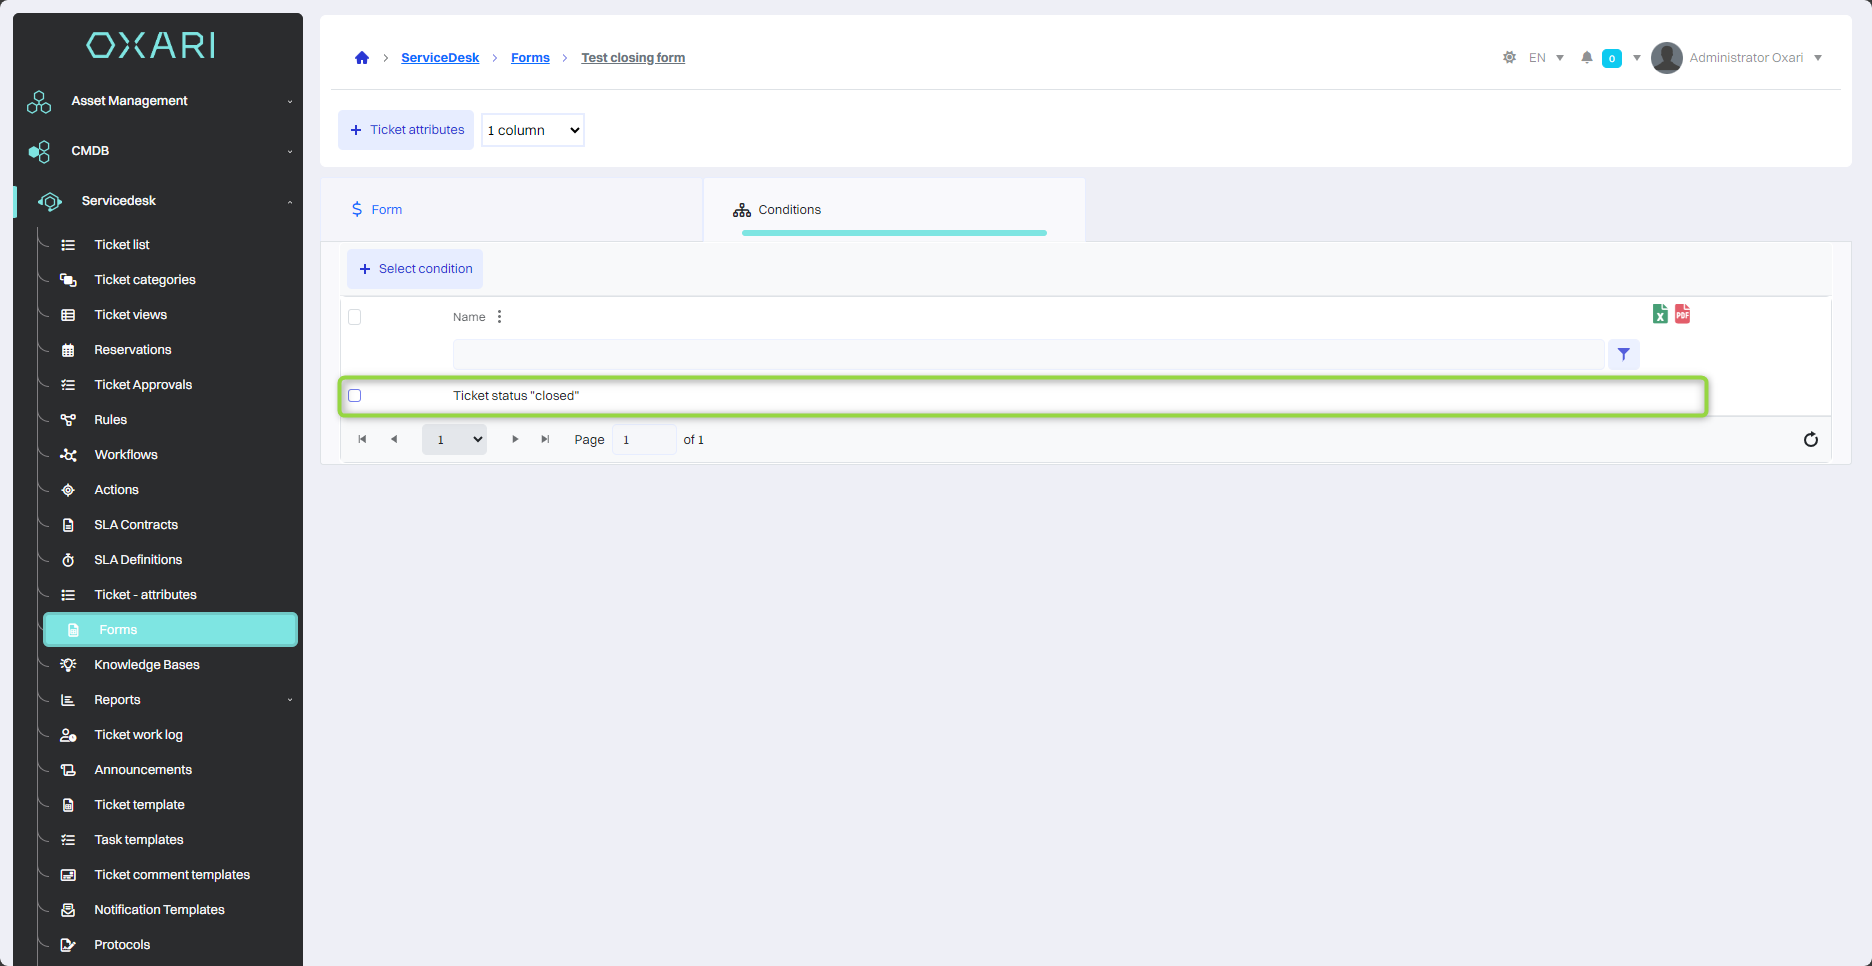
In this step, in the “New condition” window, name the condition and select the status of the ticket, in this case it will be “Closed”, and then click the “Save” button.
The condition has been added.
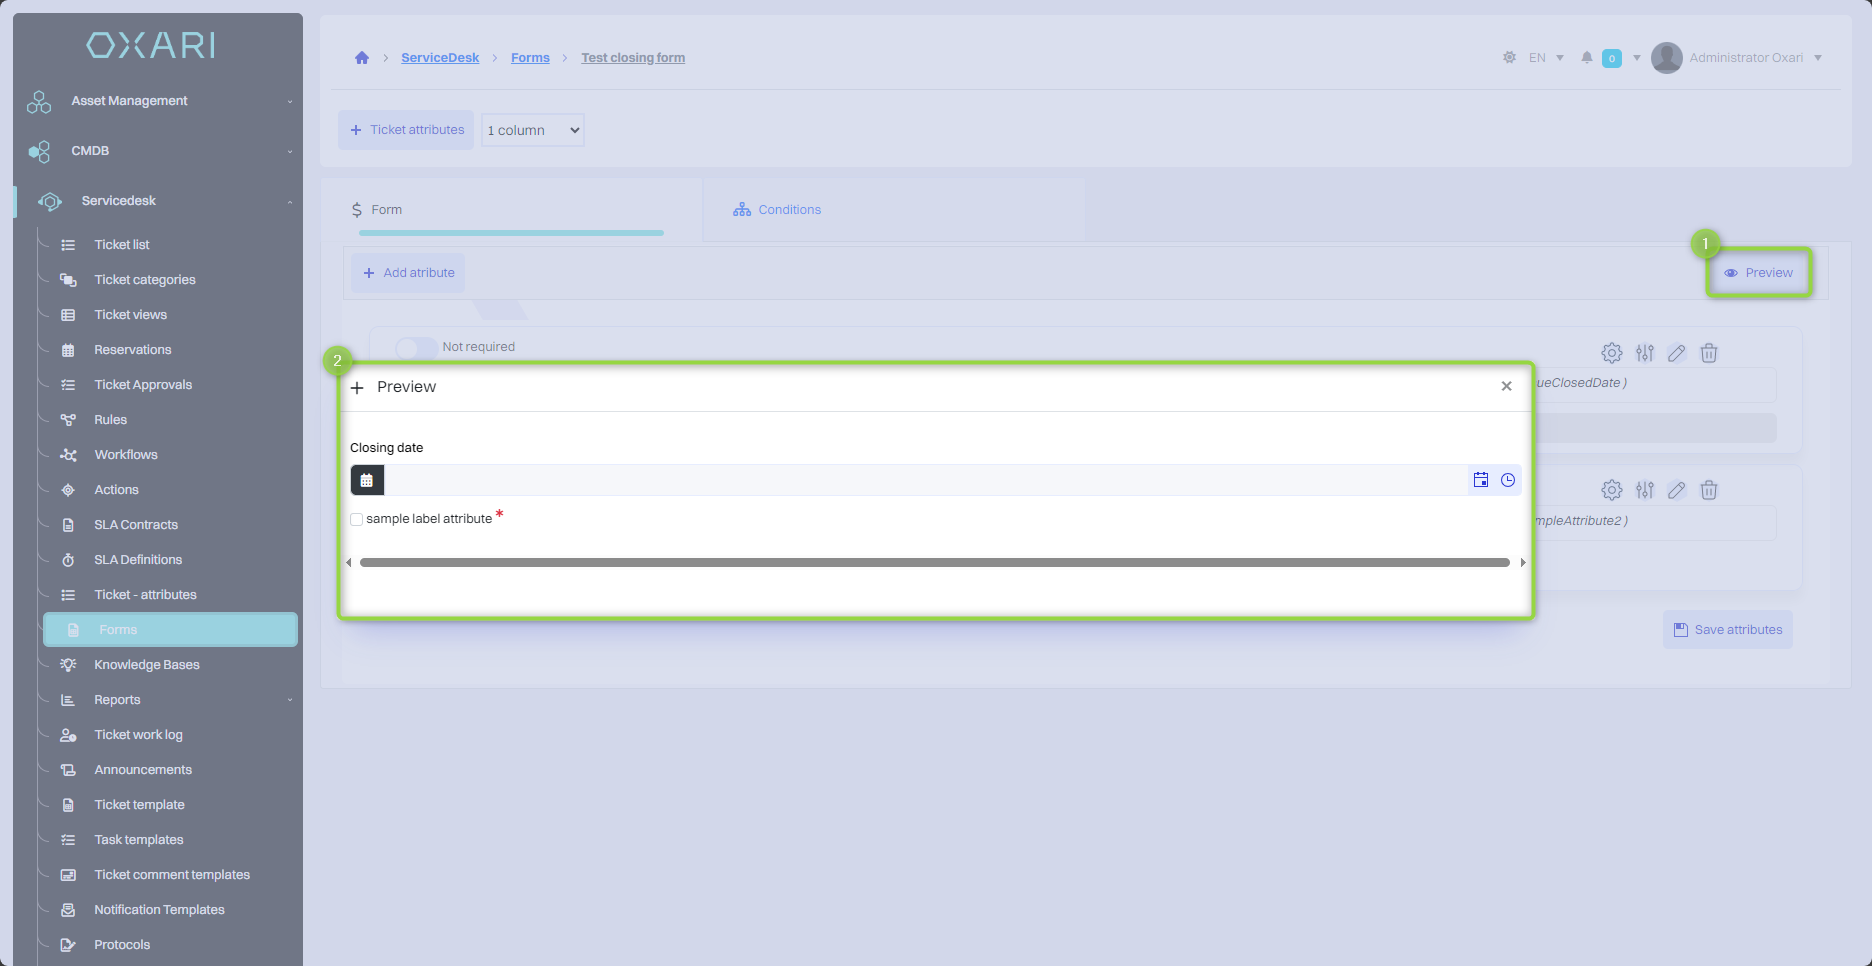
Preview the form
To preview click the “Preview” button and the form will be displayed.
Attribute visibility conditions
Attribute visibility conditions allow you to control when individual form attributes are displayed to users. They can be used to create dynamic forms where certain fields become visible only under certain conditions. Go into the details of the form.
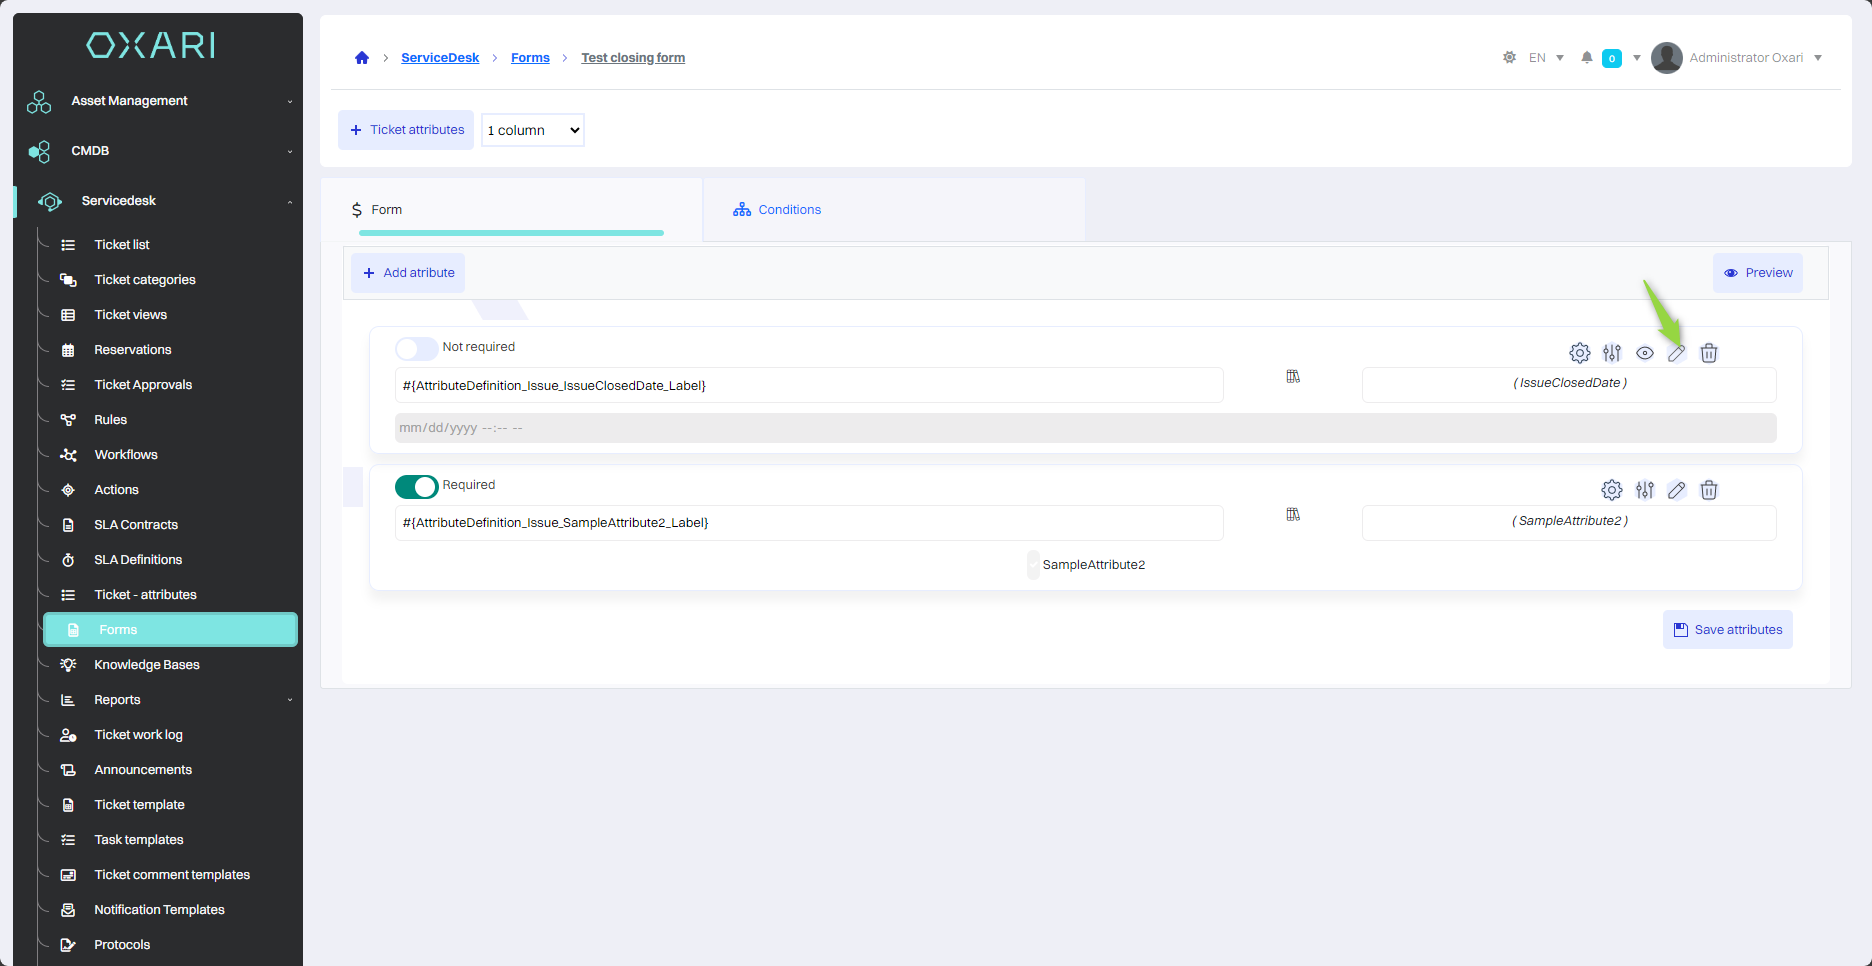
And then into attribute editing mode.

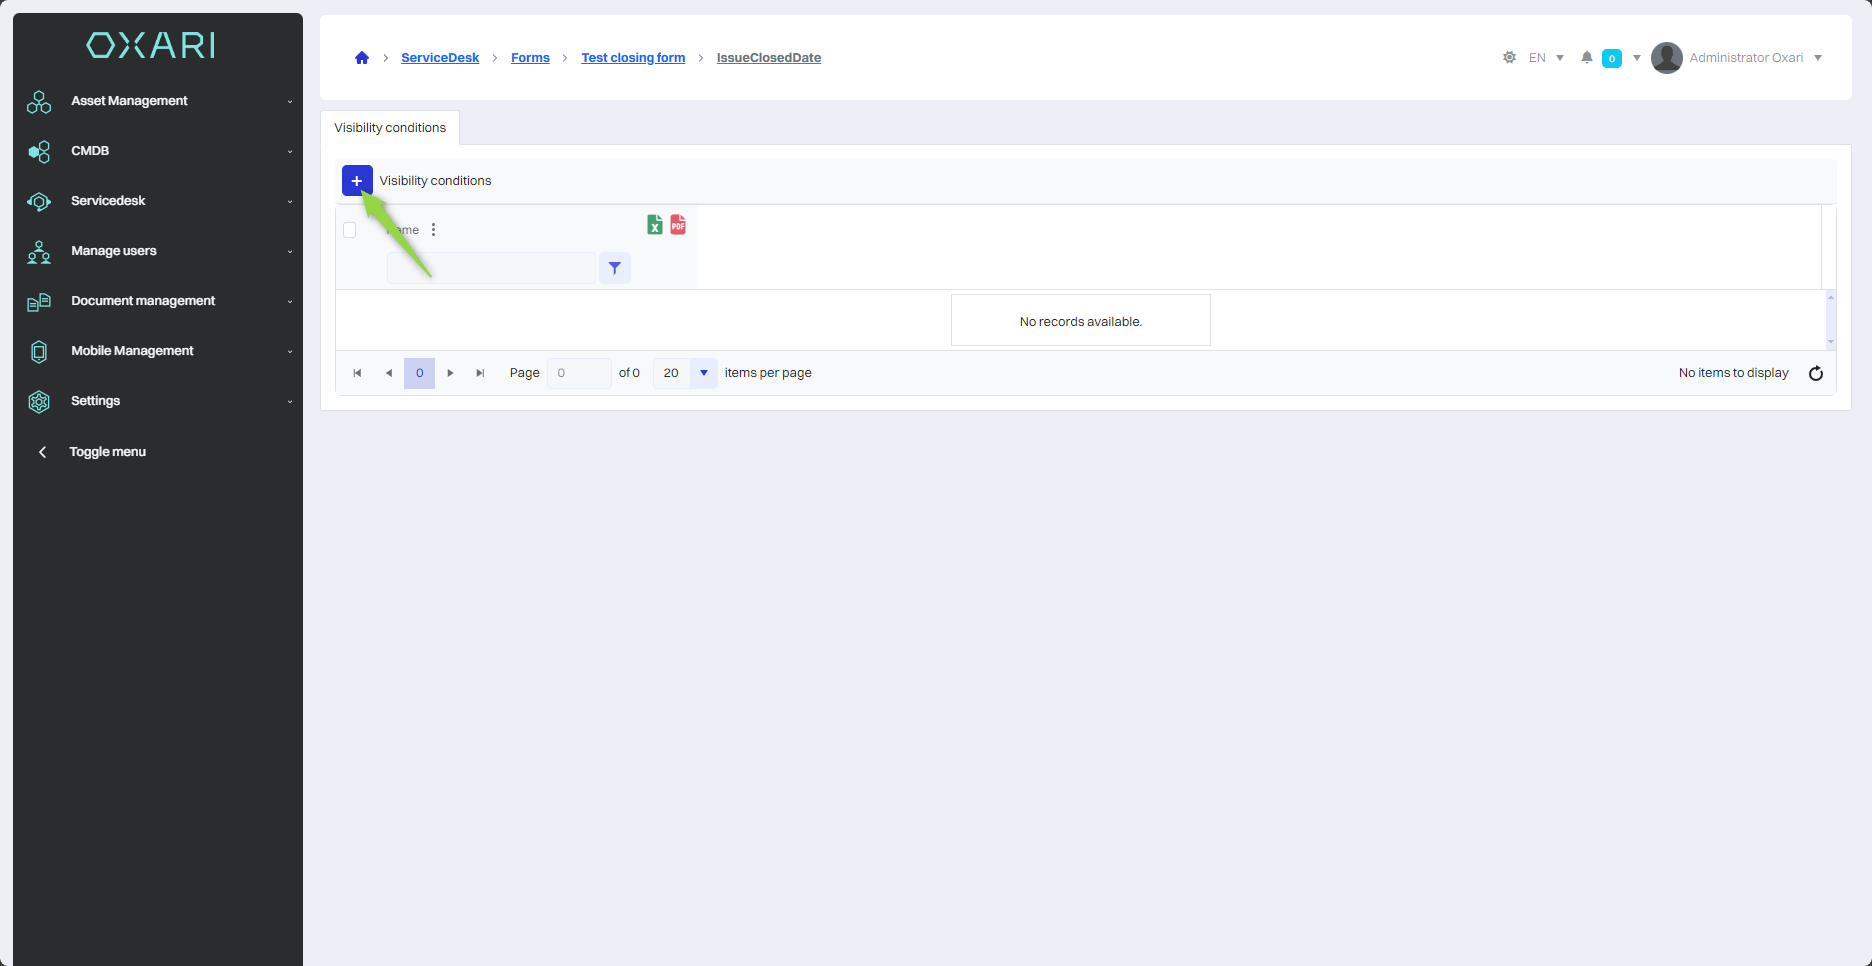
In this step, click the “+” button to add a visibility condition.
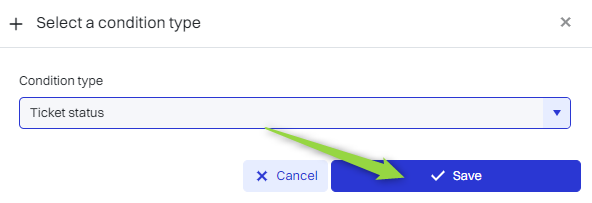
Next, in the “Select condition type” window, select the condition type from the list and click the “Save” button.
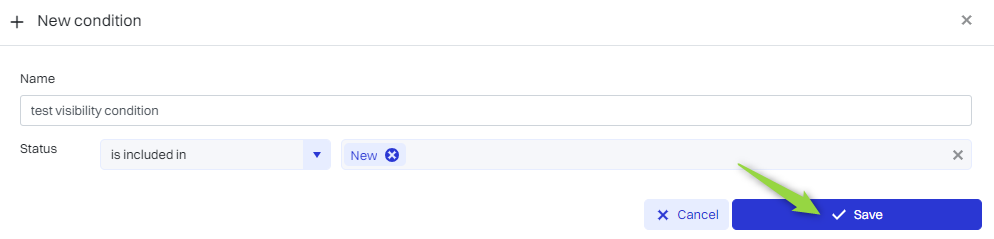
Next, the “New condition” window contains:
|
1 |
A field for entering the name of the new condition. |
|
2 |
A drop-down menu with the option “included in”, so that the condition can be determined based on the status of the ticket. |
|
3 |
A field for entering the condition (Application status is contained in New) which means that the condition will be visible when the application status is “New”. |
You should fill in the fields, and then click the “Save” button.
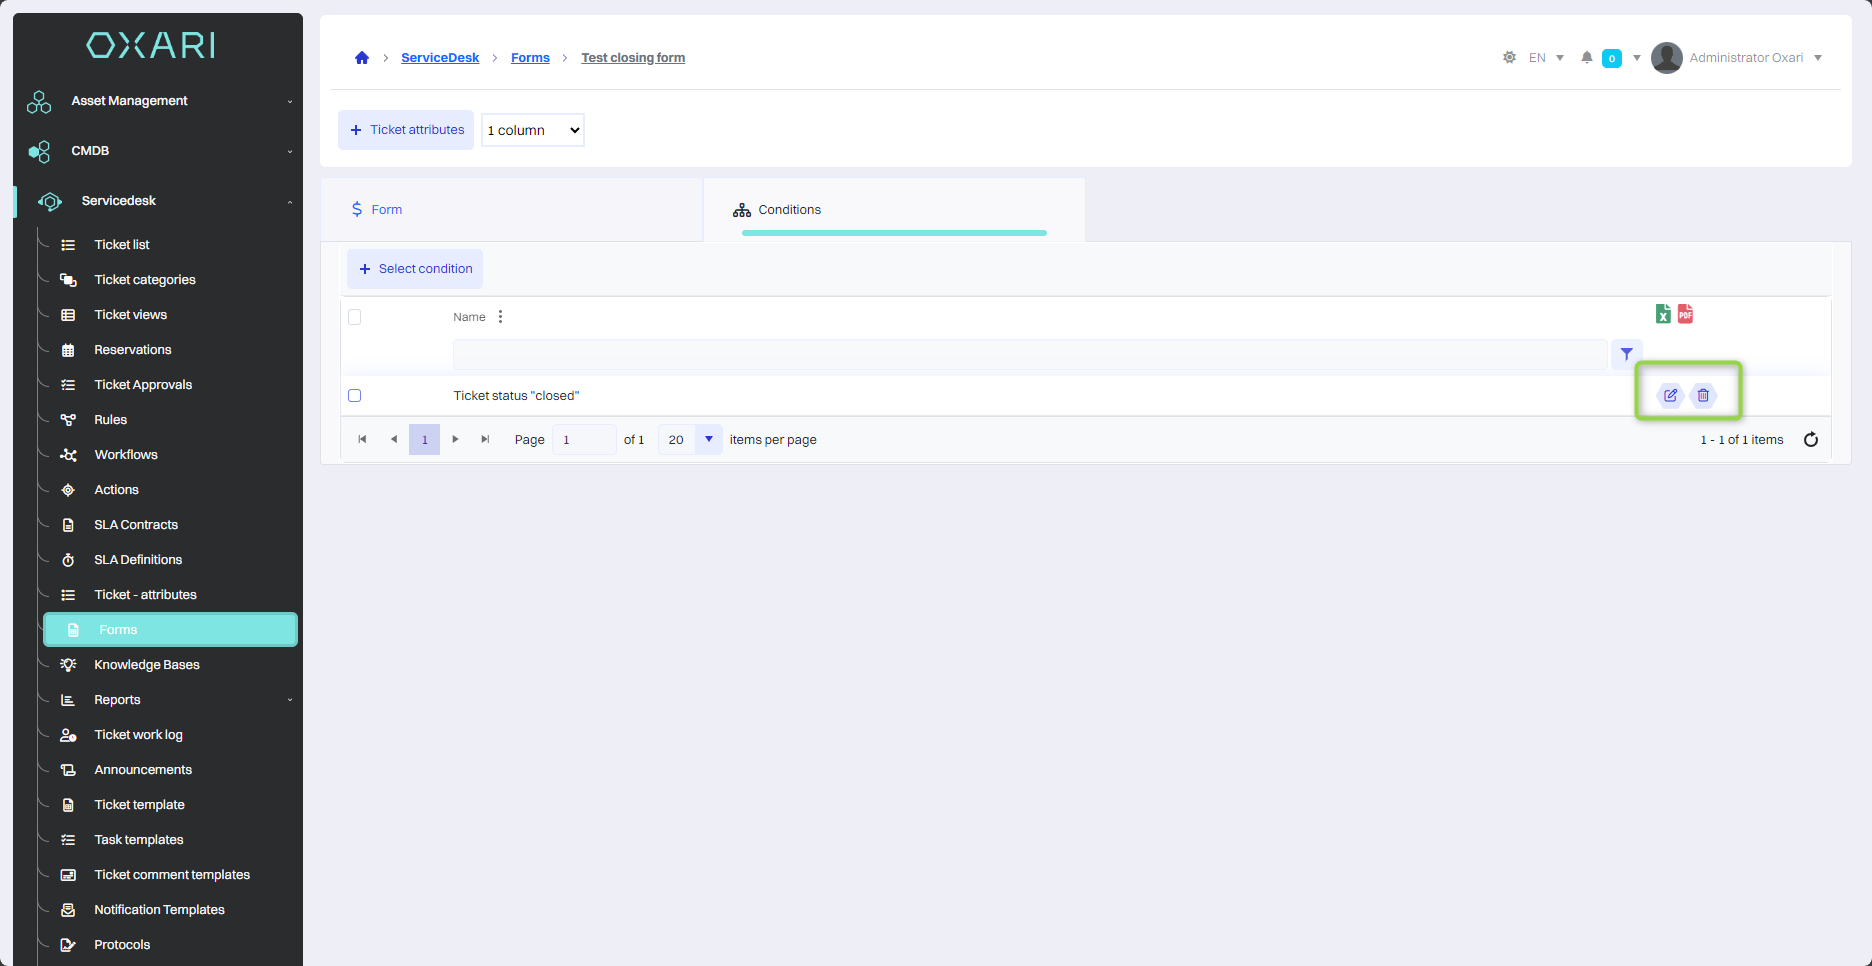
The condition is visible in the list:

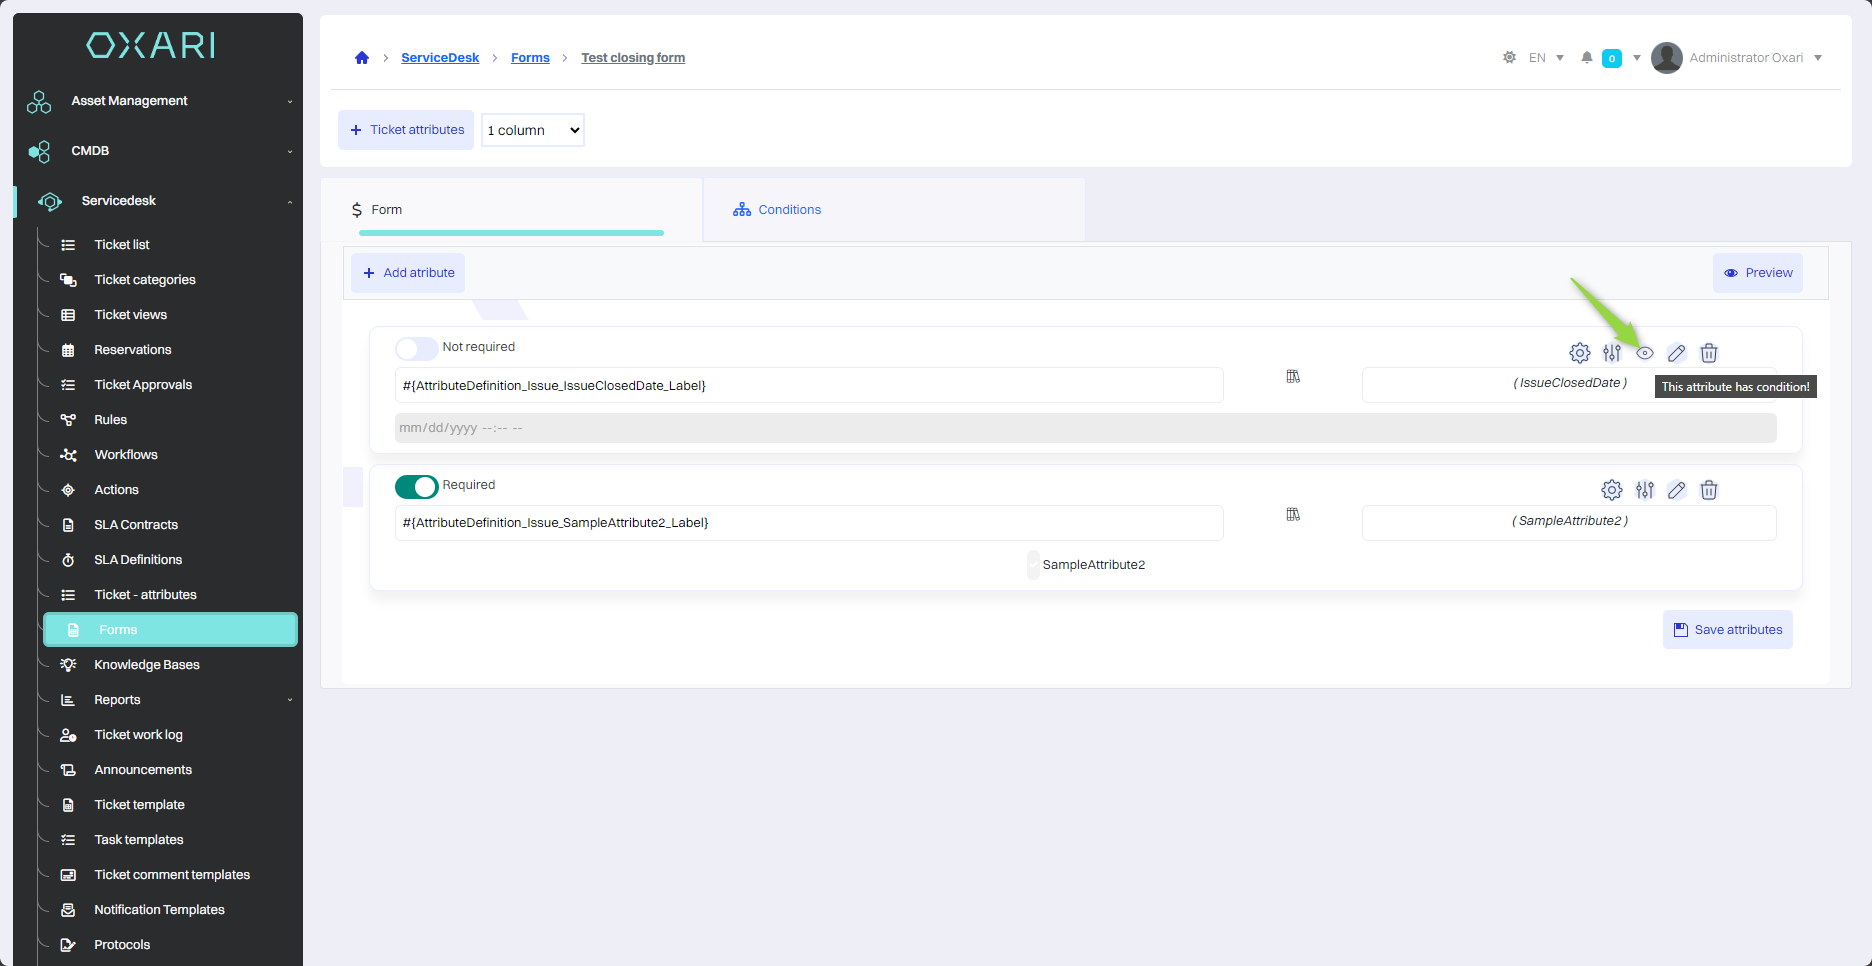
View of attribute with visibility condition
An additional icon appears next to an attribute with a visibility condition to indicate that the condition is held.
Editing/Removing an attribute's visibility condition
To edit/remove a visibility condition from an attribute, go to the detail view of the desired attribute.
Then hover over the desired condition. Edit/delete buttons will be displayed.
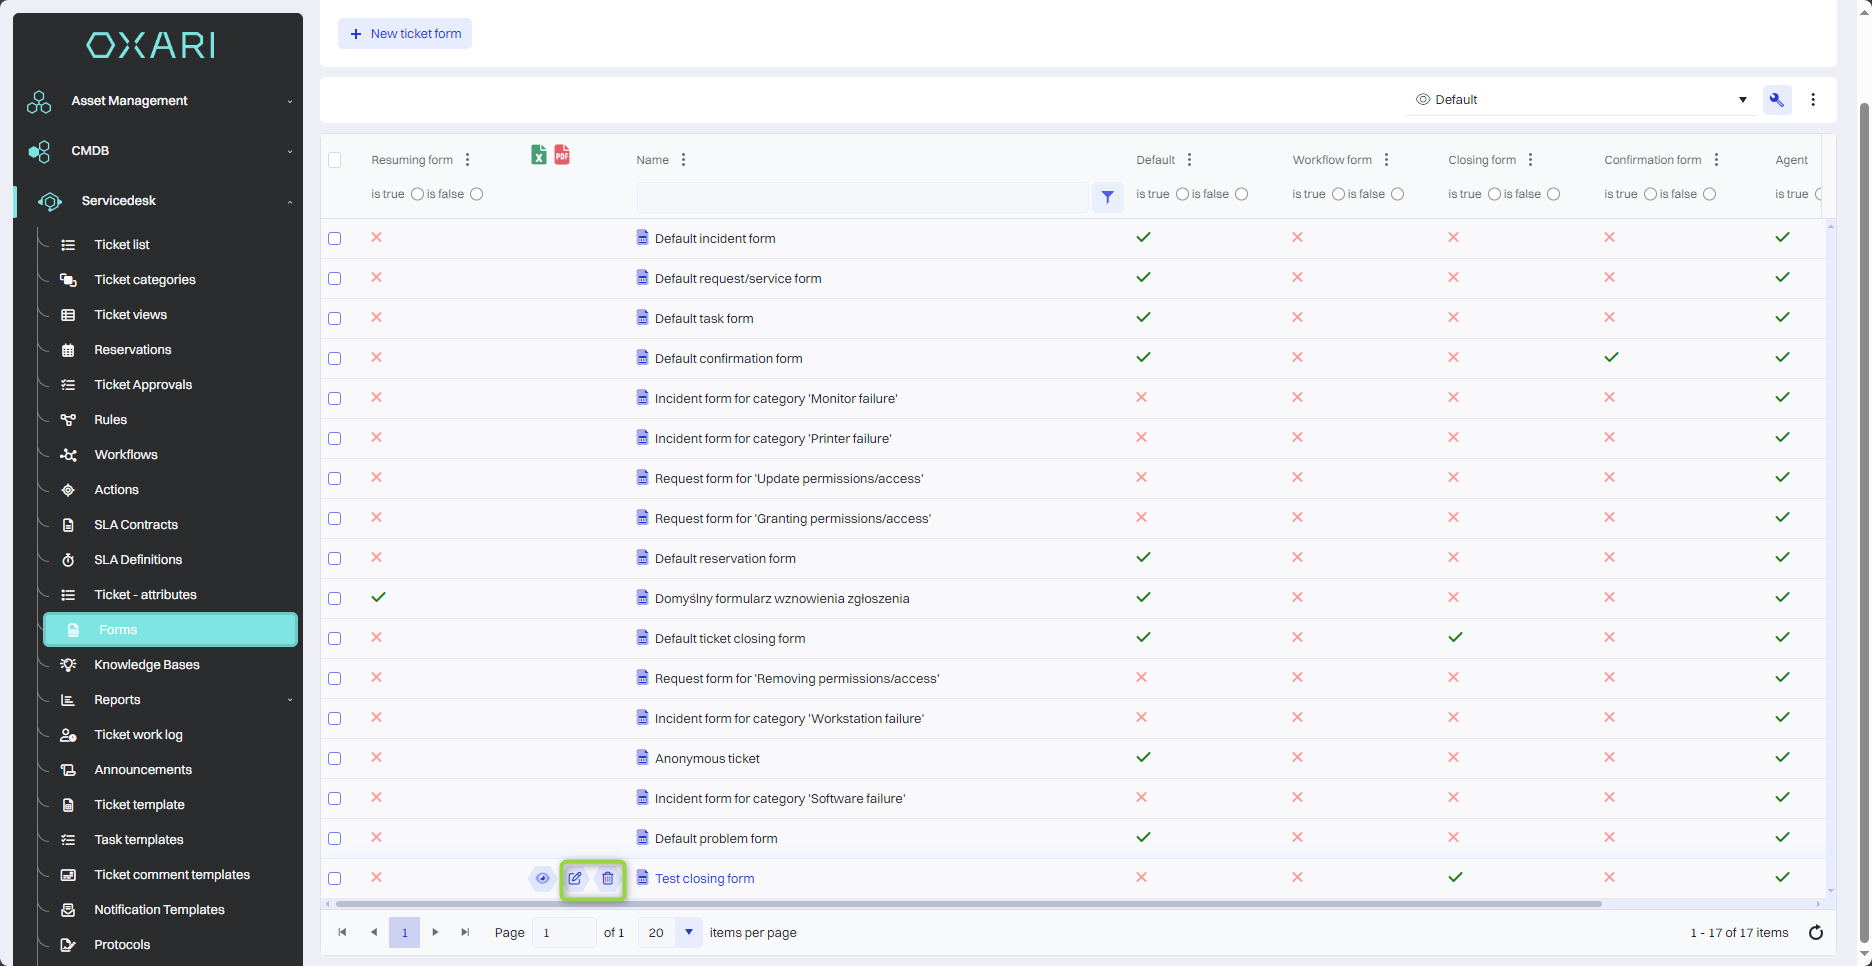
Editing/Deleting a form
To edit or delete a form, go to Servicedesk > Forms. Hover over the desired form. The edit/delete buttons will be displayed.