The assets section is used to catalog and track an organization's physical infrastructure assets, such as computers, monitors, mobile devices or vehicles. Here the user can view the list of assets, add new items, edit the details of existing items, and manage their status (e.g. whether they are in use or in storage).
Assets can be added by importing data files: Go >
Assets can be downloaded from the domain by creating a synchronization with the directory service: Go >
More about the magazines: Go >
New Asset
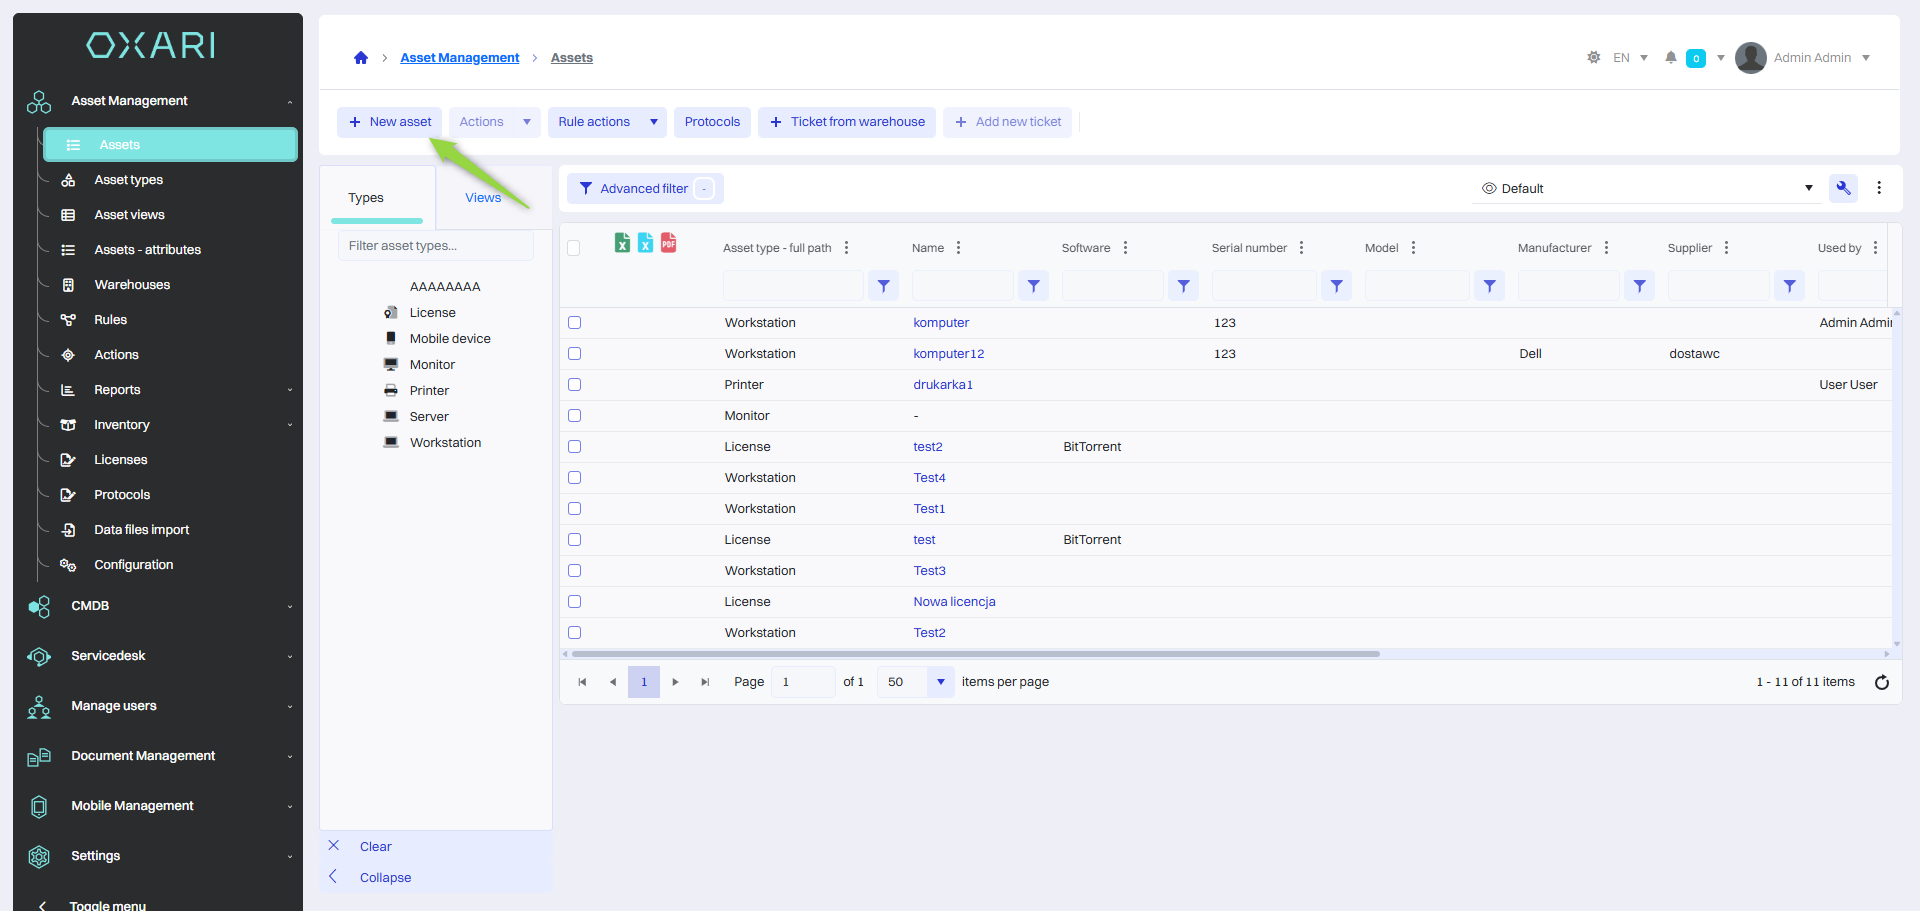
To add a new asset, go to Asset Management > Assets, and then click the “New Asset” button.
Selecting a asset type
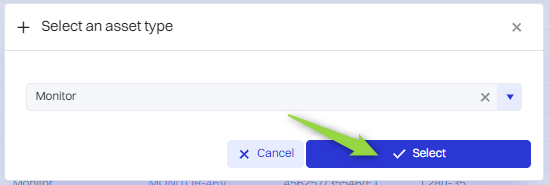
Next, in the “Select asset type” window, select the asset type and click the “Select” button.
To configure asset types: Go >
In this step, fill in the form with the specified attributes of the asset type and click the “Save” button. Each asset type can consist of different attributes which can be configured.
To configure the attributes of asset types: Go >

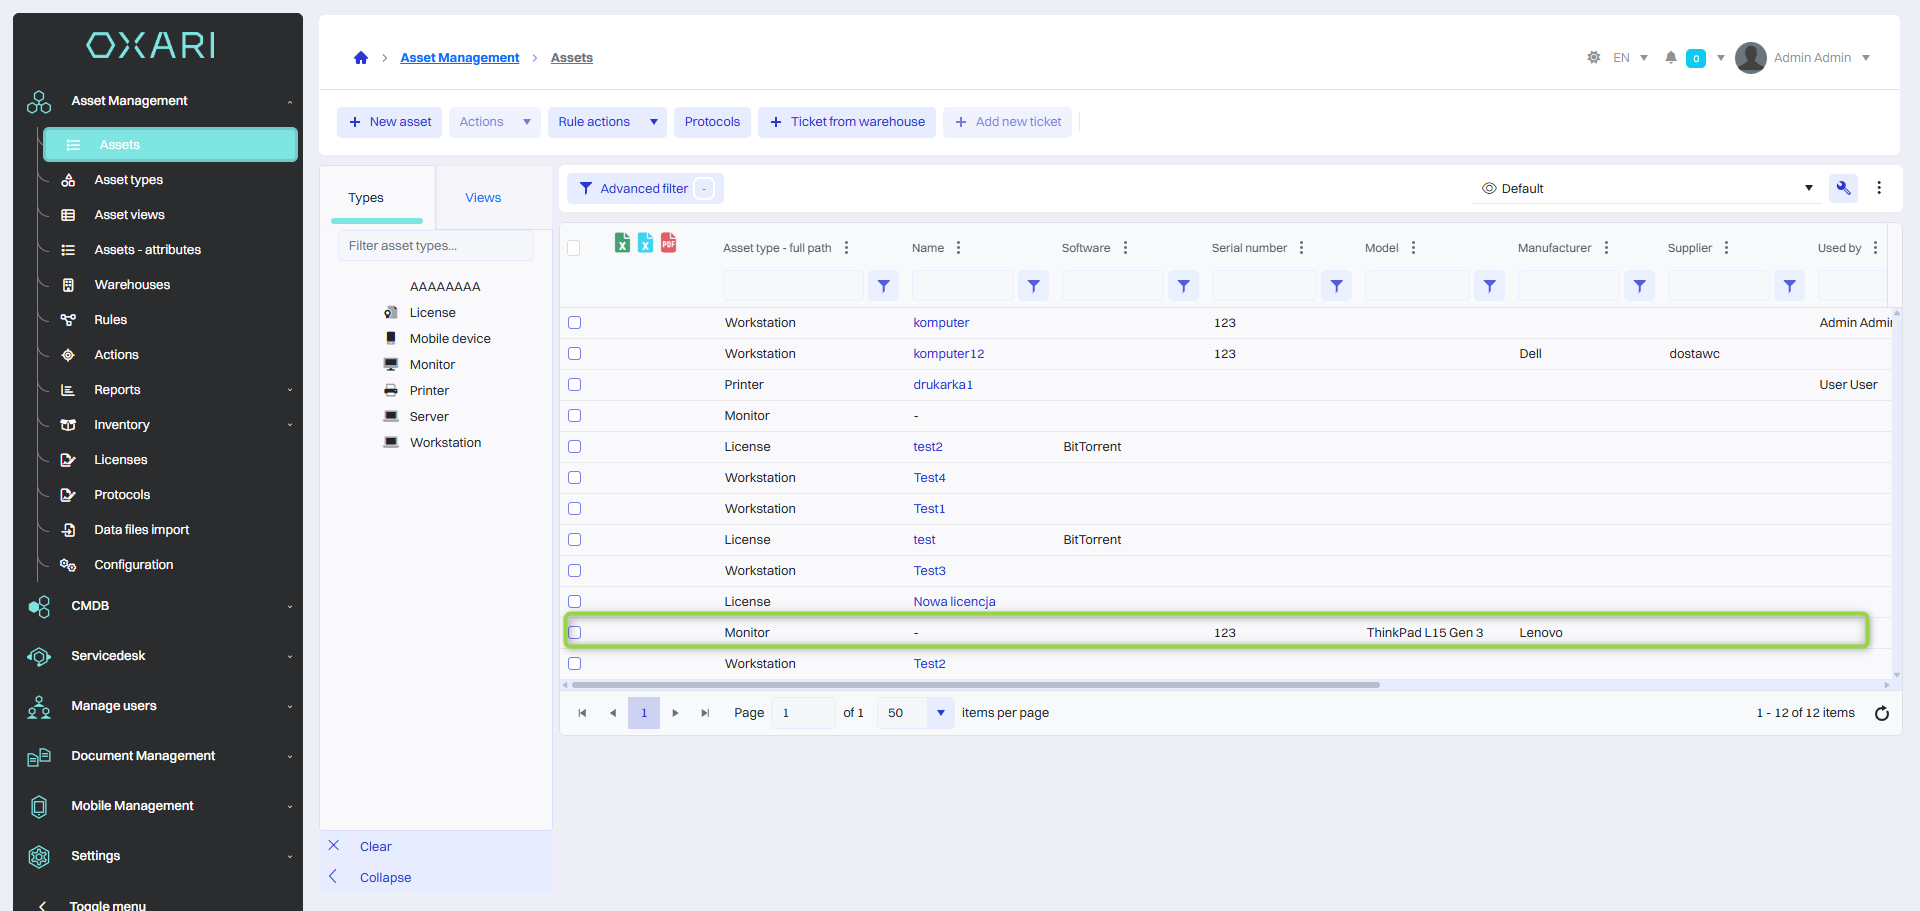
The asset has been added to the list.
Narrowing the asset view based on asset types
To narrow the asset view for a particular asset type, go to Asset Management > Assets, then click on the desired asset type.
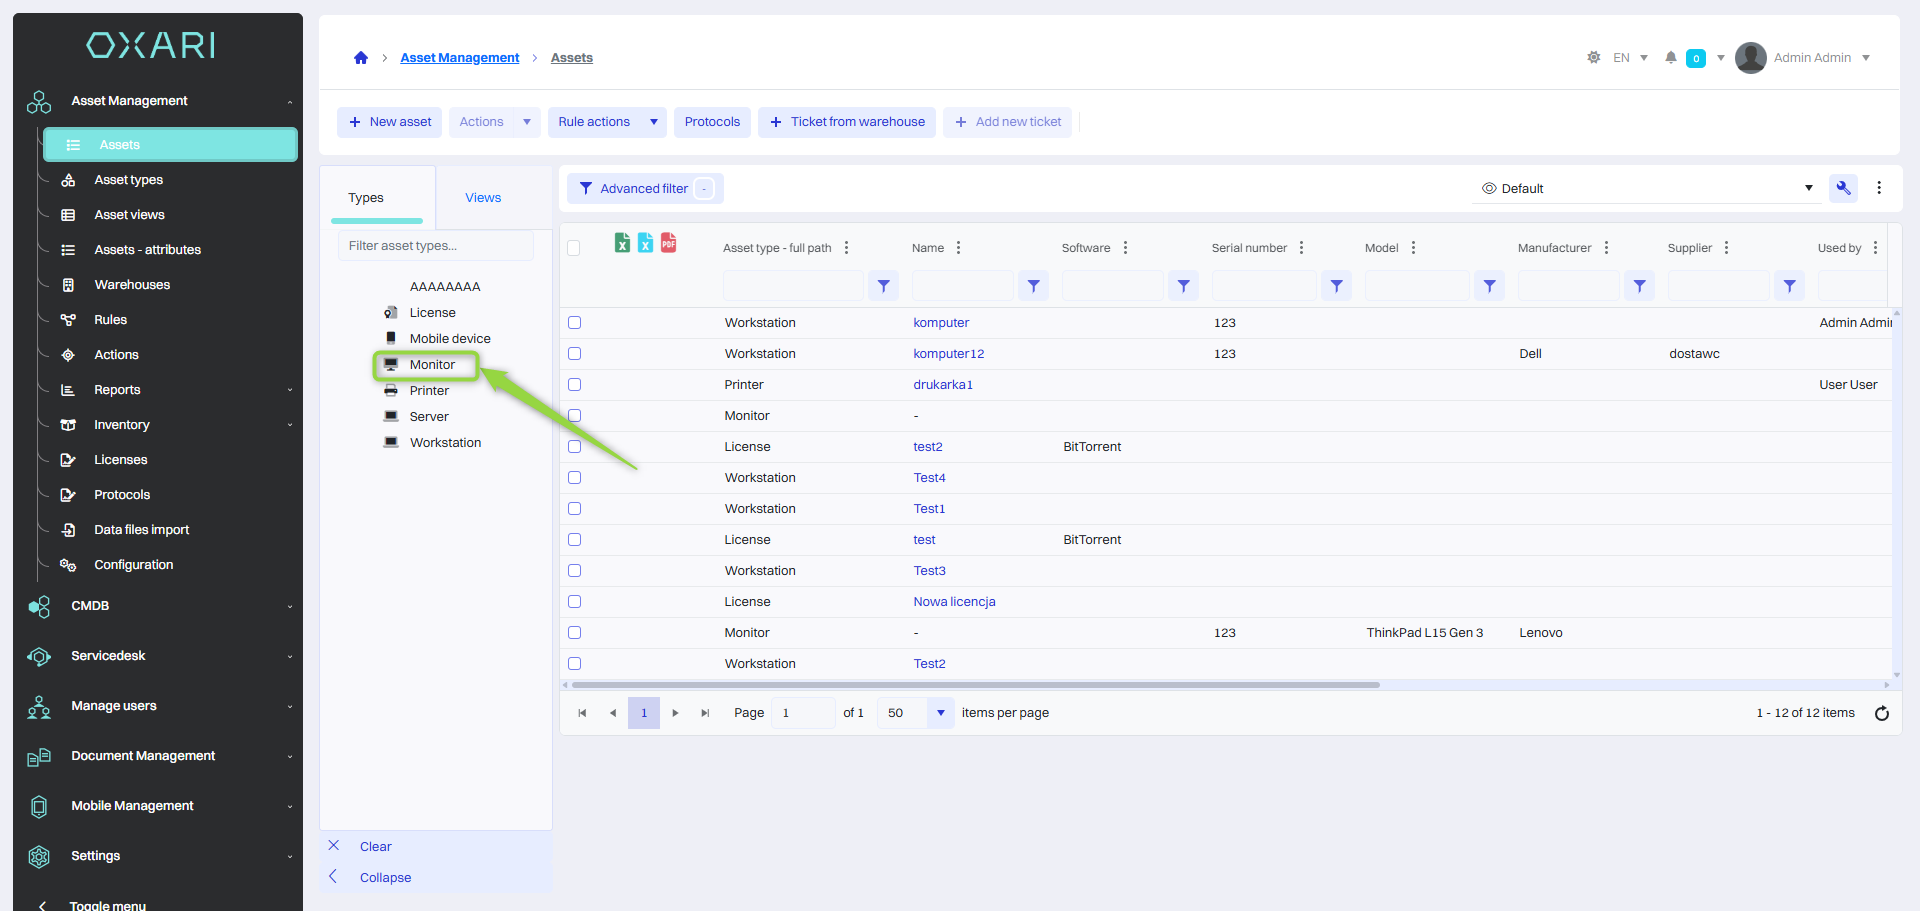
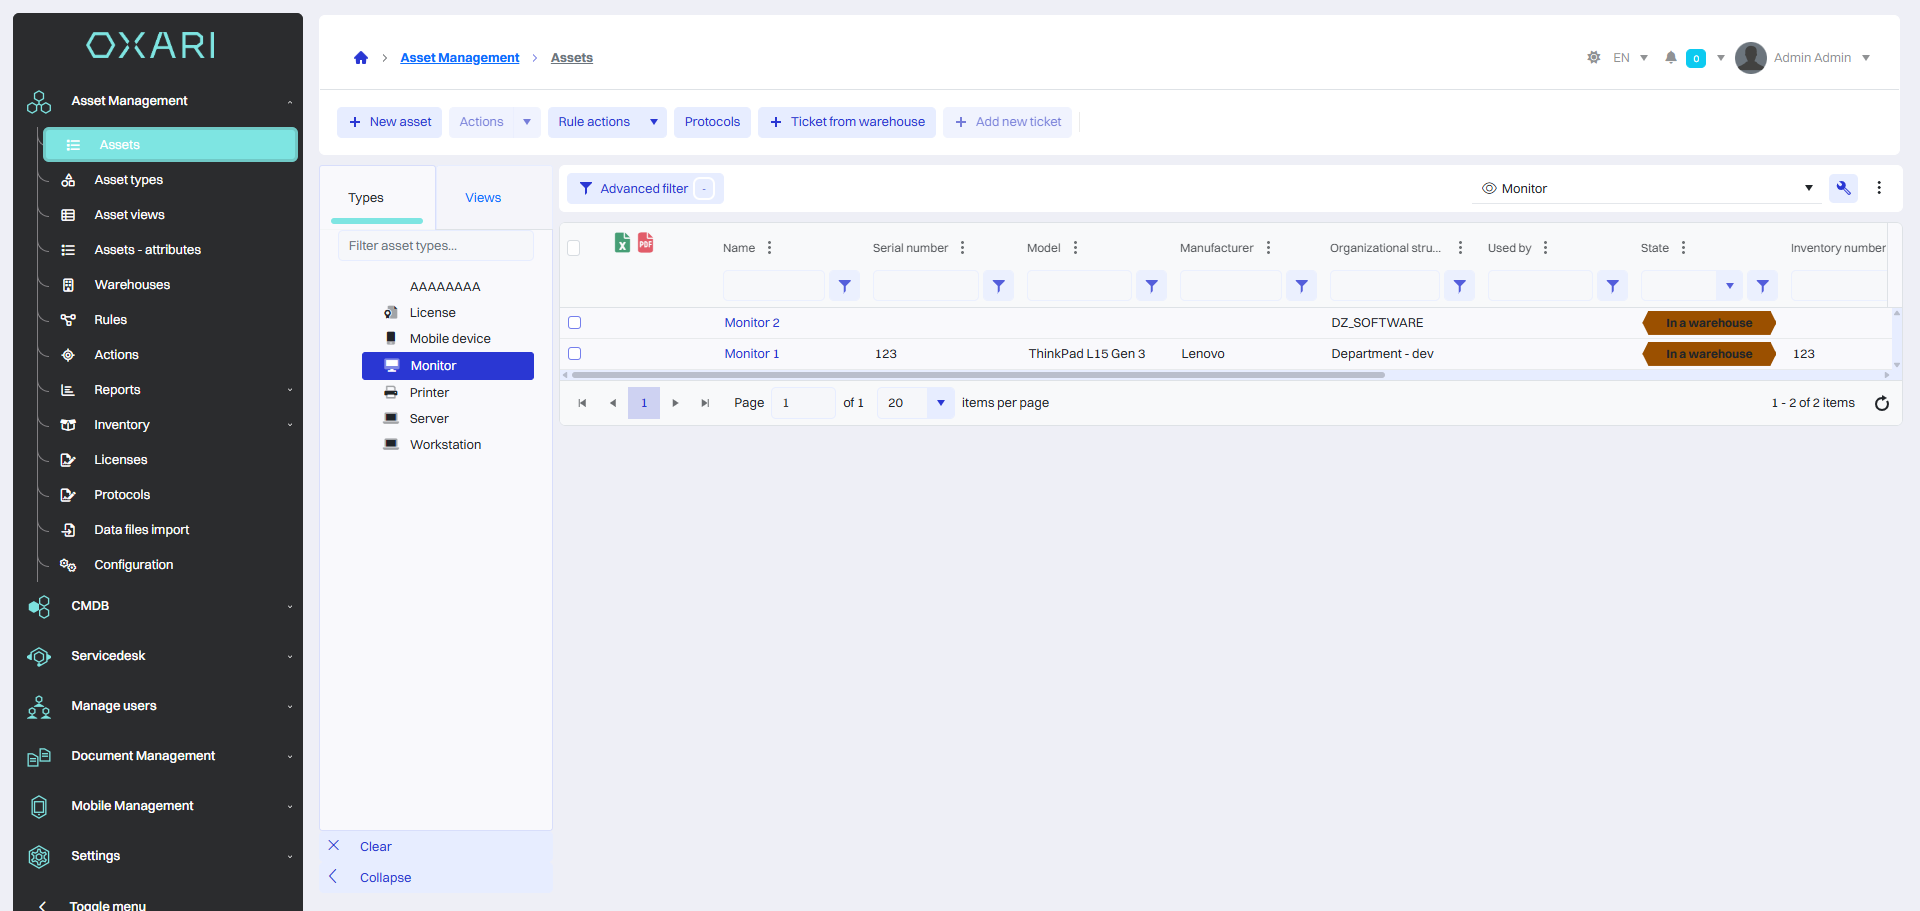
A view is available, showing assets from the asset type.
Performing actions on assets
From the main view, there are possible actions to perform on assets. To perform an action on a specific asset, go to Asset Management > Assets, then select the desired asset and click the “Actions” drop-down menu.
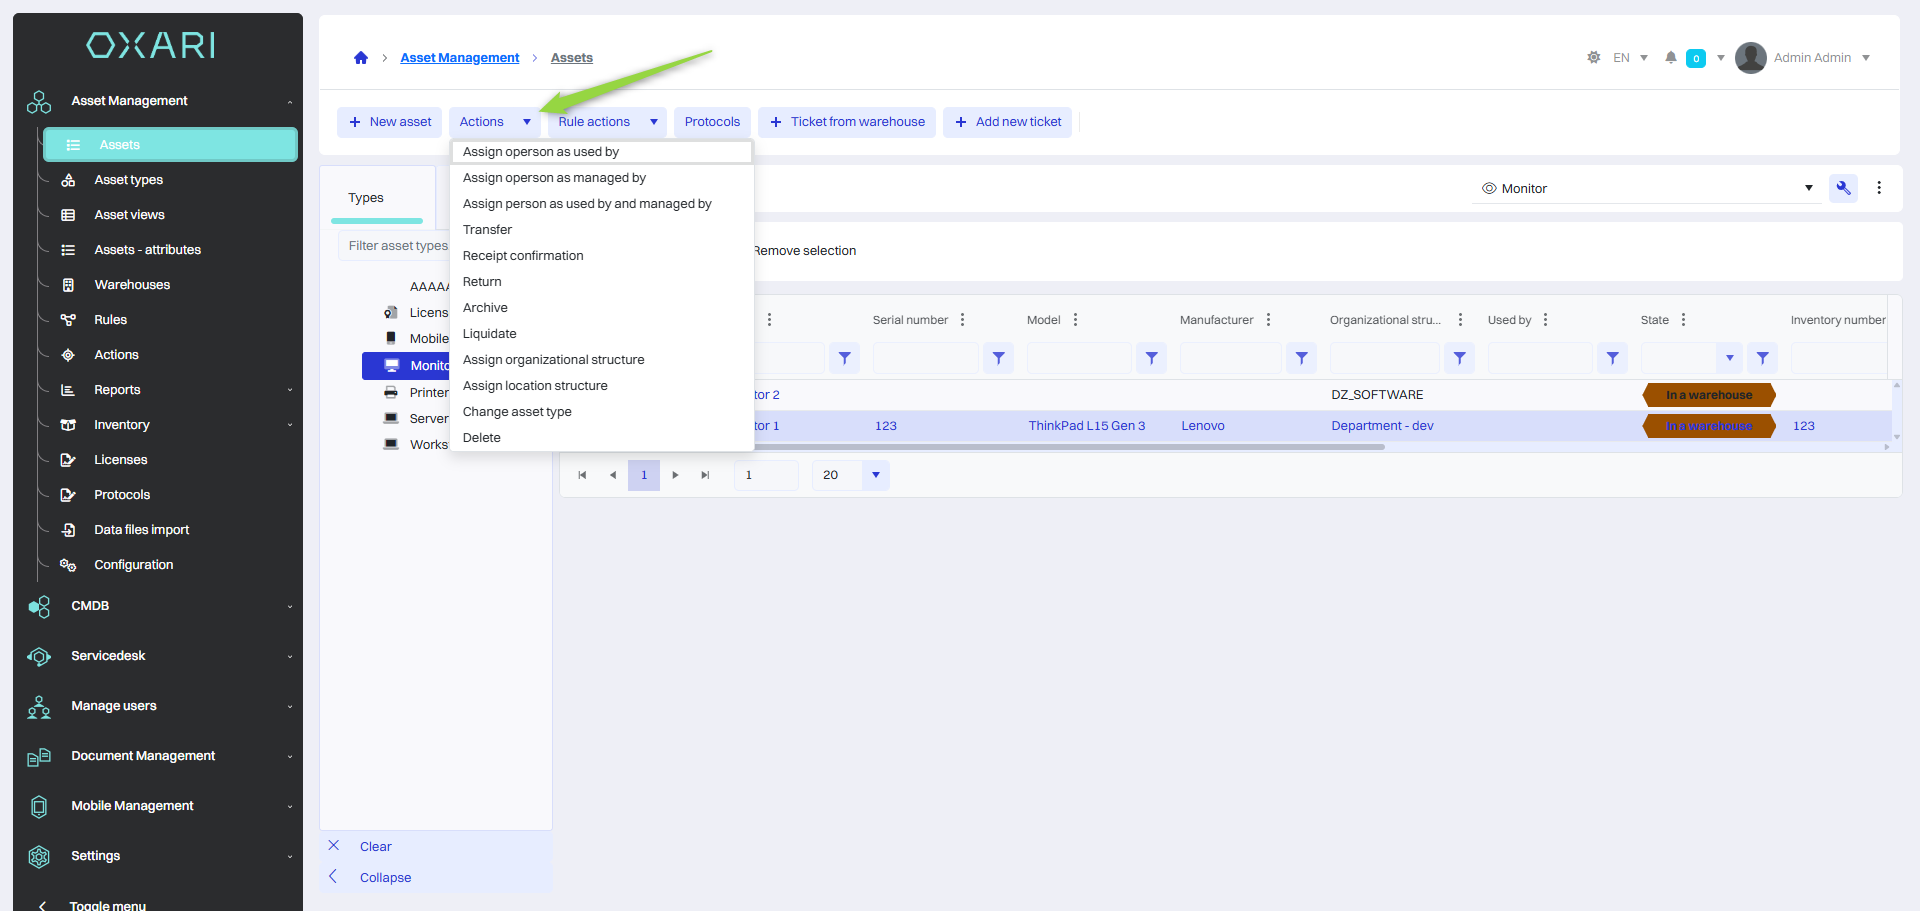
In this step, we have a choice of actions such as:
|
1 |
Assign person as used by - Allows you to assign a asset to a specific person who will use it. More about the individuals: Go > |
|
2 |
Assign person as managed by - Allows you to assign a person responsible for managing the asset. |
|
3 |
Assign person as used by and managed by - Combines both of the above actions, allowing you to assign both a person and a manager to the same asset. |
|
4 |
Transfer - Used to transfer a asset between different individuals, organizational structures or location structures. |
|
5 |
Return - This can be used when a asset is returned, for example, after it has been used. |
|
6 |
Archive - Allows you to transfer data about a asset to an archive, which can be useful for assets that have been retired but whose history is still relevant. |
|
7 |
Liquidate - Used to mark a asset as inactive or removed from the inventory, for example, if it is destroyed. |
|
8 |
Assign organizational structure - Allows you to assign a asset to a specific department or team in the organization's structure. |
|
9 |
Assign location structure - Used to determine the physical location of the asset within the organization. |
|
10 |
Change asset type - Allows you to change the classification of a asset, for example, from computer to printer, if the original category was incorrectly assigned. |
|
11 |
Delete - This option allows you to completely remove the asset from the system. |
Select the desired action and then fill in the fields associated with the action.
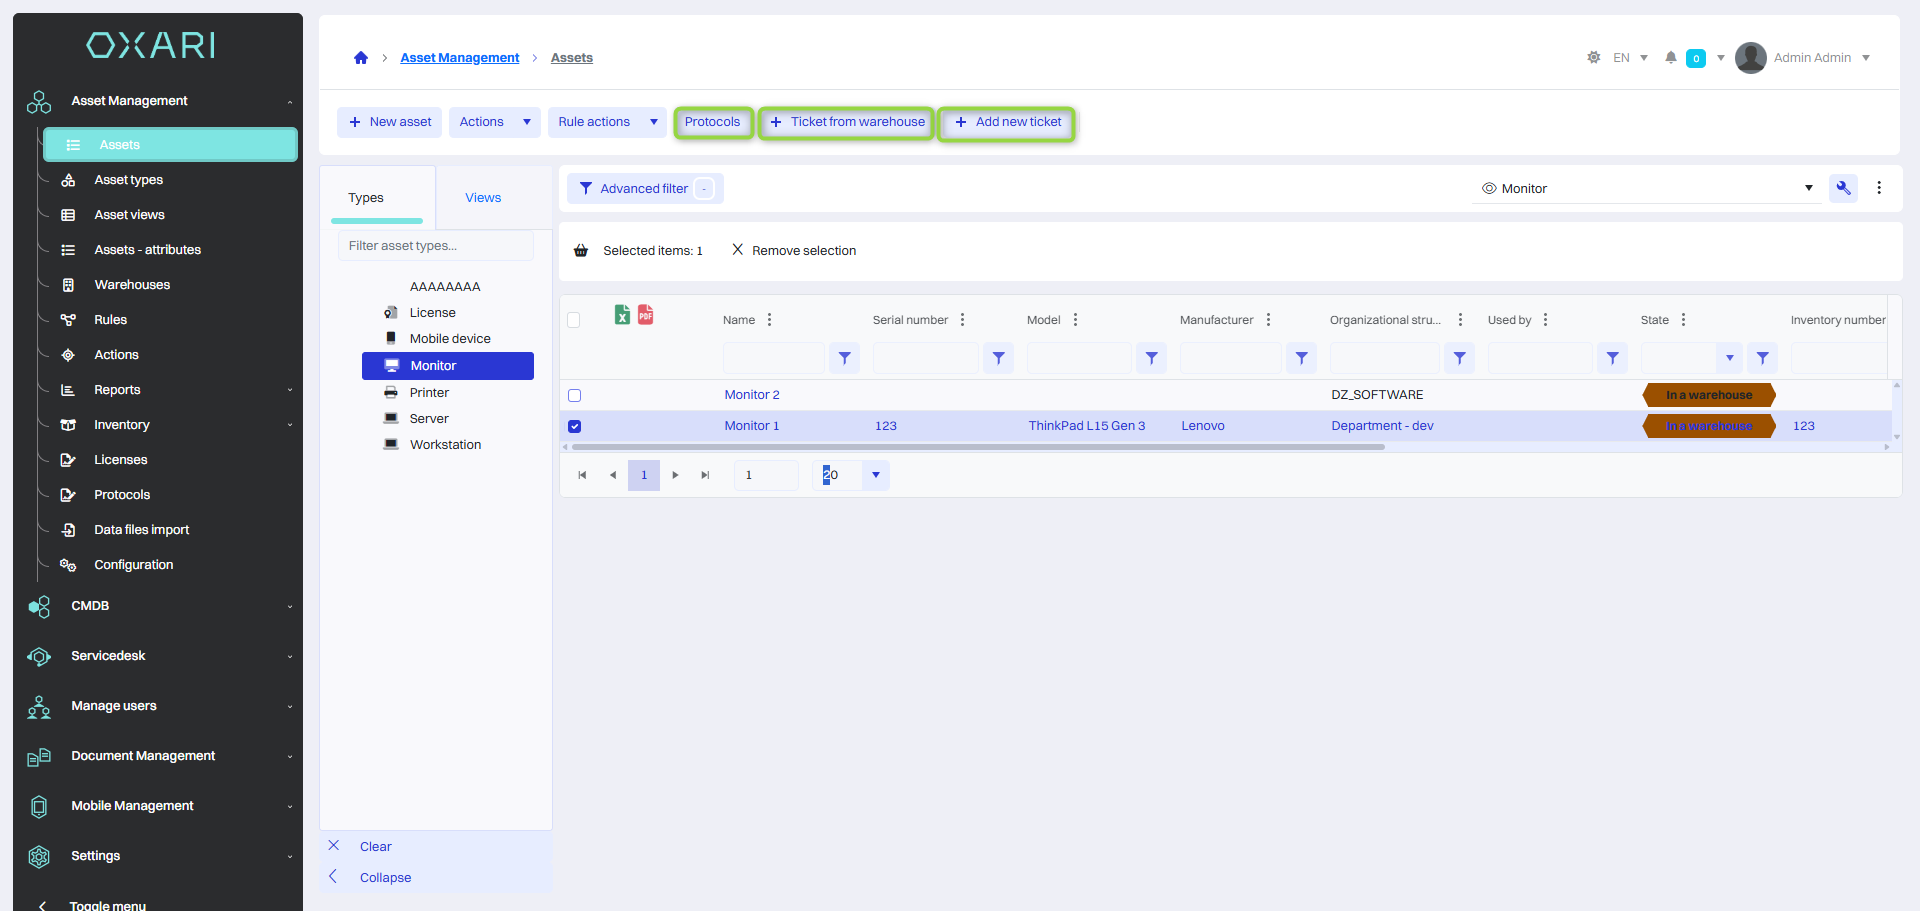
Other options in the main view of assets
From the main view, the options “Protocols”, “Release from storage” and “Add new ticket” can be used in the same way as executing an action. There are two protocols predefined in the system:
|
1 |
Resource liquidation Protocol - This is a document that is created when a asset is decommissioned. To configure the protocol: Go > |
|
2 |
Resource label - This is an identification label that can be attached to a physical asset. |
The option “Ticket from warehouse” is to issue to a particular person the asset that has the status “In stock”.
More about the magazines: Go >
The “Add New ticket” option allows you to add a ticket for the selected resource.
More about the tickets: Go >
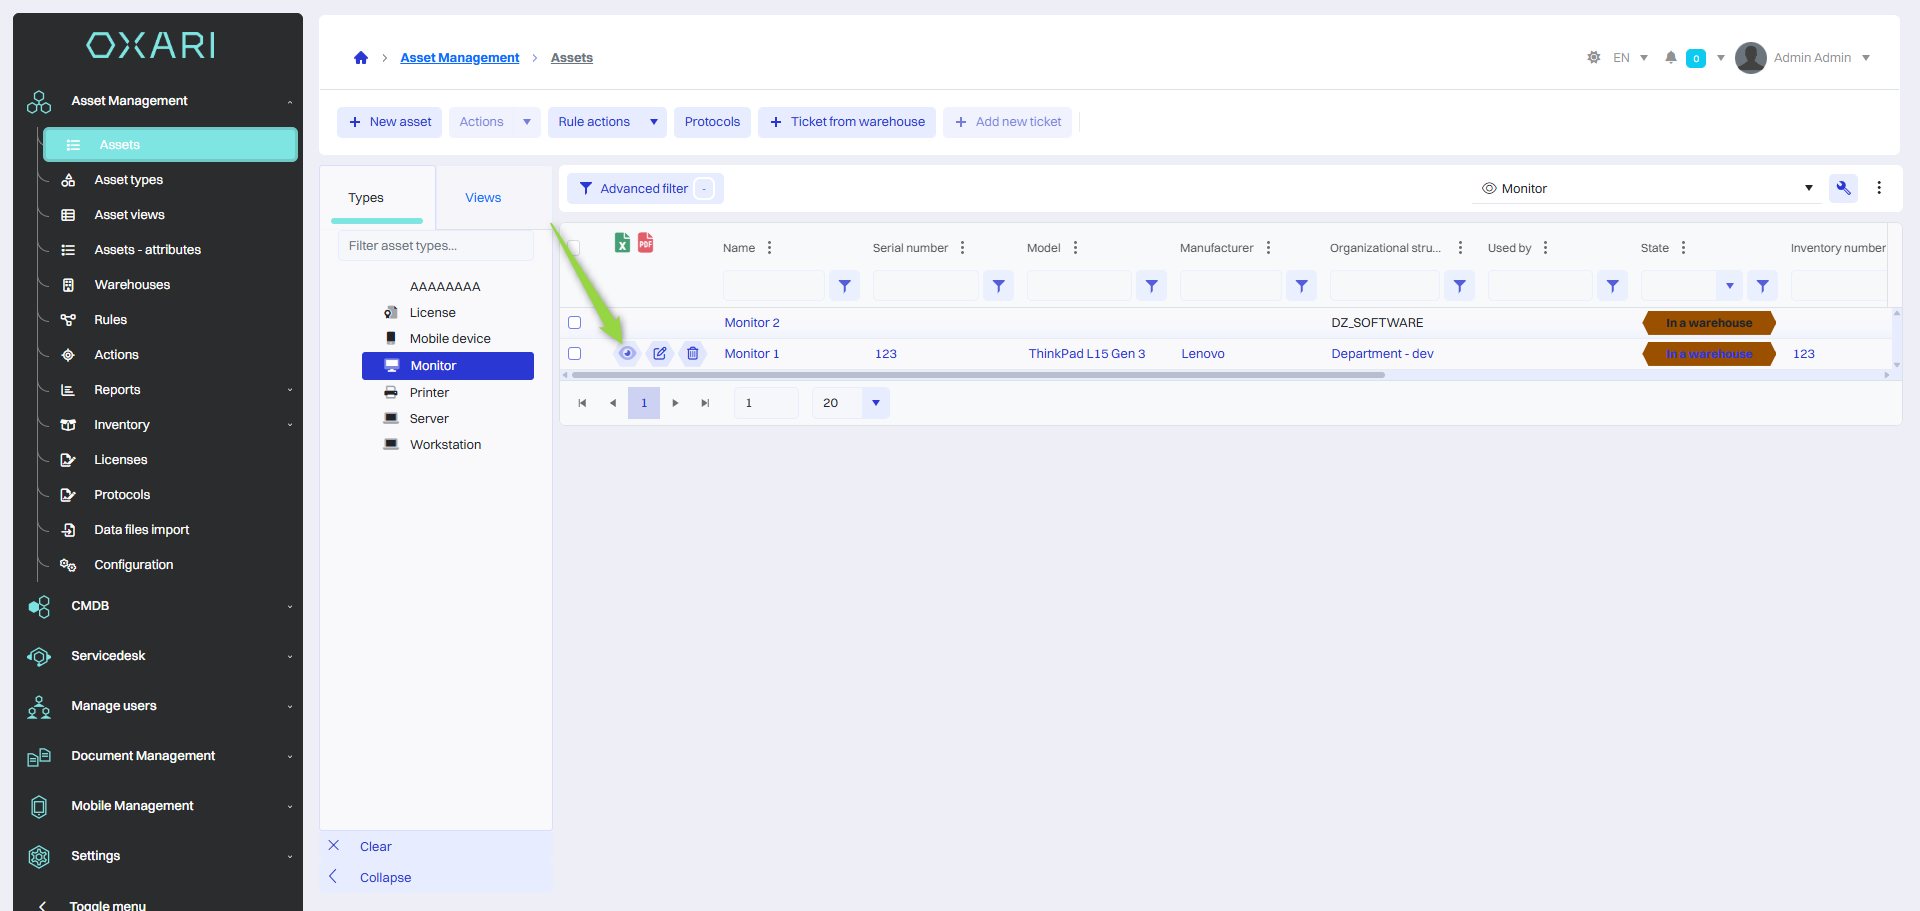
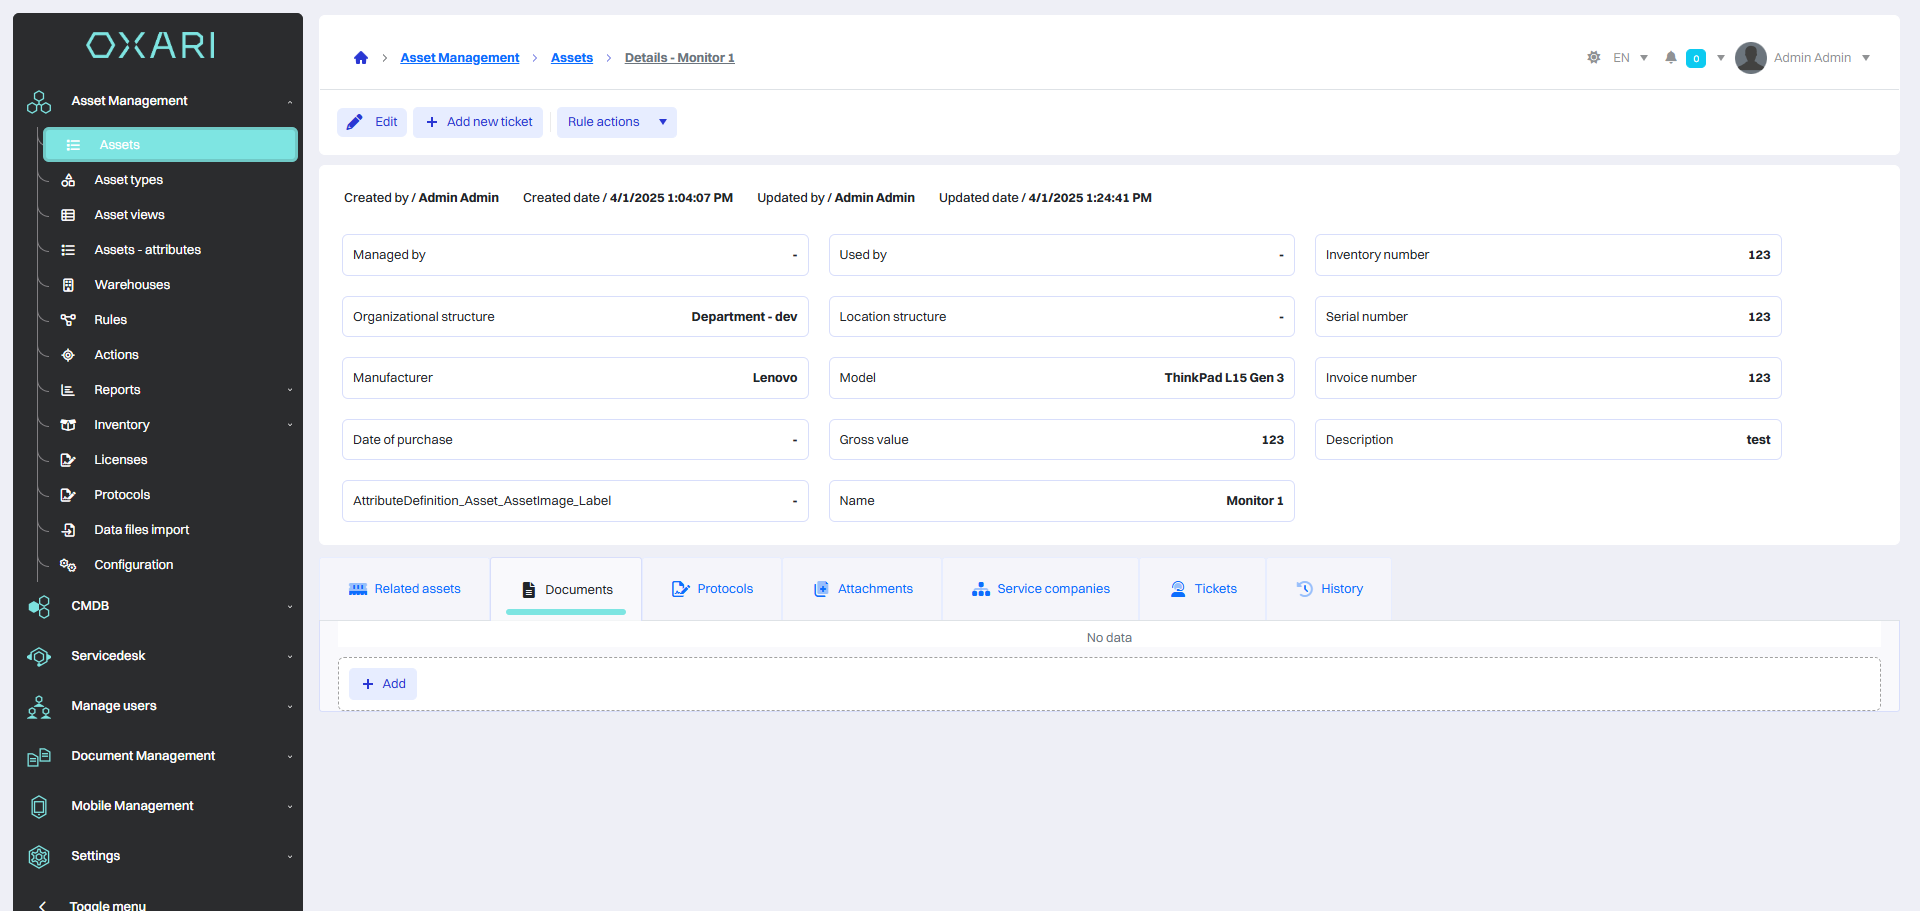
Asset detail view
To open the detail view of a asset, go to Asset Management > Assets, and then click the “Details” button next to the desired asset.
The asset's detail view includes attributes of the asset, for example, such as who created it and when, who last updated it, the name, production date, and the gross value of the asset. It is also possible to edit the asset's data and access various tabs that allow you to manage the documentation, history, service, linkages and tickets associated with the asset.
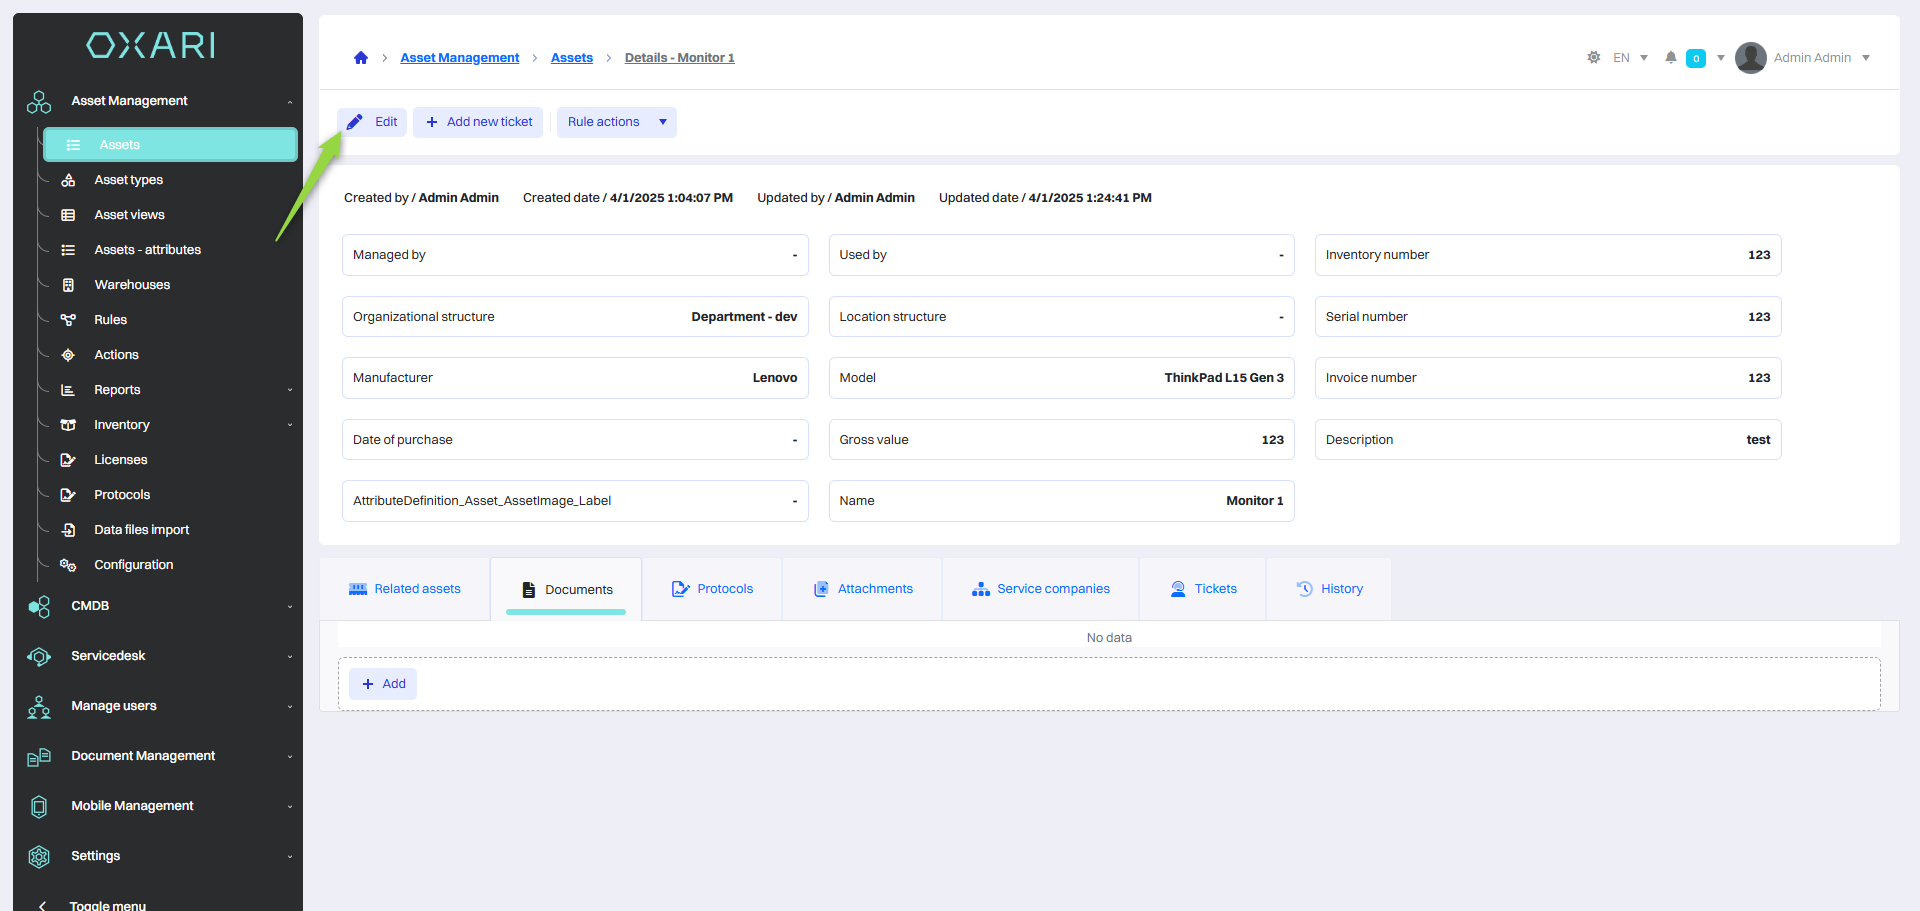
Edit the asset
To edit a asset, click the “Edit” button.
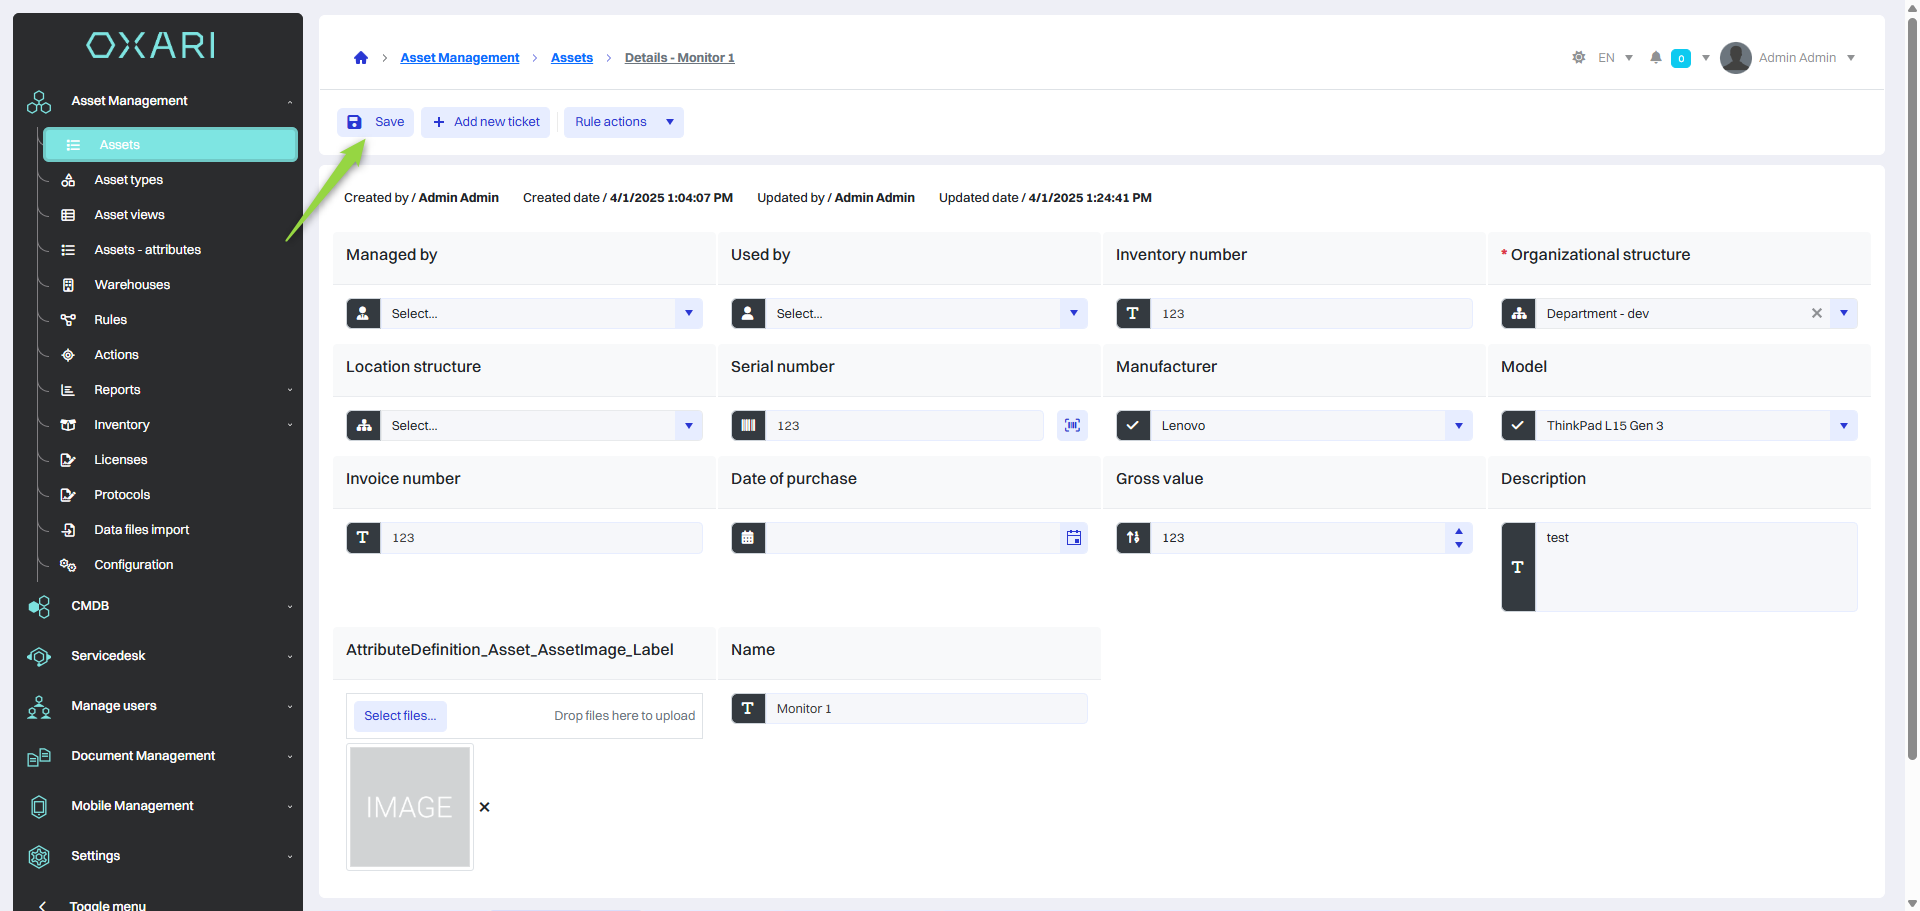
Then the view of editing the attributes of the asset is shown, after making the desired changes, click the “Save” button.
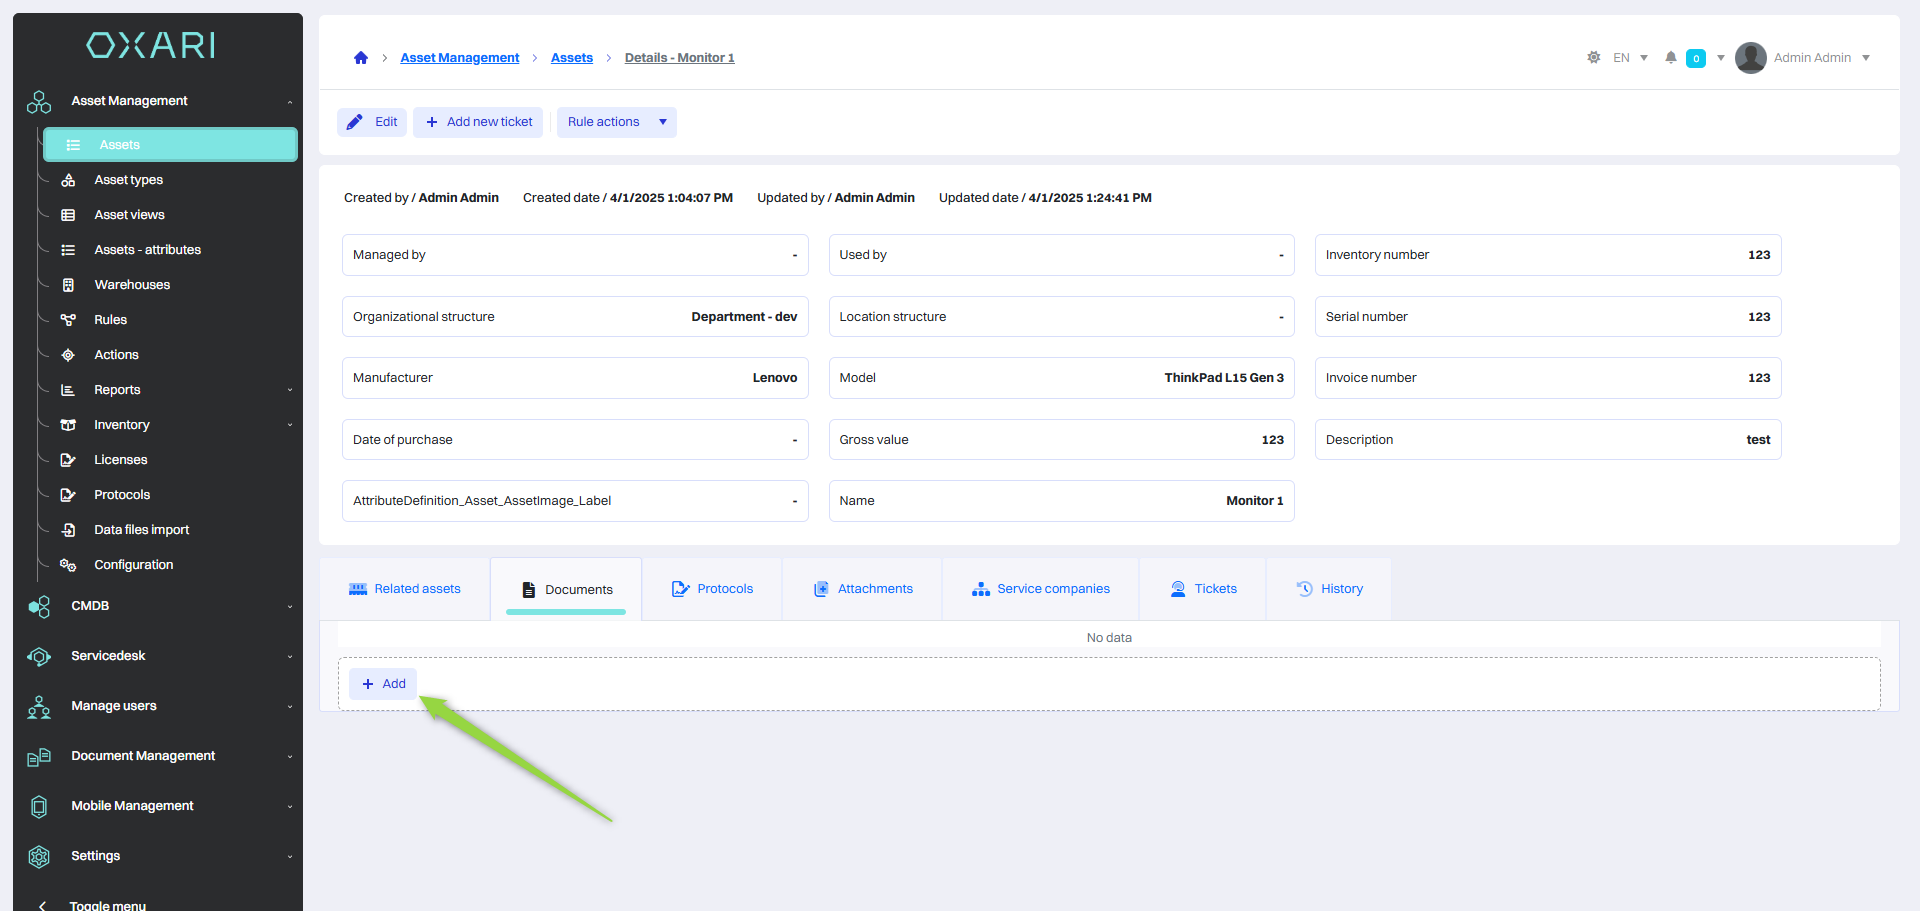
Documents tab
The documents tab allows you to assign documents from the system to a asset, for example, a service contract. To add a document, click the “Add” button.
More about the documents: Go >
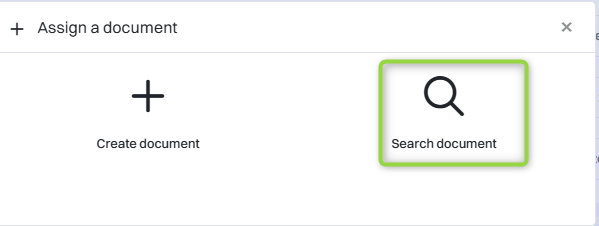
Then, in the “Assign document” window, there are two options to choose from “Create new document” and “Search document”. In this case, the “Search document” option is selected.
More about document creation: Go >
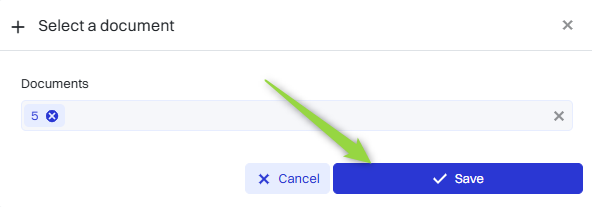
In this step, select the desired document from the list and click the “Save” button.
The document has been assigned to the asset, from here you can go directly to the document or remove it from the asset.

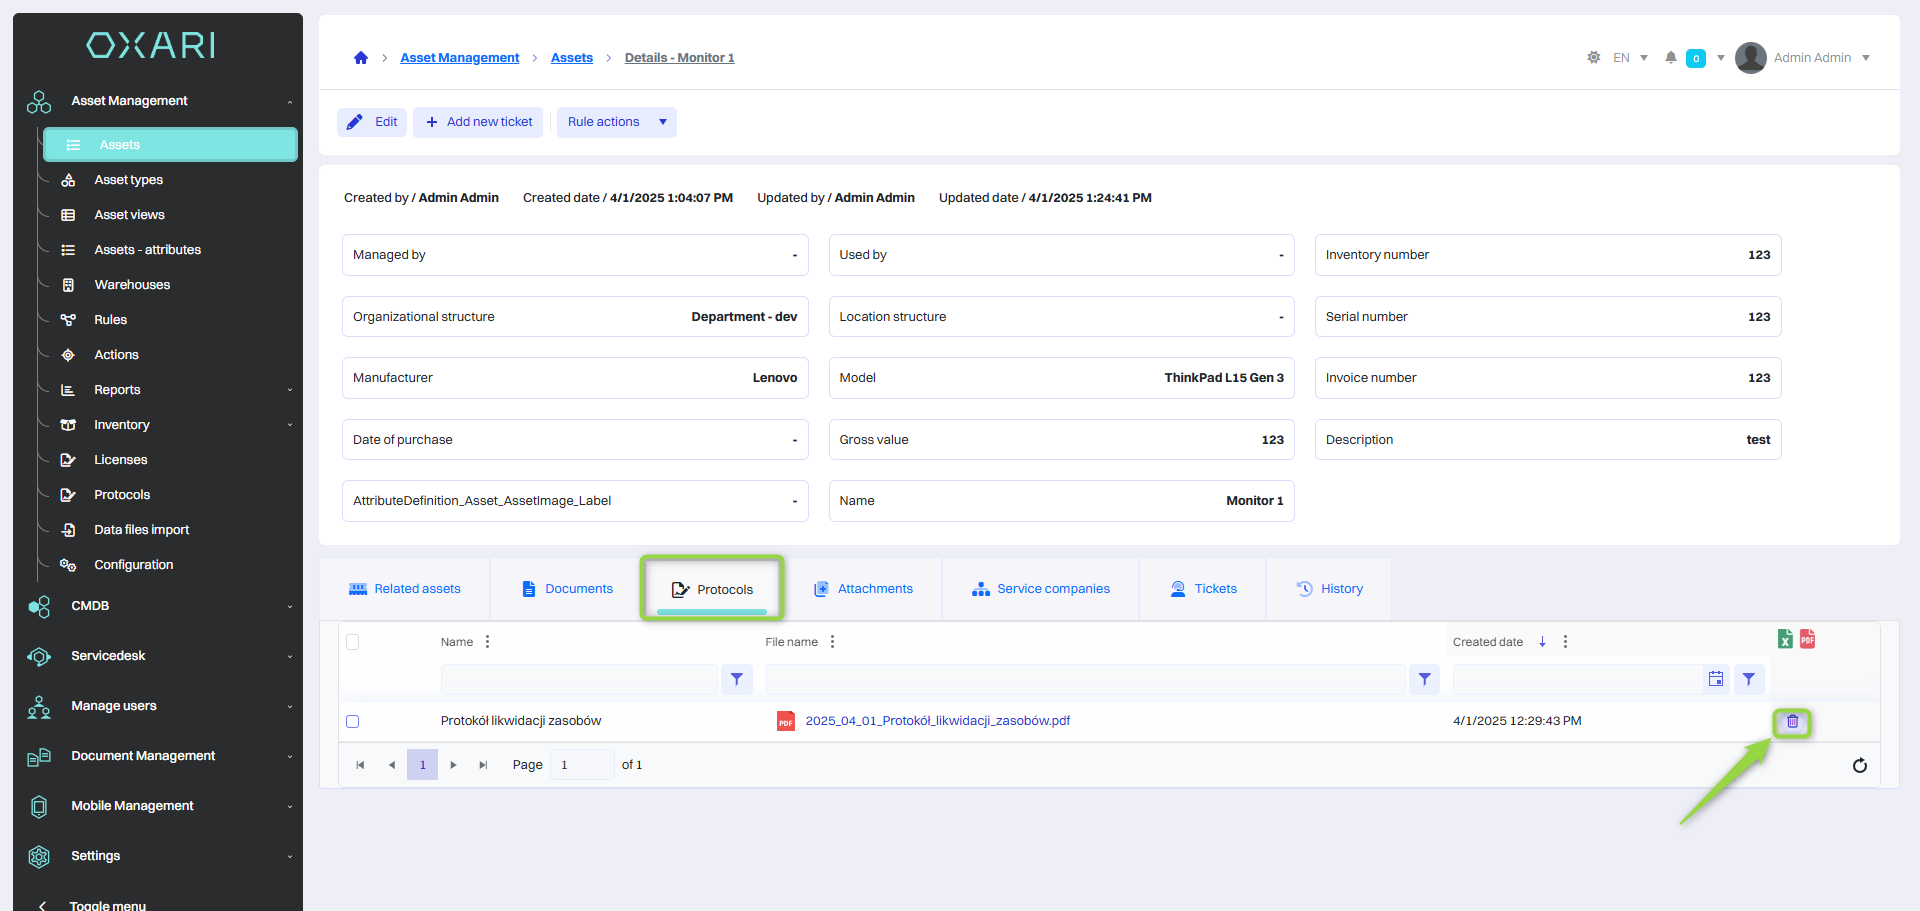
Protocols tab
This tab shows the protocols that have been used for the asset, the protocol can be deleted in this tab.
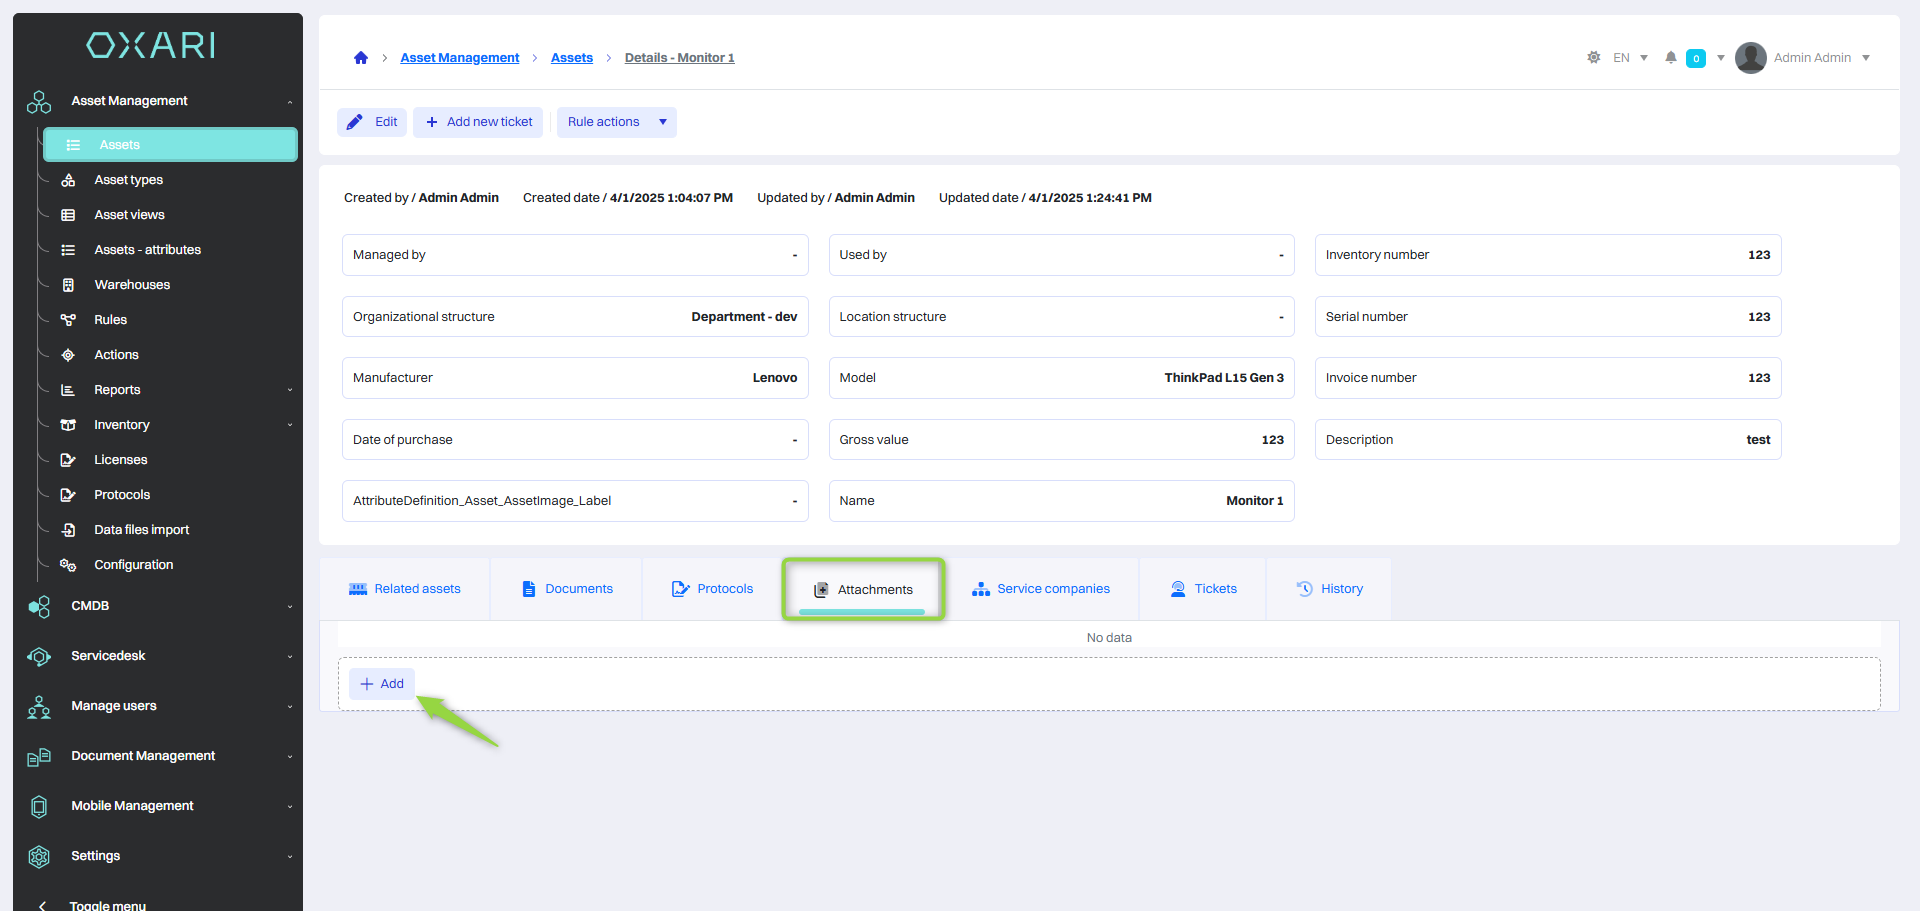
Attachments tab
This tab allows you to assign an attachment from your computer disk, for example, a VAT invoice. To add an attachment, click the “Add” button.
Then, in the “Select Attachments” window, click the “Select...” button.
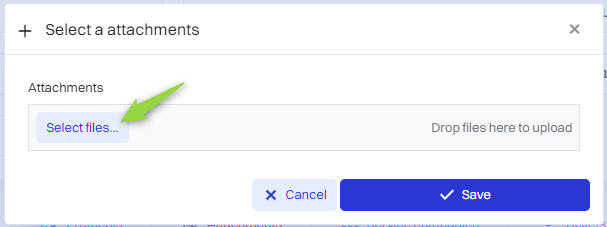
In this step, select the desired attachment from the disk.

Finally, click the “Save” button.

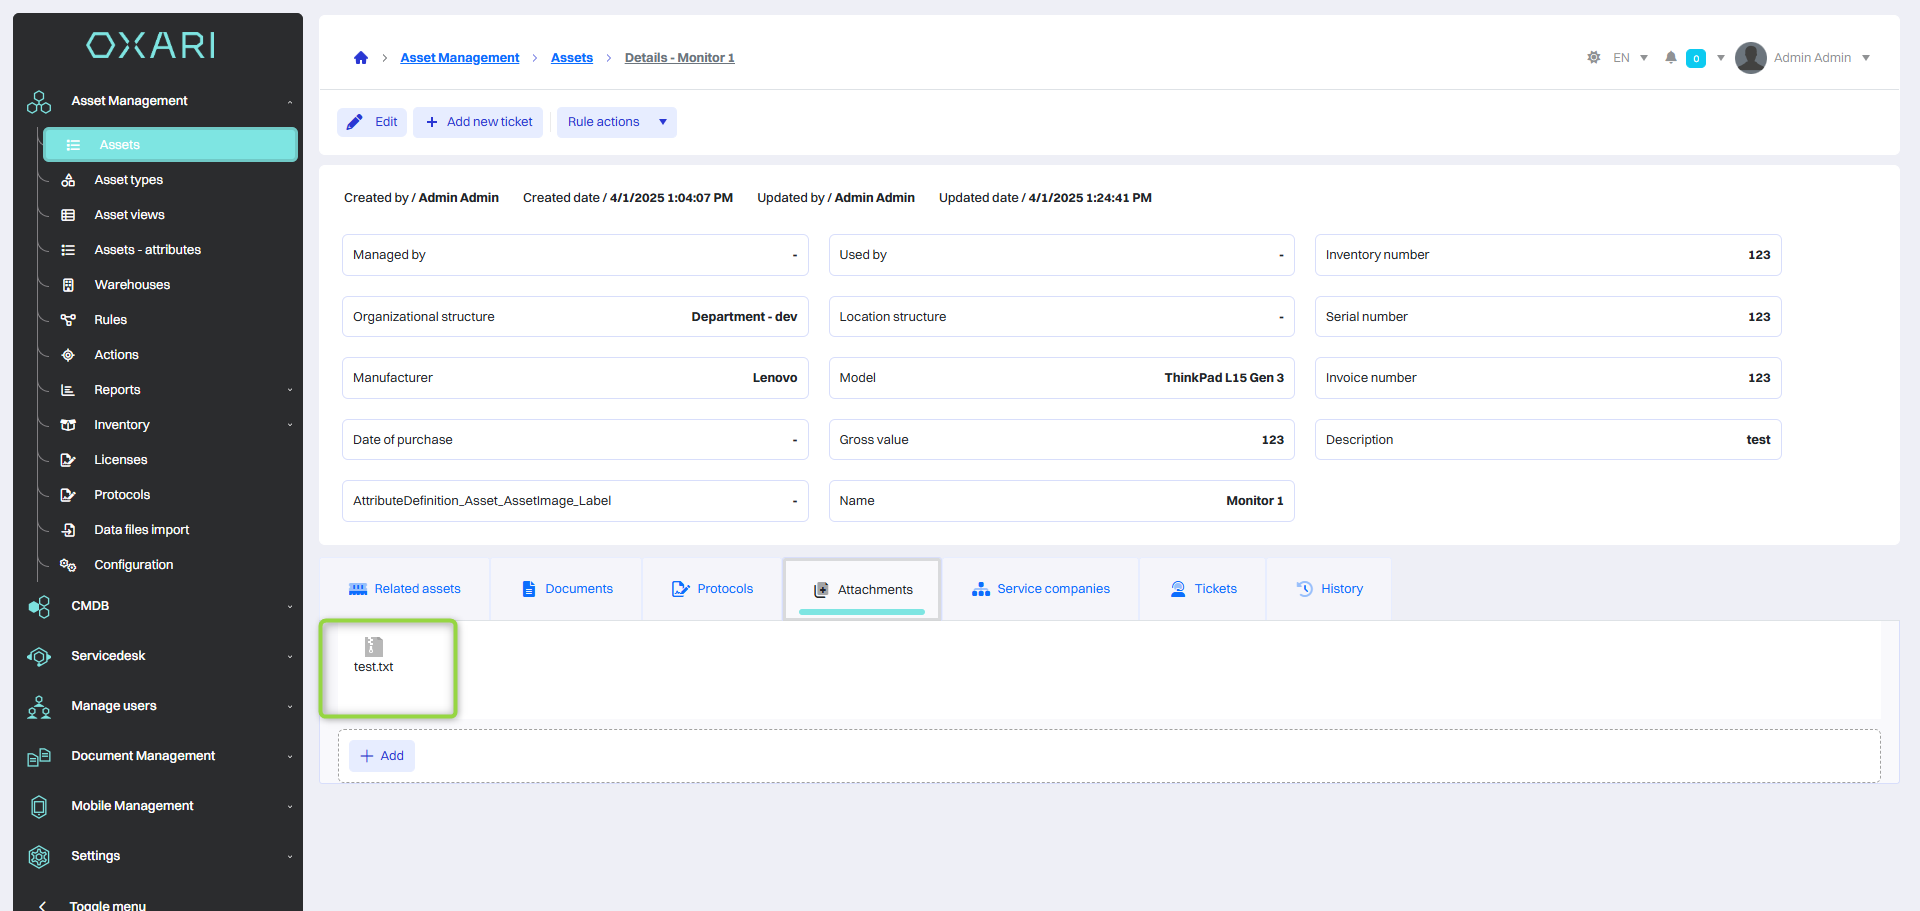
The attachment has been added to the asset. From here you can download the attachment or remove it from the asset.
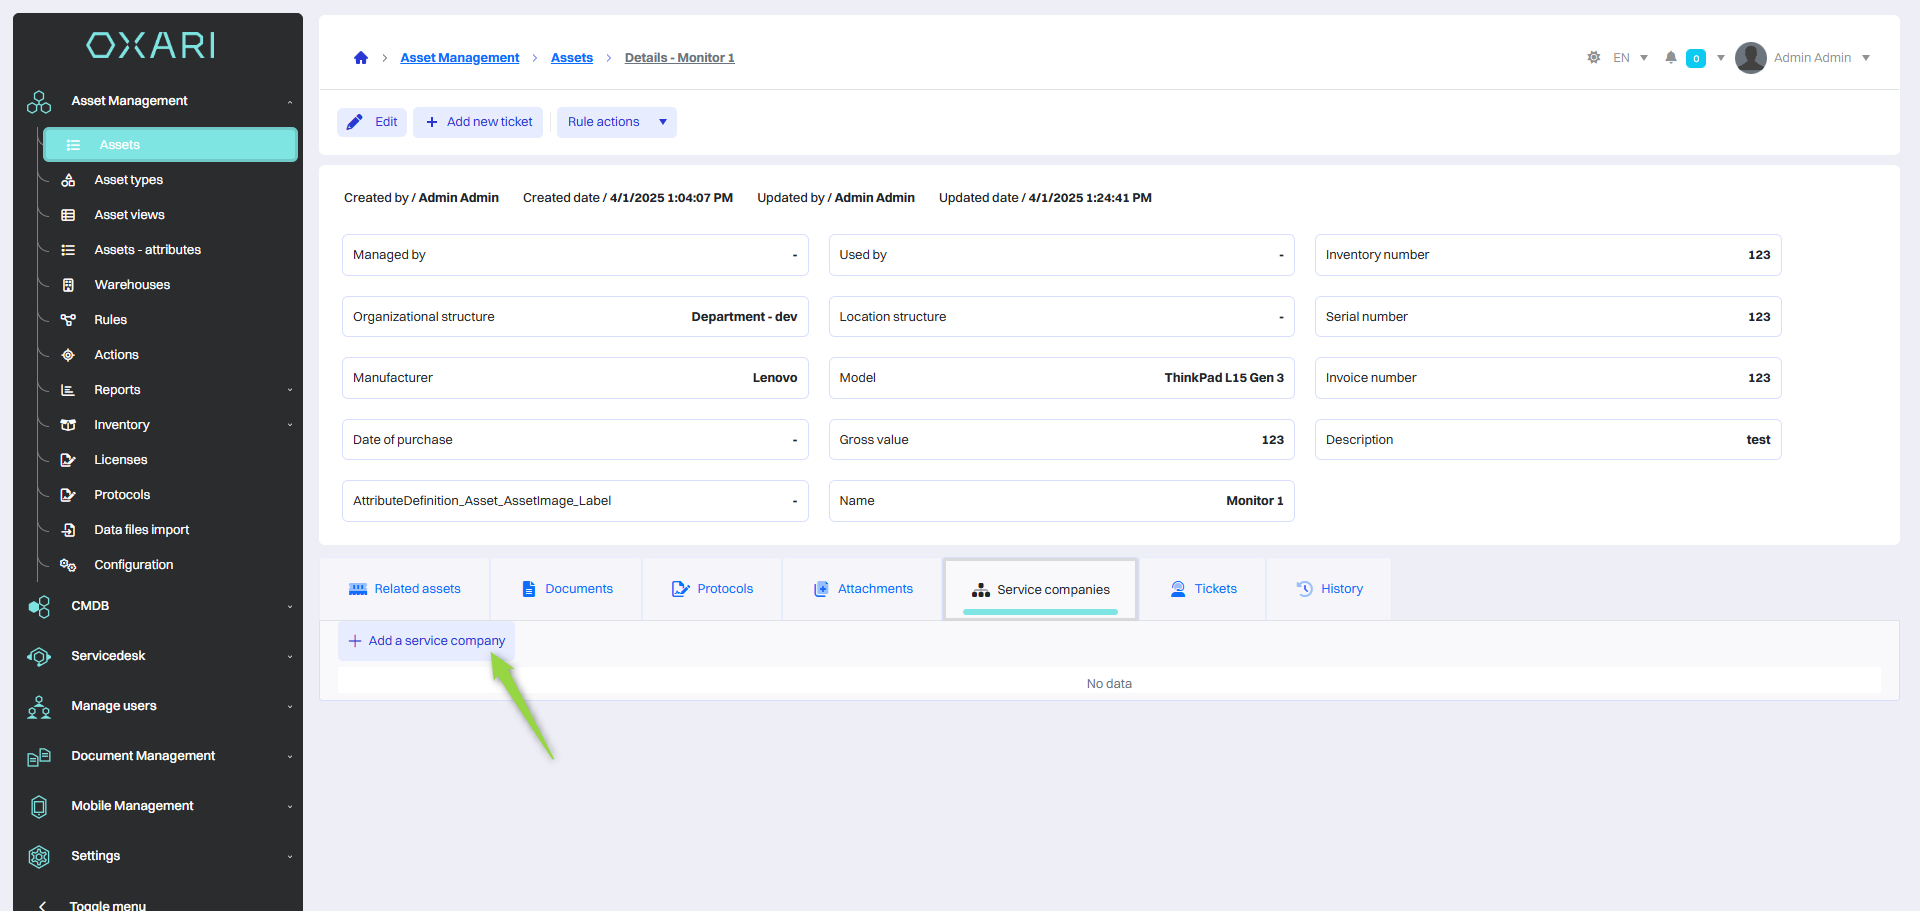
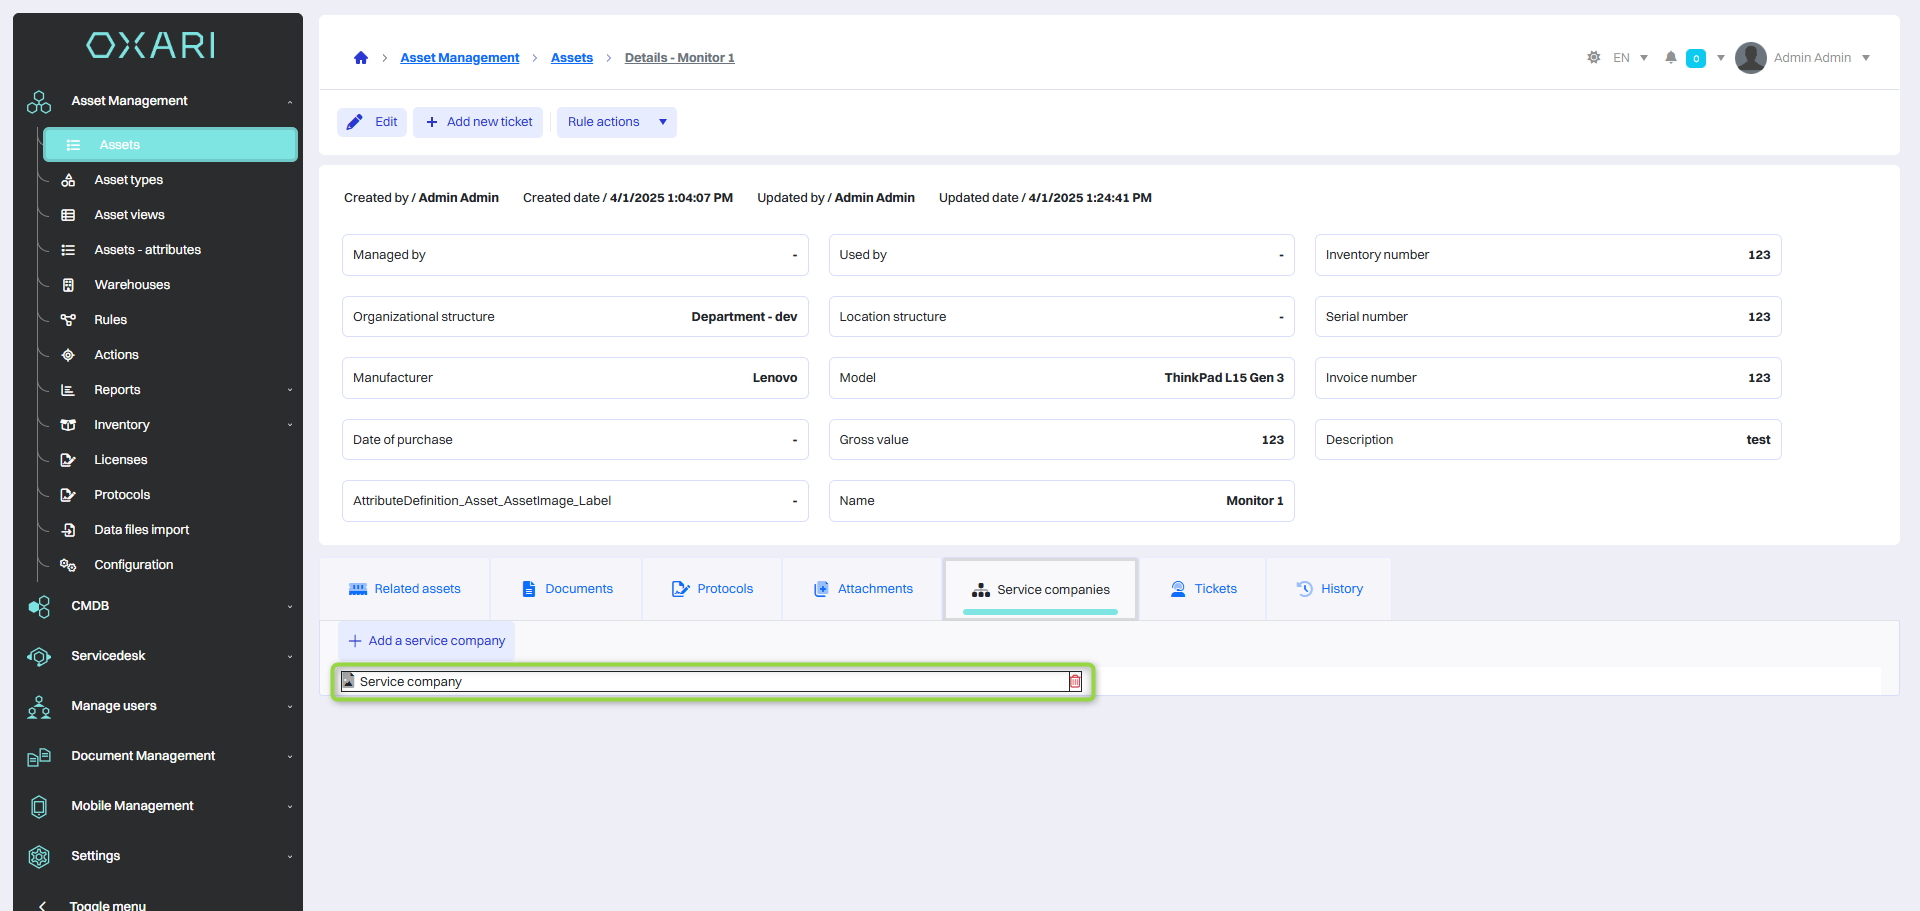
Service companies tab
In this tab you can assign a service company to a asset. To add a service company, click the “Add service company” button.
Then, in the “Select a service company” window, select the organization from the list and click the “Save” button.
To configure your organization: Go >

The service company has been added. From here you can go directly to the service company in the system or remove it from the asset.
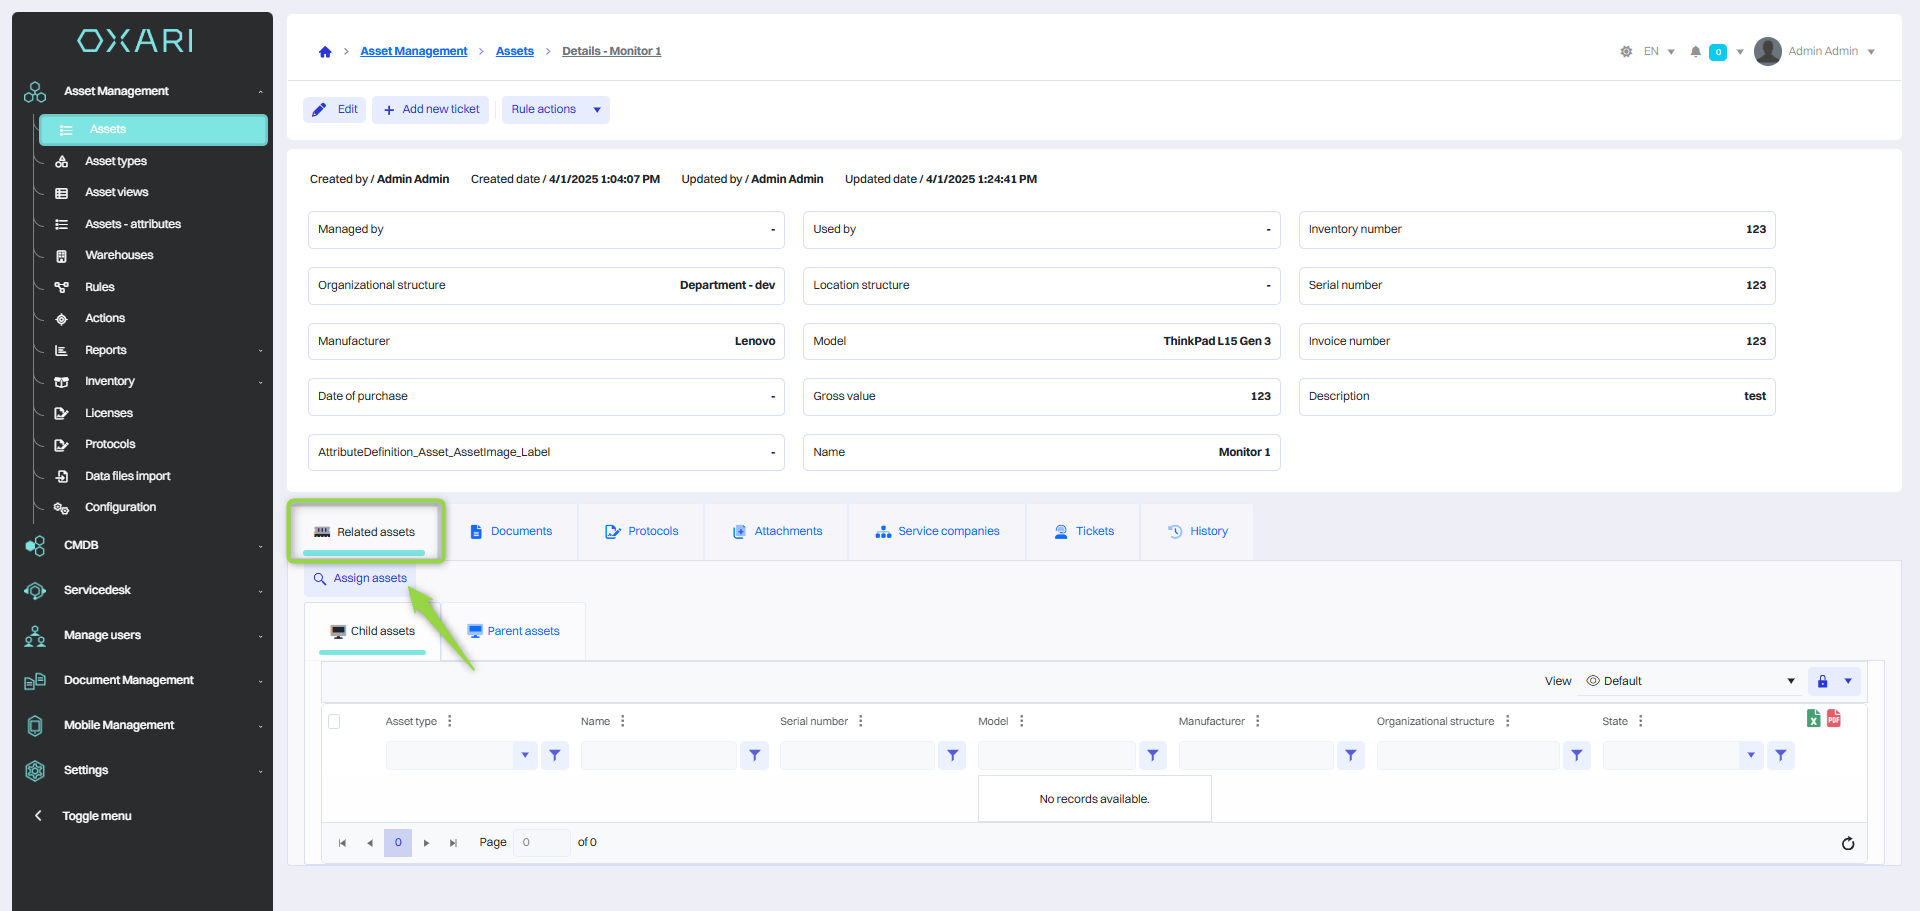
Related assets tab
In this tab you can create a structure of related assets, you can assign subordinate and superior assets to a asset. To assign a asset, click the “Assign assets” button.
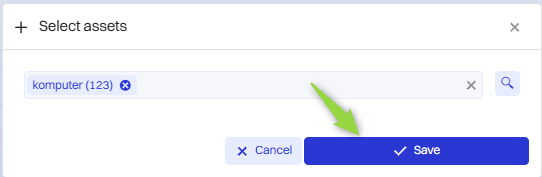
Then select the desired asset from the list and click the “Save” button.
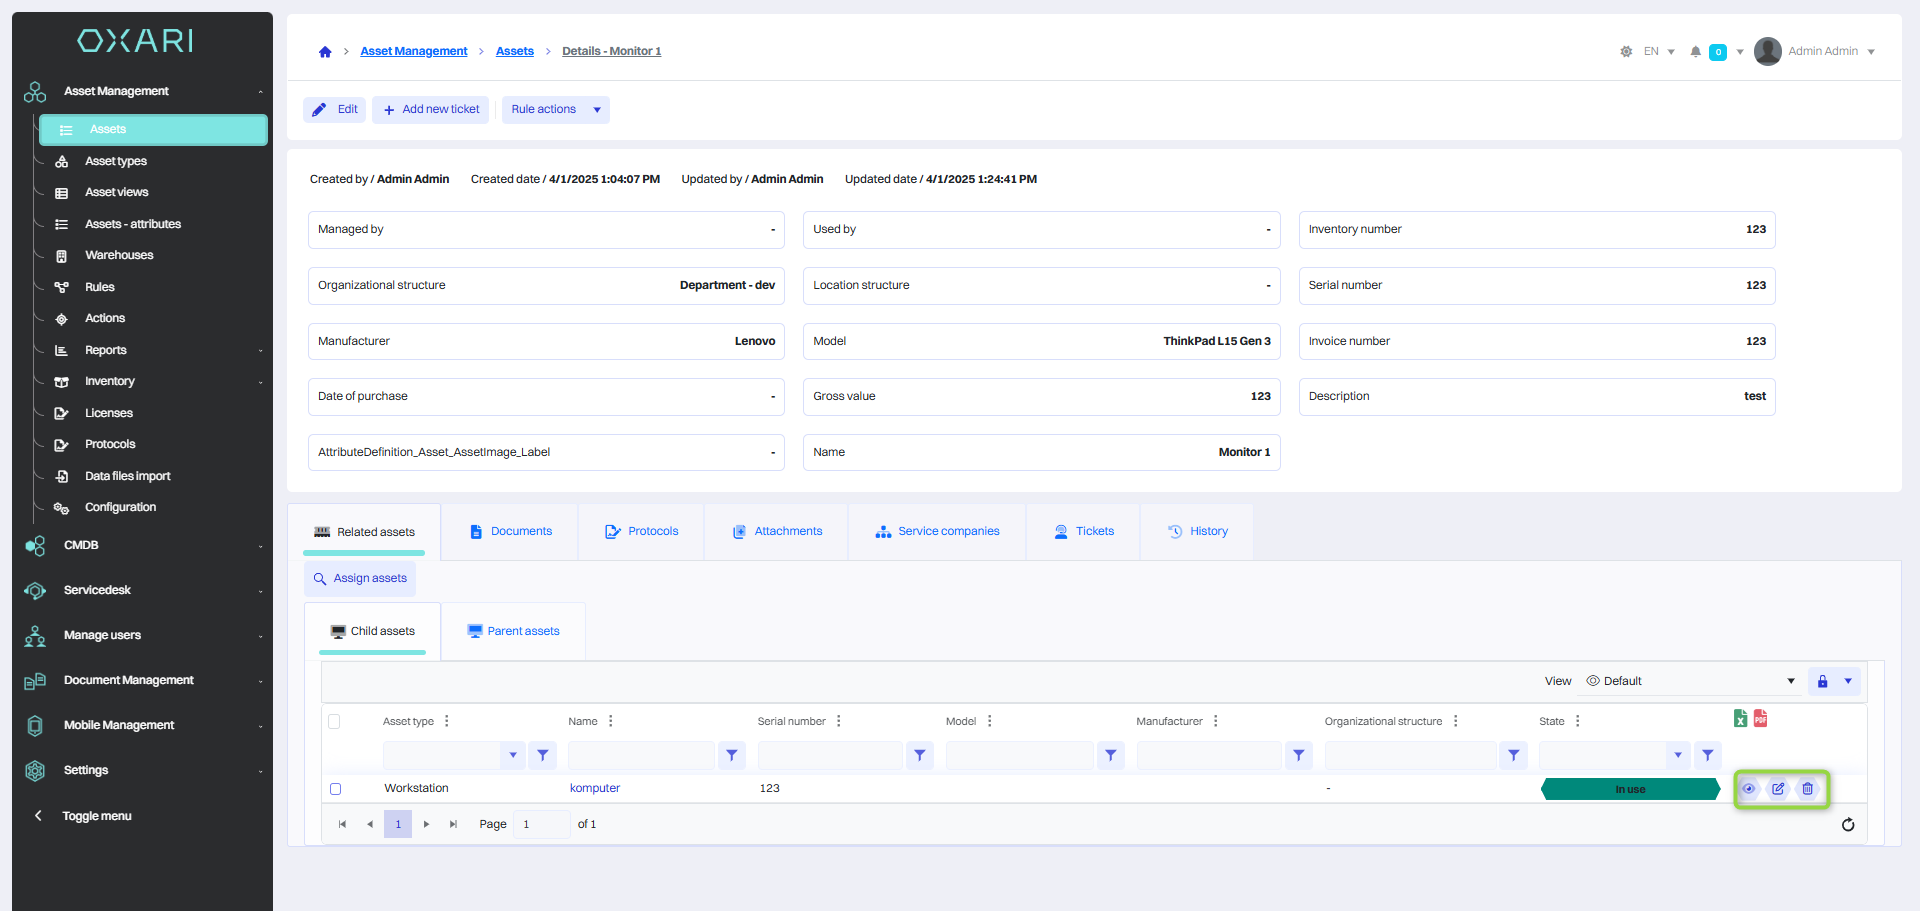
The asset has been linked, from here it is possible to go to the detail view of the assigned asset and edit, delete.
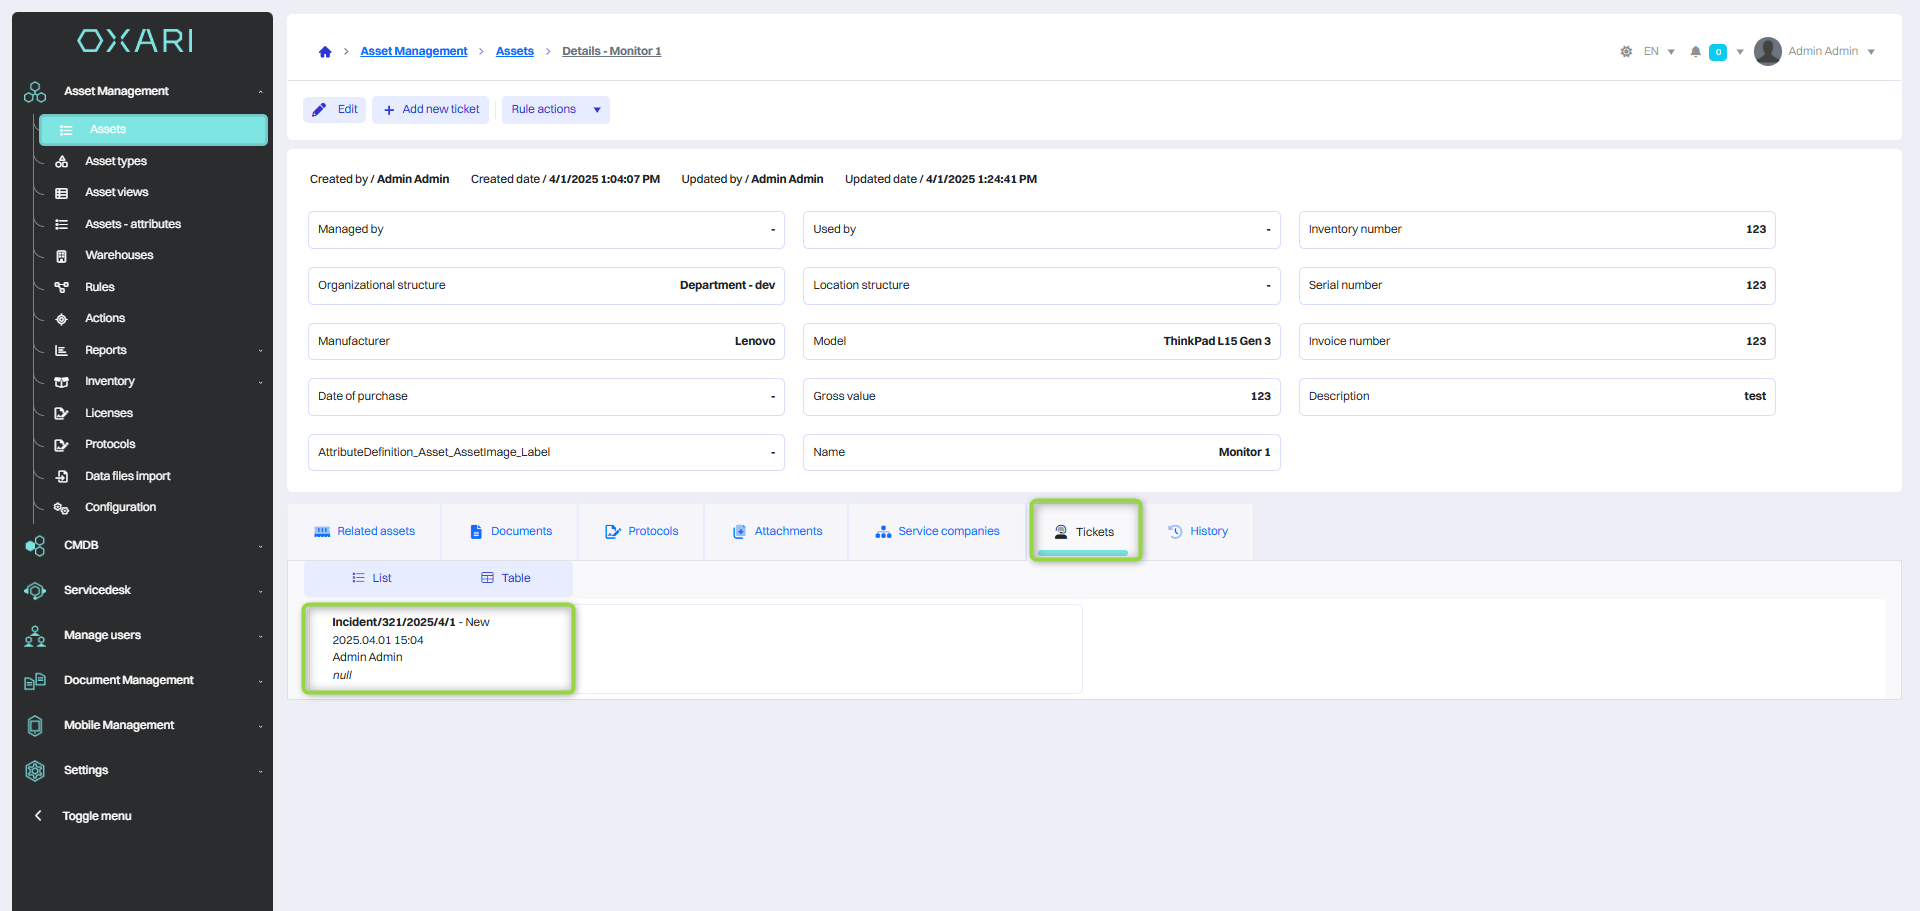
Tickets tab
This tab shows the history of requests related to this asset, for example, car reservations. From here you can also open the notifications associated with the asset.
Read more about tickets: Go >
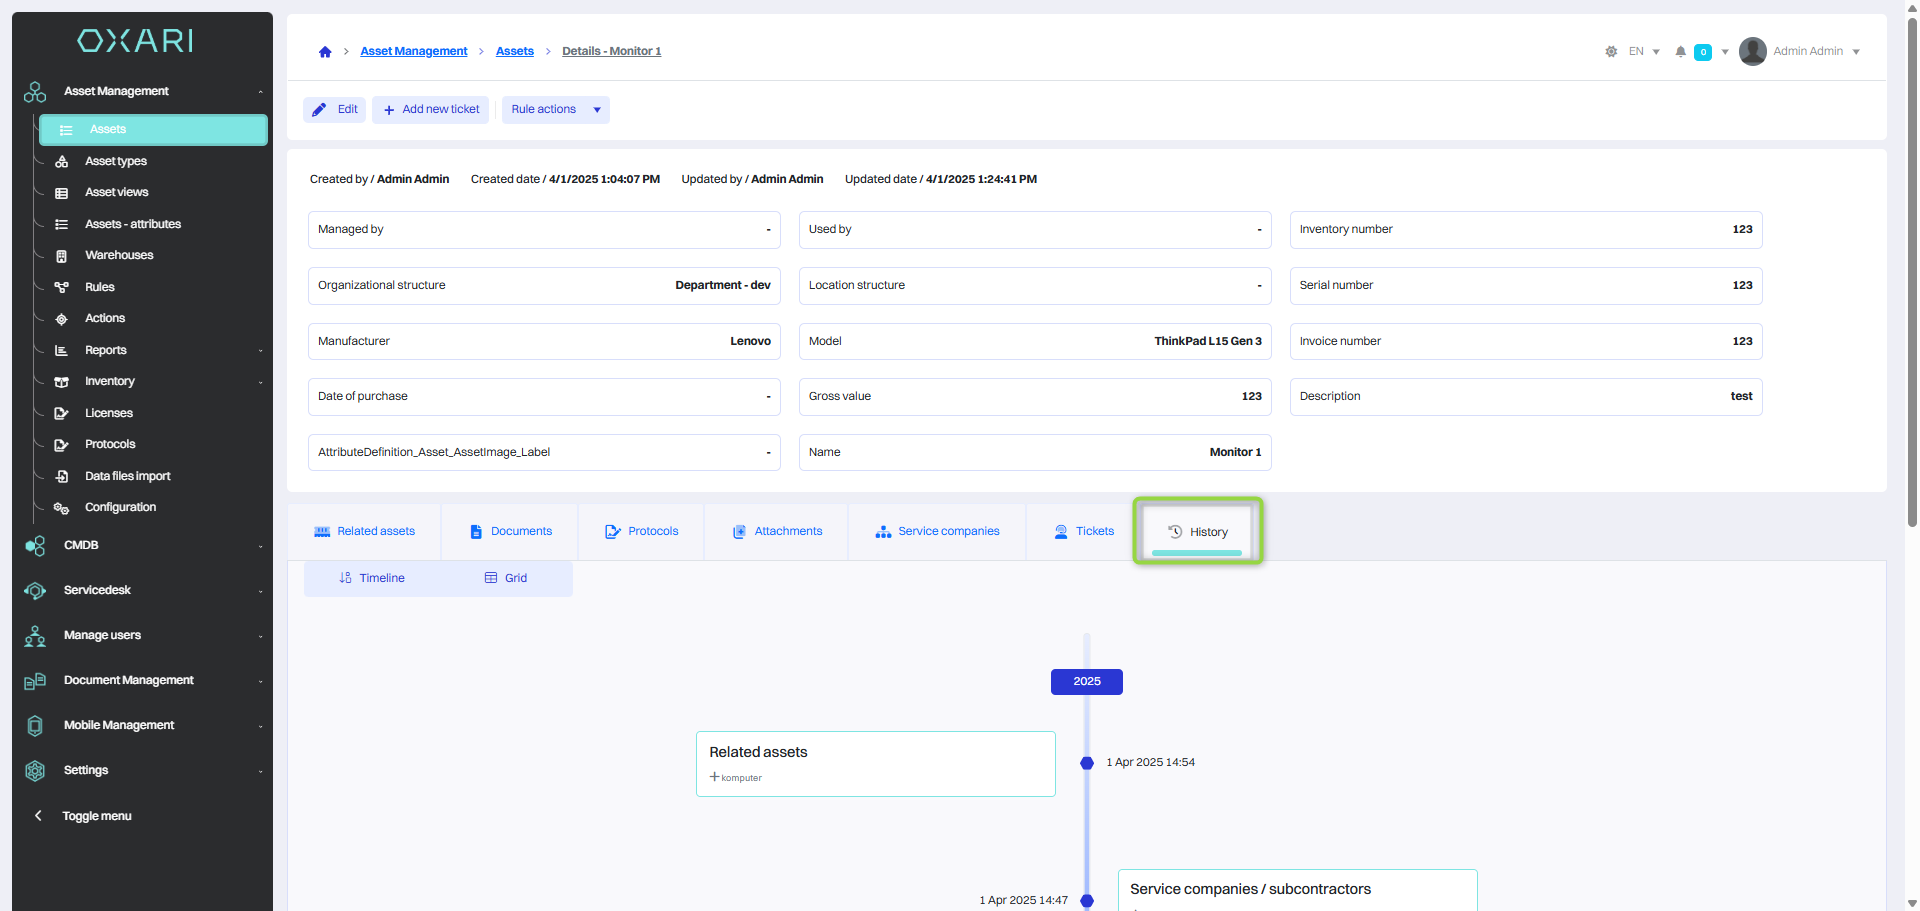
History tab
This tab shows the entire history of changes to a asset.
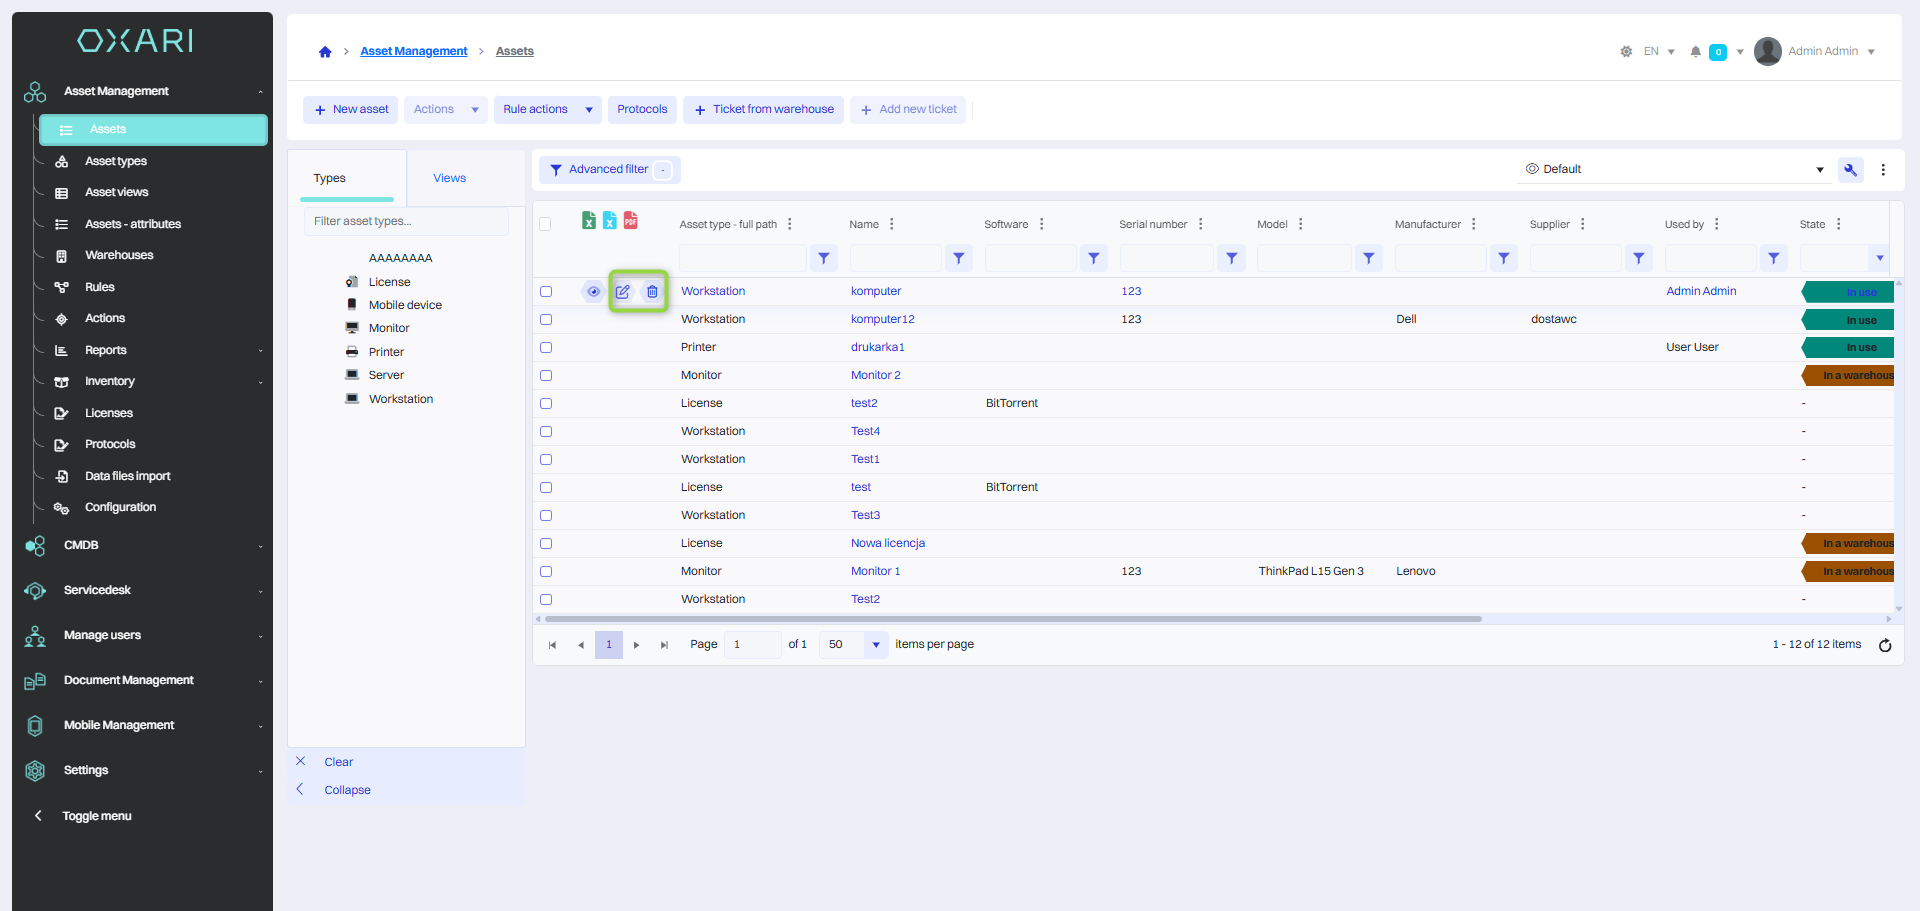
Editing/Deleting a asset
To edit or delete a asset, go to Asset Management > Assets. Hover over the desired asset. The edit/delete buttons will appear.