The “Protocols” function enables the creation and management of documentation related to an organization's assets, such as handover, record-keeping, and asset liquidation documents. With tools such as “FastReport Online Designer,” administrators can customize protocol templates to include the necessary asset attributes. This makes it possible to generate personalized documents that meet the specific needs of asset management and compliance with internal procedures, making it easier to accurately track and report on the status of assets in the organization.
New protocol
To add a new protocol, go to Asset Management > Protocols and then click the “New Protocol” button.

Filling
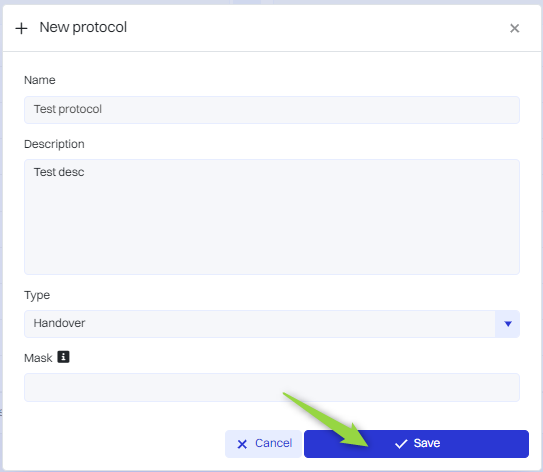
Next, in the “New Protocol” window, fill in the fields and click the “Save” button.
|
Name - The place where the user enters the name of the print protocol. |
|
Description - In this field, the user can enter a description of the printout protocol, which helps to later identify the purpose or context of the printout. |
|
Type - Selecting “Persons” indicates that the protocol is intended for use with individuals from the User Management > Persons section. |
|
Mask -Lets you define the pattern or format of the print identifier. |
Configuring the protocol
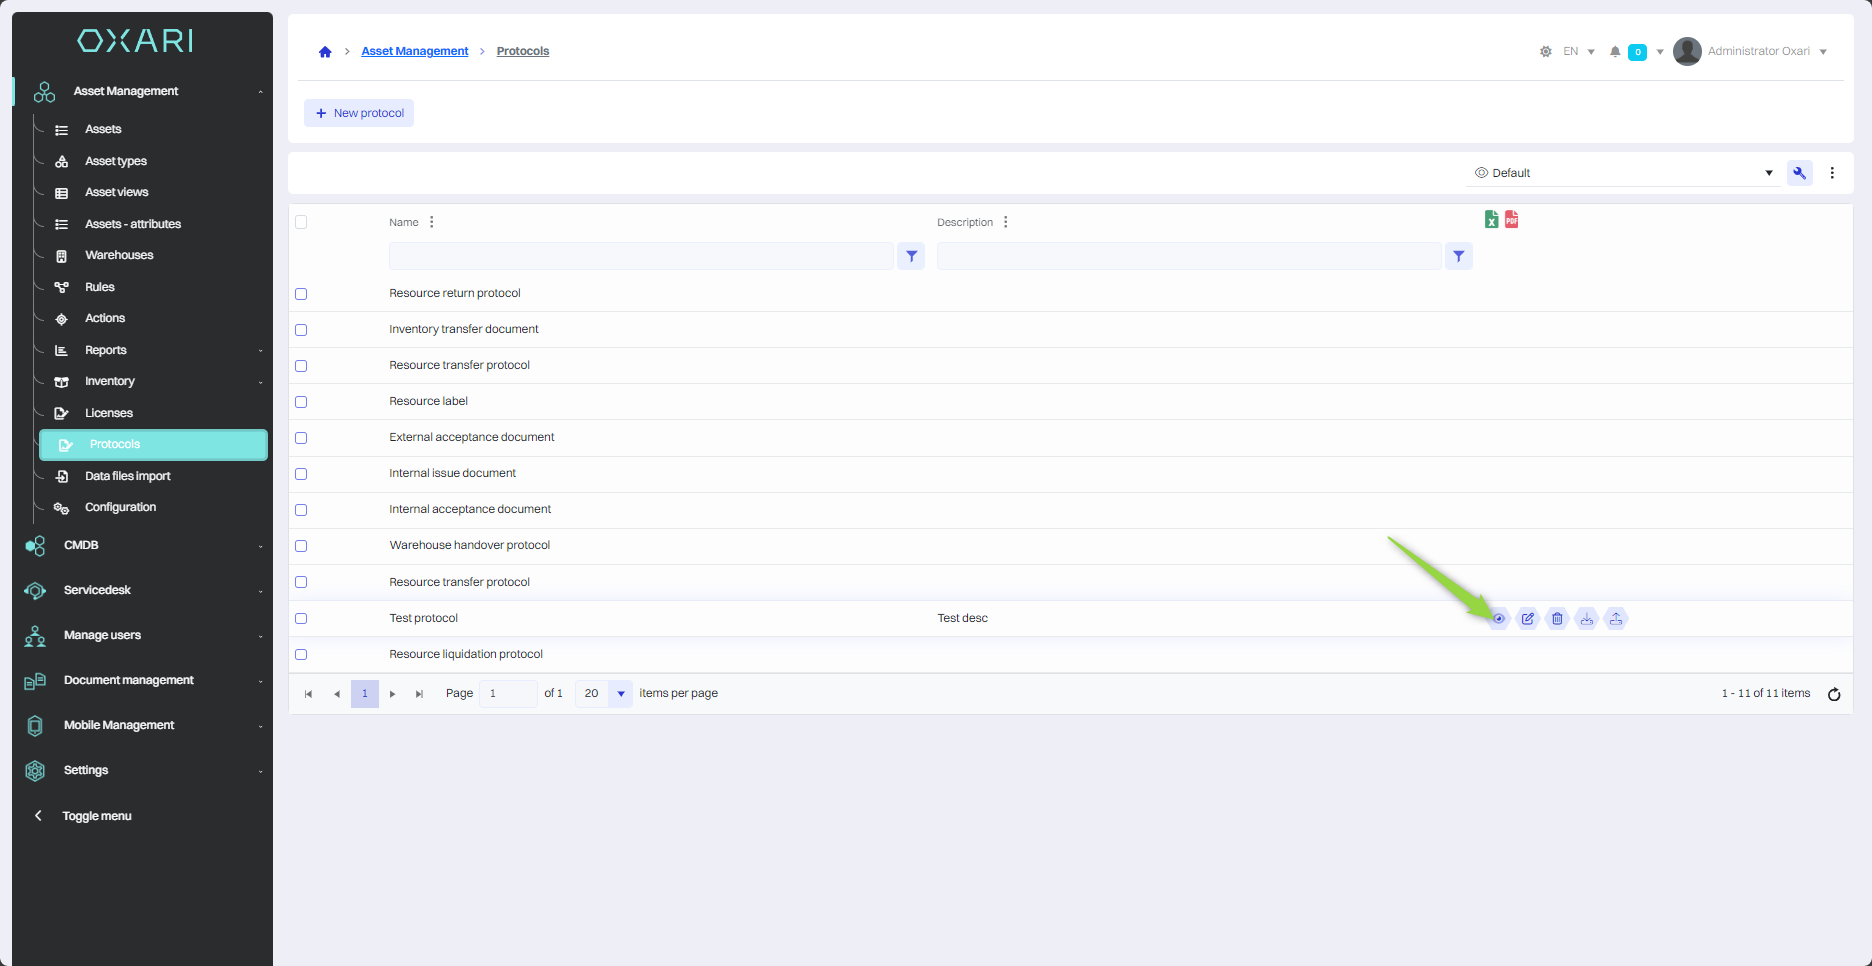
To configure the protocol, click the “Details” button next to the desired protocol.
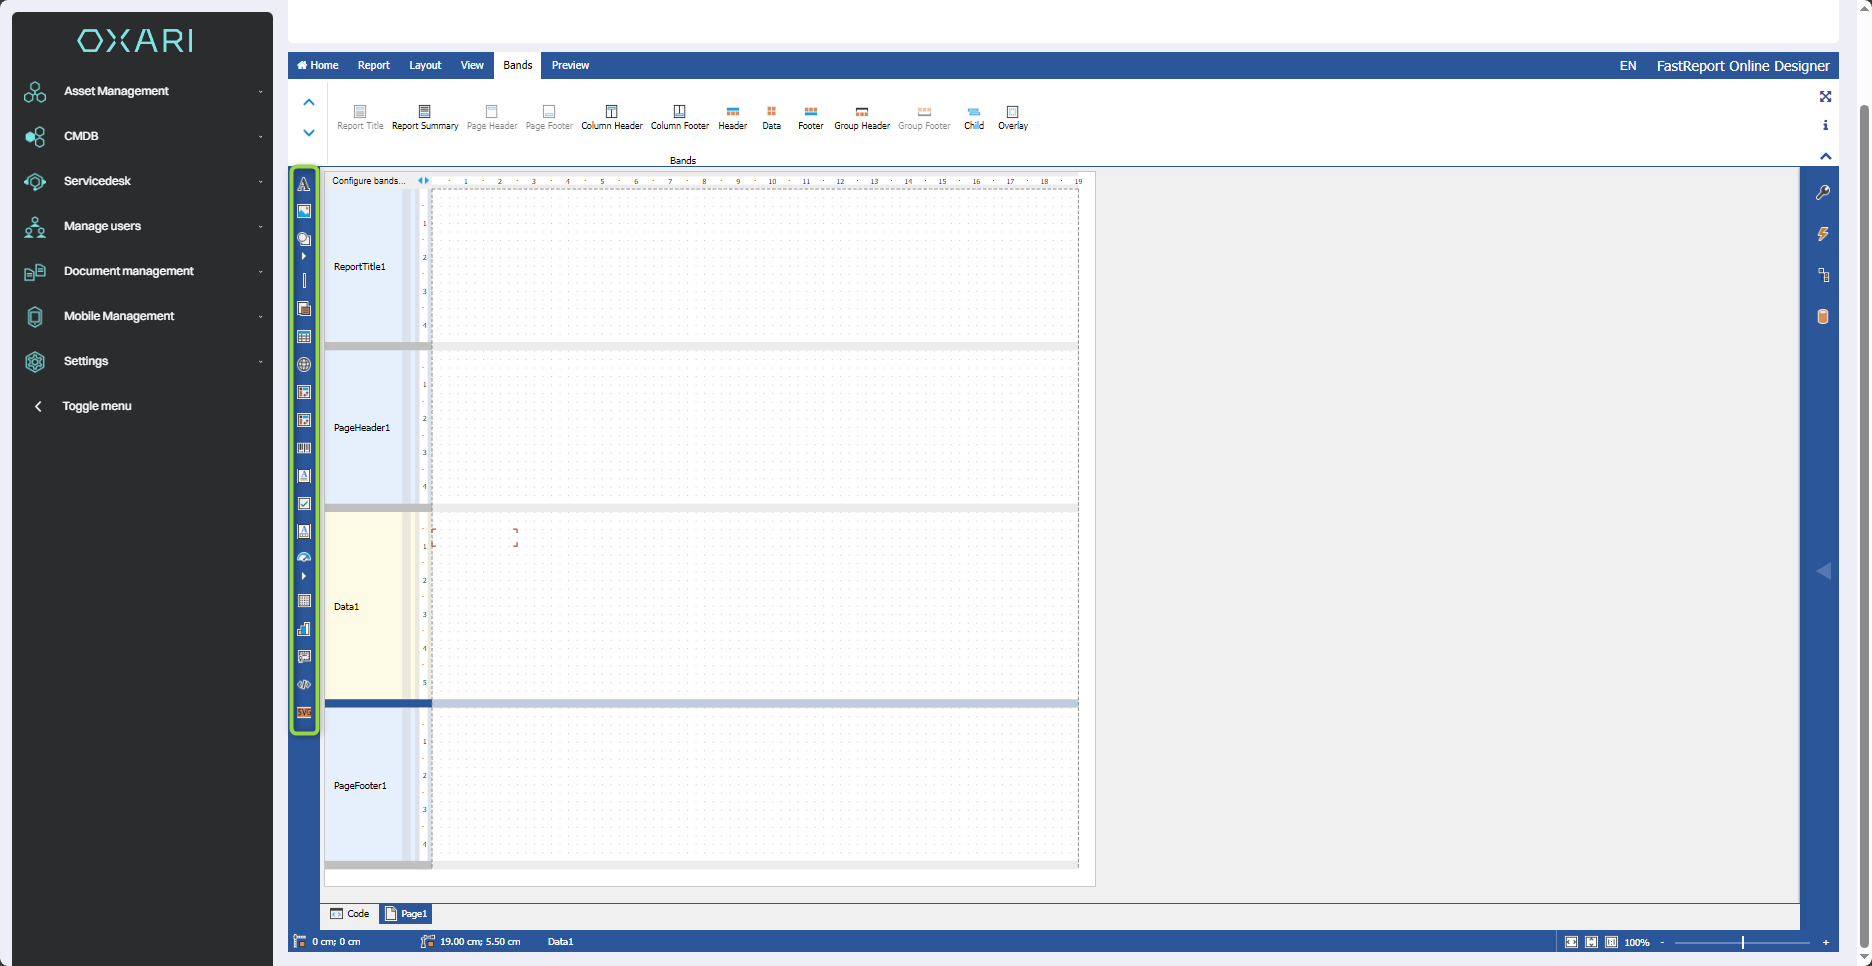
In this step, the user is taken to the “FastReport Online Designer” configurator, has the ability to add components, add attributes. It allows to design print templates, which can contain various attributes.
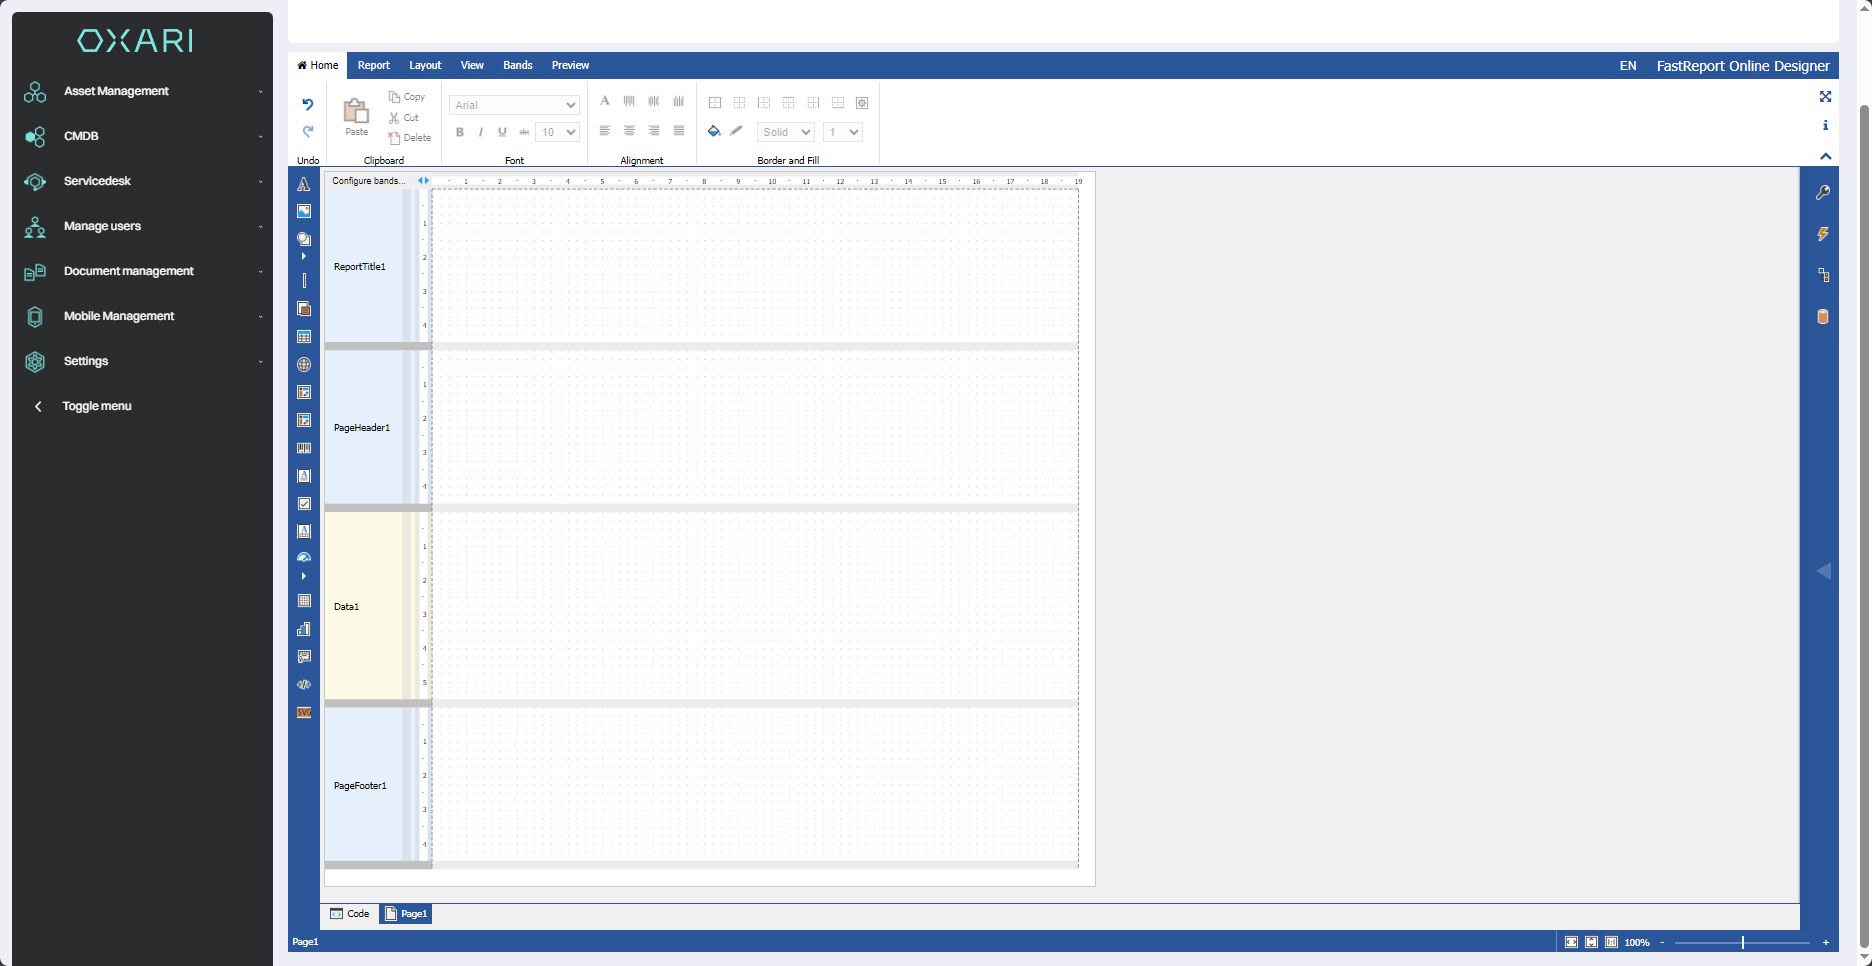
To add a component to a printout, click on the “Components” tab.
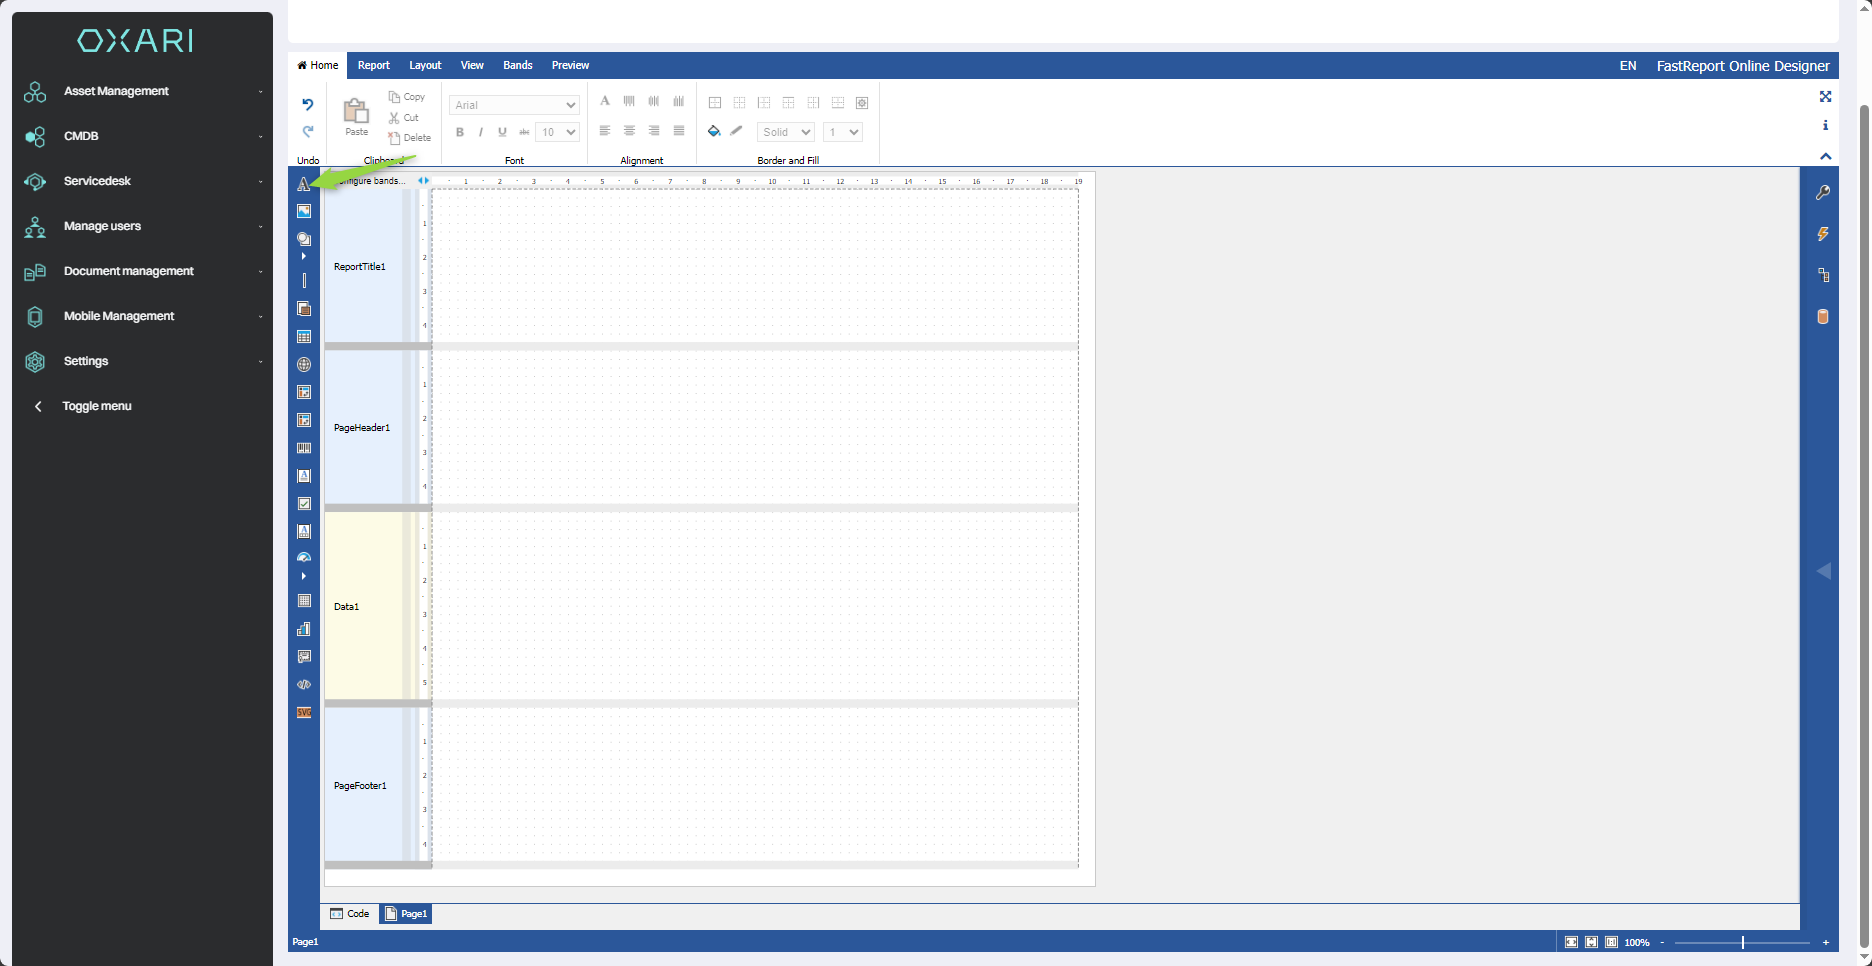
Adding a component
Next, select the desired component, for example, “Text”.
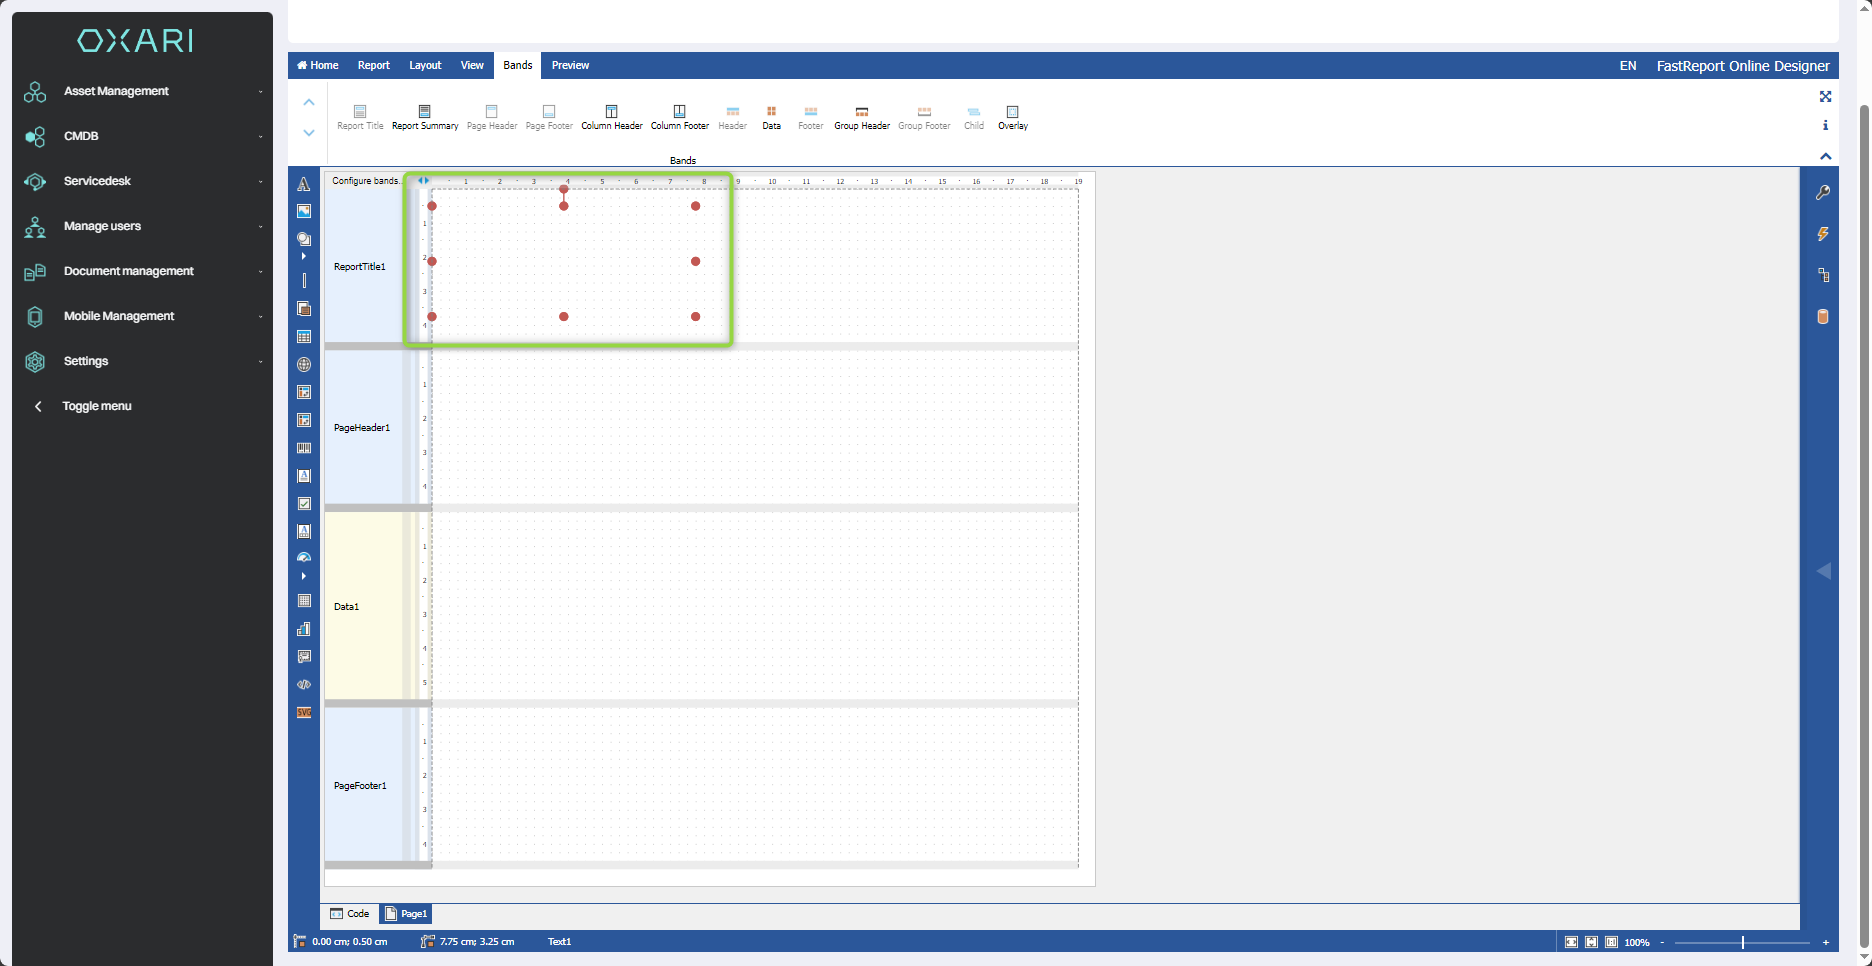
In this step, a component is added, by clicking on the component you can move it, enlarge it, etc.
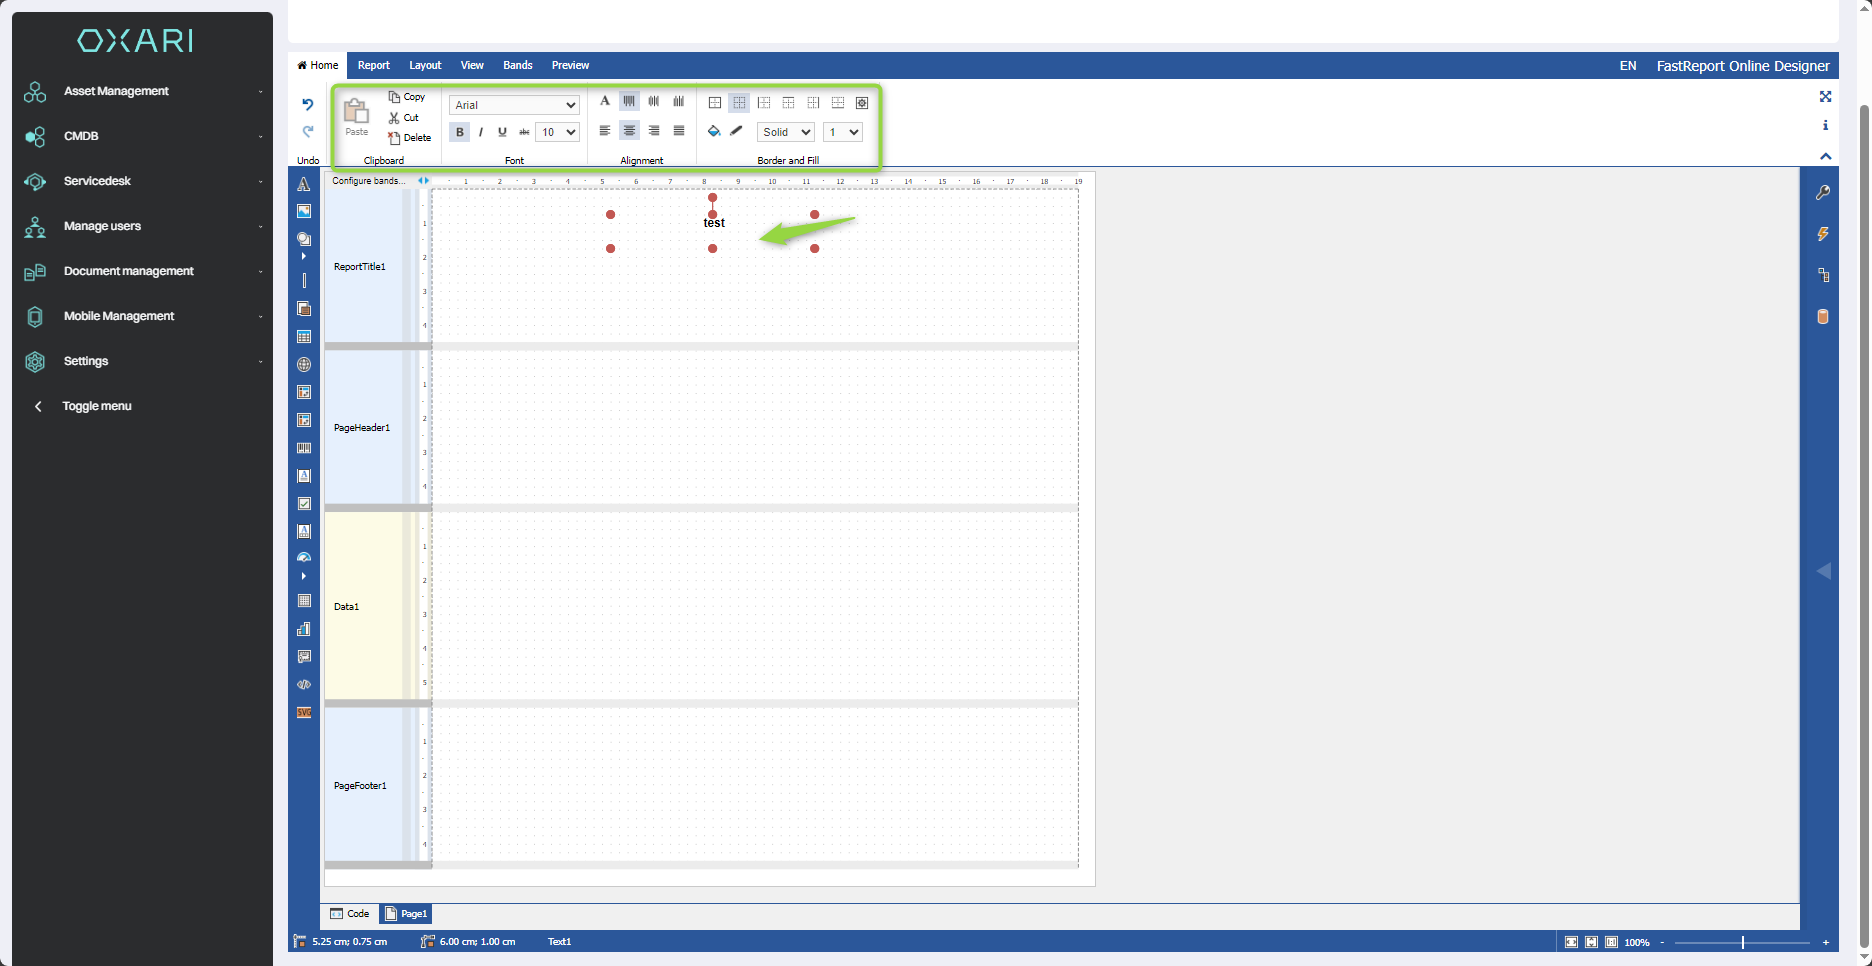
Adding text to a component
To add text to a component, select the desired component, click on the “Home” tab, andto type text, double click the desired field.
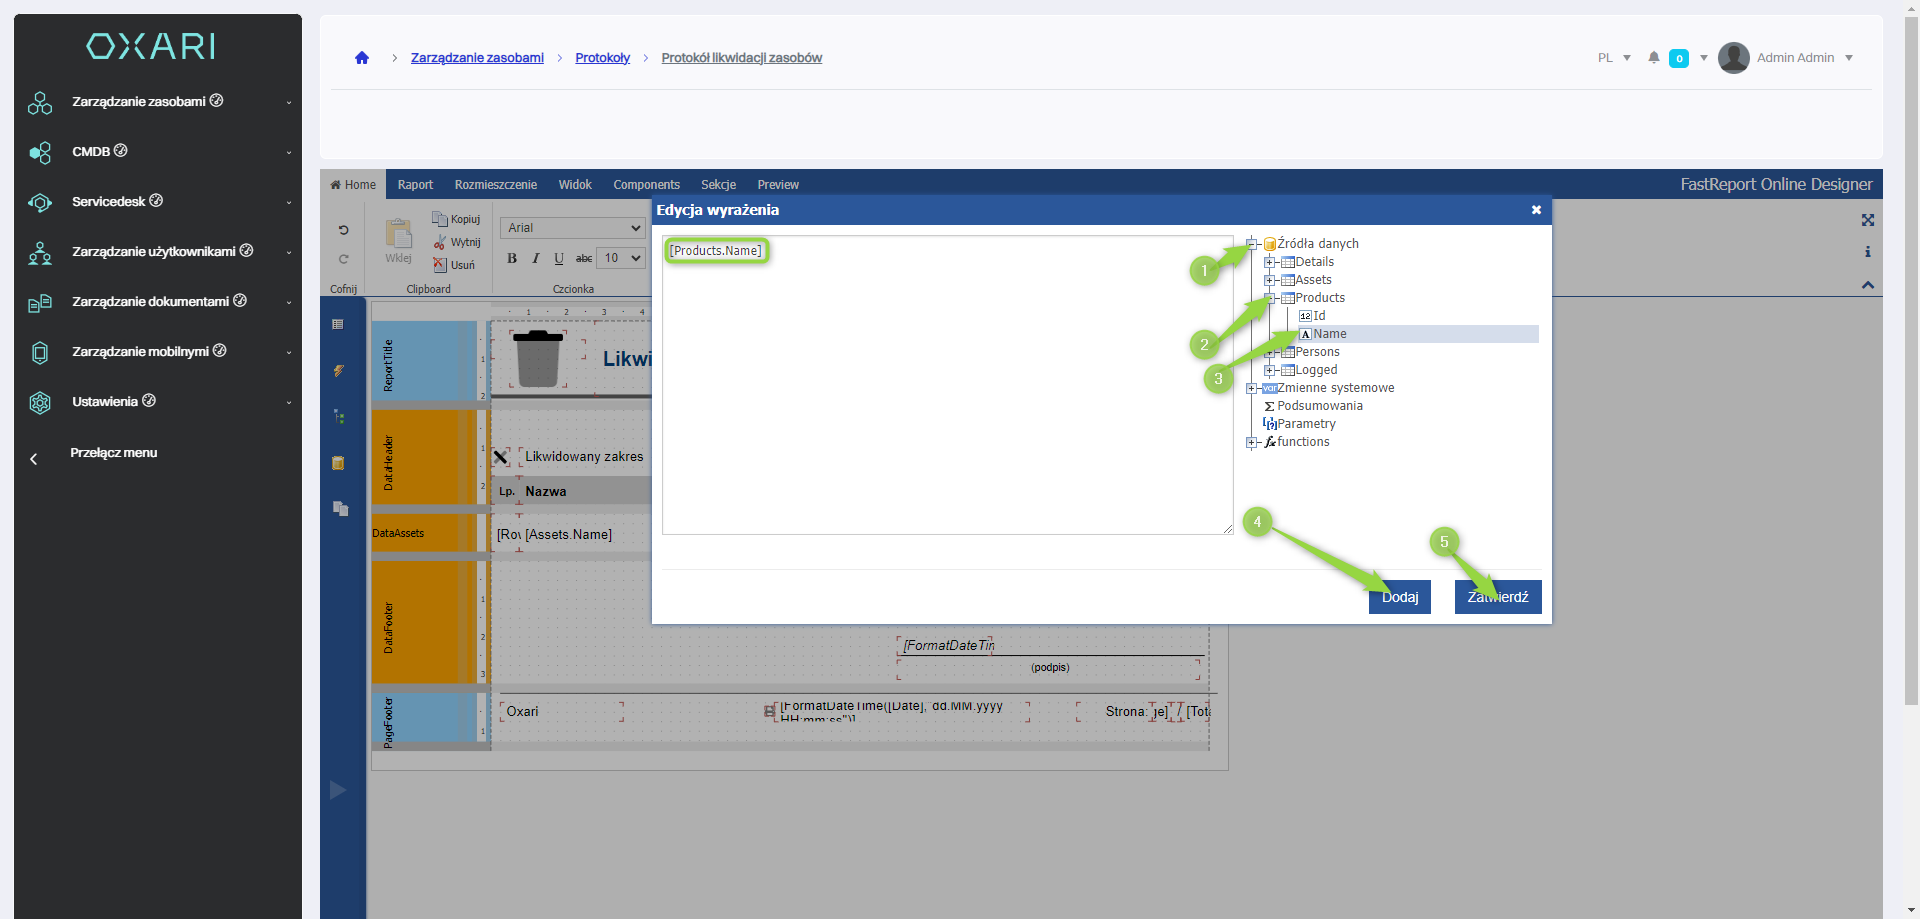
Adding an attribute to a component
To add an attribute to a component, select the desired component, click on the “Home” tab, and then click on the “...” button.
In the “Edit expression” window, 1.Click on the “+” next to “Data sources”. 2.Then click the “+” icon.
3. Select the desired attribute, for example, “Number”. 4.Click the “Add” button. 5. click the “Ok” button.
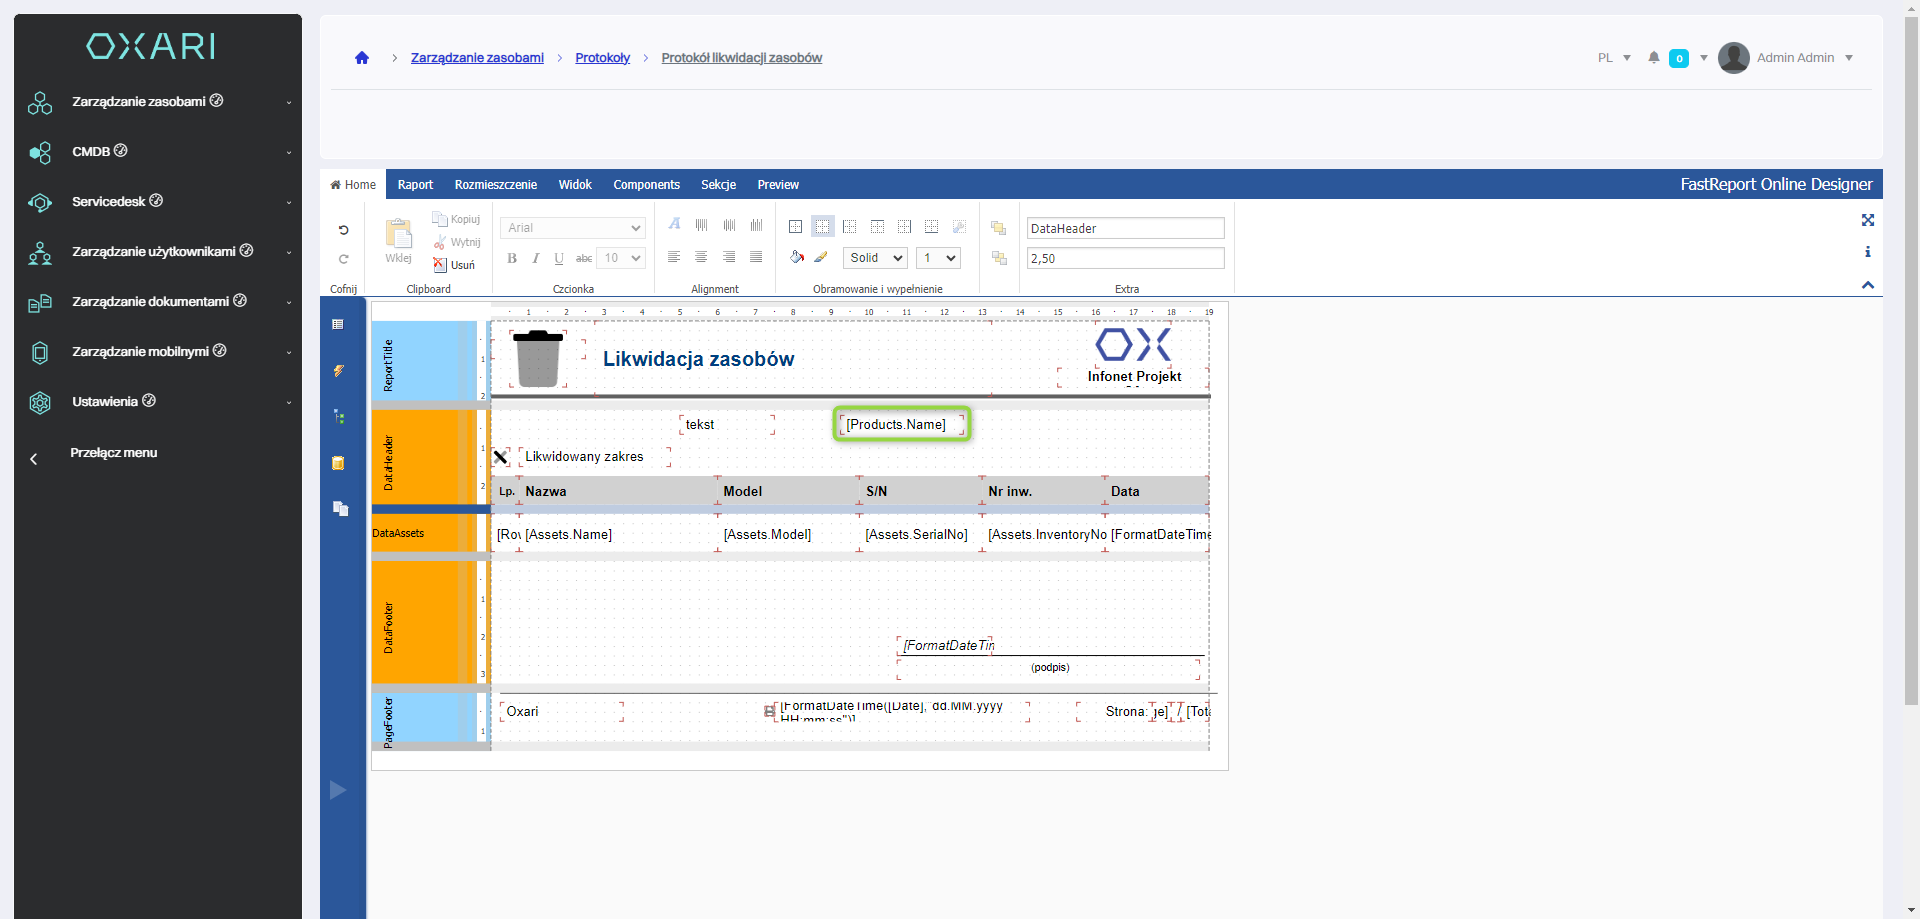
The component is added:
Saving the protocol
To save the protocol, click on the “Report” tab and then click the “Save” button.
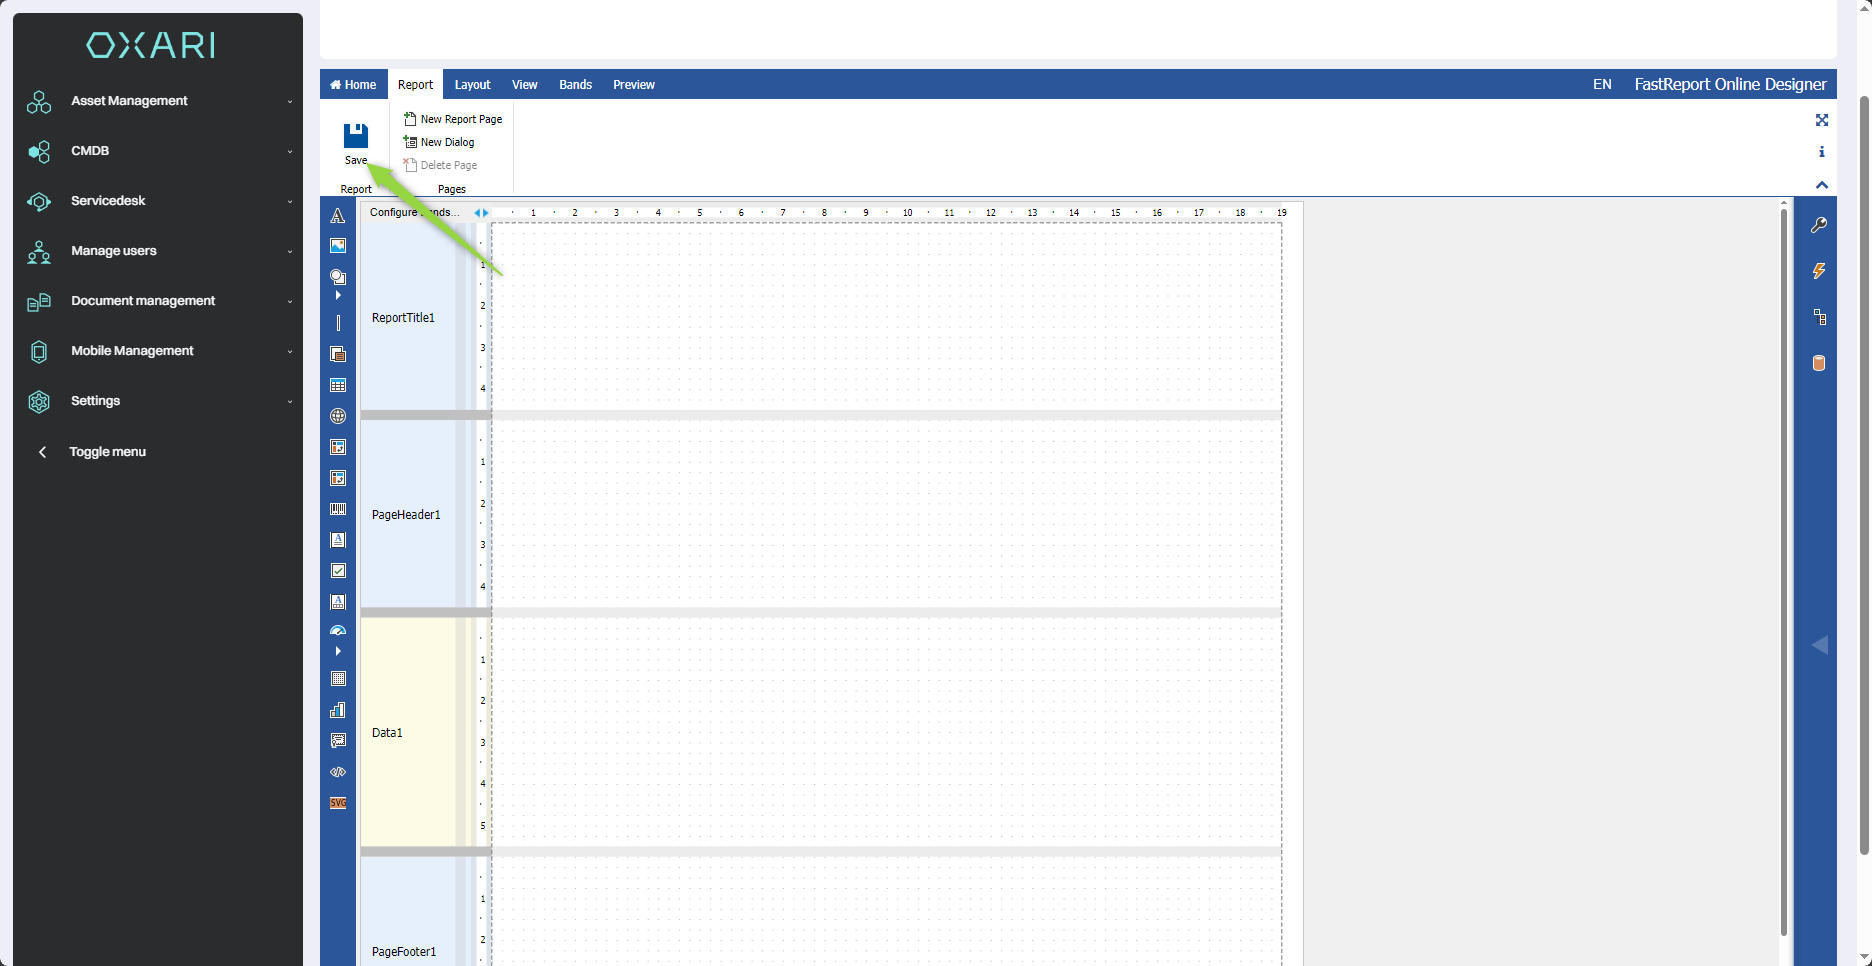
The protocol is saved, you will see a “saved” notification.

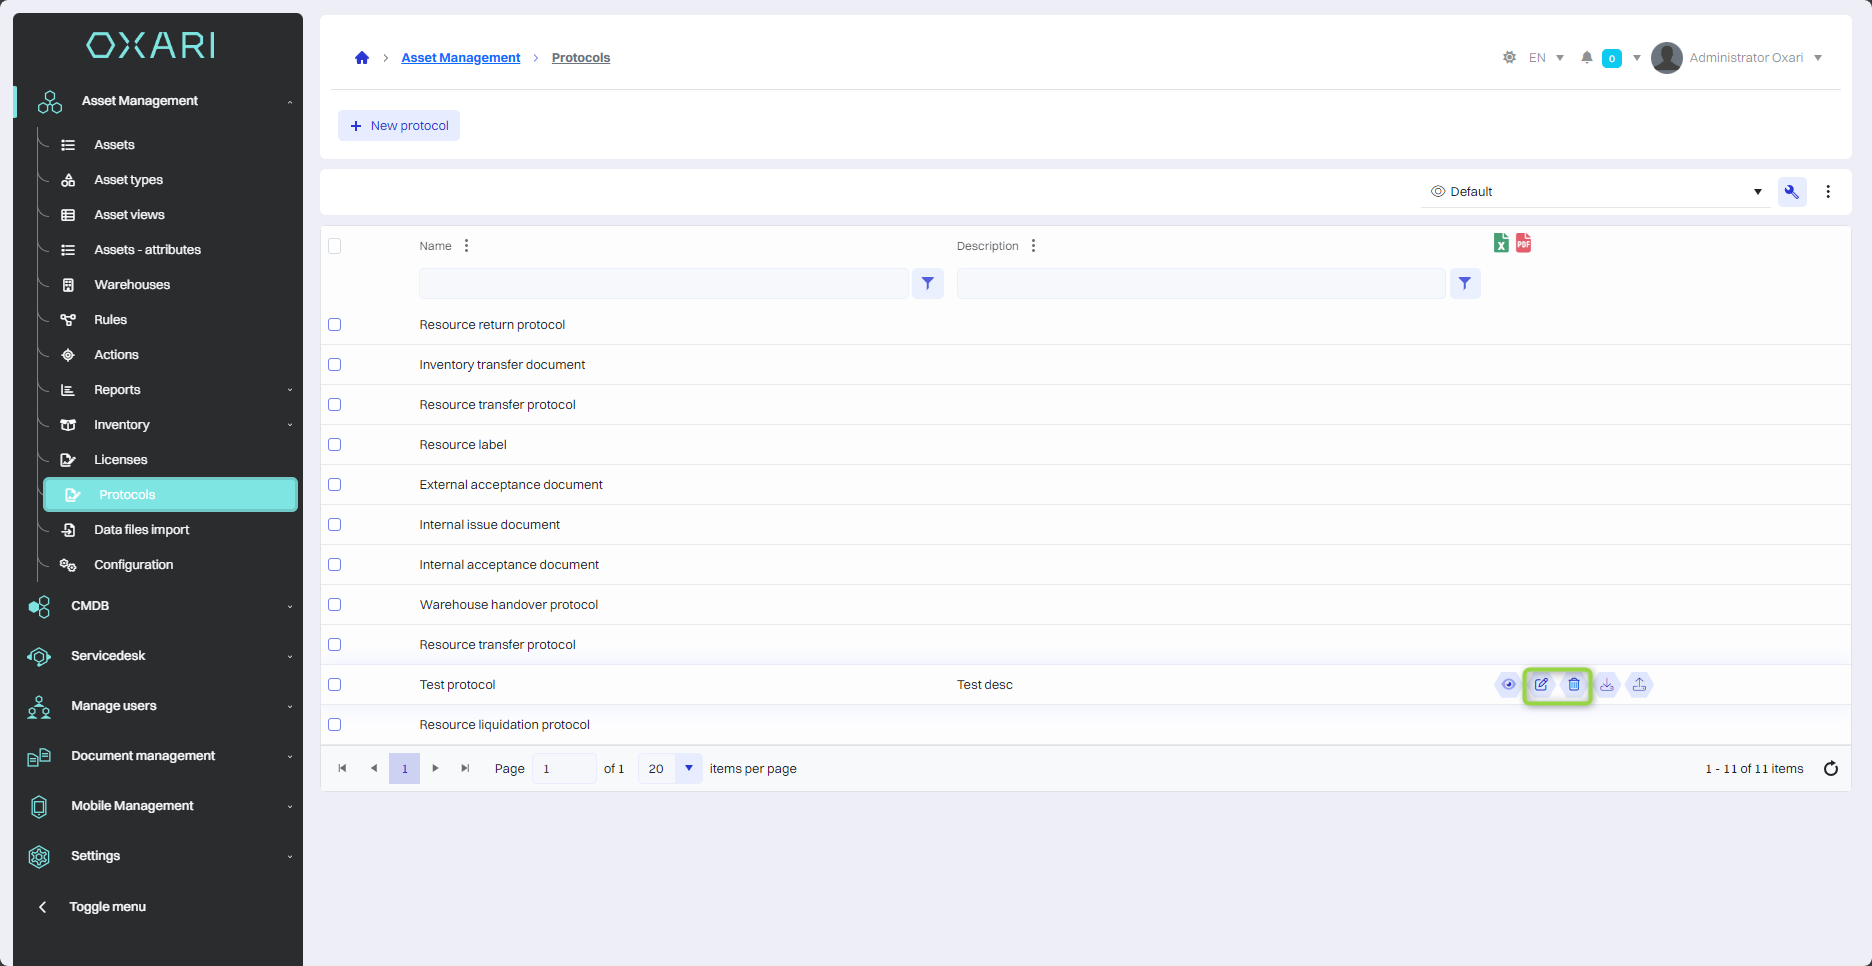
Editing/Deleting a protocol
To edit or delete a protocol, go to Asset Management > Protocols . Hover over the desired protocol. The edit/delete buttons will be displayed.
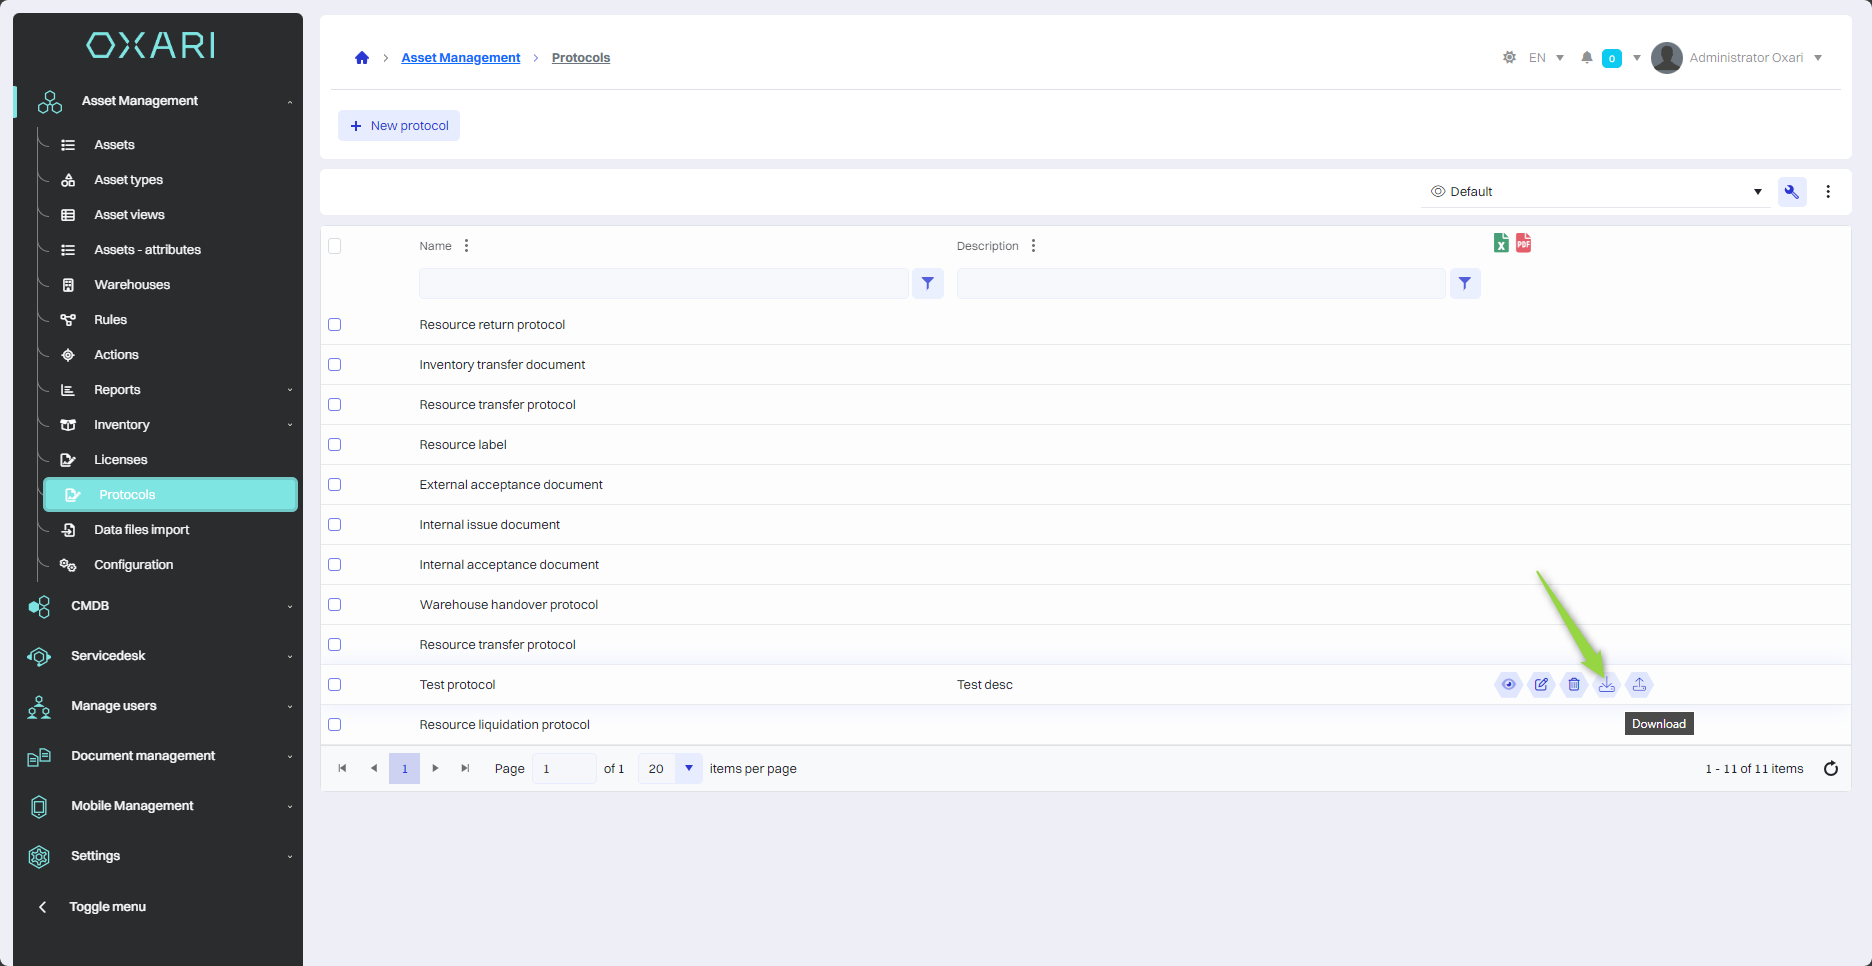
Downloading the protocol
To download the desired protocol, go to Asset Management > Protocols. Hover over the desired protocol. The download button will be displayed.
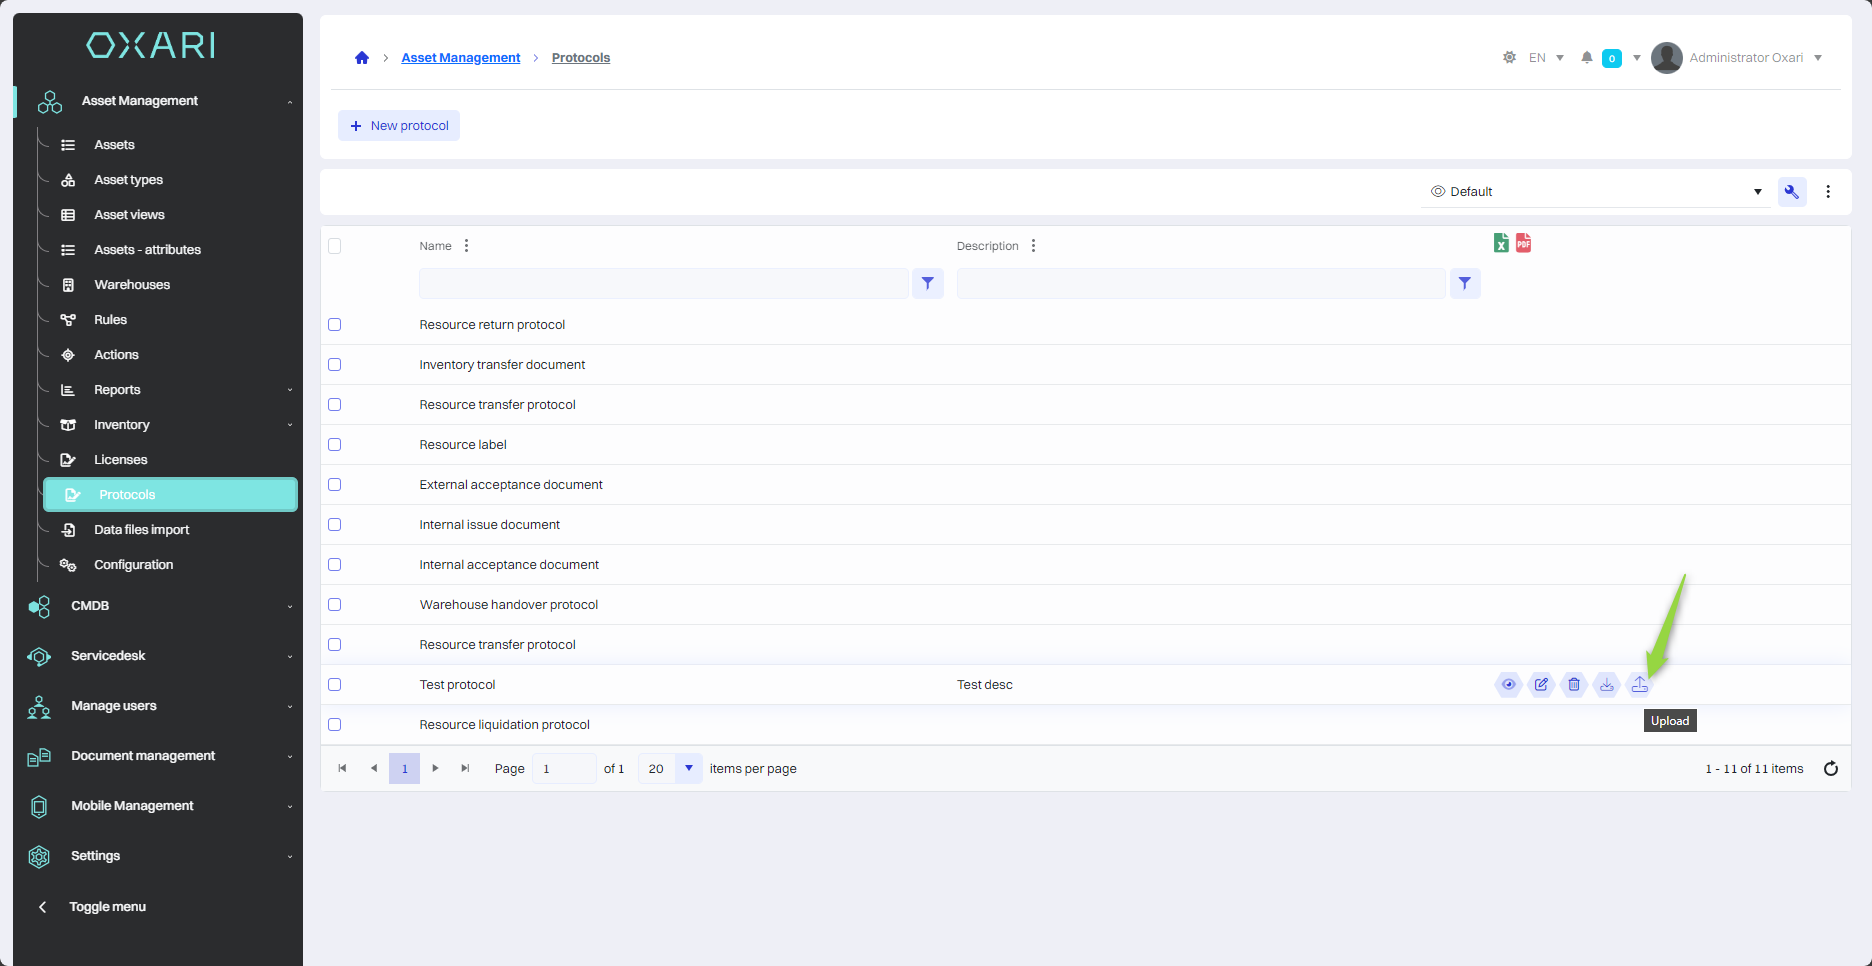
Uploading the protocol
If you want to upload your previously created protocol, go to Asset Management > Protocols. Hover over the desired protocol. A download button will be displayed. The required format is “.frx”.
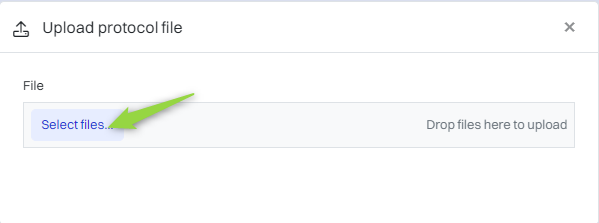
Then, in the “Load protocol file from disk” window, click the “Select...” button.
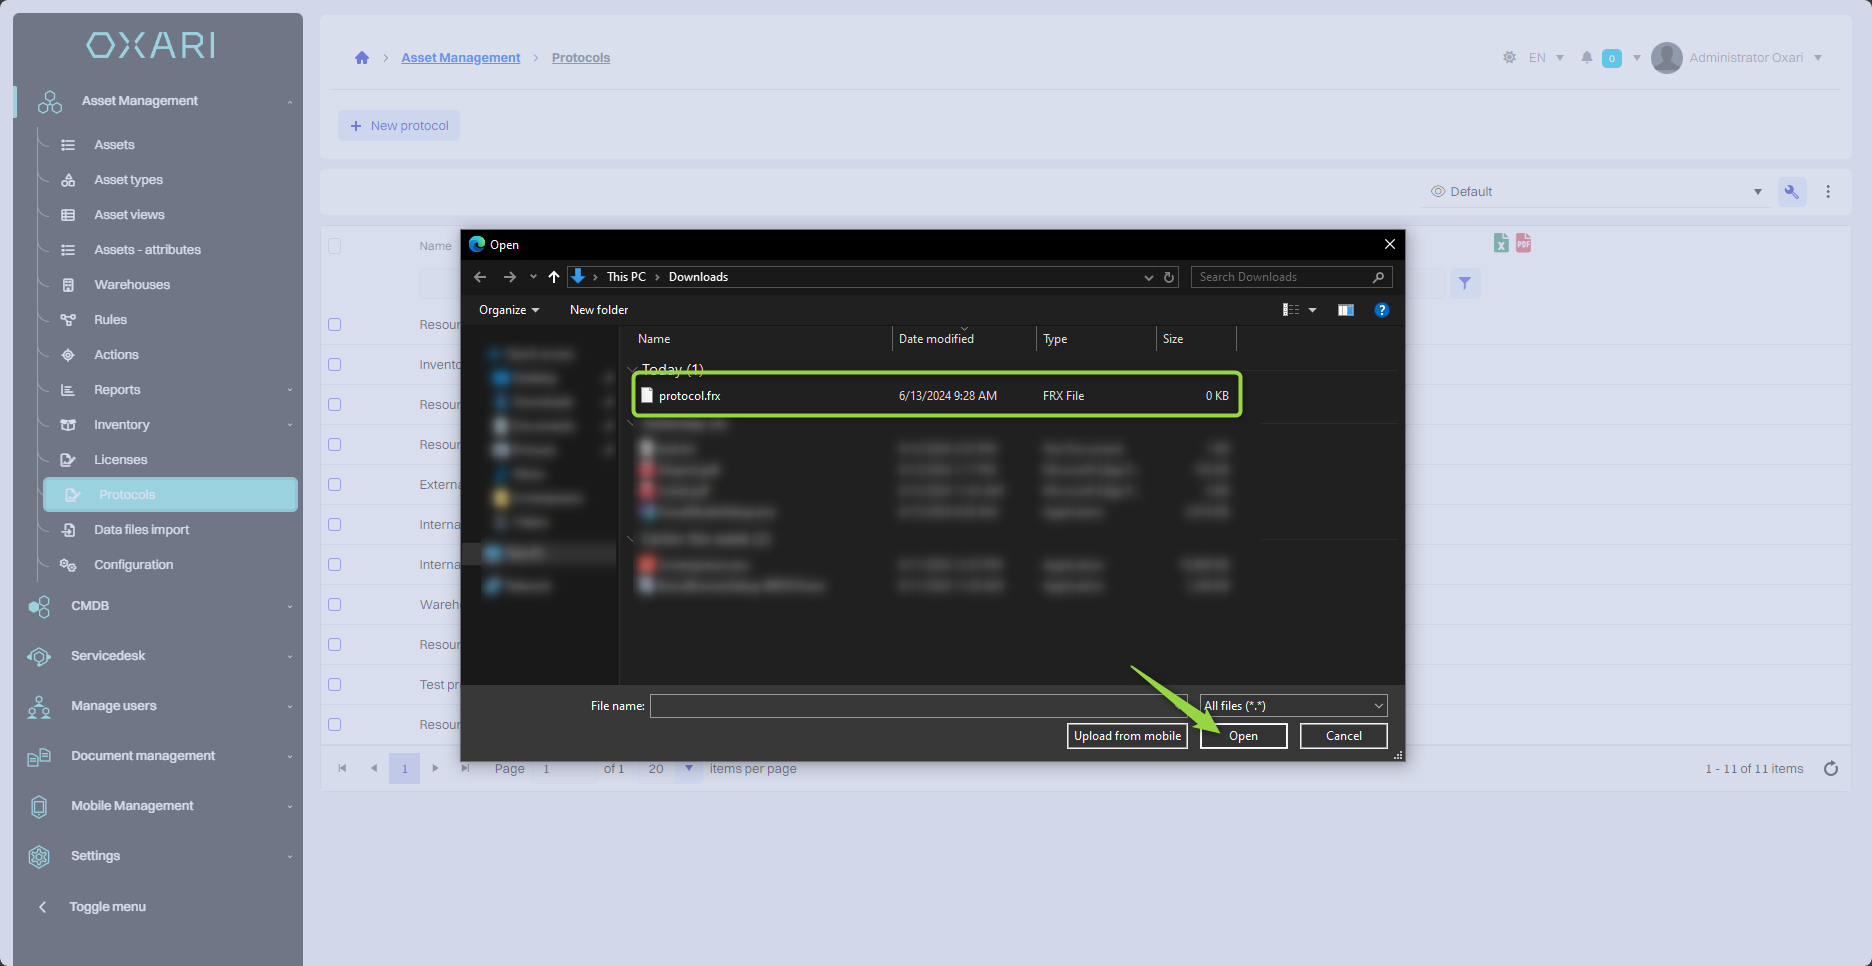
In this step, select the desired “.frx” file from disk and confirm by clicking “Open”.
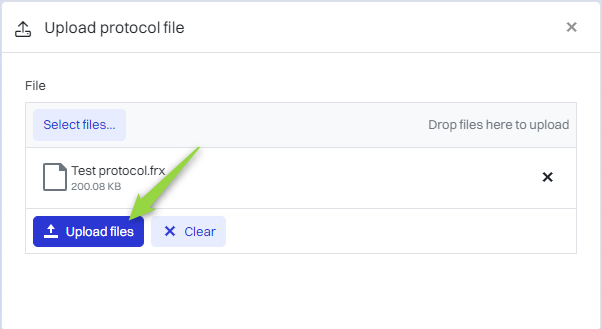
In this step, click the “Load files” button.
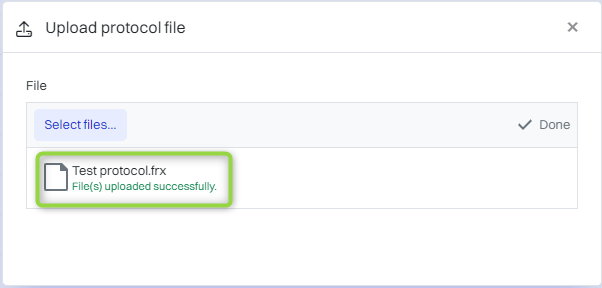
The information about the correctly uploaded file is displayed.
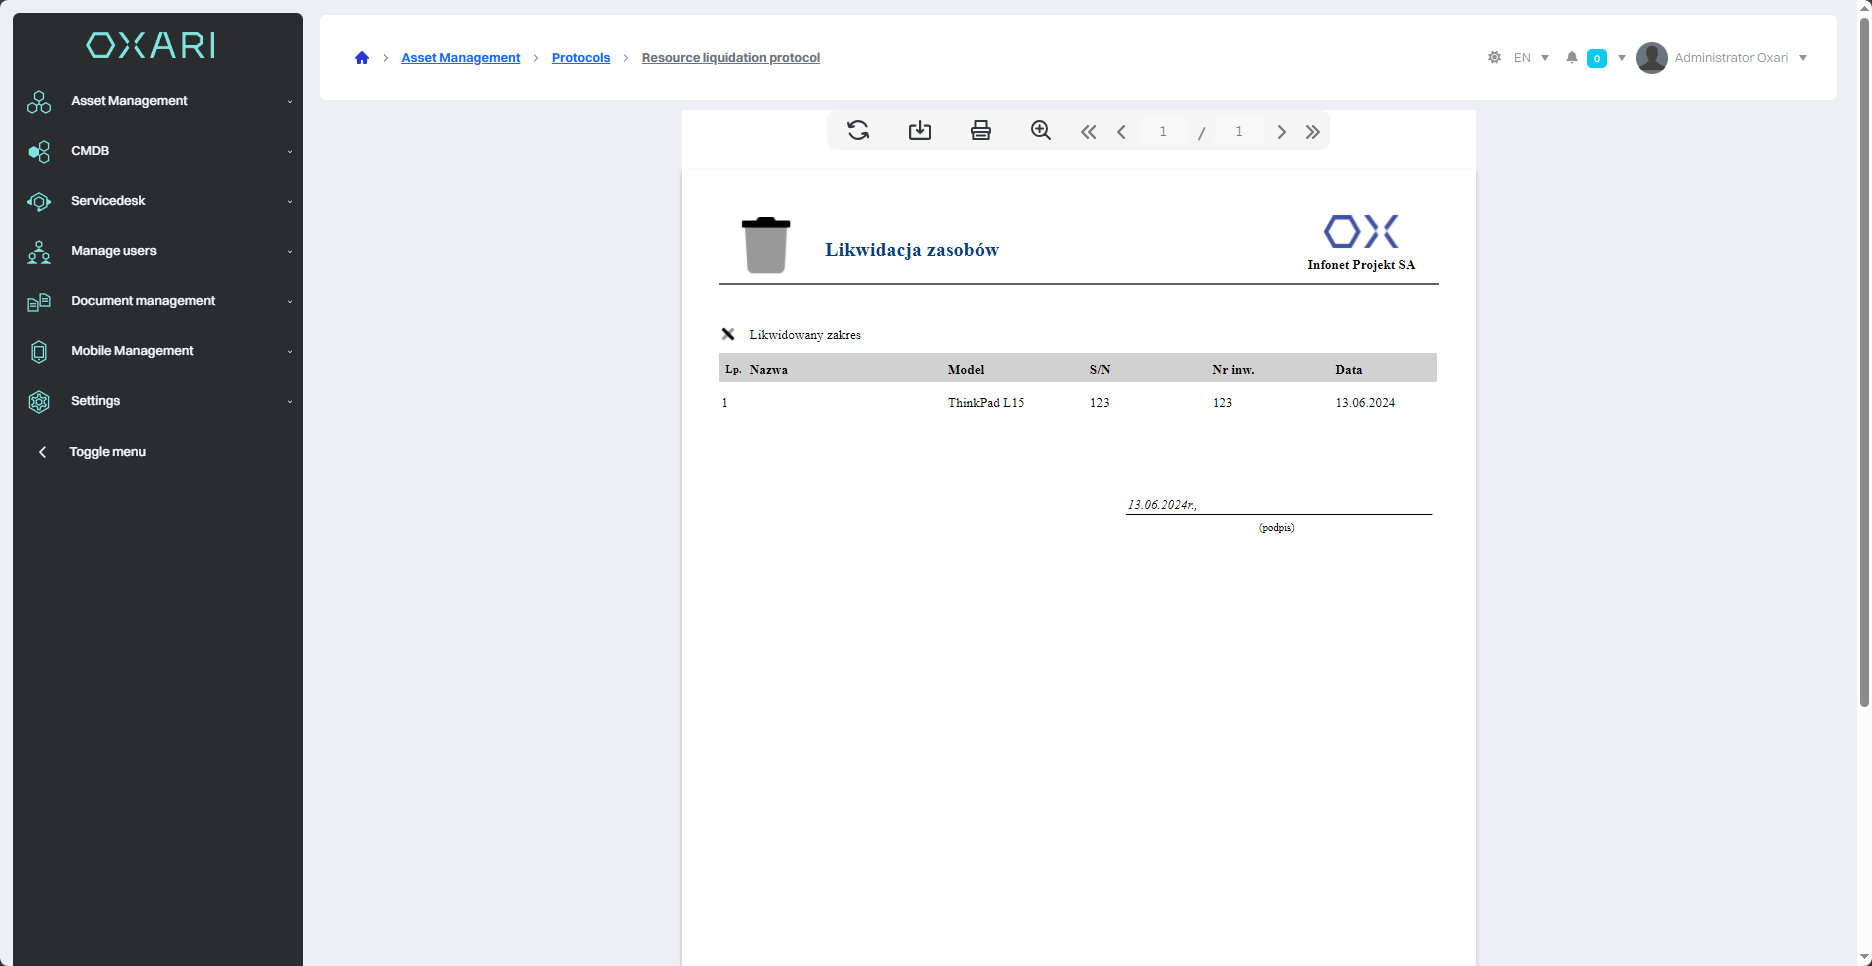
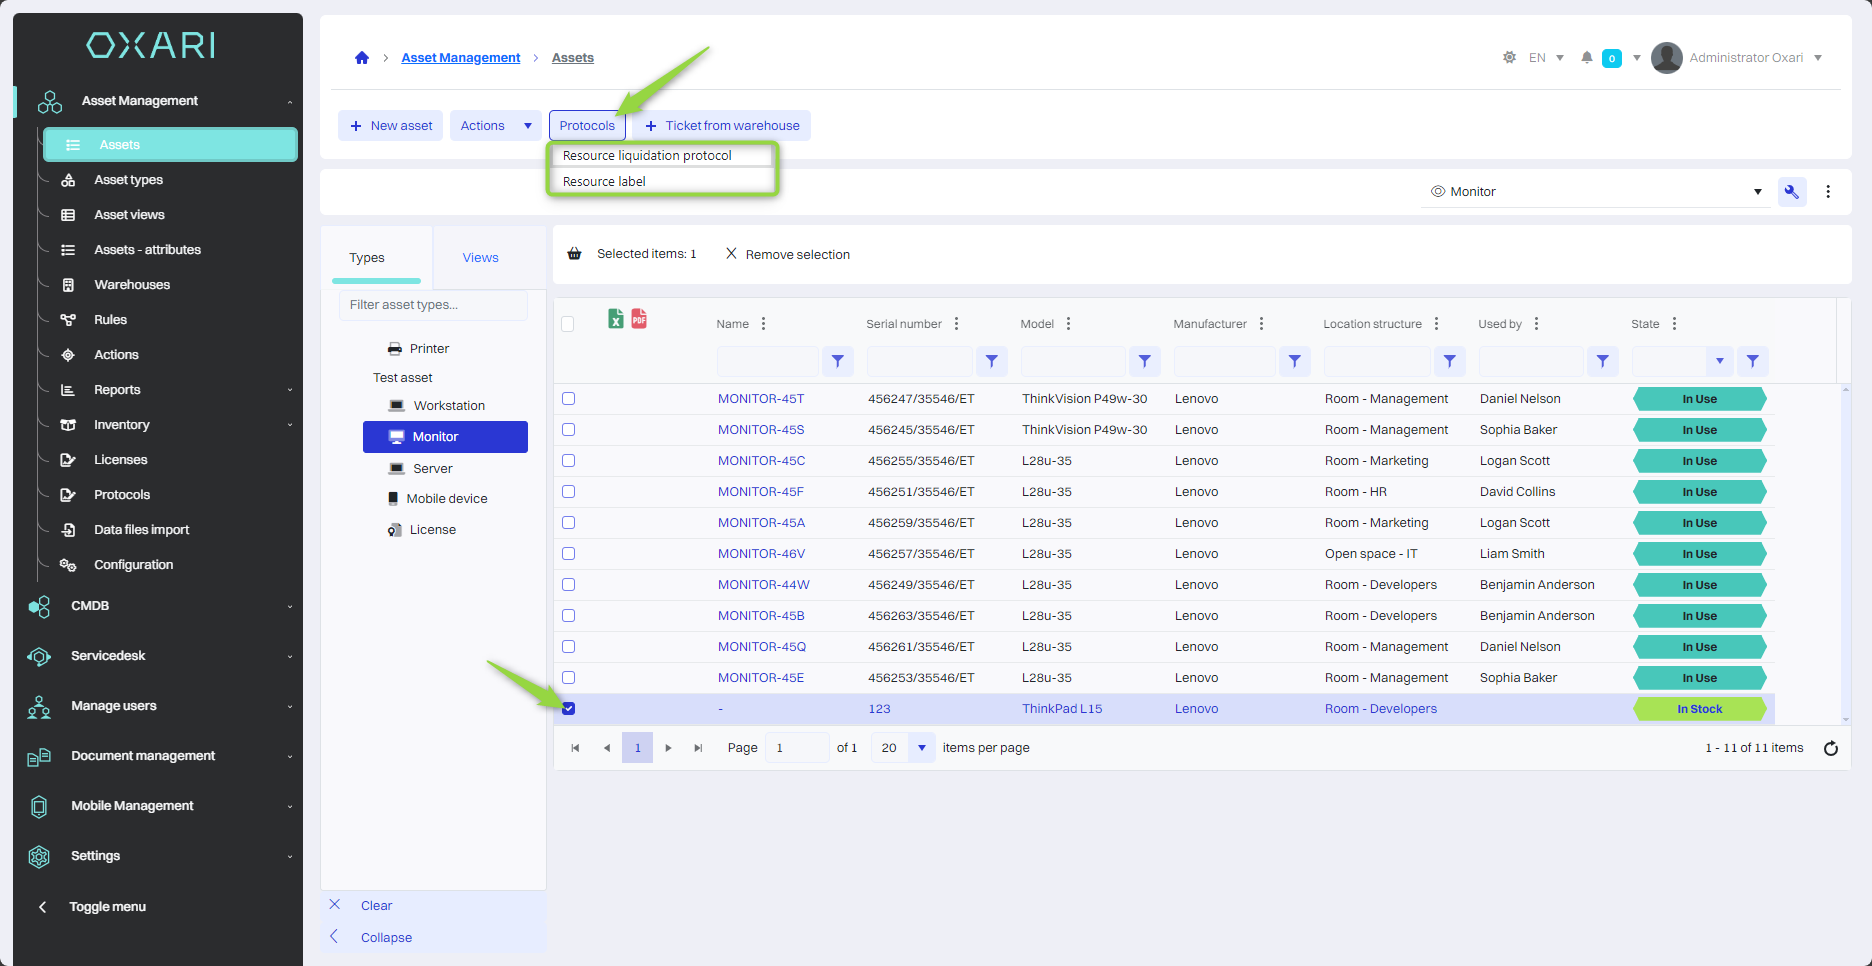
Using the protocol
To use a pre-configured protocol, go to Asset Management > Assets, then select the desired asset, click the “Protocols” drop-down list and select the desired protocol.
You can see the protocol from the notification, in this view there are options to refresh, download, print, zoom the protocol.