The “Import data files” section is used to enter and update data from external sources into the system.
New data file import
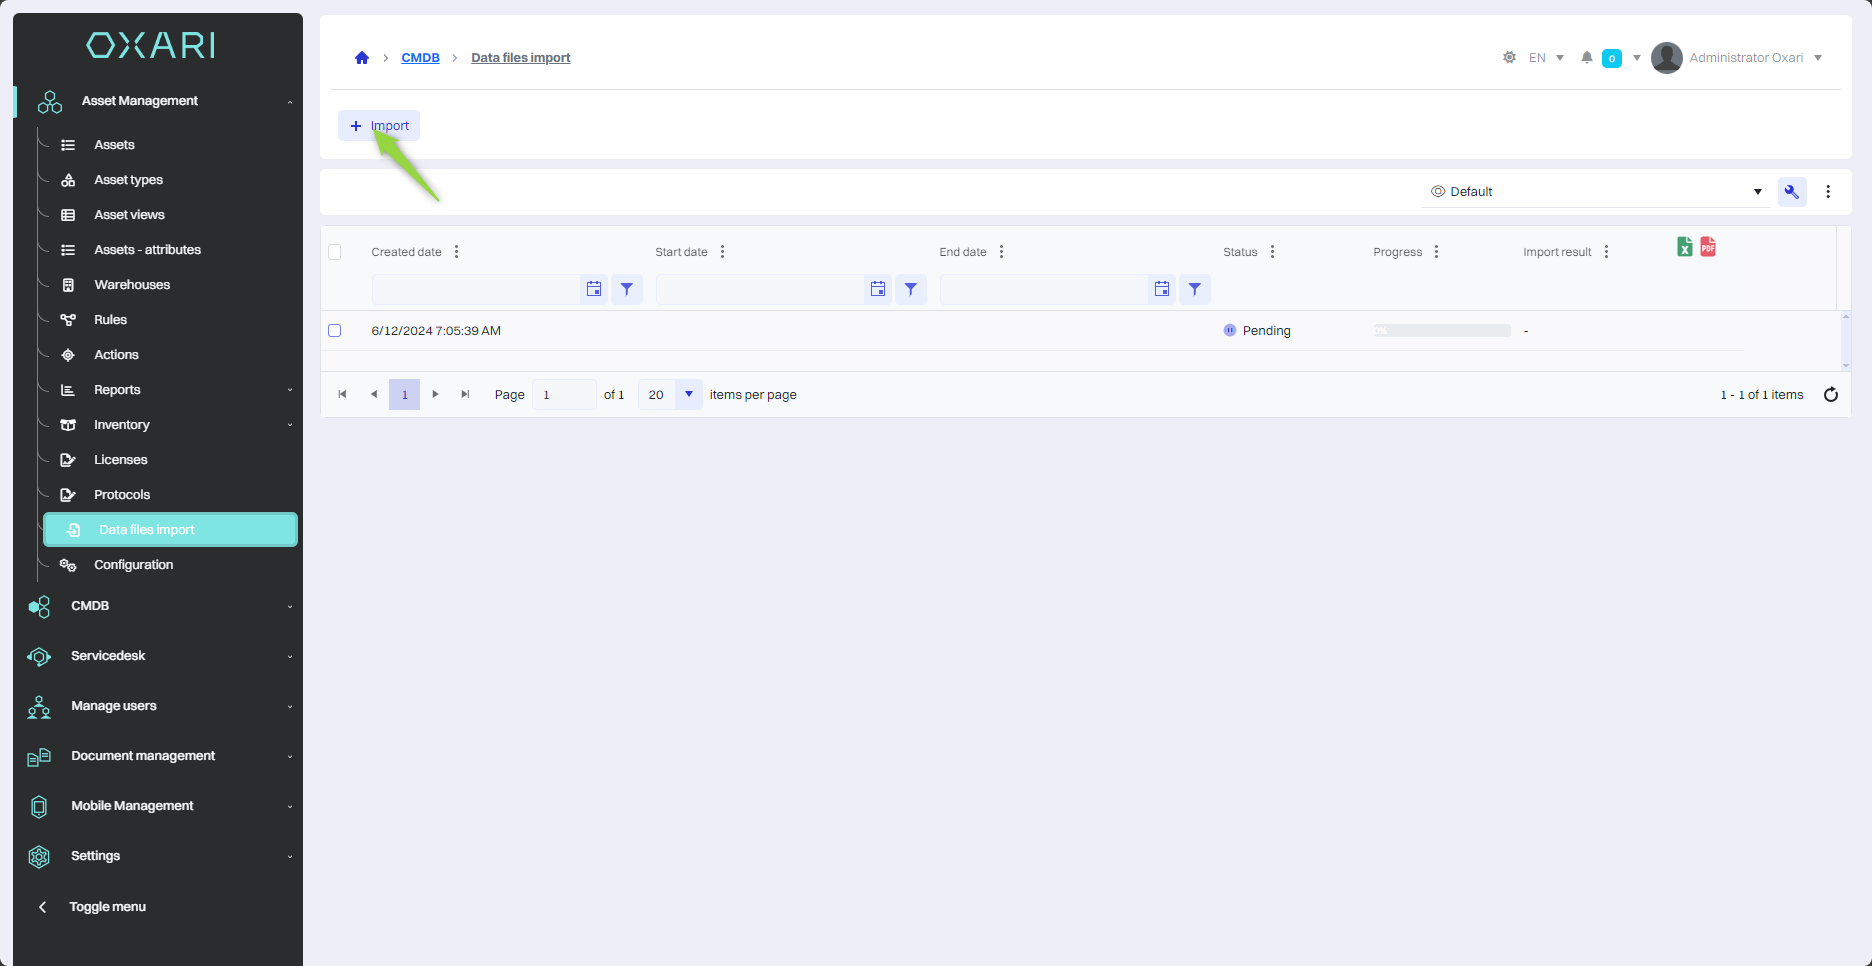
To create a data file import, go to Asset Management > Data files import and then click the “Import” button.
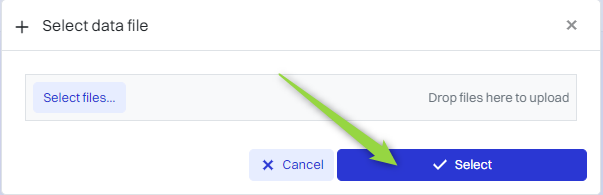
Next, in the “Select data file” window, click the “Select...” button.
Selecting a file from the disk
In this step, select the desired file (.xlsx format).
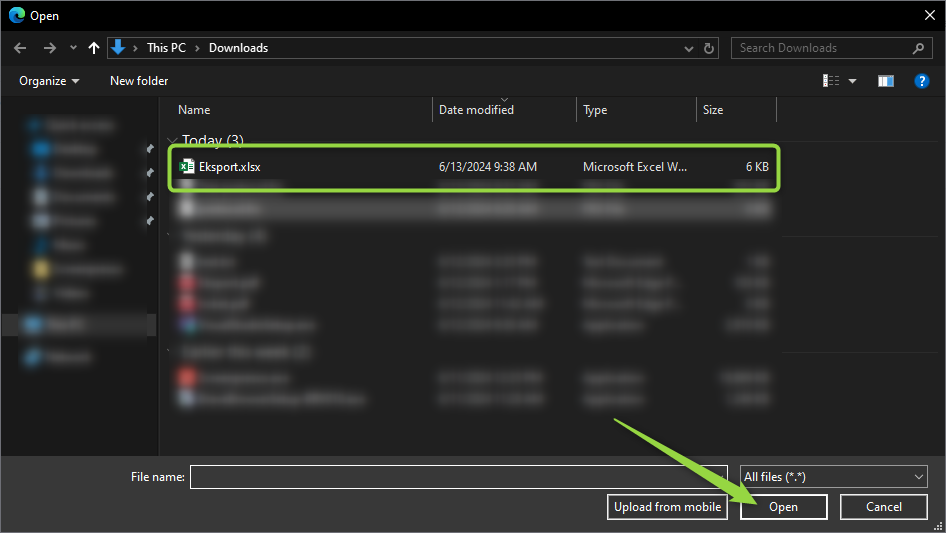
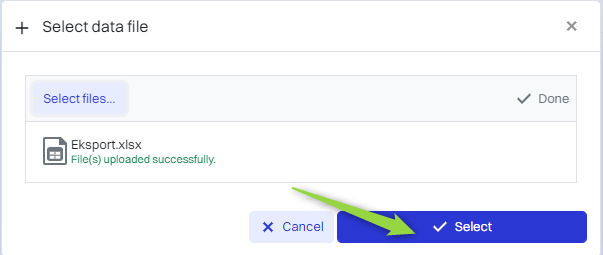
Then click the “Select” button.
Filling
In this step, the “New data import” window contains the items:
|
1 |
Identification - Allows you to assign an identification value in the system to the value defined in the import file. This allows you to identify and avoid duplicating records that already exist in the system. |
|
2 |
Source attribute and Target attribute - Allows you to map fields between a data source (such as an imported file) and the system. The user can define which attribute from the imported file corresponds to which attributes in the system. |
|
3 |
Field mapping - Here you define what information from the source file will correspond to specific fields in the system. For example, the “Name” field in the file can be mapped to the “Product” field in the system. |
|
4 |
Automatic generation of inventory numbers - This option allows the system to automatically assign unique inventory numbers to newly imported assets, making them easier to identify and manage later. |
|
5 |
Automatically create or update workstations in ITM: If checked, allows the system to automatically create new workstations in ITM. |
Fill in the desired fields and click the “Save” button.
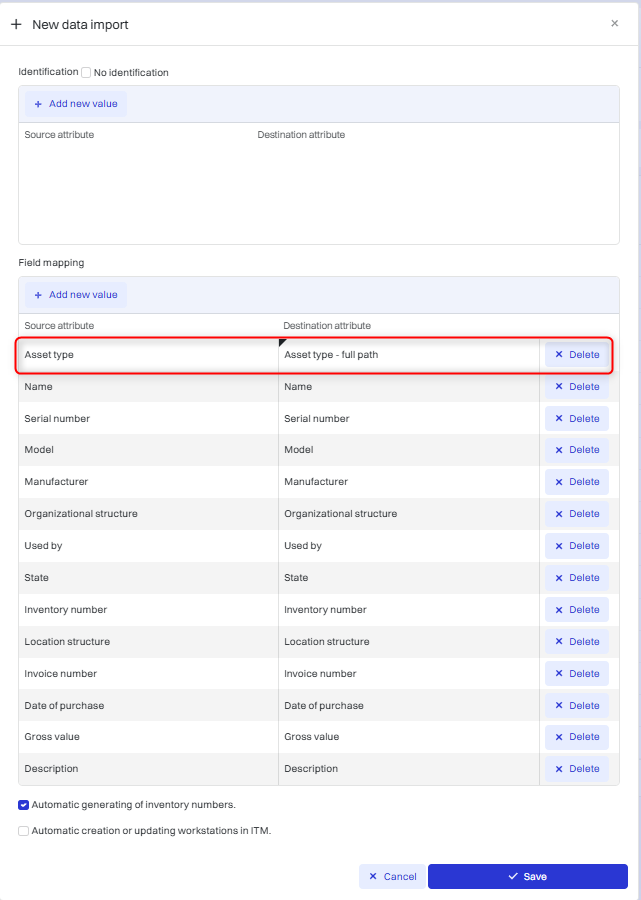
The target attribute “Resource type - full path” is required for the import to work correctly. To do this, the “Resource Type” column must be added to the sheet, the system must have an object indicated to which it should import entries from the sheet.
Then when importing, set the field mapping as below Resource type<->Resource type - full path
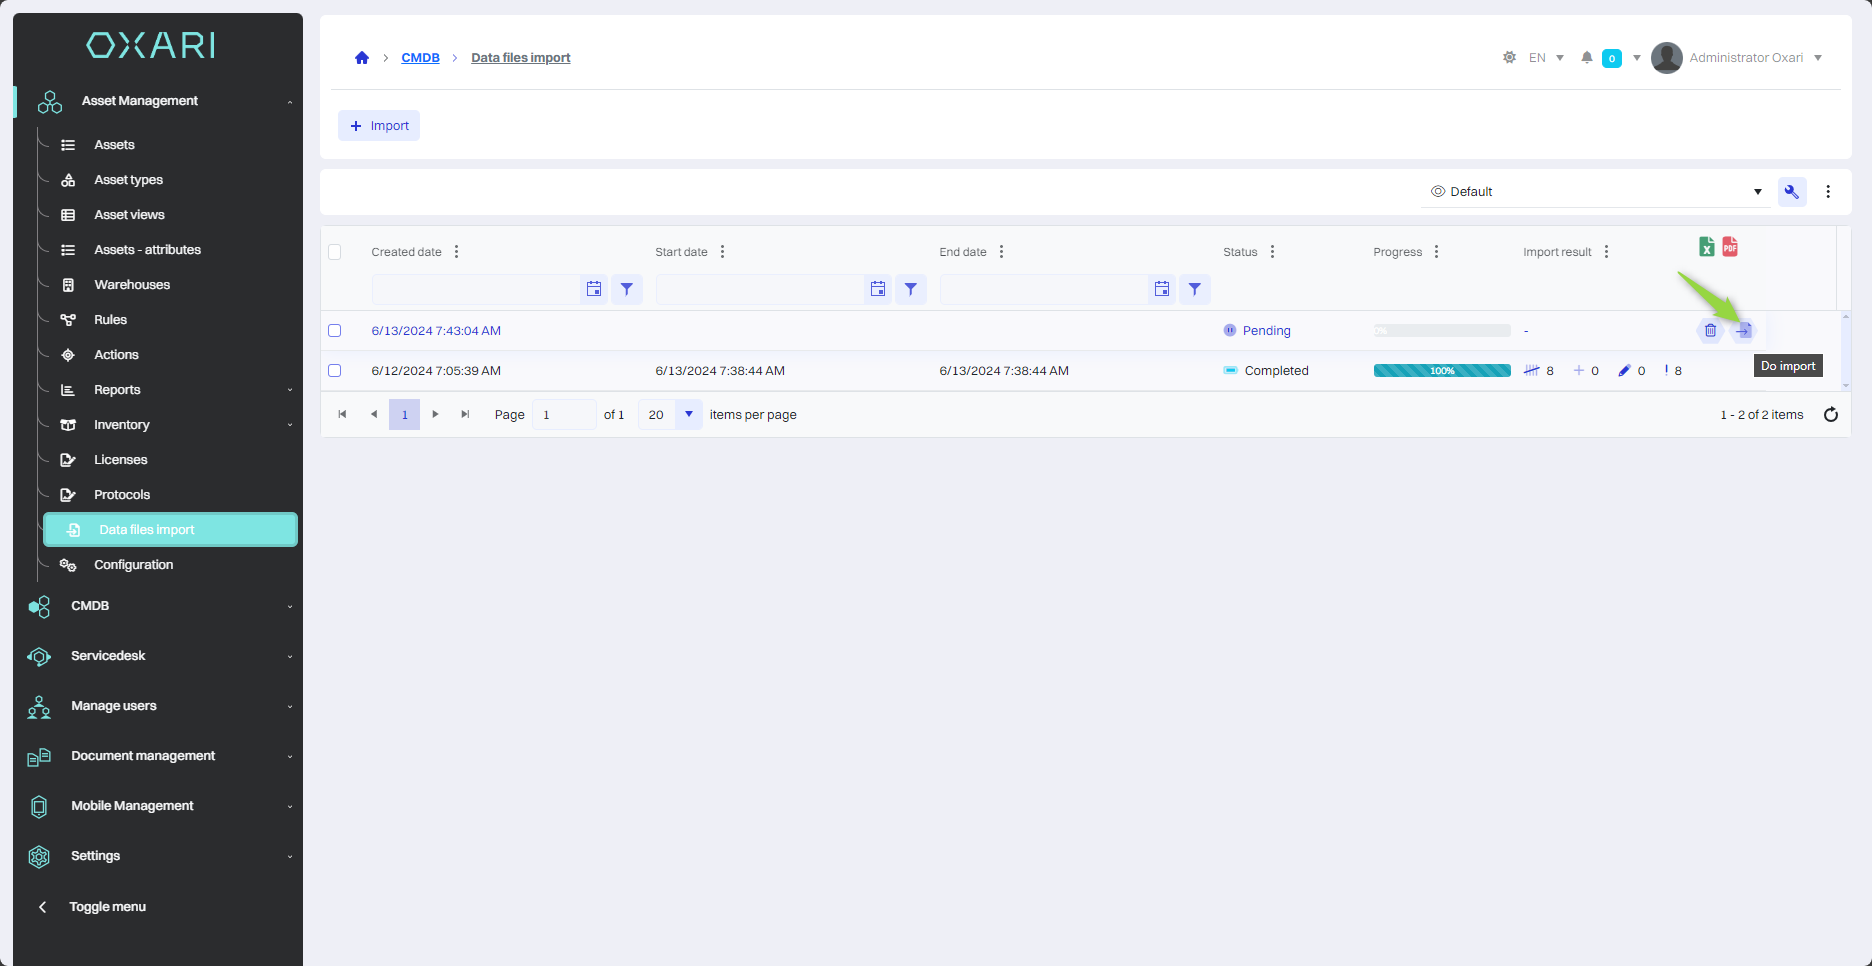
Data import
Finally, click the “To import” button to import the data files.
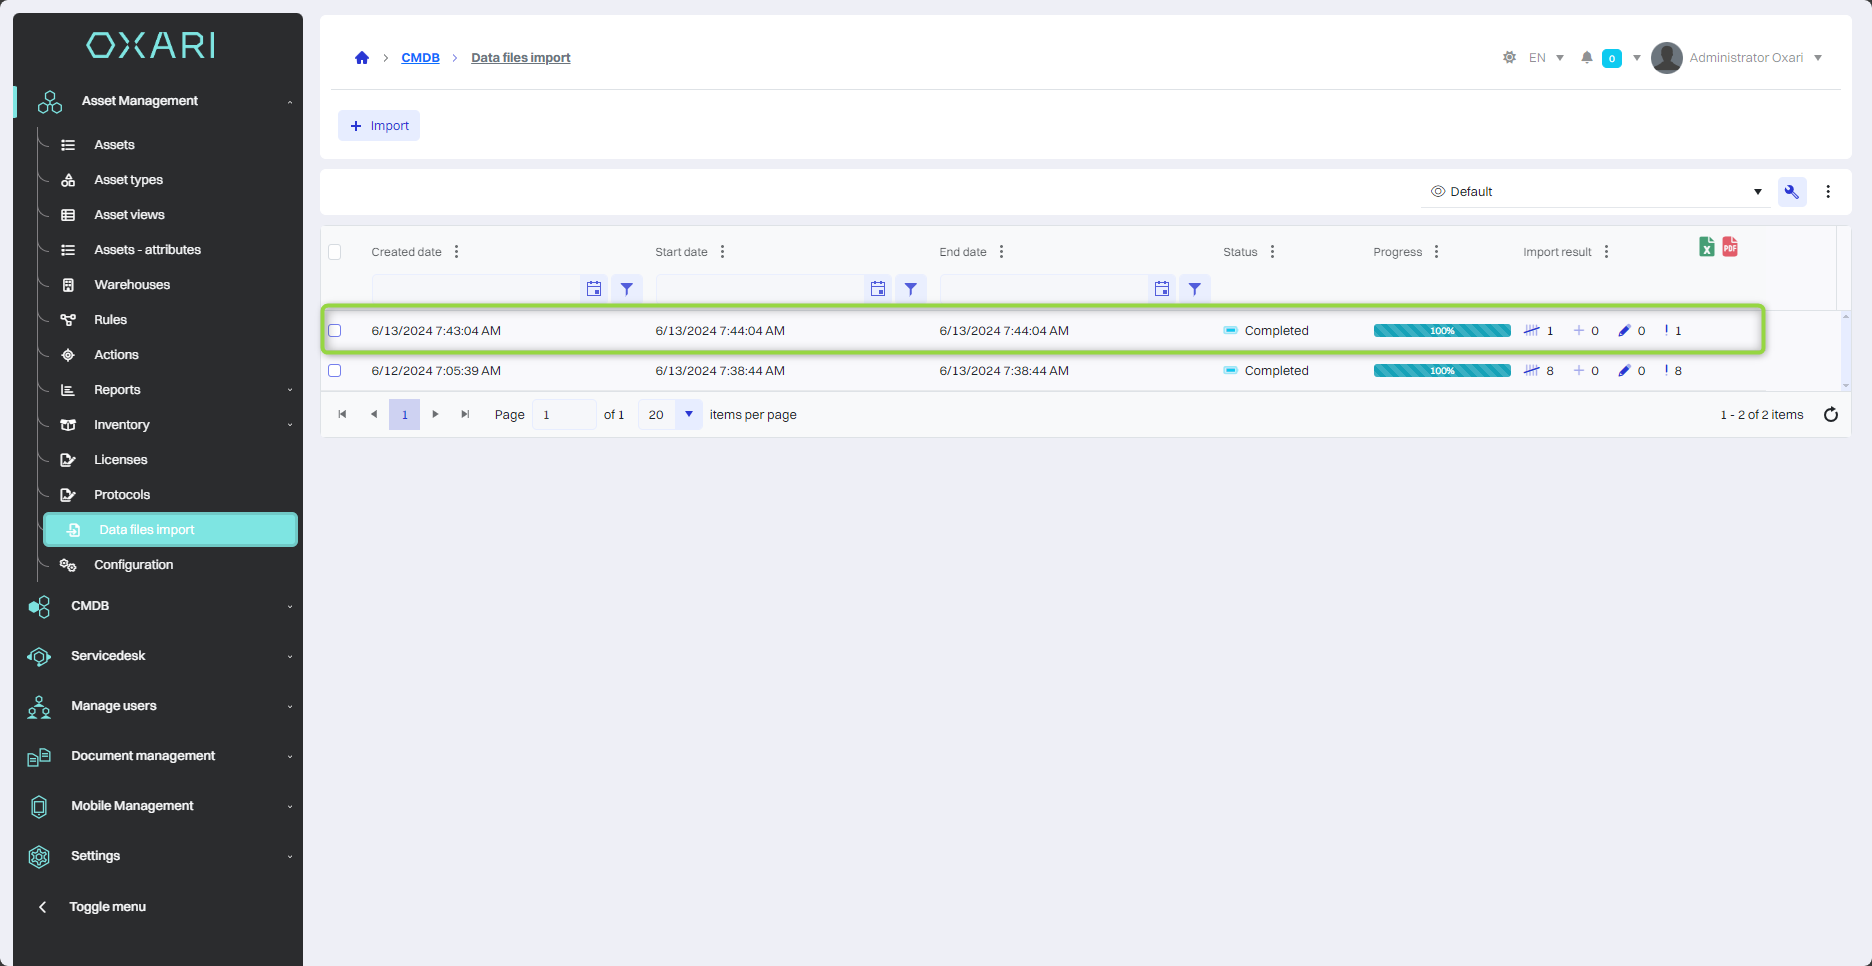
The import is now complete.
The encoding system of the file we want to import with resources should be UTF-8