In OXARI, the documents section allows users to store, manage and link documentation to various elements of the system. Users can create new documents, such as contracts, which can be linked to specific Assets. These documents can be described in detail and include information about contract types, expiration dates, contract teams and other contract details. In addition, documents can be linked to requests, where special widgets of documents from SLAs can be added in requests, allowing quick access to important information directly from within a request. All of this makes it easier to organize and access important company documents, archive them, and effectively manage them across different company departments.
|
Contract documents and Assets - Ordinary contracts can be assigned to specific Assets. This means that in the details of a particular Asset, such as hardware or software licenses, you can add documents that are directly related to it. This allows you to store all relevant information in one place, which is especially useful if you need quick access to specific contracts or the service history of a Asset. |
|
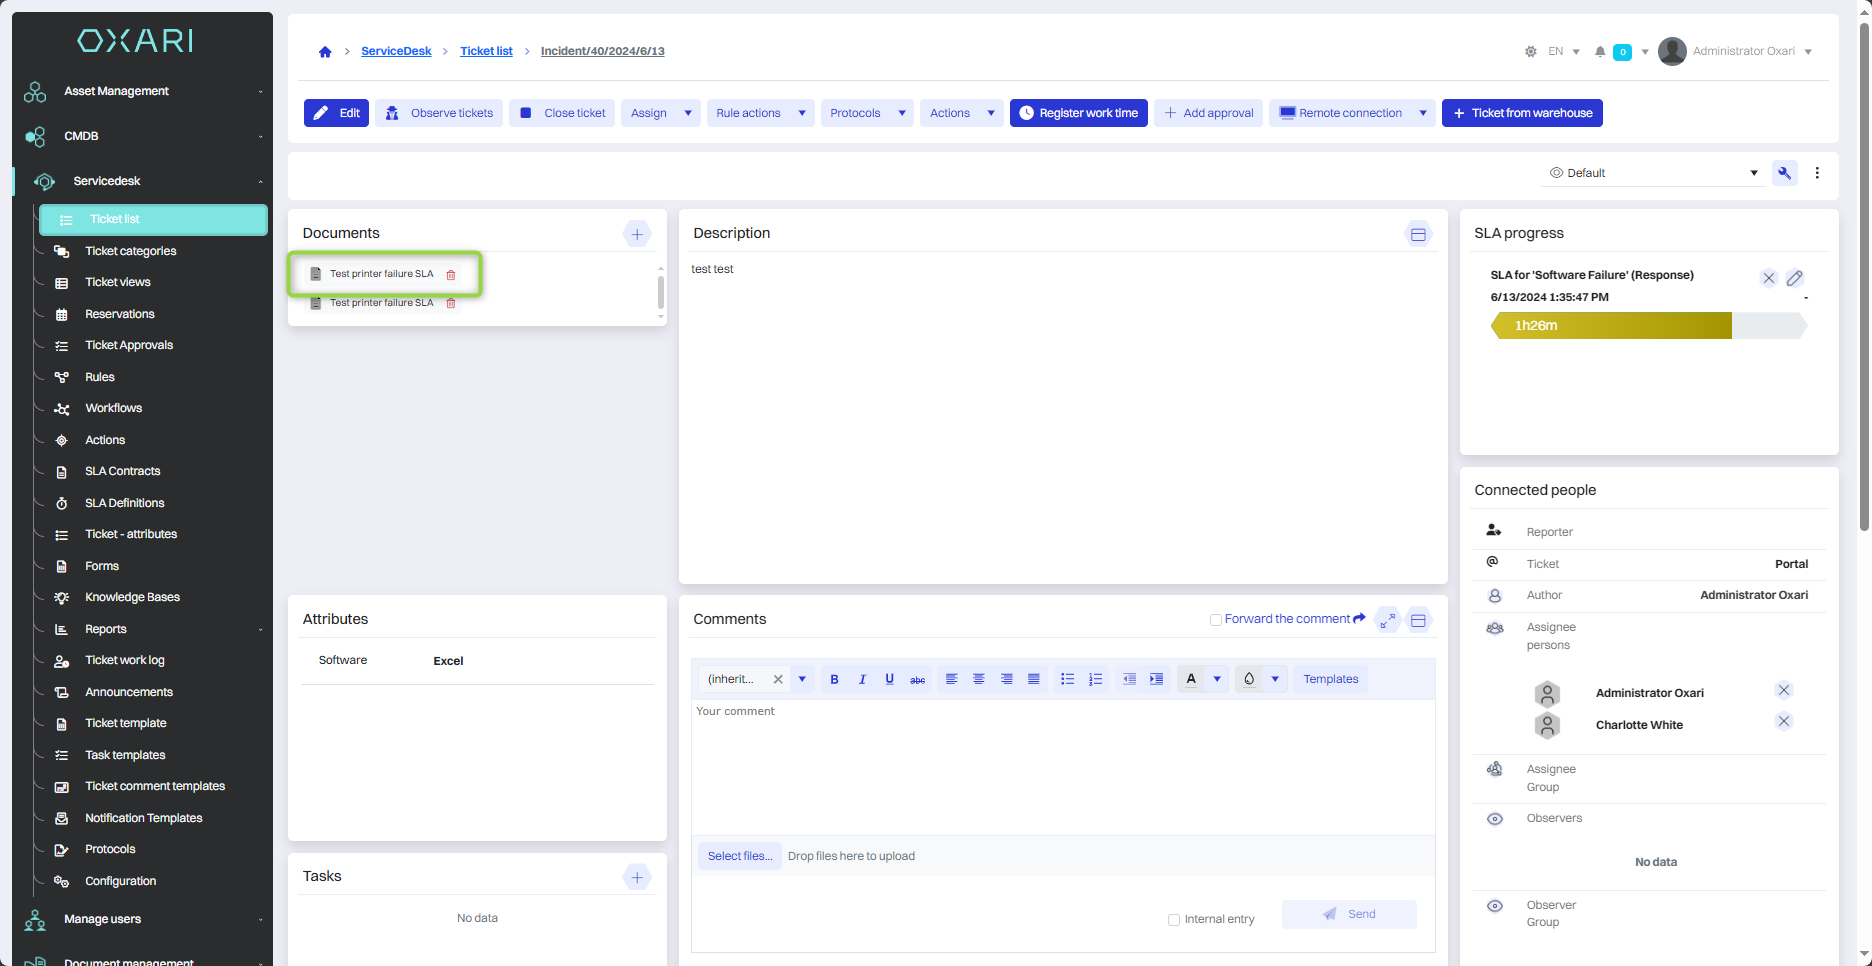
SLA documents and requests - Service Level Agreements (SLAs) can be linked to service requests in the system. When creating or viewing a ticket, widgets can be added that allow access to the associated SLAs. This ensures that service level commitments are adhered to and that requests are managed according to established standards and customer expectations. |
New document
It is possible to create documents based on predefined types, such as "Contract" and "SLA". Users are also free to define their own customized document types, allowing greater flexibility and customization to meet specific organizational needs.
To create a document type: Go >
New document (Agreement)
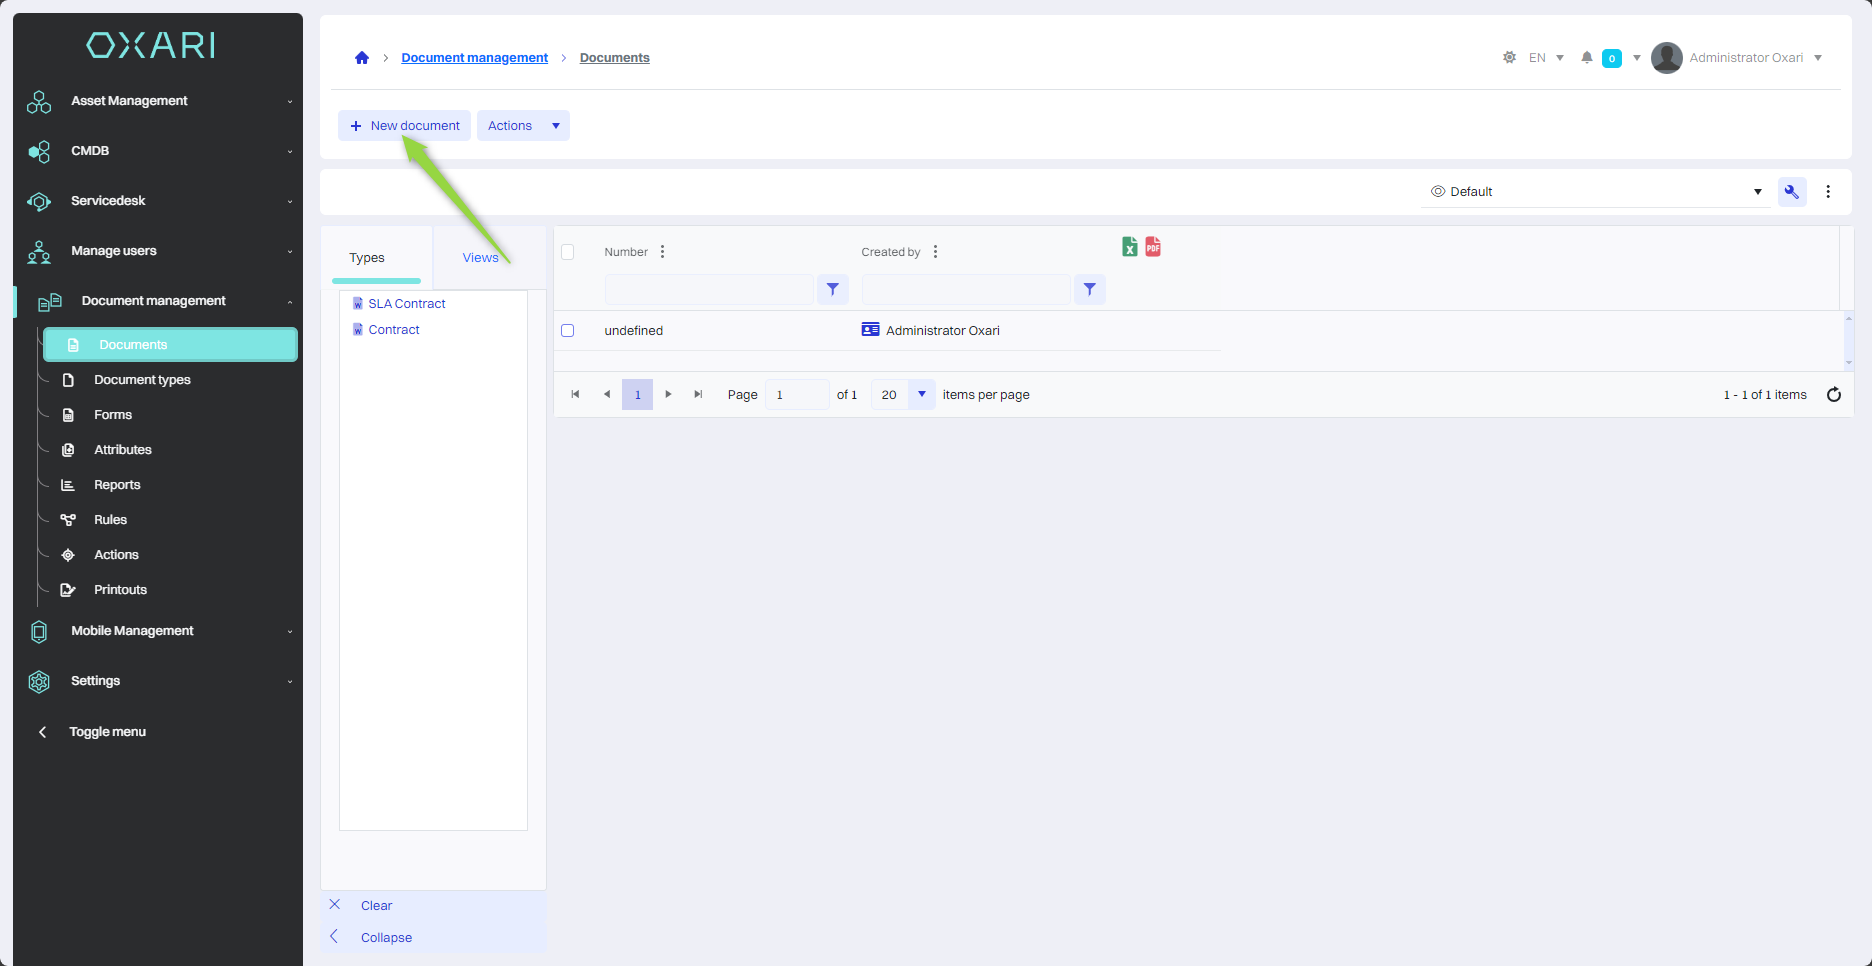
To create a new document, go to Document Management > Documents, and then click the "New Document" button.
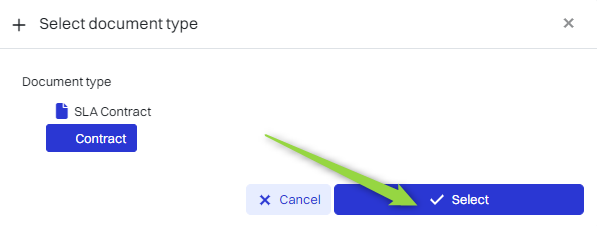
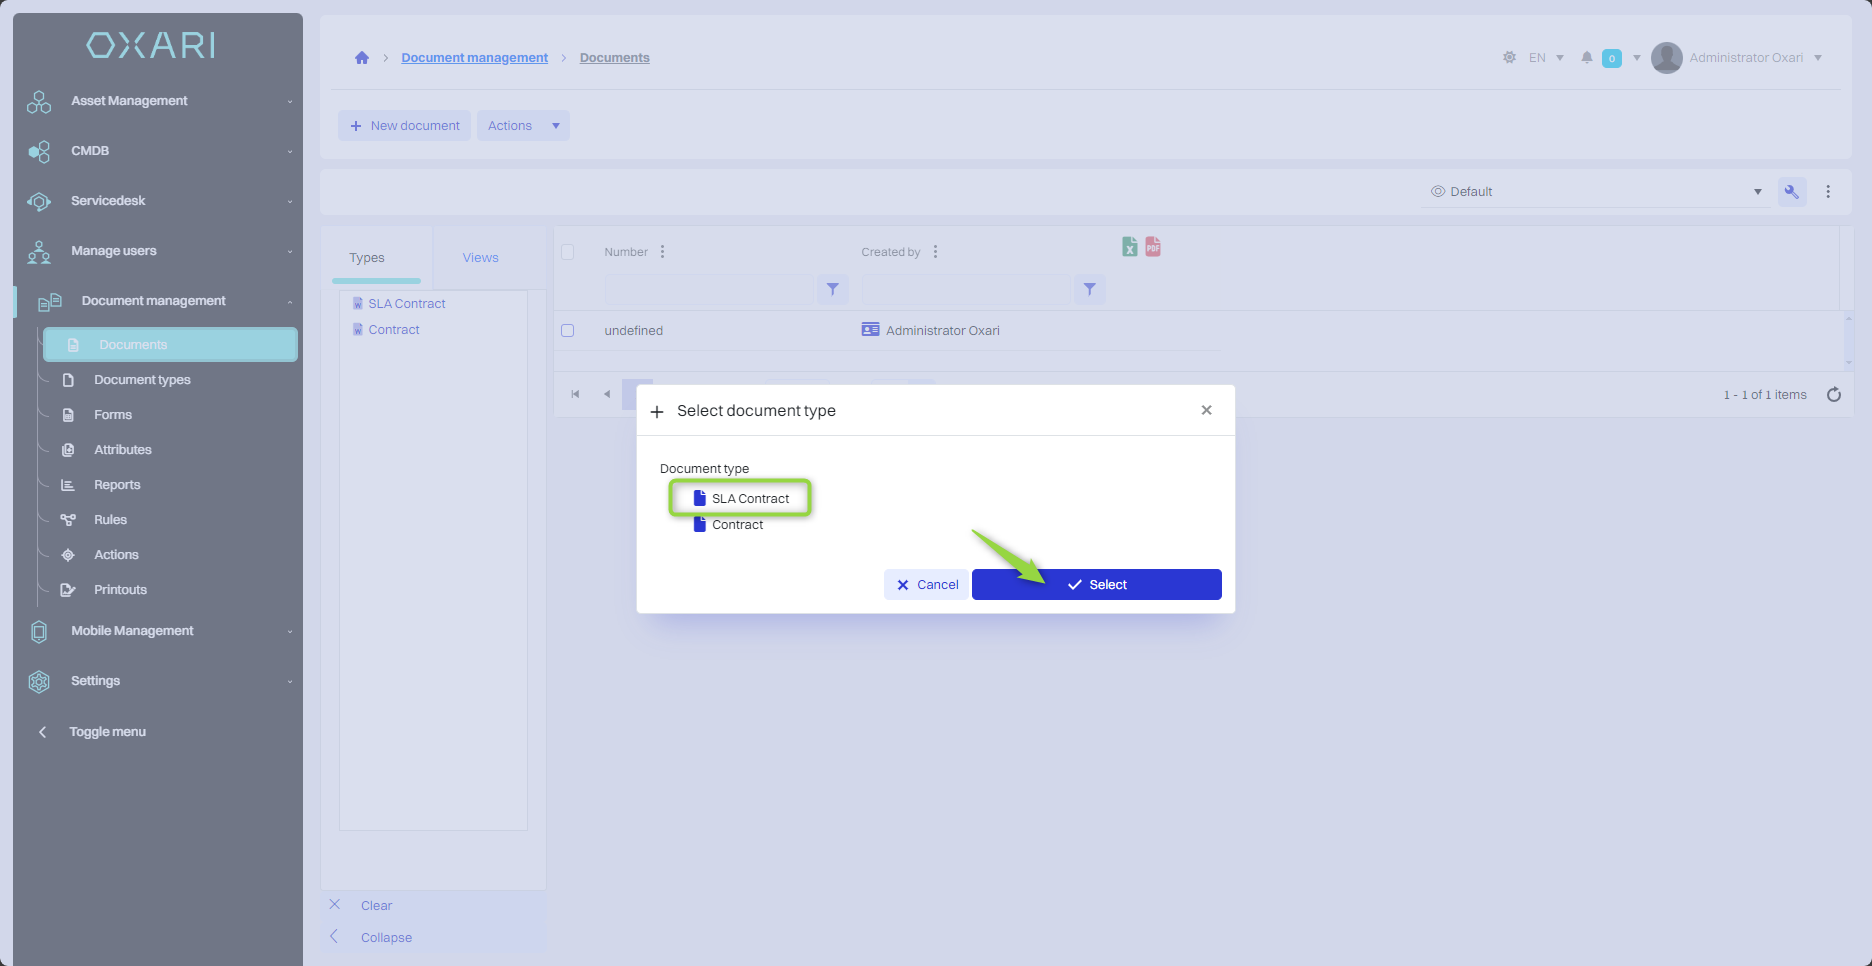
In the next step, in the "Select Document Type" window, the user should select the appropriate document type from the list, and then click the "Select Document Type" button.
Filling out the document
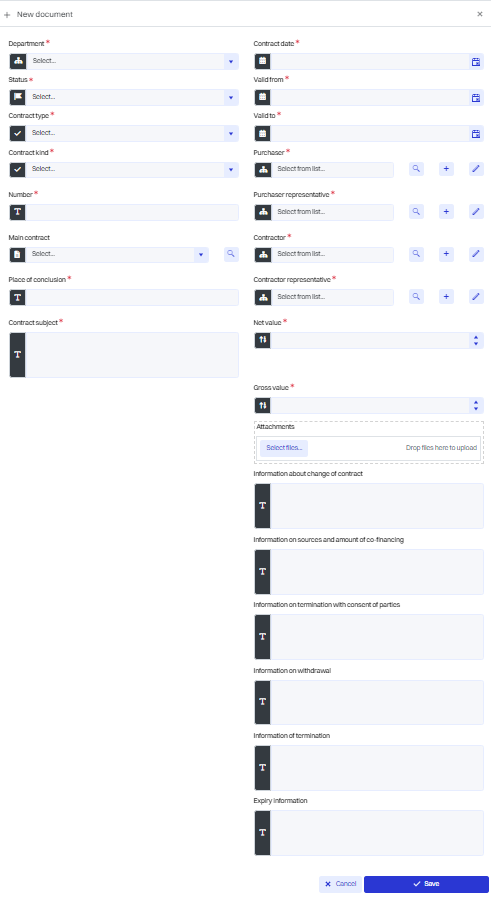
The "New document" view shows a "form" containing the "attributes" of a given "document type". In this case, a predefined contract, you will find the following elements:
To create a document type: Go >
To configure the form: Go >
To configure attributes: Go >
|
1 |
Department - Identify the department or organizational section to which the document is to belong. |
|
2 |
Status - Current status of the document (active, draft, inactive, in archive). |
|
3 |
Contract type - Contract category (e.g., services, construction work). |
|
4 |
Type of contract - Further specifying the type of contract (cost or revenue) |
|
5 |
Number - A unique identification number. |
|
6 |
Umowa główna - możliwość połączenia z istniejącą umową główną. |
|
7 |
Master contract - the ability to merge with an existing master contract. |
|
8 |
Subject of the contract - Description of the scope or subject matter of the contract. |
|
9 |
Contract date - Date of signing the contract. |
|
10 |
Valid from/to - The period for which the contract is valid. |
|
11 |
Purchaser - the Party that initiates the contract. |
|
12 |
Contracting authority's representative - A person representing the contracting authority. |
|
13 |
Contractor - The party responsible for the execution of the contract. |
|
14 |
Contractor's representative - The person representing the contractor. |
|
15 |
Net/gross value - Financial details of the contract. |
|
16 |
Attachments - The possibility of attaching a given agreement in an appendix, as well as additional documents related to the agreement. |
Fill in the desired fields.
Then click the "Save" button.
The given contract was created: (it was automatically assigned a contract number "0", because the contract document type has a number mask: "auto-increment").

New document (SLA)
To create a new document, go to Document Management > Documents, and then click the "New Document" button.
In the next step, in the "Select Document Type" window, the user should select the appropriate document type from the list, and then click the "Select Document Type" button.
Filling out the document
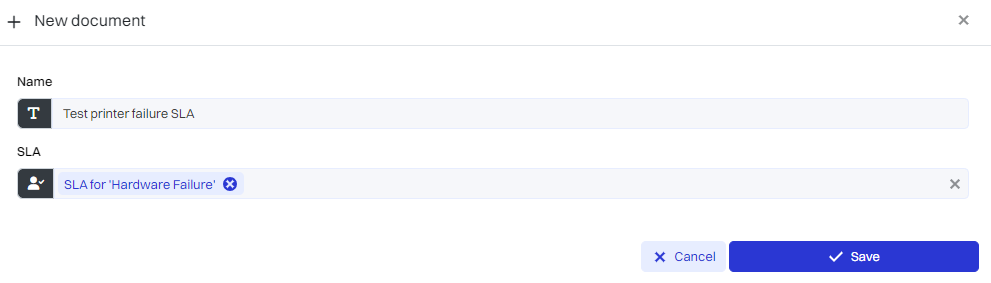
In the "New document" view, you can see a "form" containing the "attributes" of a given "document type" just like in a regular contract. On the other hand, there is still an "SLA" attribute combined with SLA definitions.
To create a document type: Go >
To configure the form: Go >
To configure attributes: Go >
To configure the SLA definition: Go >
Fill in the selected fields and click the "Save" button.
The given contract was created: (in this case, the contract number was not automatically created , because the document type SLA contract does not have a number mask: "auto-increment").
Editing/Deleting a Document
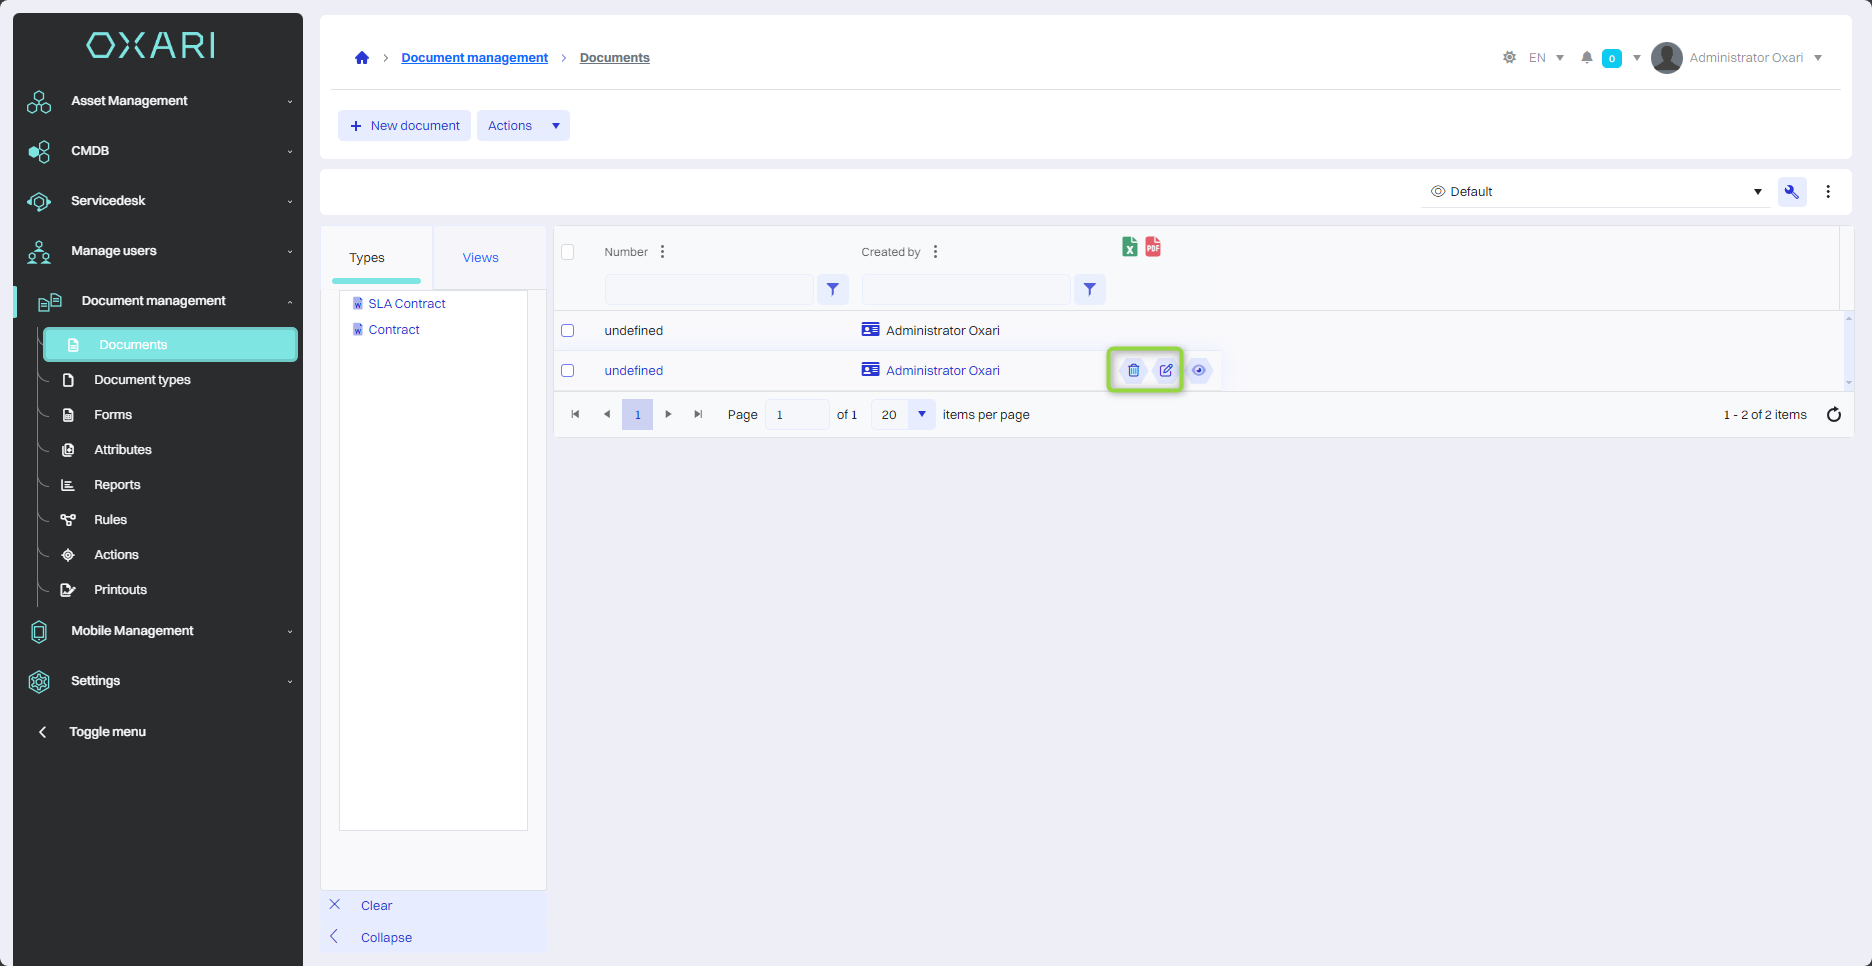
Any document in the document list can be edited or deleted. To edit or delete a document, go to Document Management > Documents . Hover over the desired document. The edit/delete buttons will be displayed.
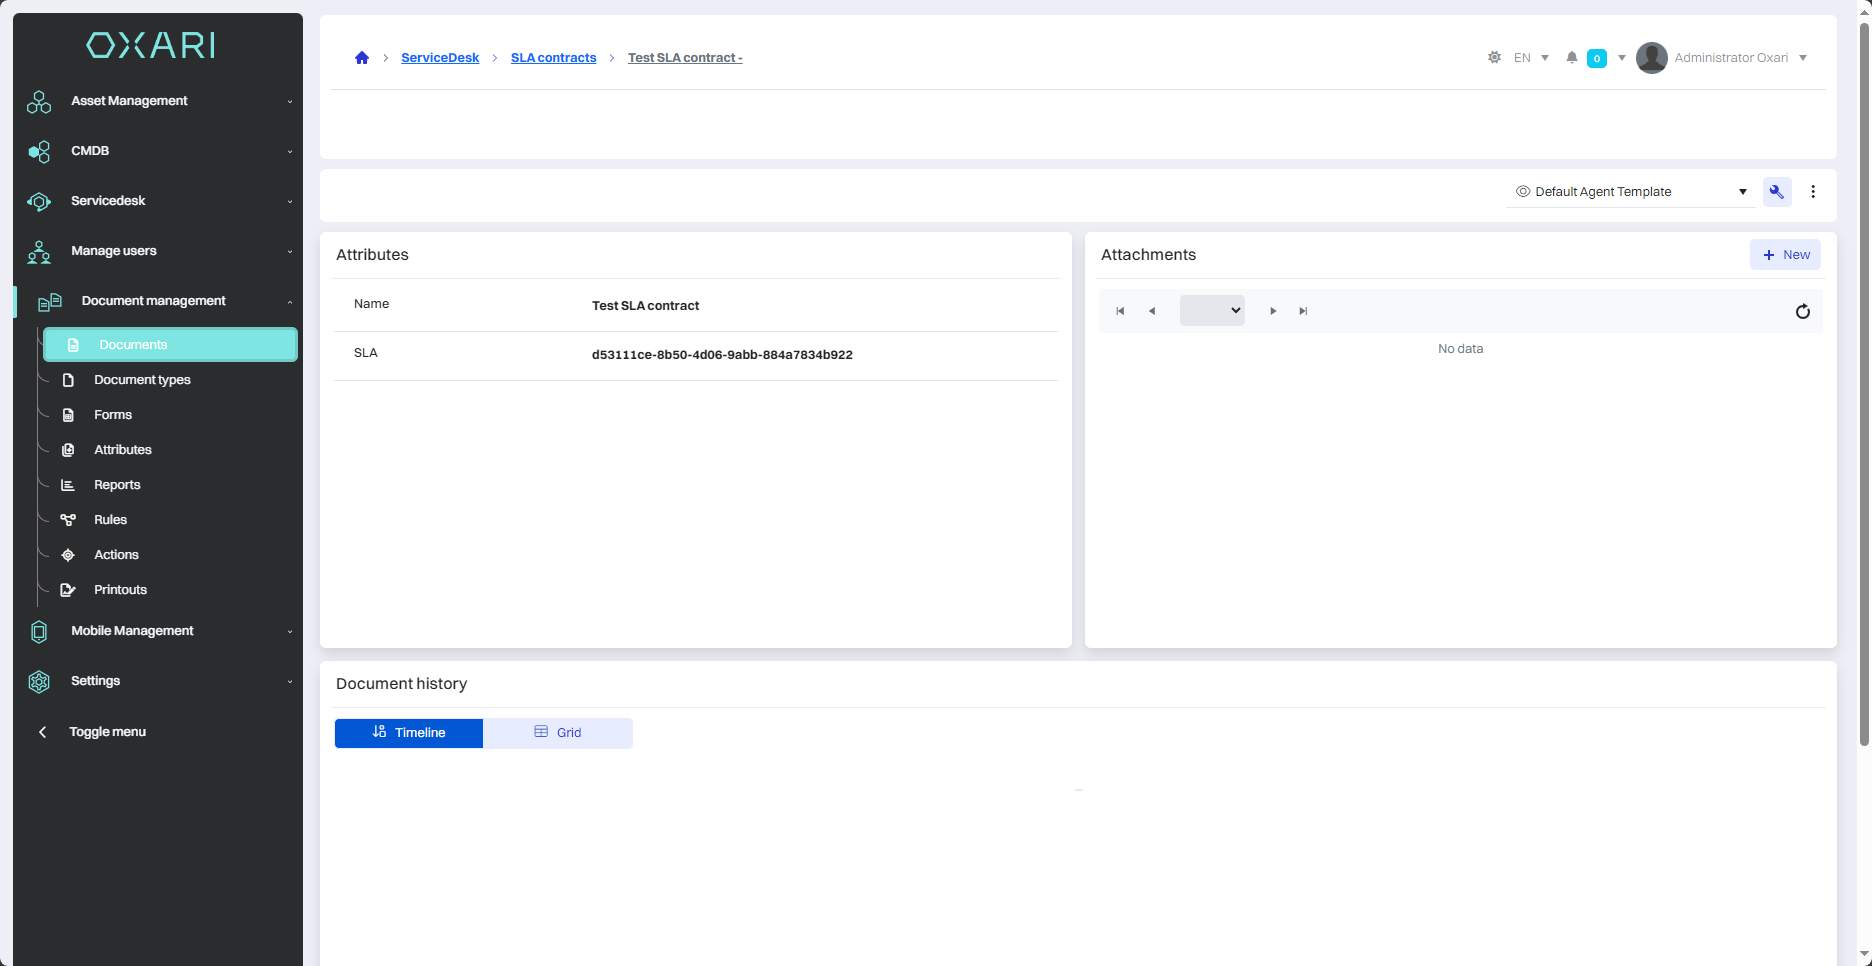
Detailed document view
The detailed document view is the center of information about each registered document. Here users can access full details about the document, including its attributes such as type, status and number. Options to add attachments are also available, allowing all related files to be stored centrally. Document history records every operation, making it easy to track changes and updates.
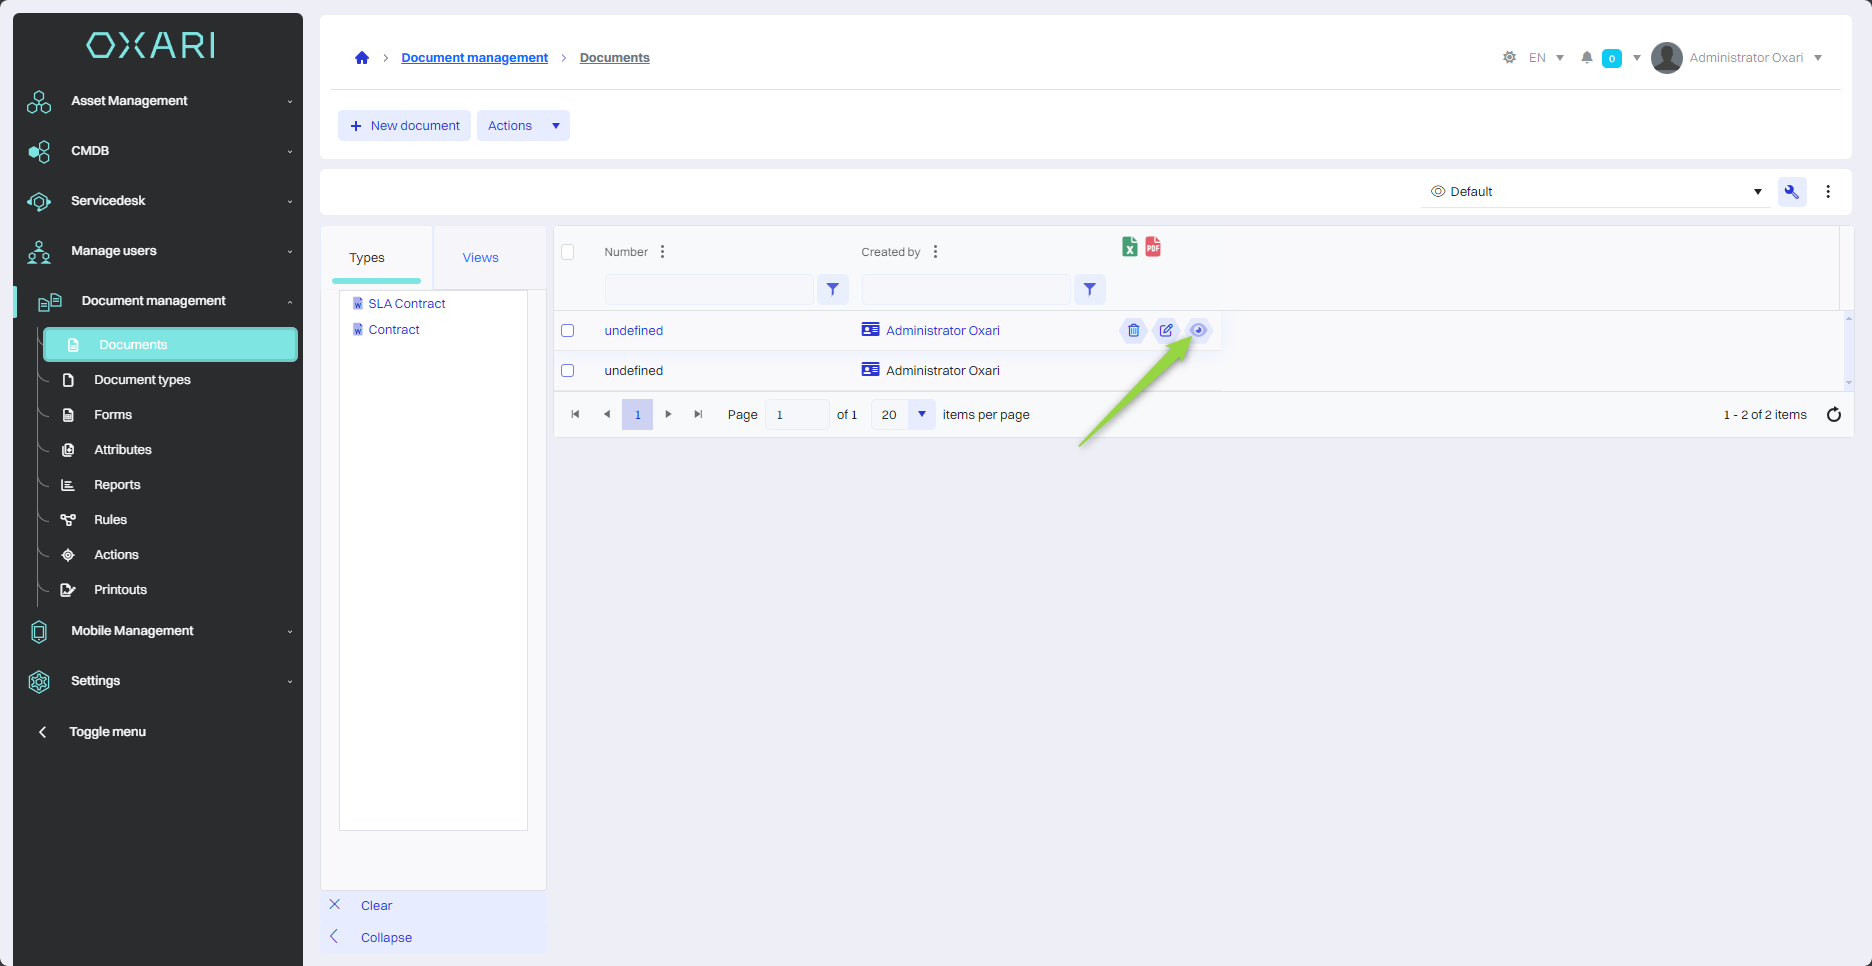
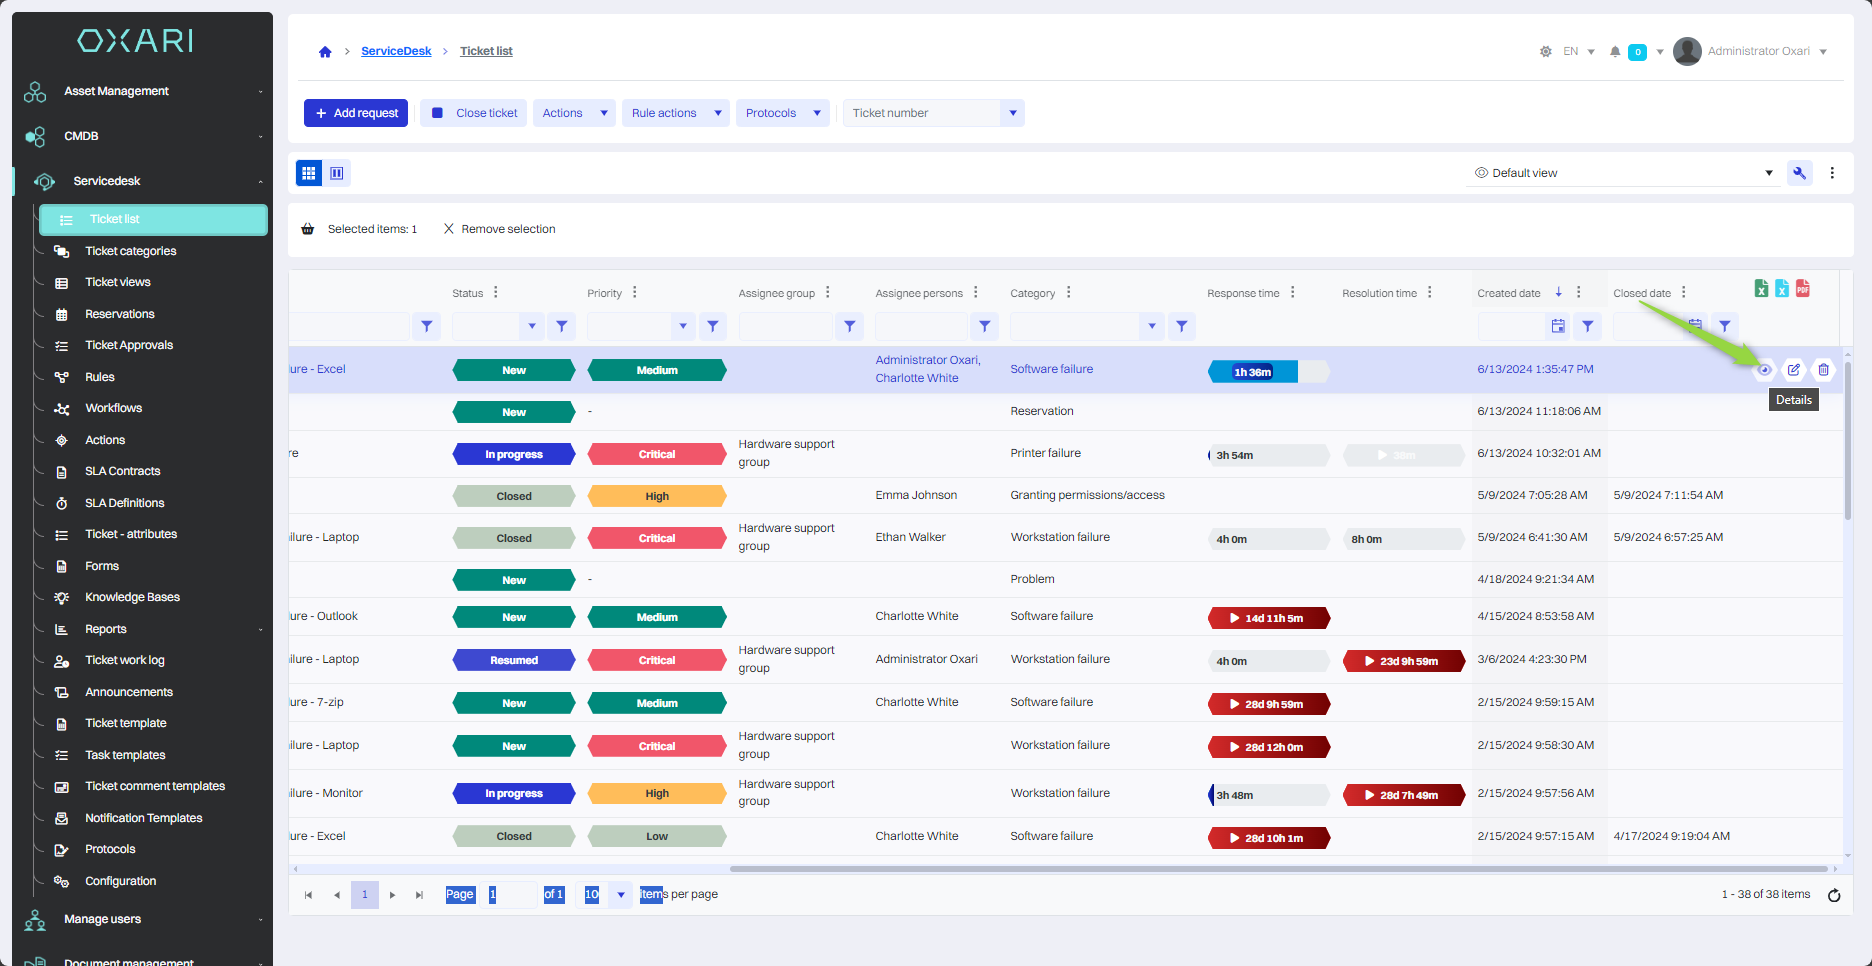
To go into a detailed view of a document, go to Document Management > Documents, then click the "Details" button next to the desired document.
A detailed view is available:
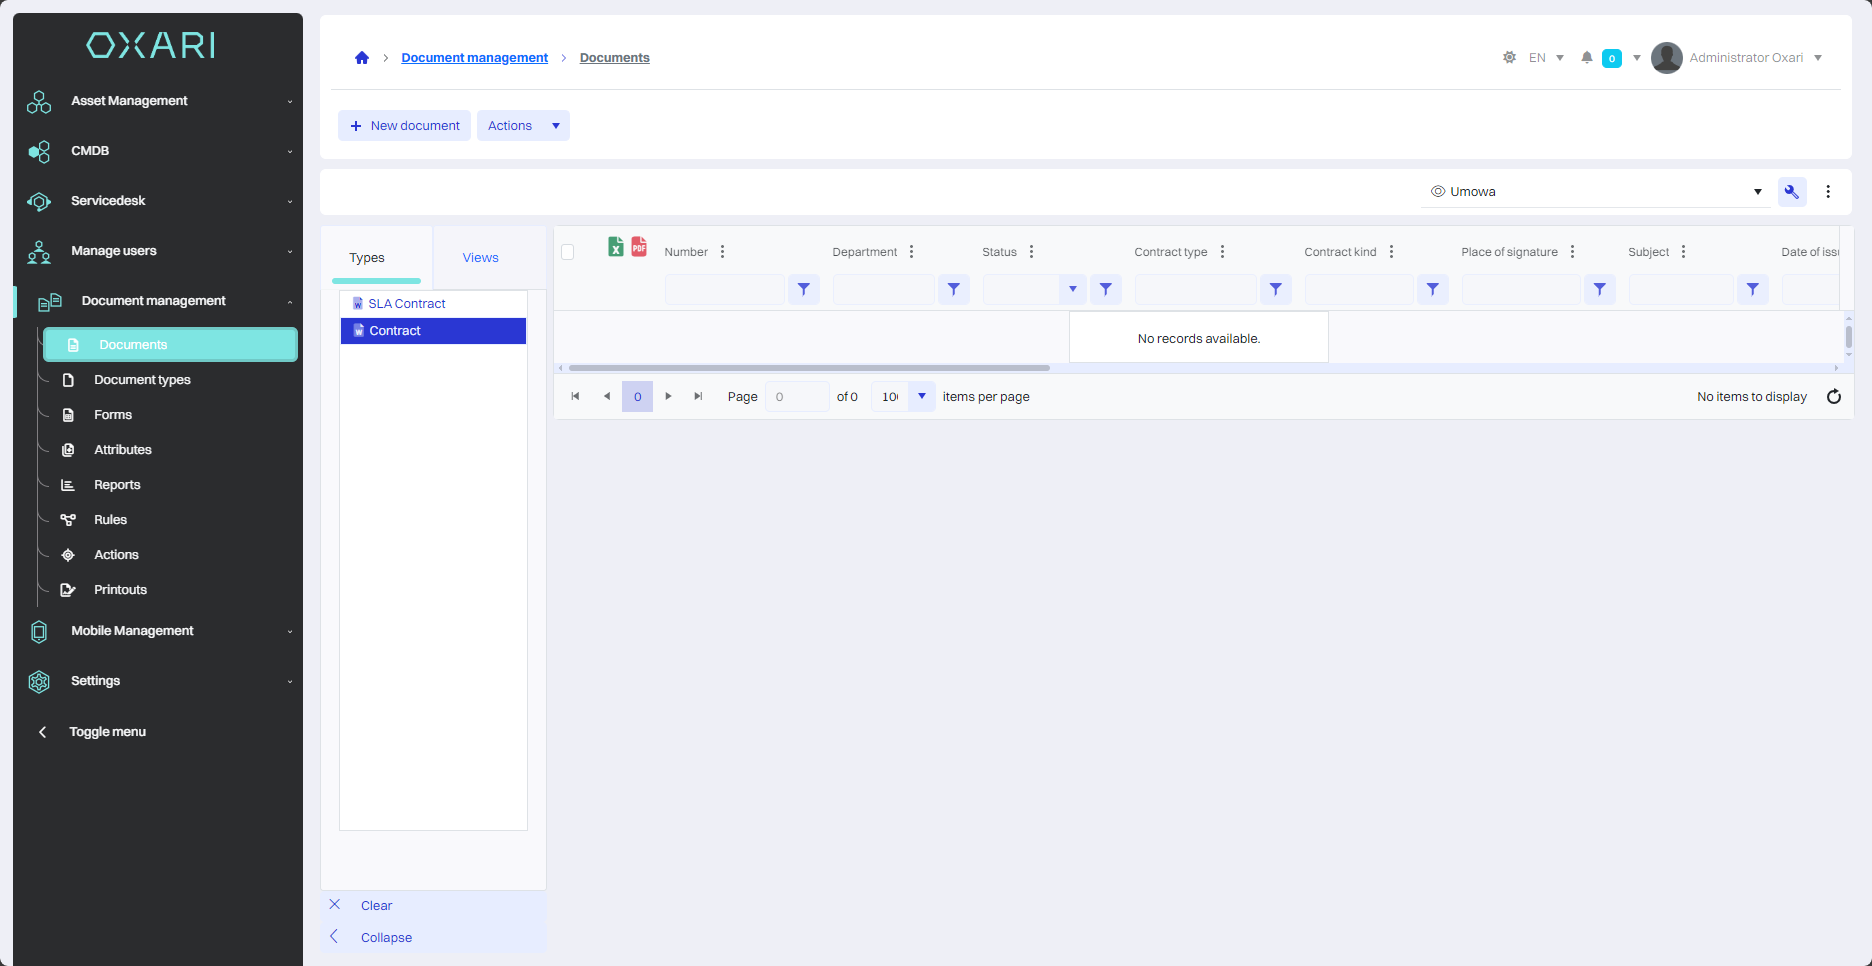
Narrowing the document view based on data types
To narrow the document view for a particular data type, go to Document Management > Documents, then click on the desired data type.
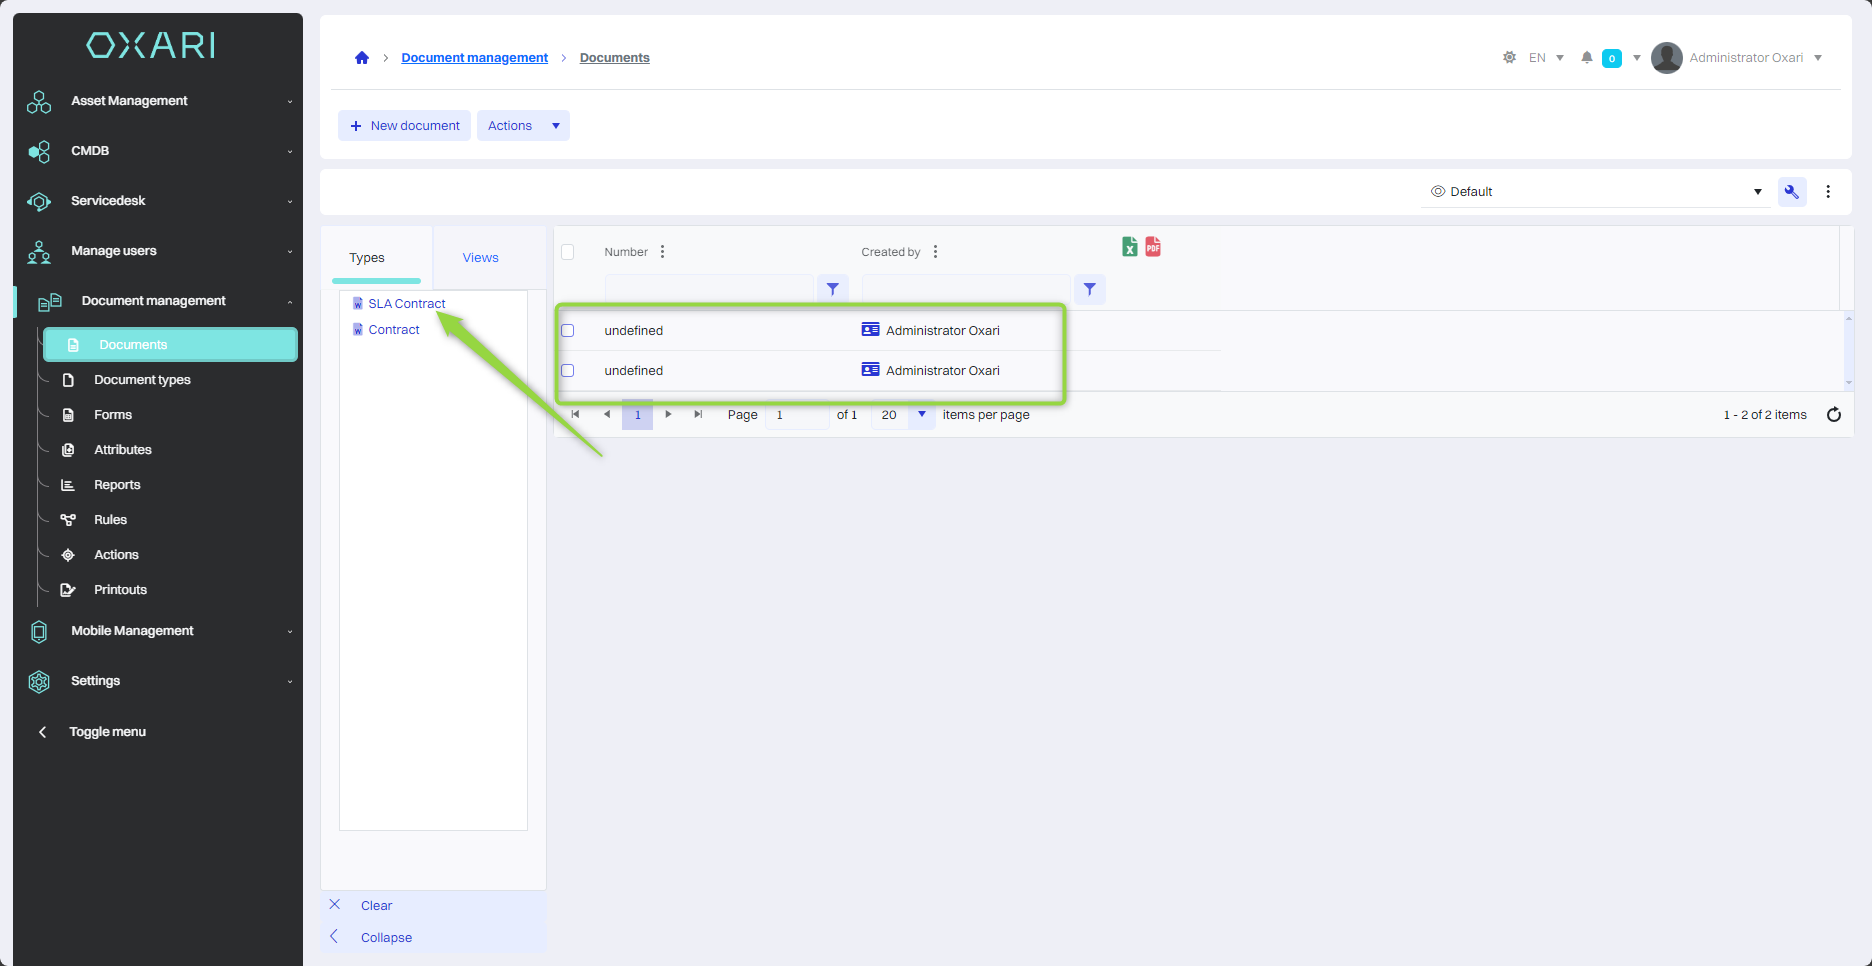
A given view is available, showing documents from a given data type with specified attributes:
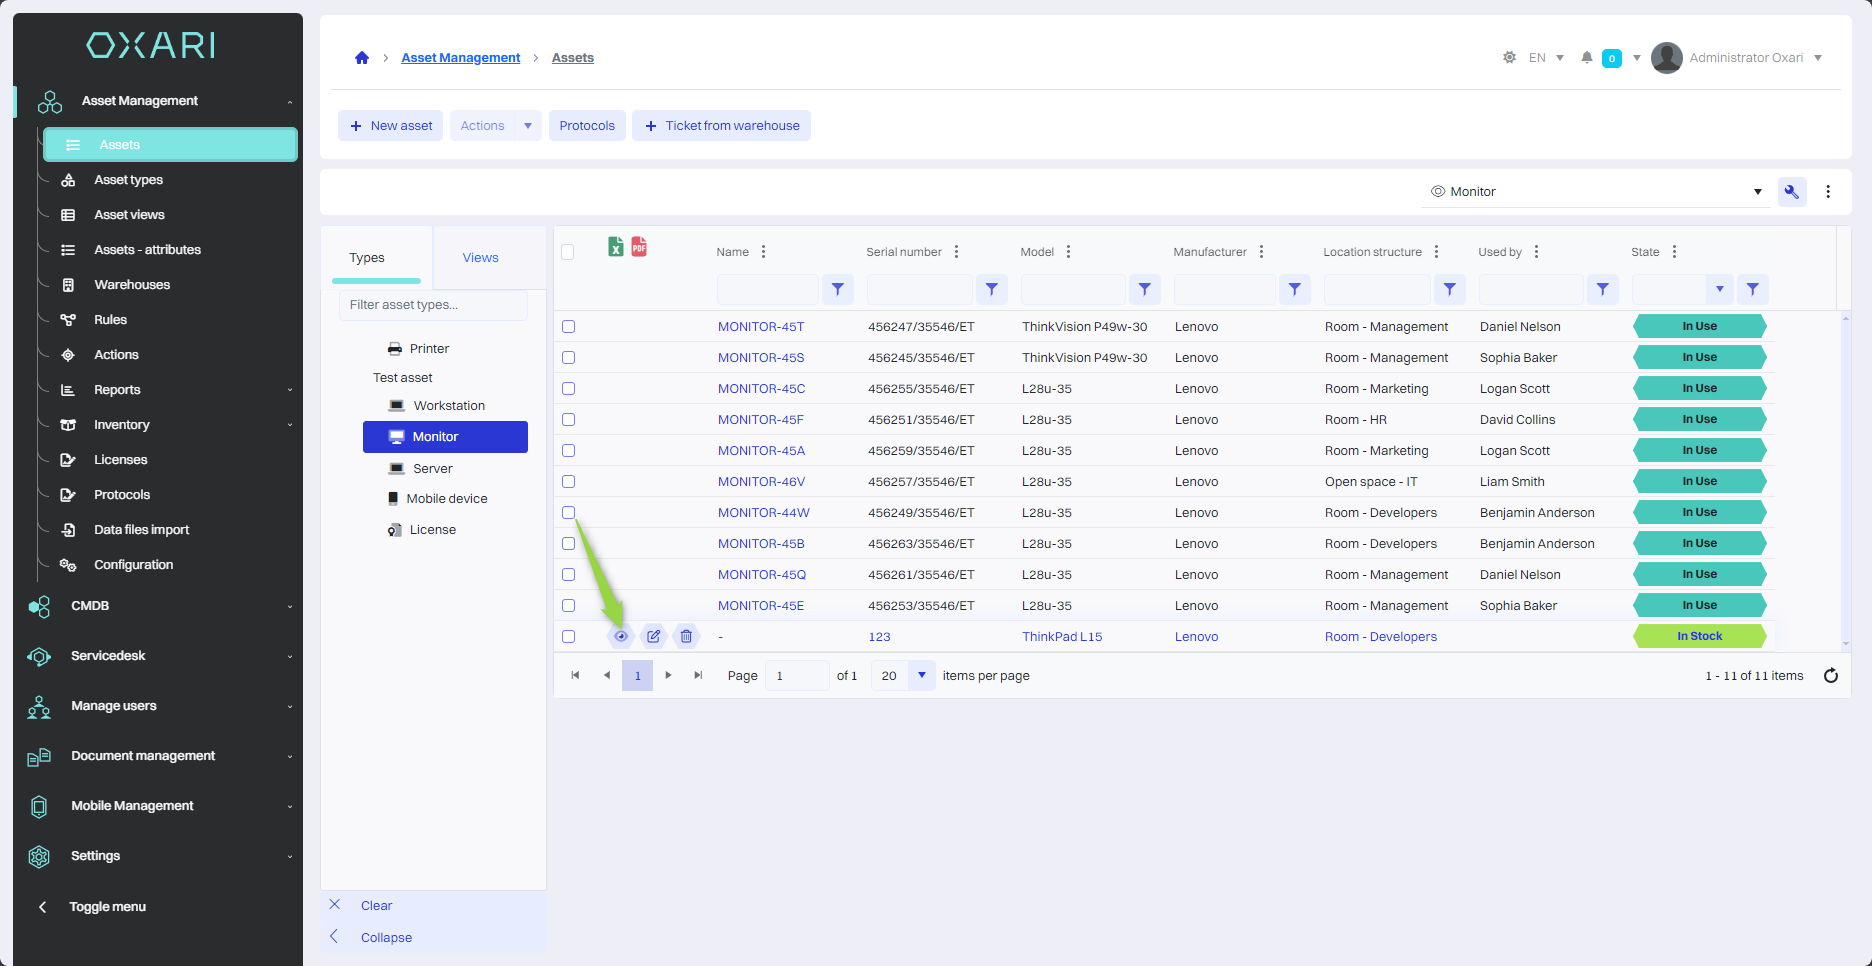
Attaching a document to a Asset
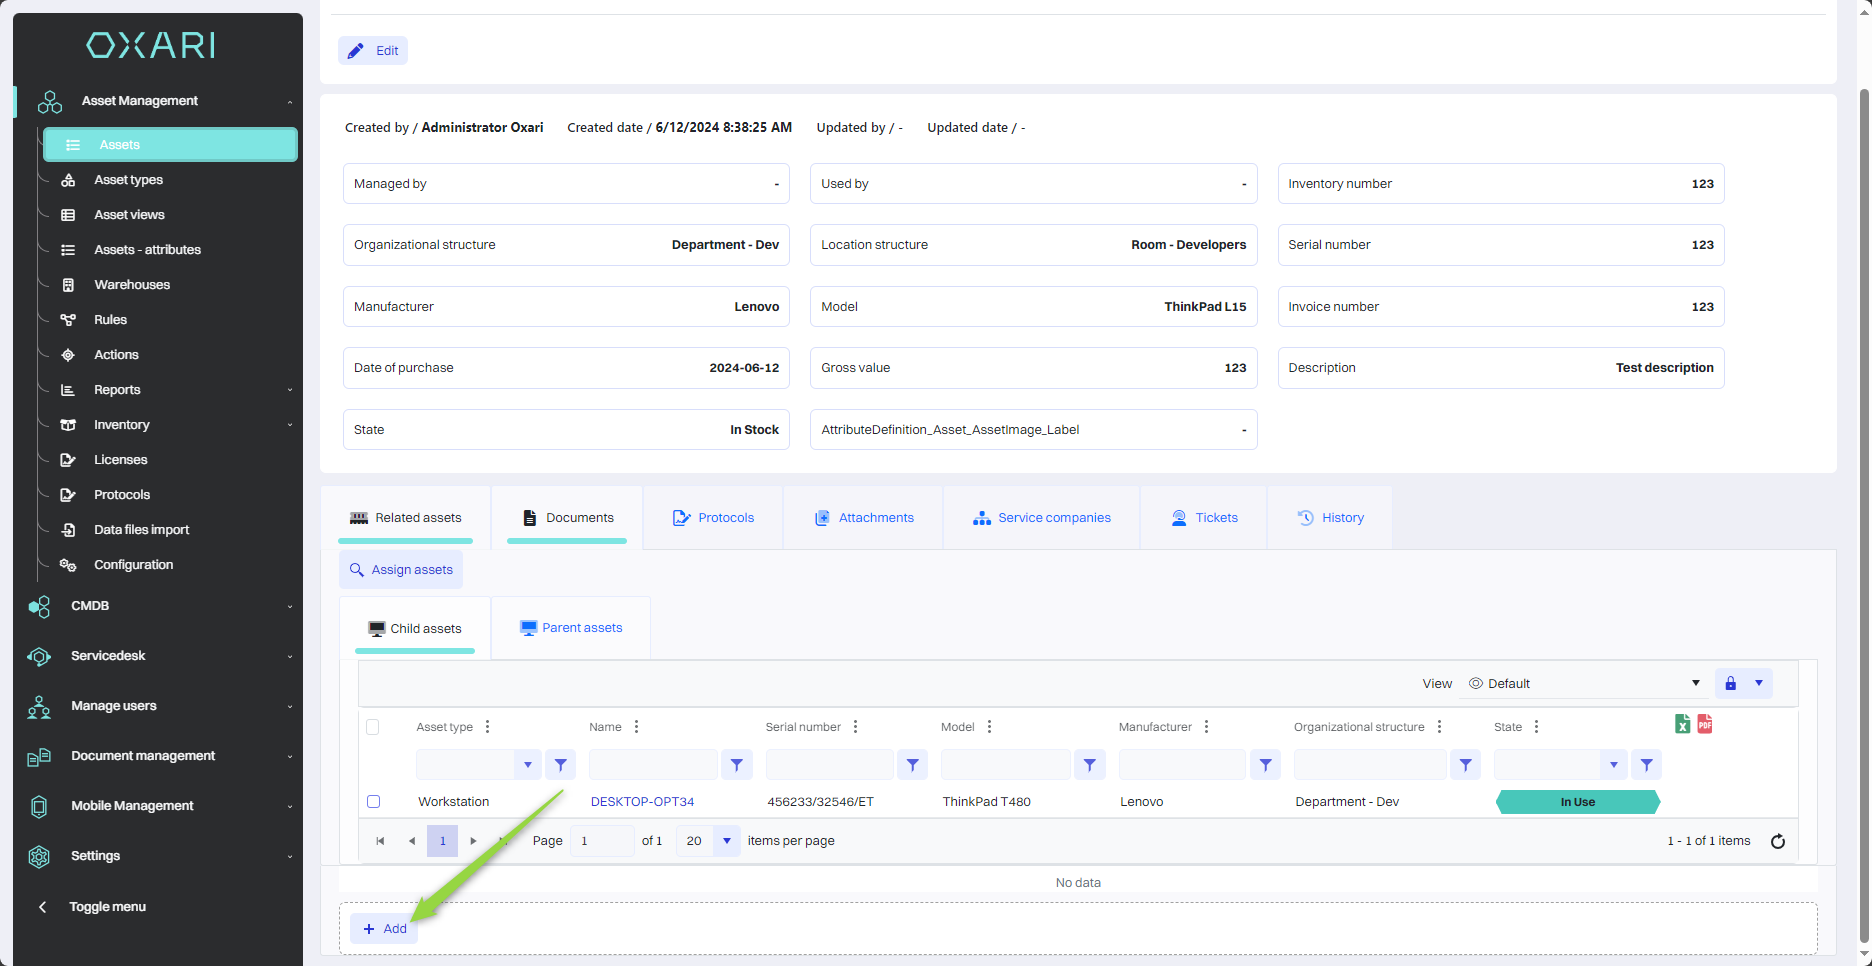
To attach a document to a Asset, go to Asset Management > Assets, then select the Asset and enter the detail view by clicking the "Details" button.
To configure Assets: Go >
In this step in the documents tab, click the "Add" button.
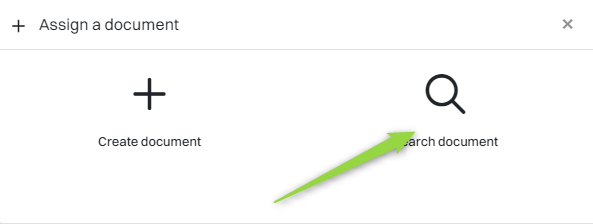
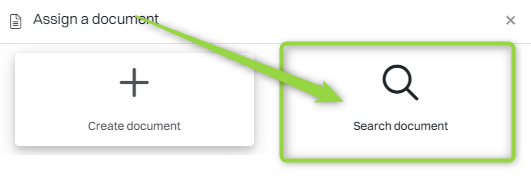
In the presented step, two options are available: "Create new document" and "Search document". The "Create New Document" option allows you to create a new document based on the defined types, similar to the functions available in the Document Management > Documents section. Once created, the document is automatically assigned to a Asset and is visible in the general document list. The "Search Document" option allows you to select and assign a document that already exists in the system. In this case, an already created document will be selected, click the "Search Document" button.
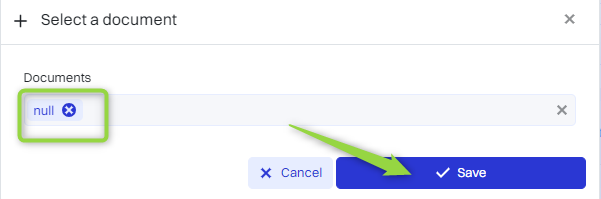
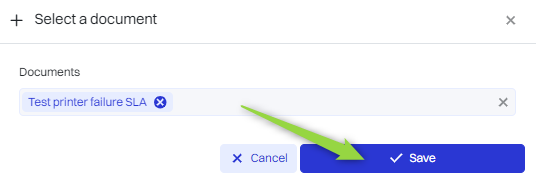
Then, in the "Select Document" window, select the desired document from the list and click the "Save" button.
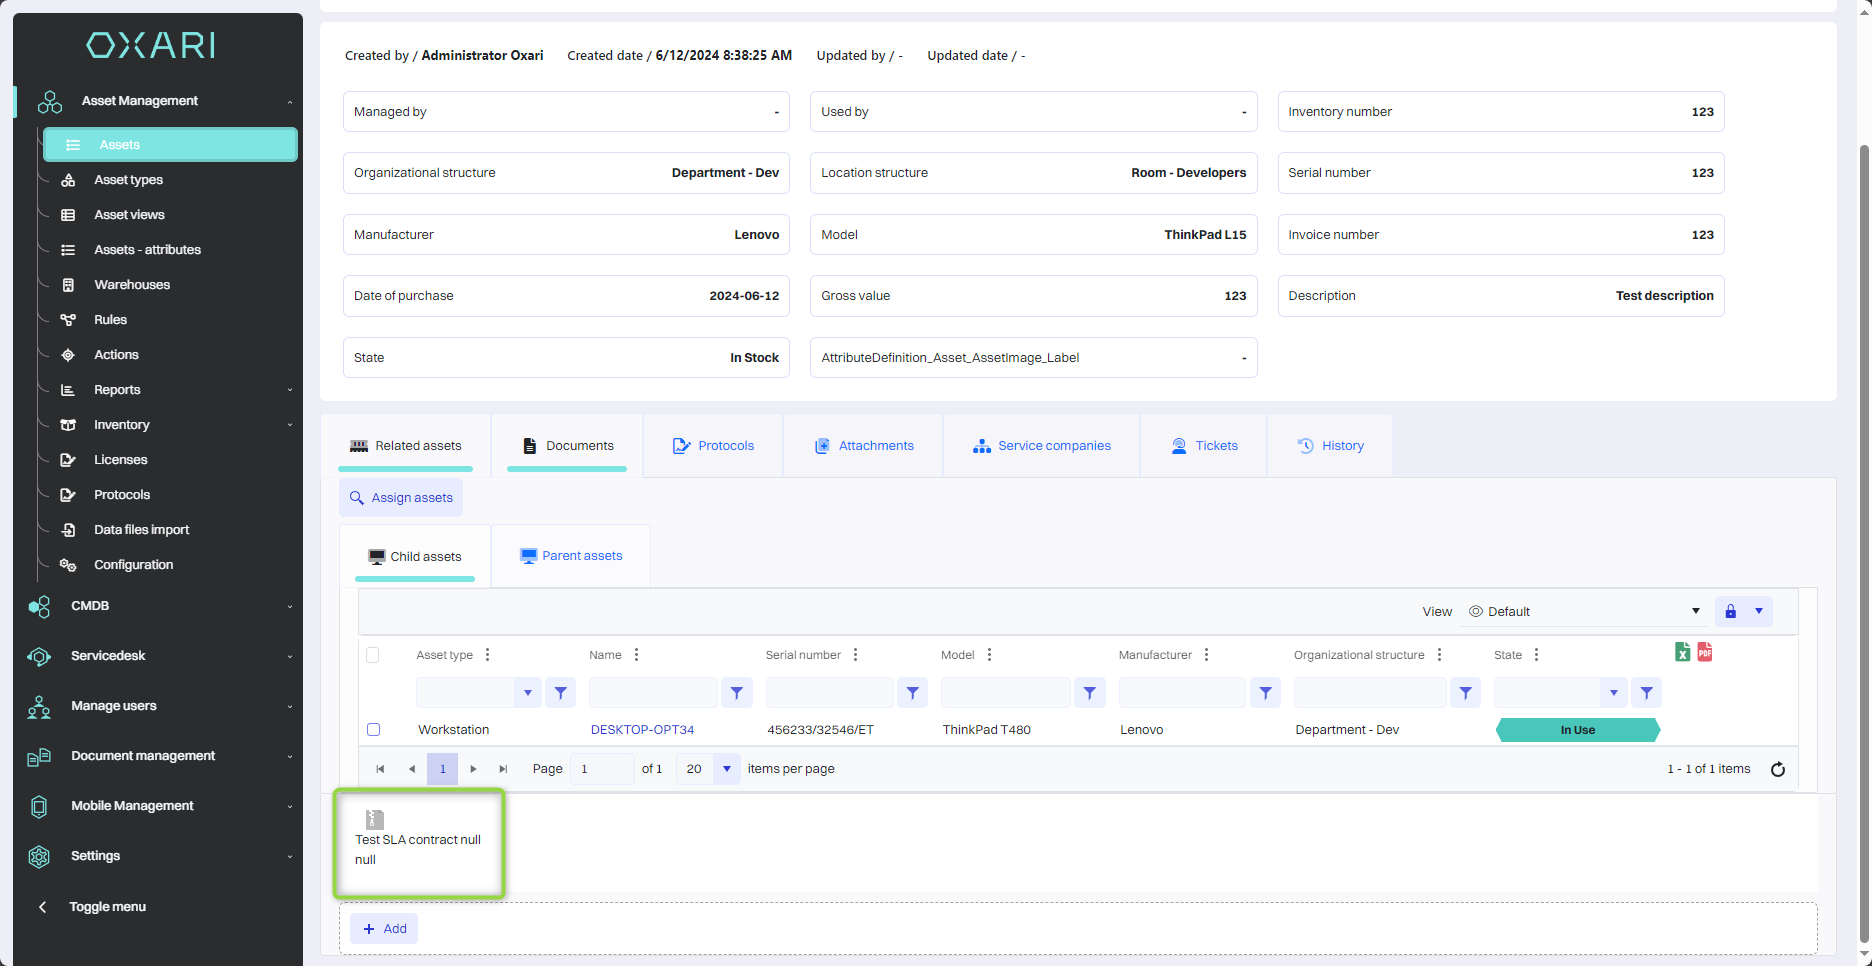
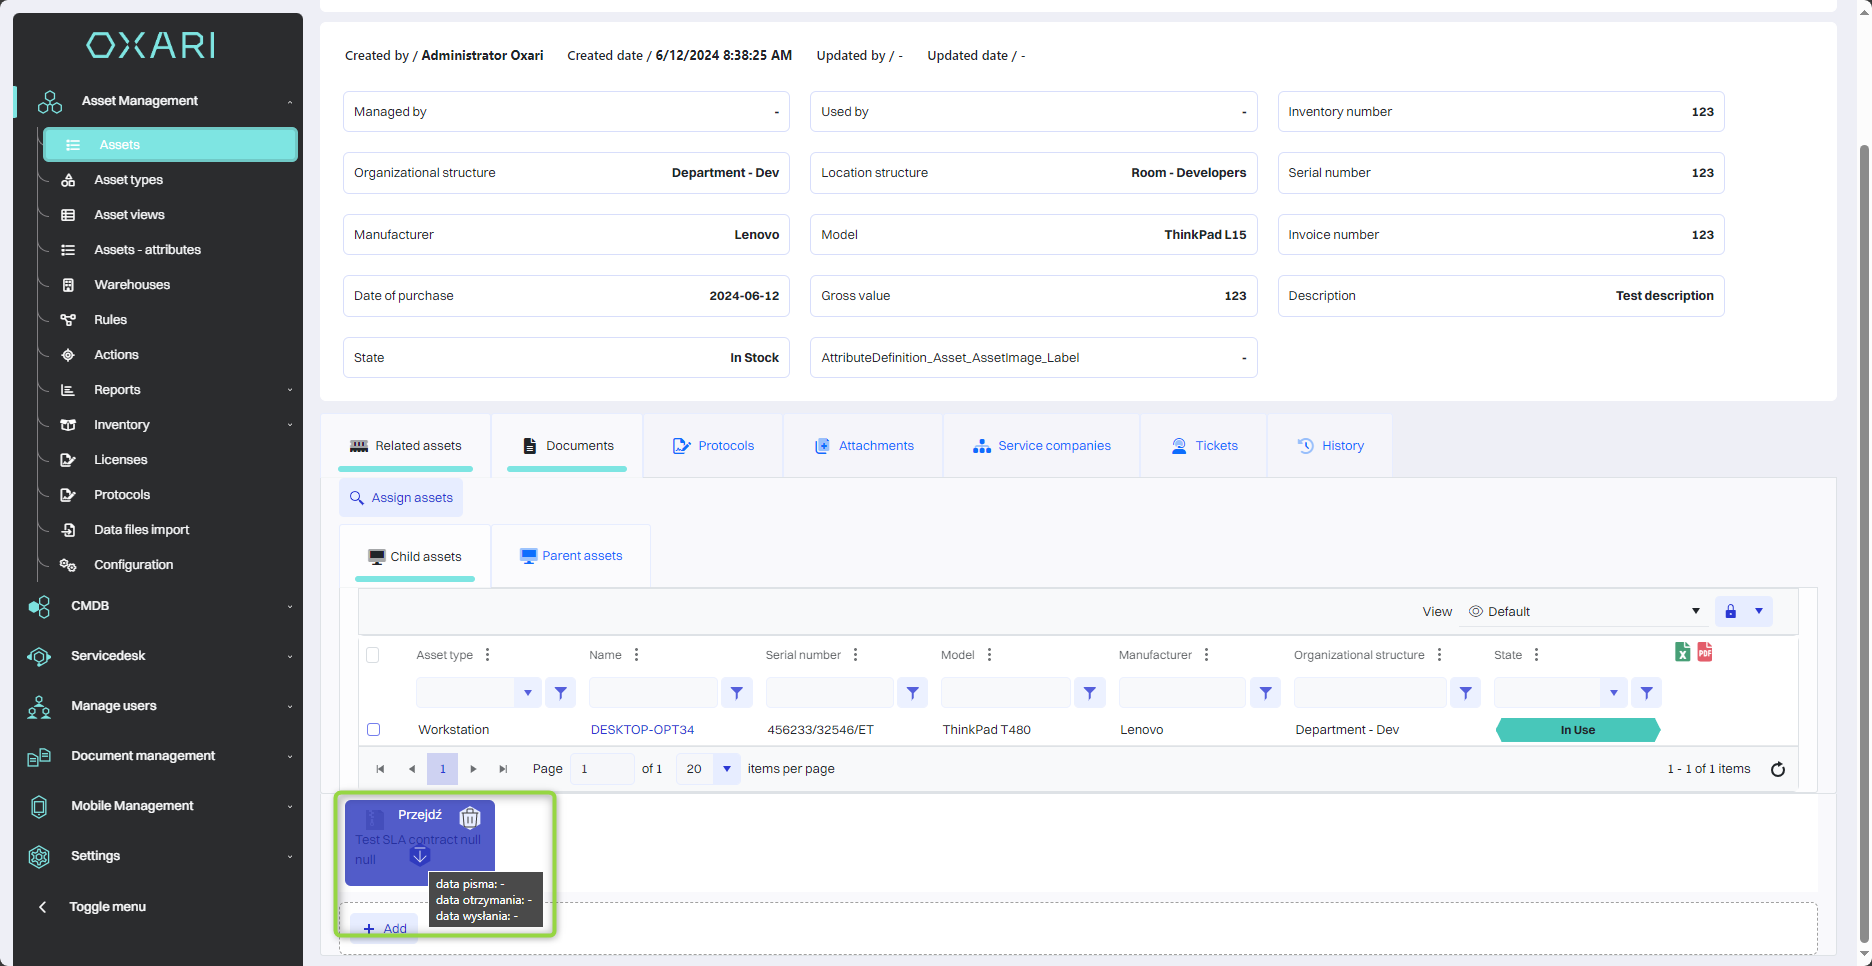
The given document has been added to the Asset:
Detailed view of the document assigned to the Asset
From this level it is also possible to see the detailed view of the document, just click on the desired document
Assigning a document to a request
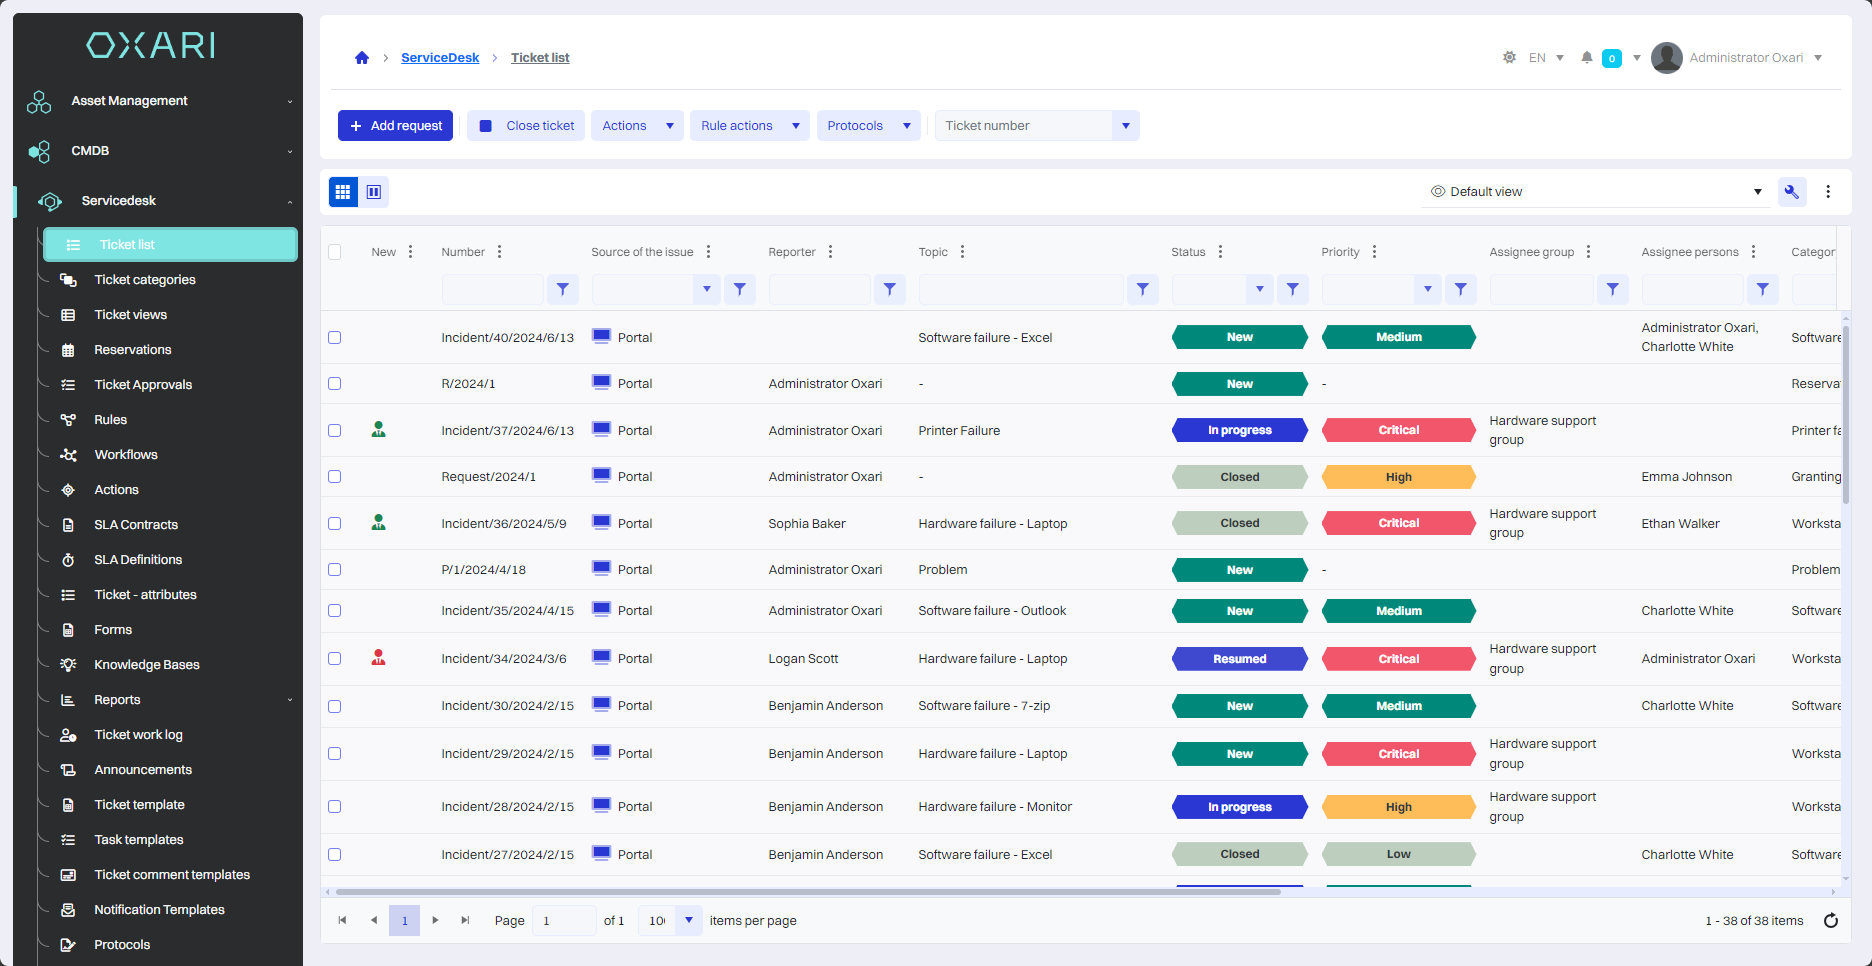
To assign a document to a request, go to Servicedesk > Ticket List. There are two ways to assign a document to a ticket.
More about tickets and creating a ticket: Go >
The first way to assign a document to a request
Under Servicedesk > Ticket List, select the desired request and then click the "Actions" button.
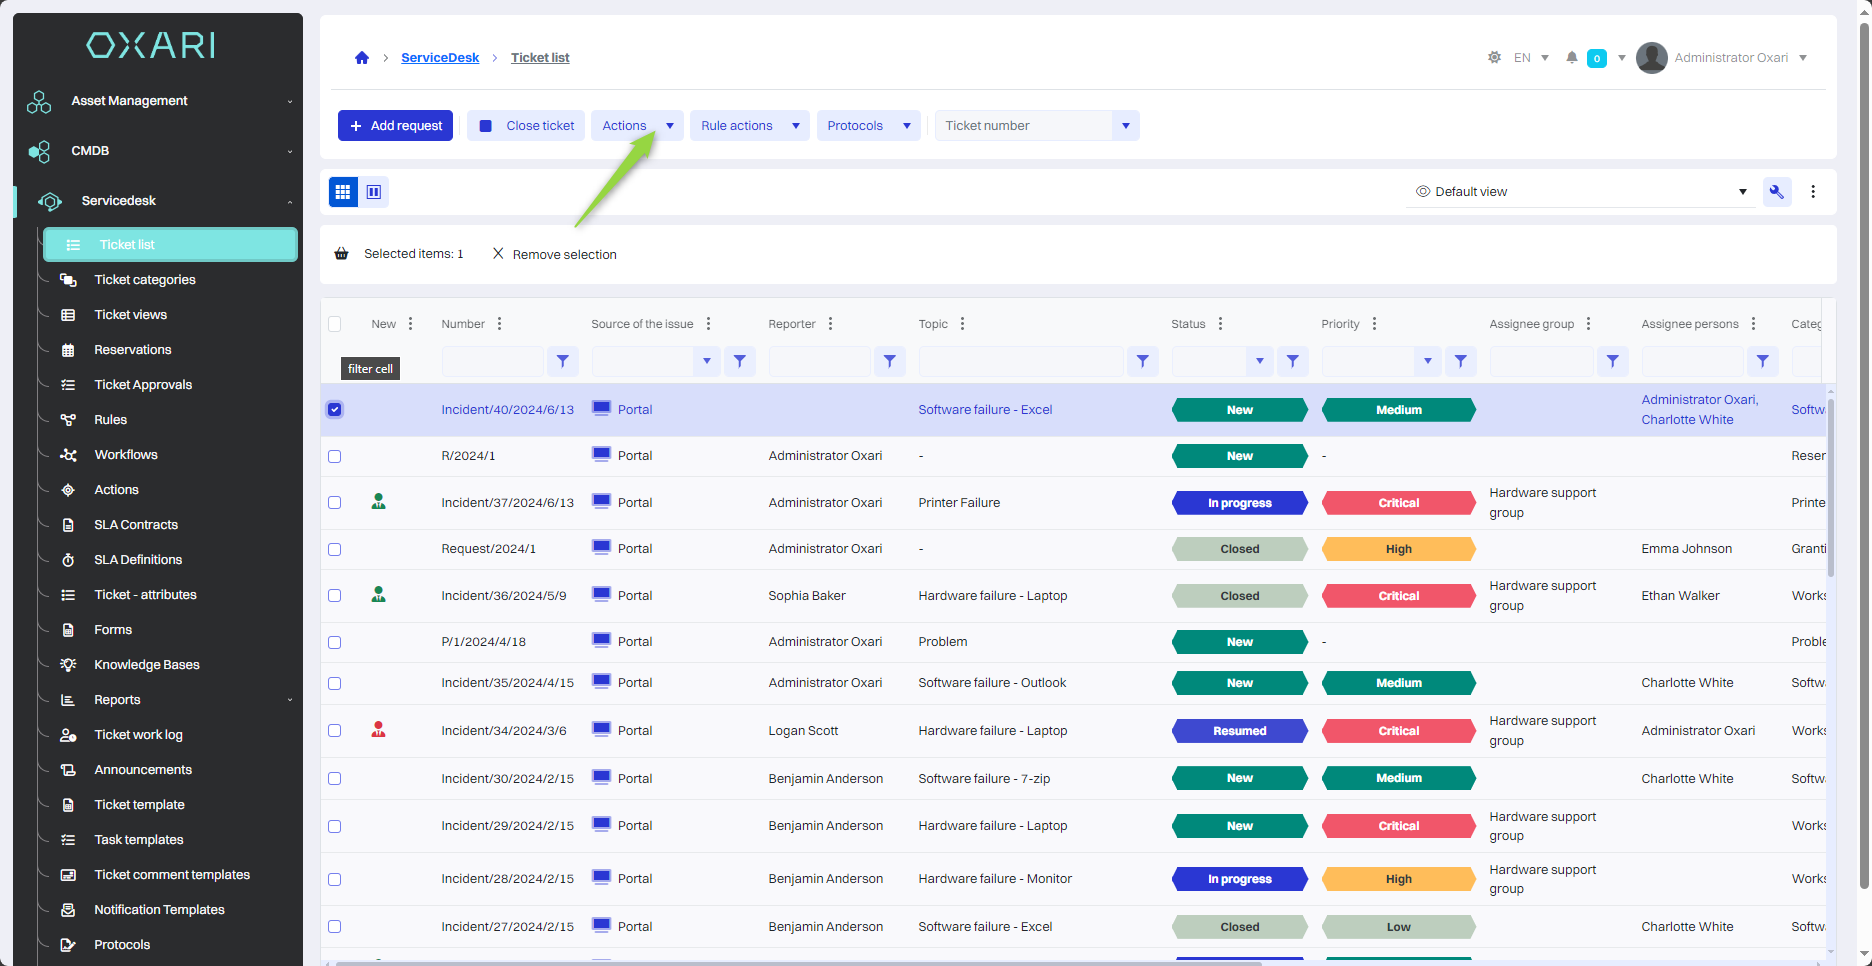
In this step, click "Assign document" in the action drop-down list.

In this step, select the desired document from the list and click the "Save" button.

The document has been assigned to a given request, the information is visible in the detail view of the given request.
Adding a document widget
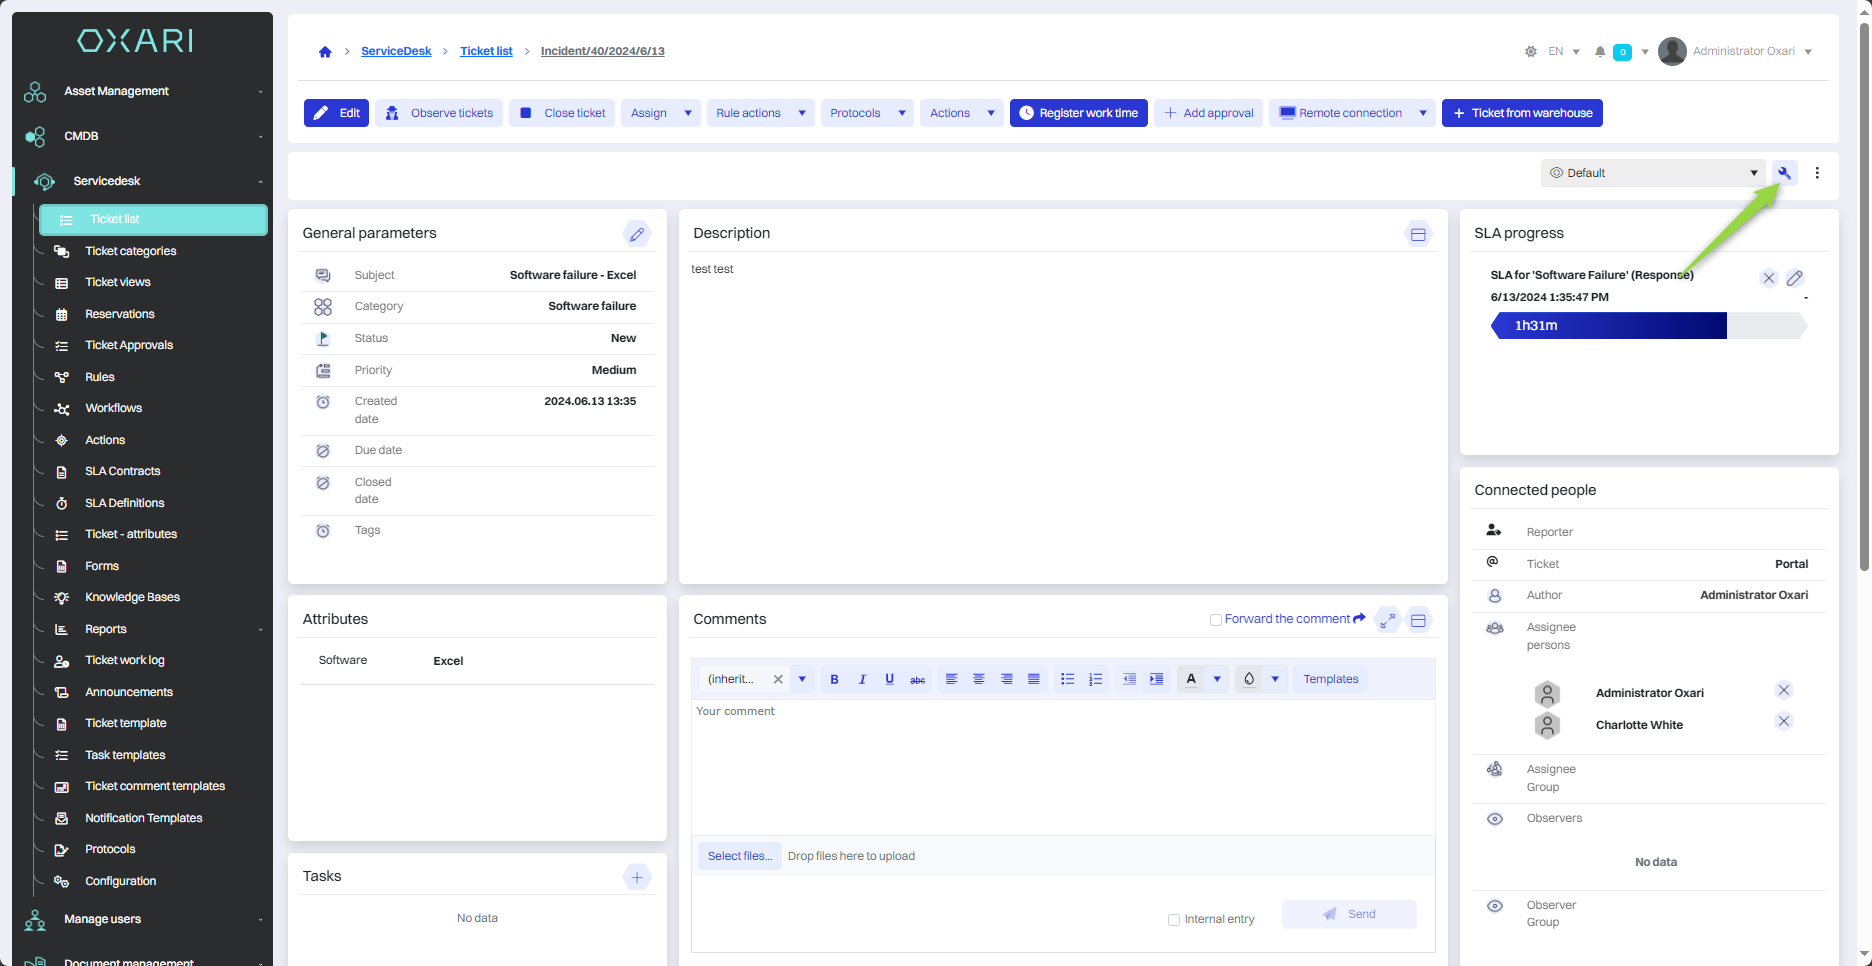
To manage a document in a request, you need to add a widget to the request view. Click the following button in the detail view of the ticket.
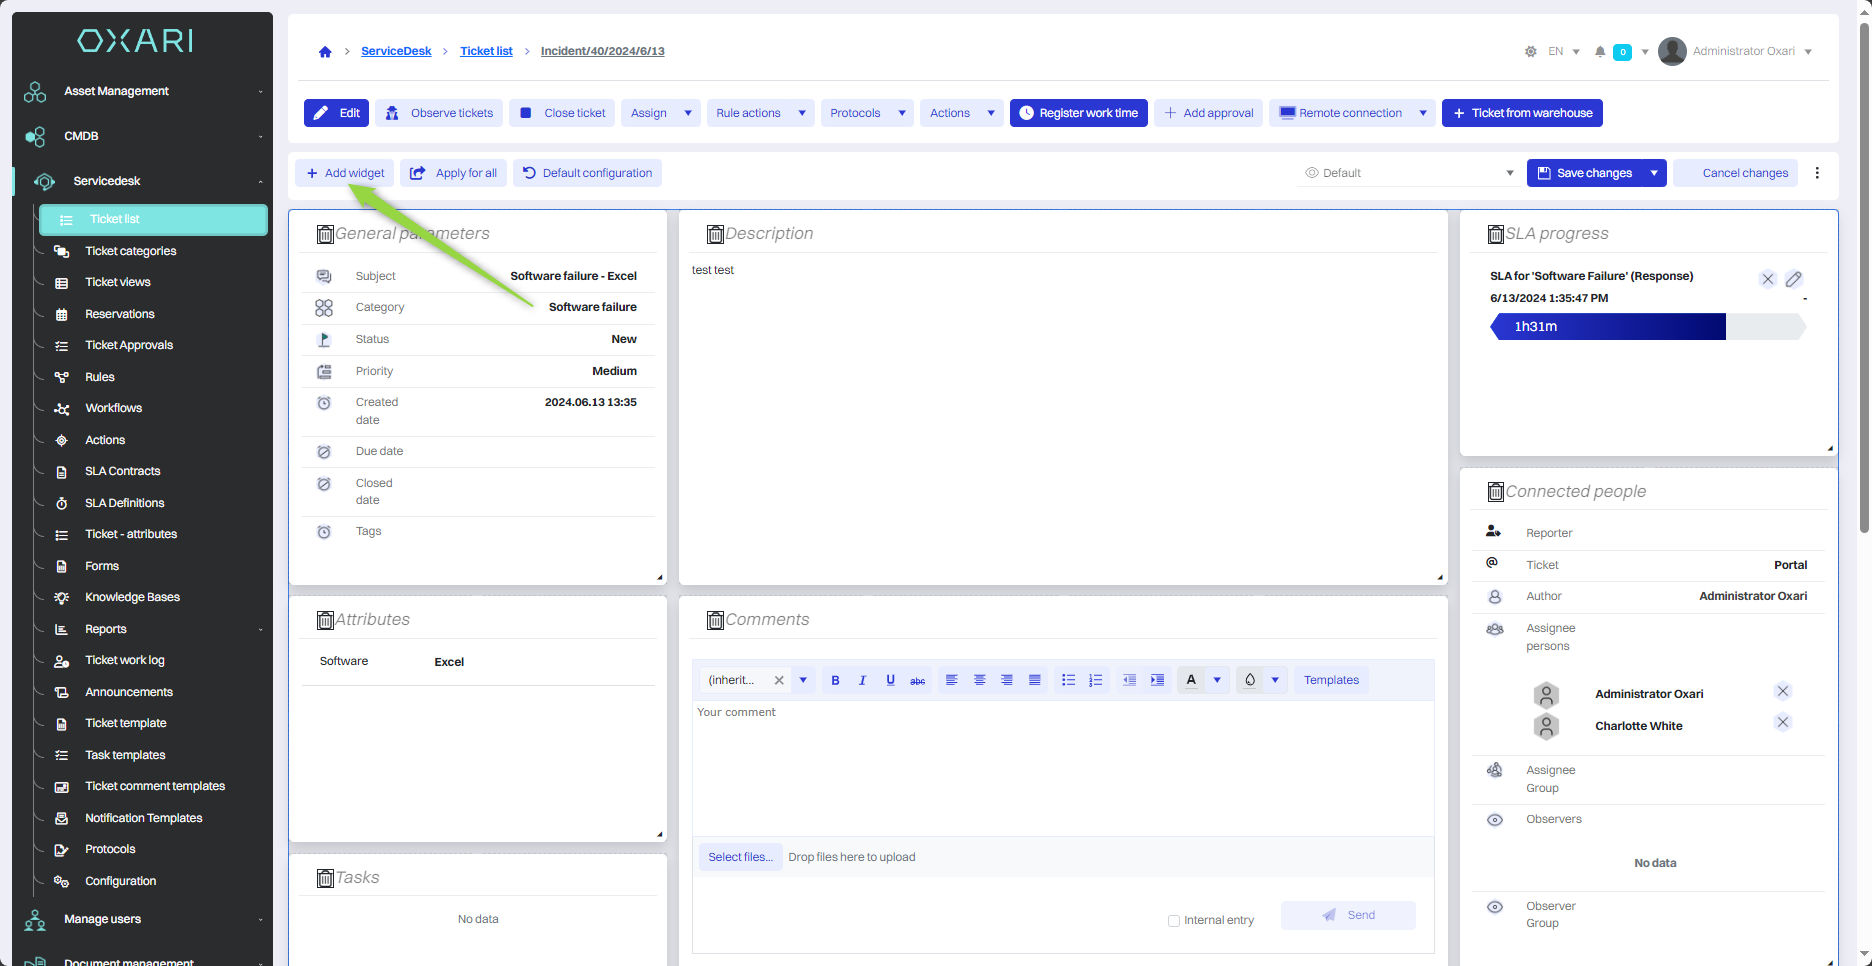
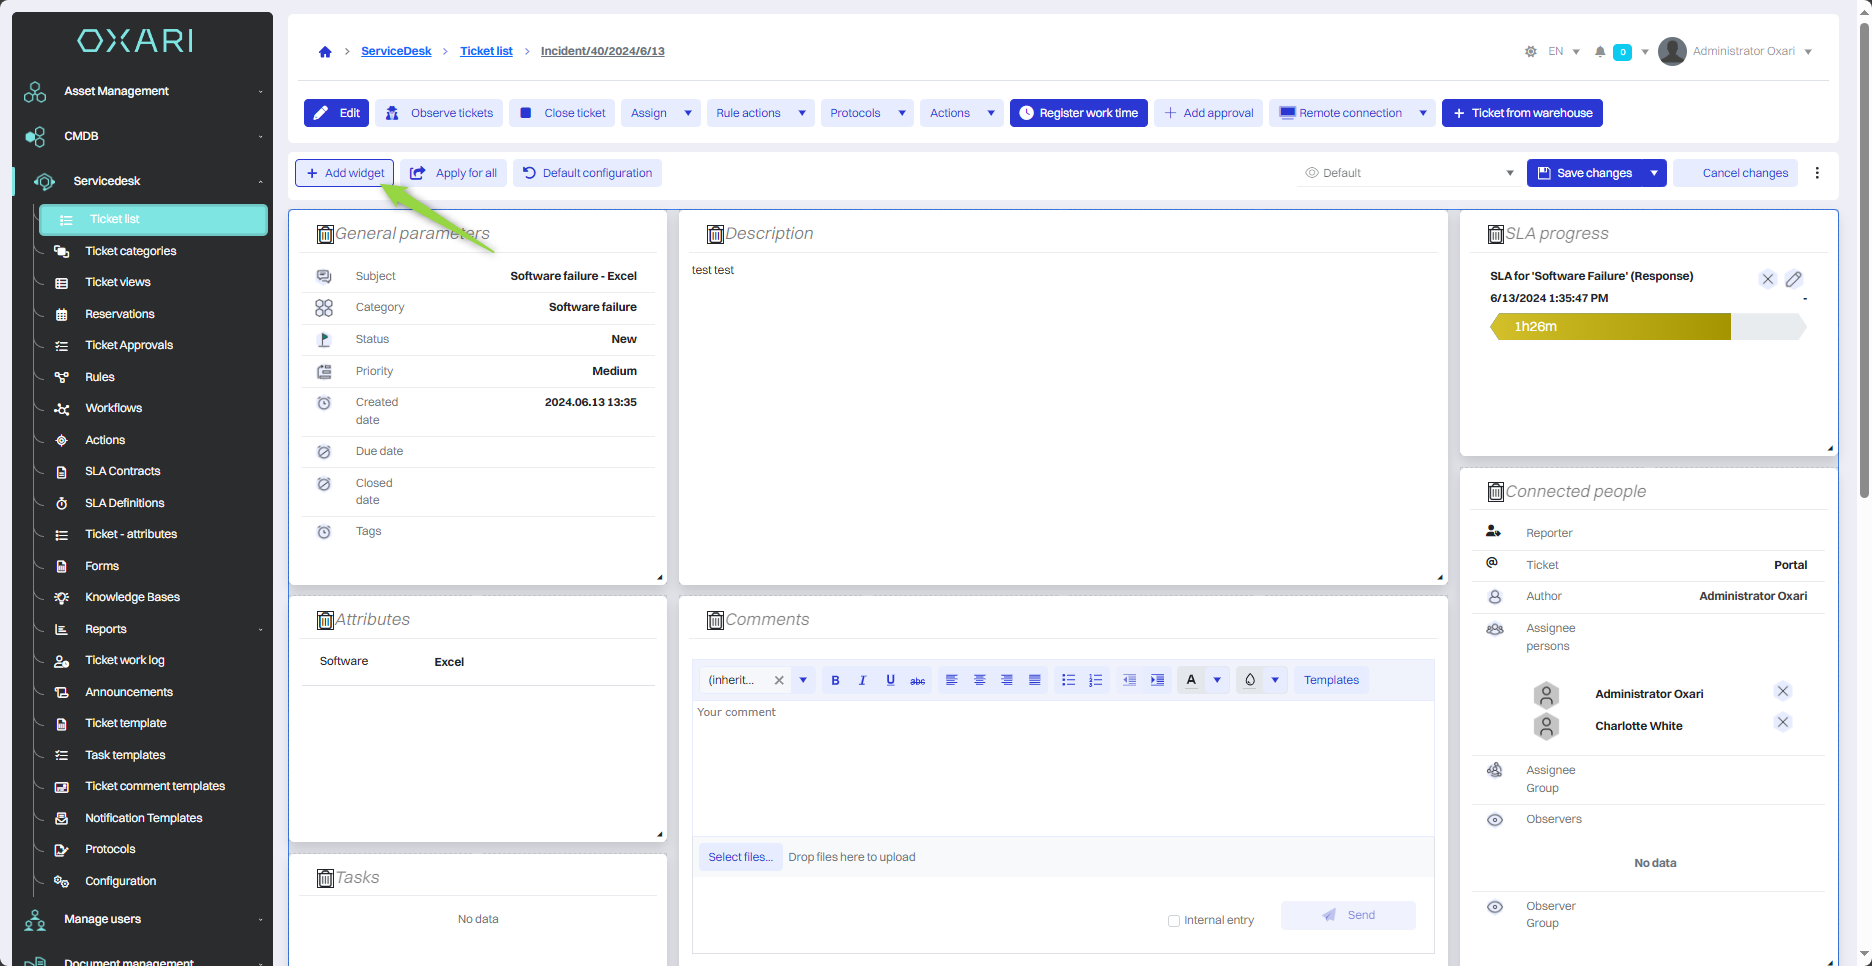
In this step, click the "Add widget" button.
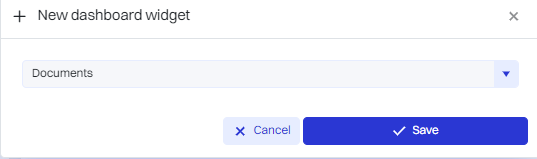
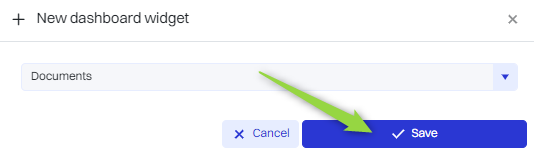
Then, in the "Add widget" window, select "Documents" from the list and click the "Save" button.
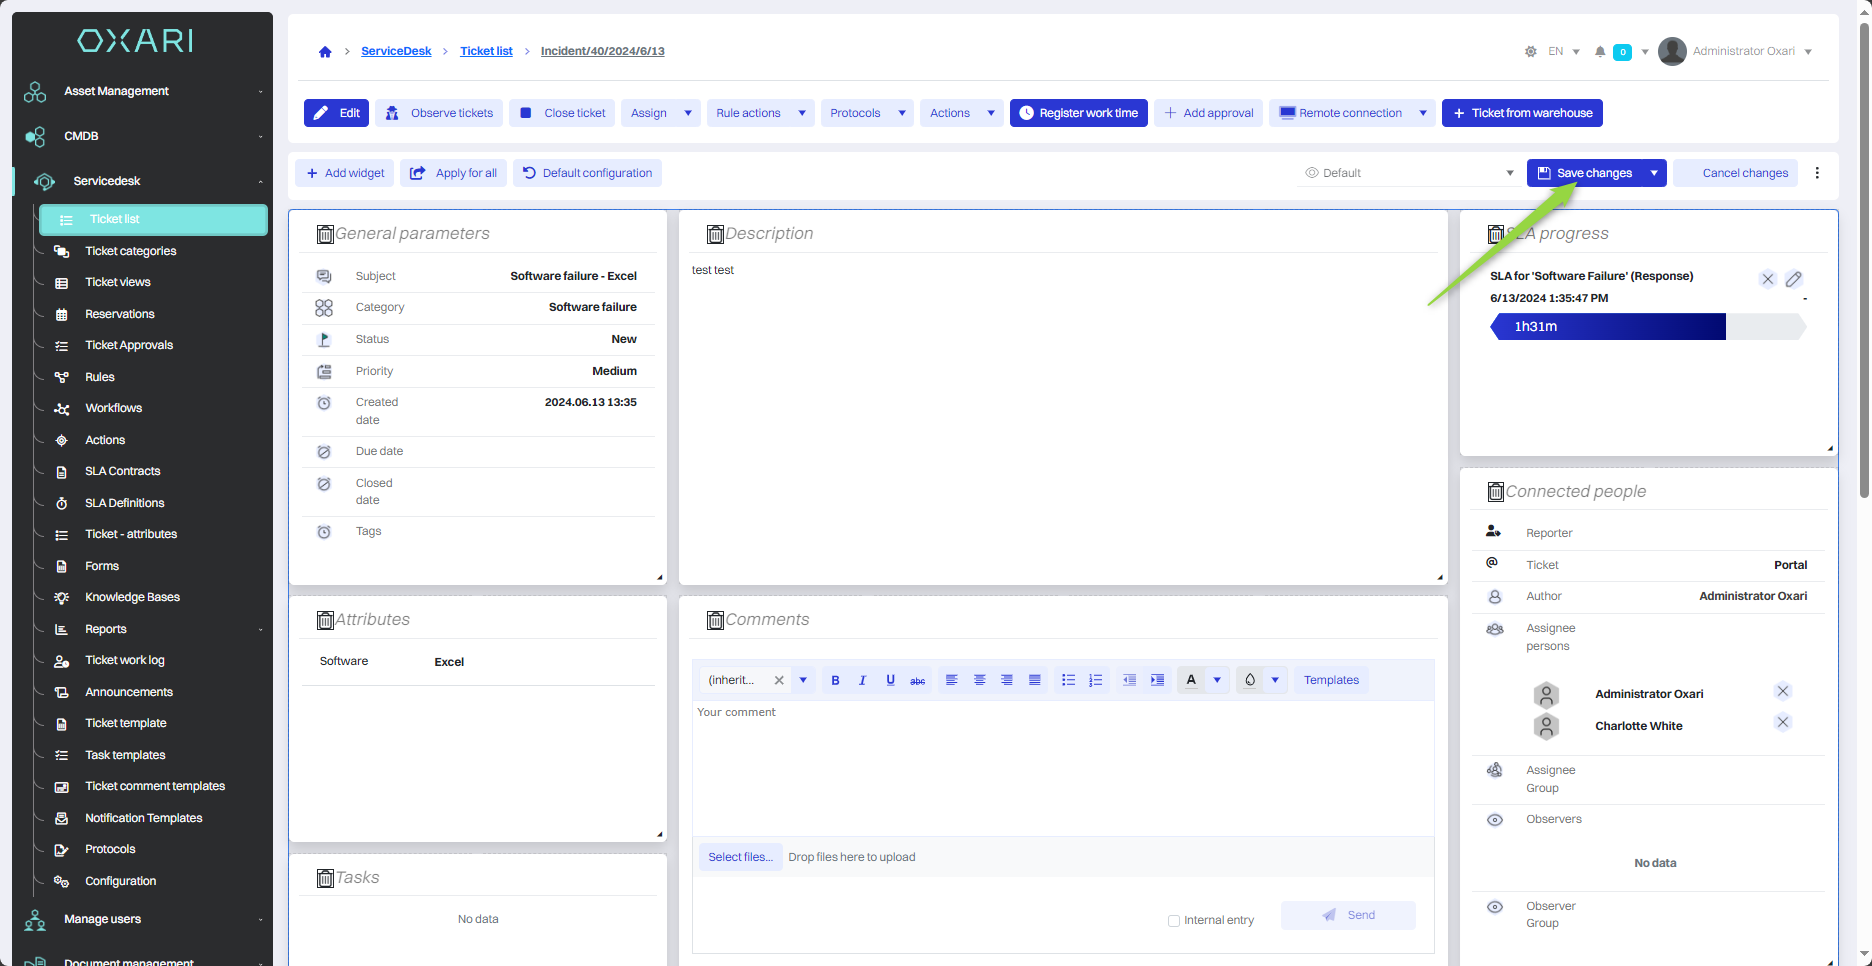
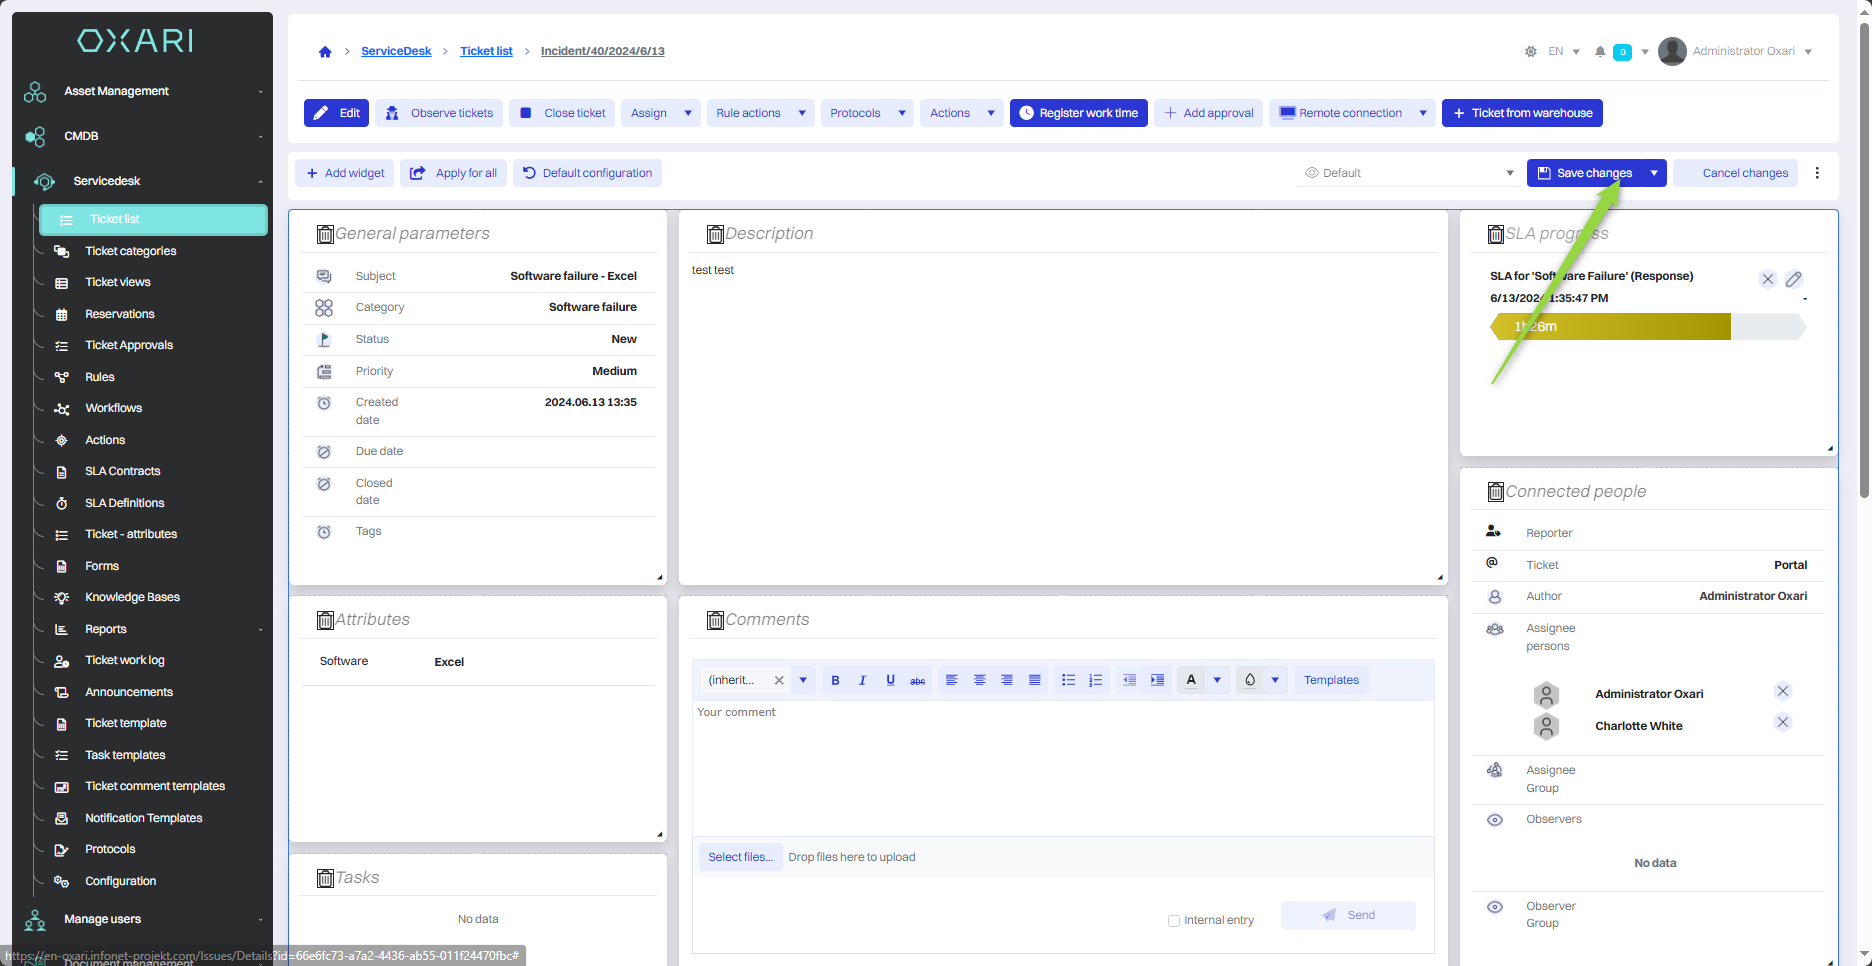
In this step, click the "Save Changes" button.
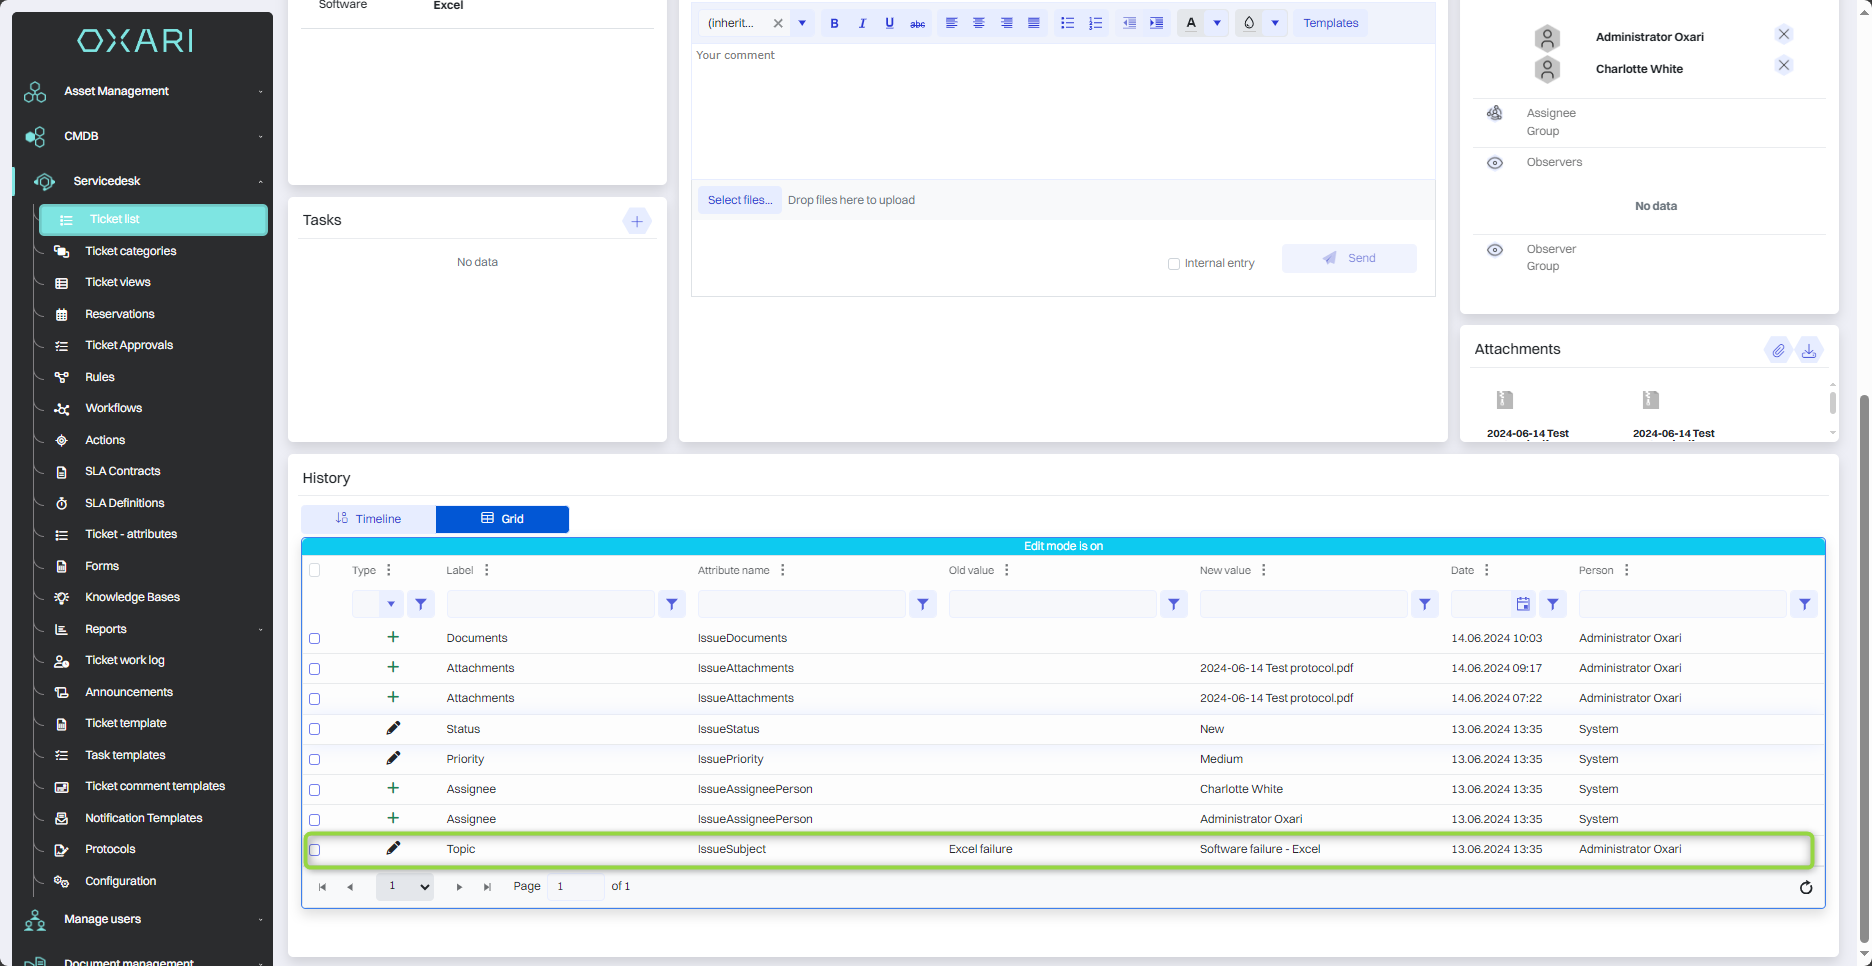
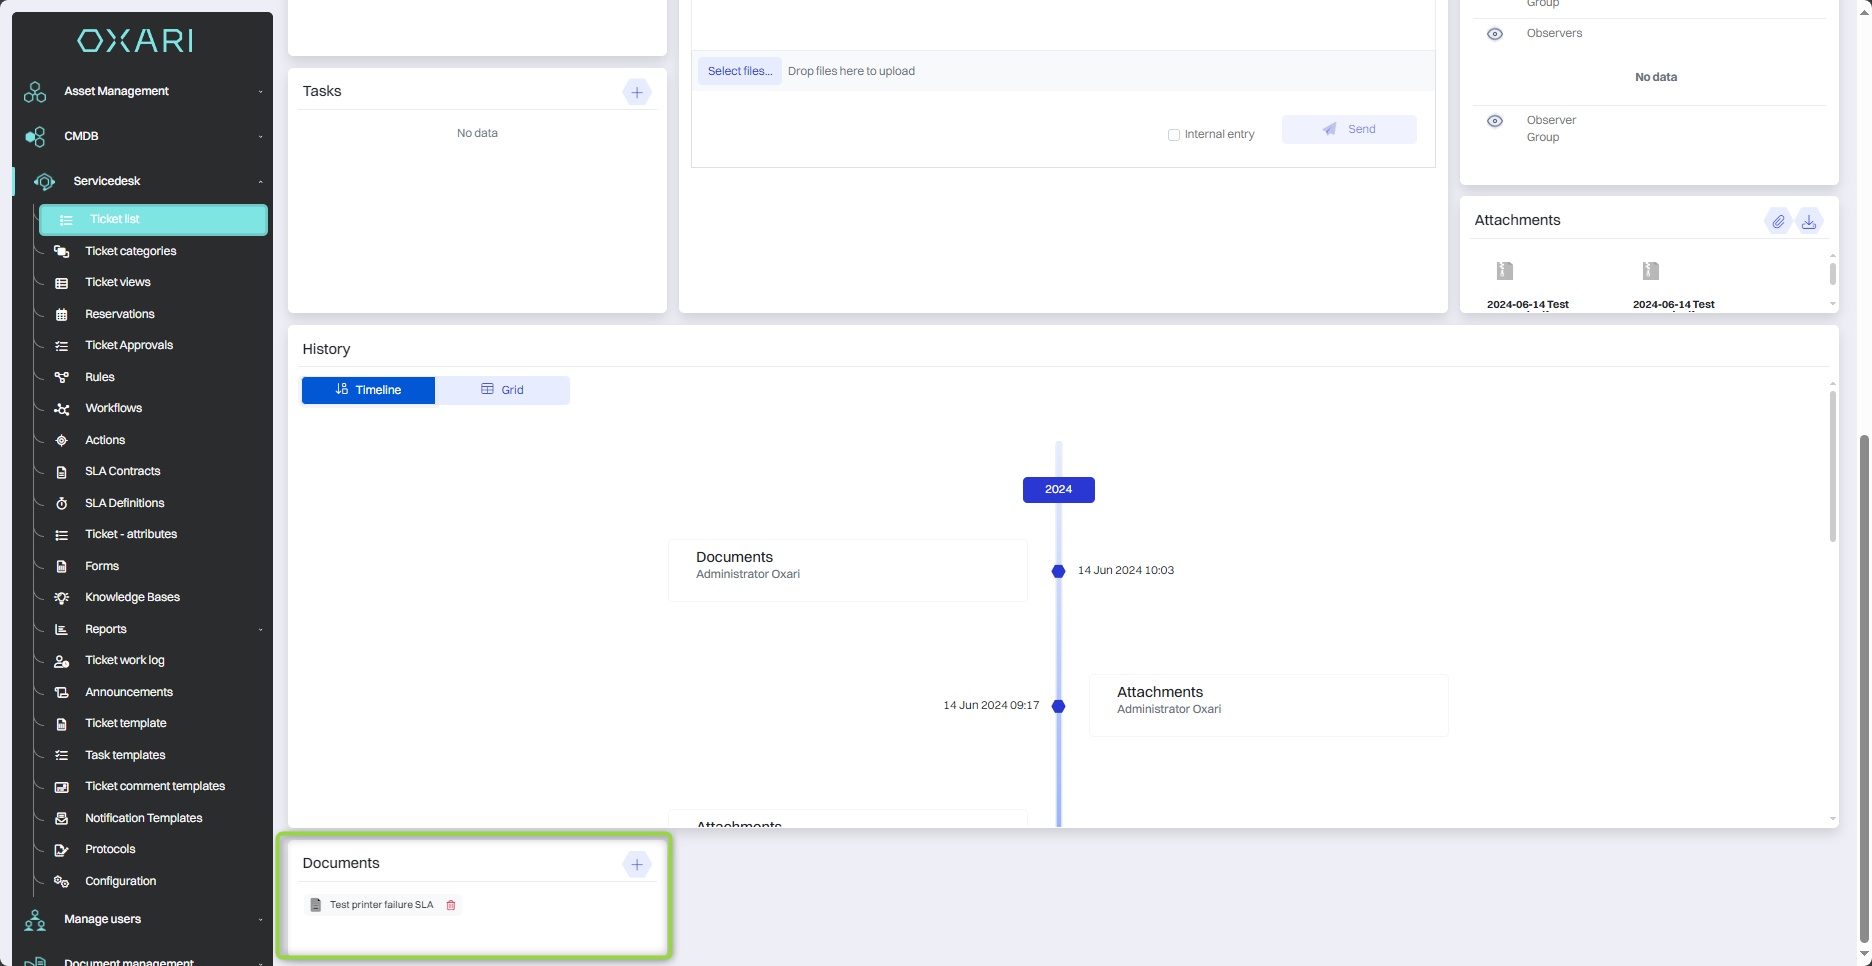
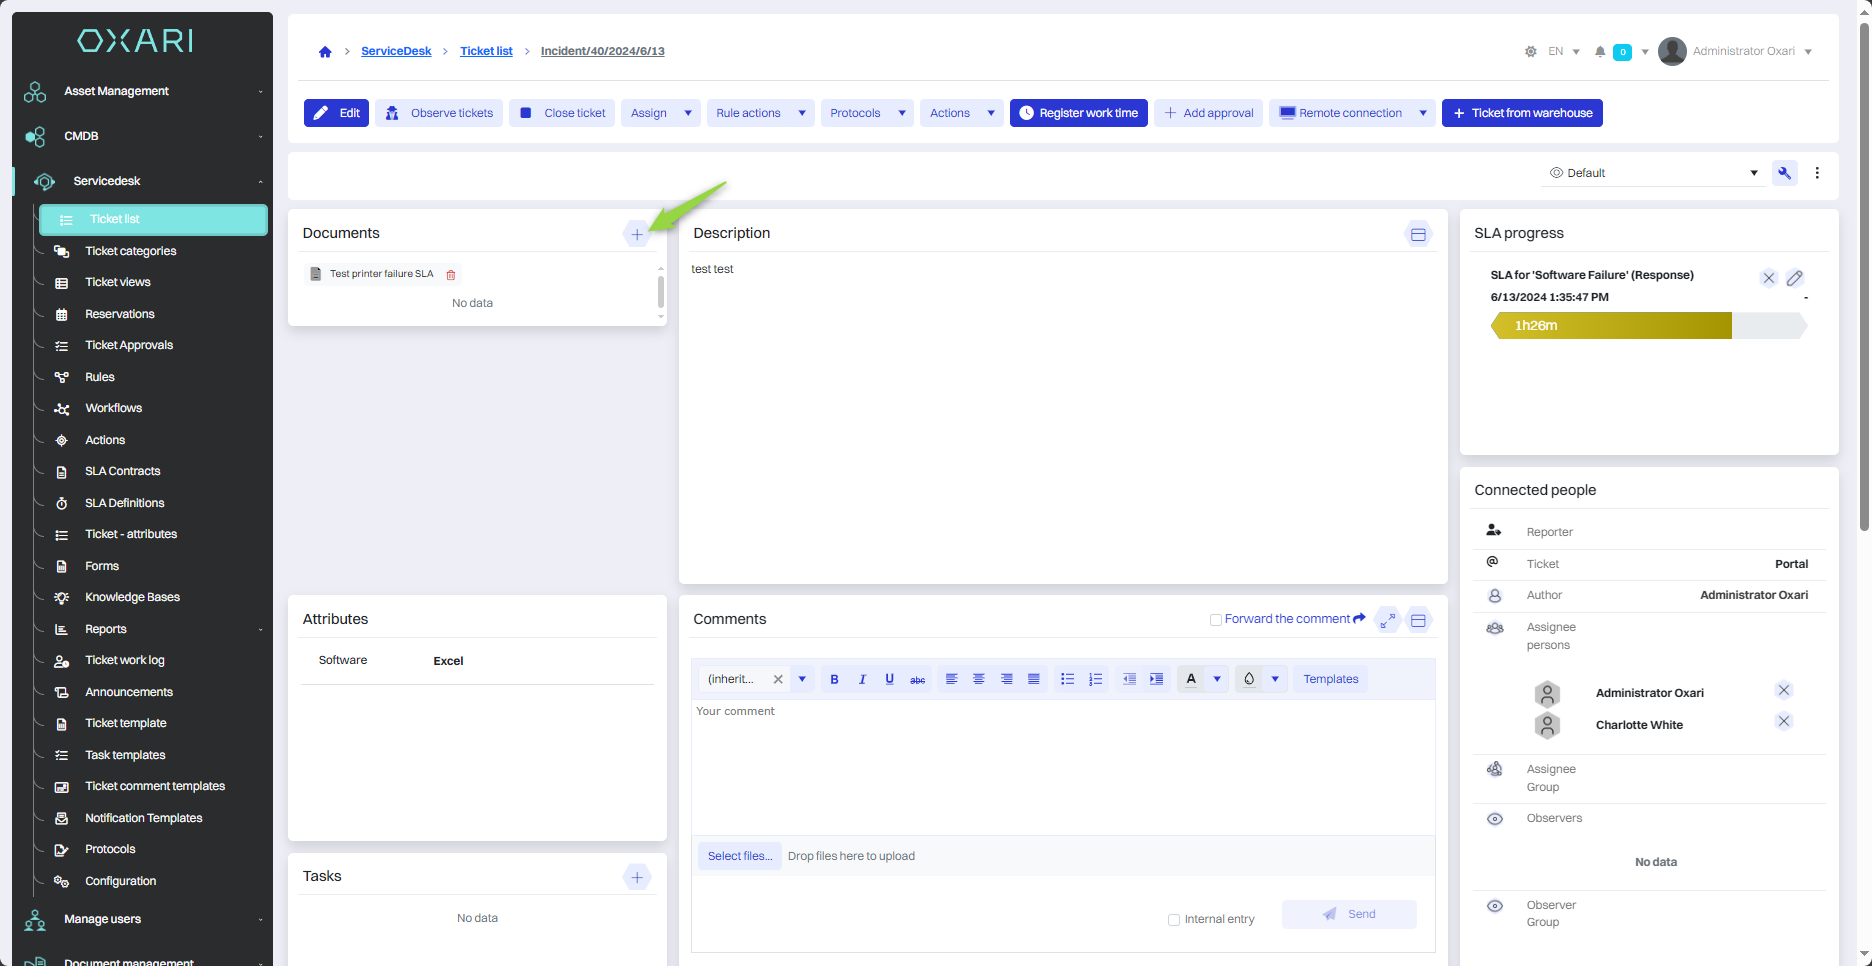
The given document widget is visible at the very bottom of the page:
The second way to assign a document to a request
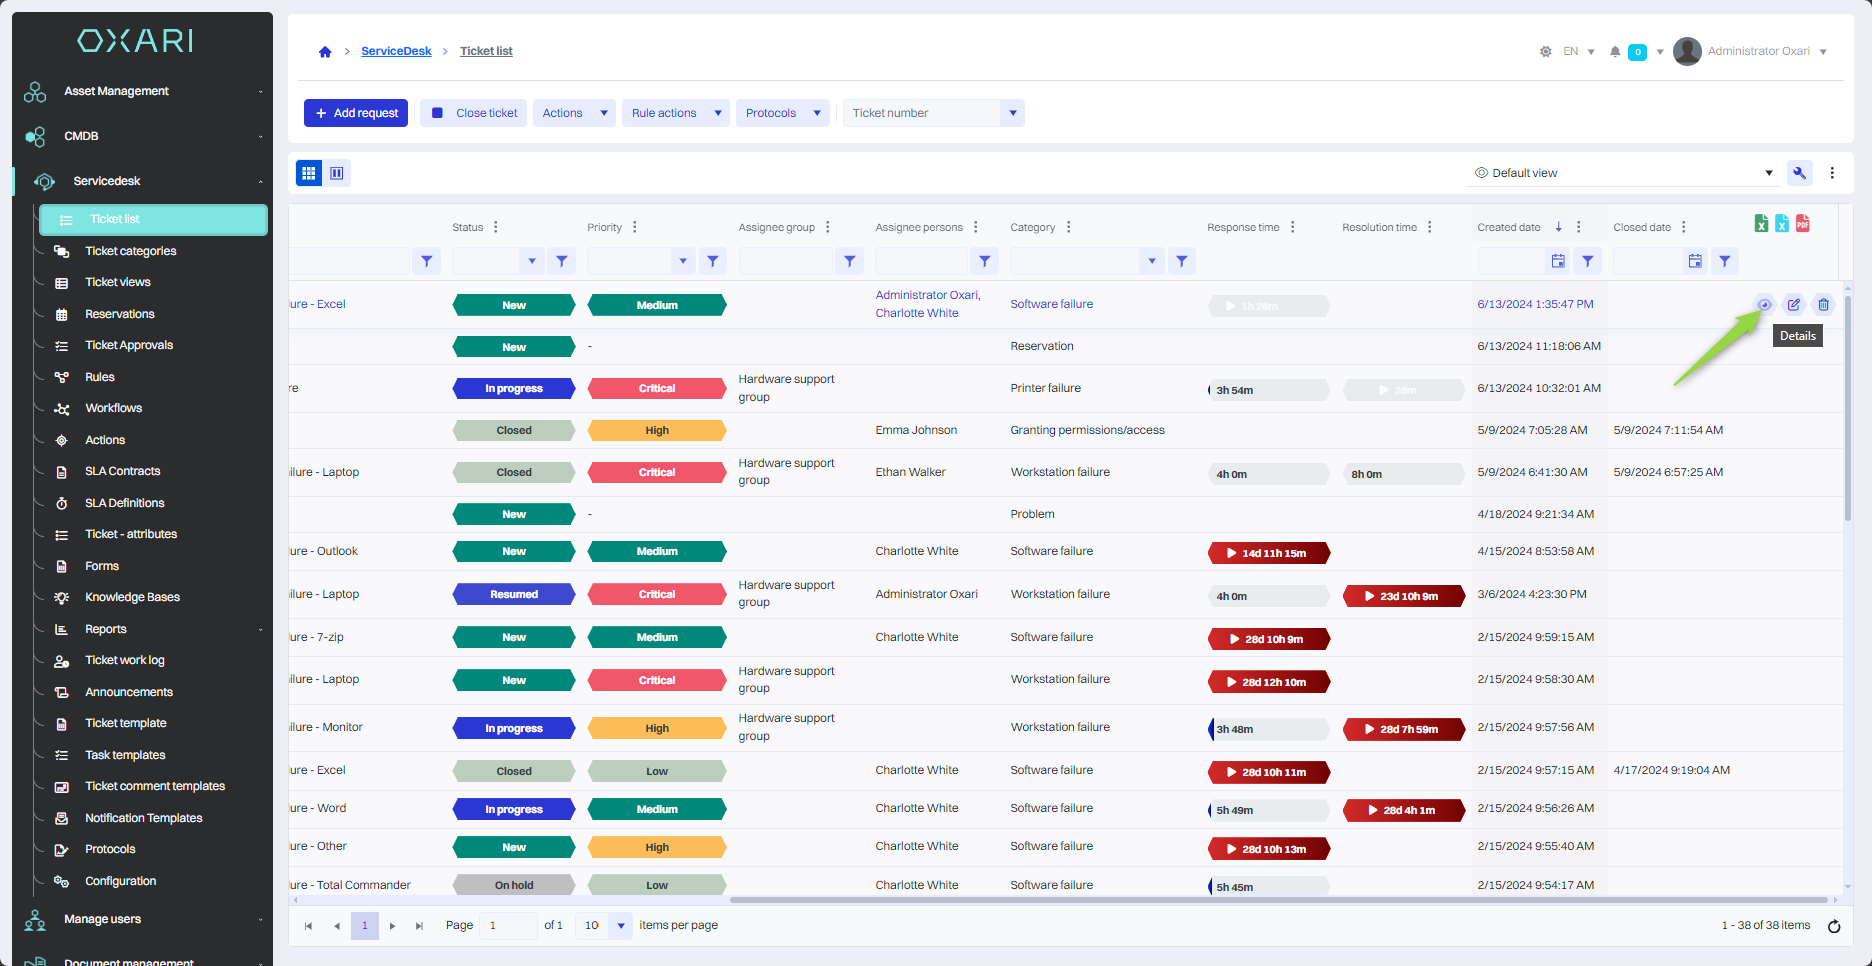
In the Servicedesk > Ticket List section, go to the detail view of a particular request by clicking the "Details" button.
Then add the widget to the ticket view. You need to click the following button in the ticket detail view.
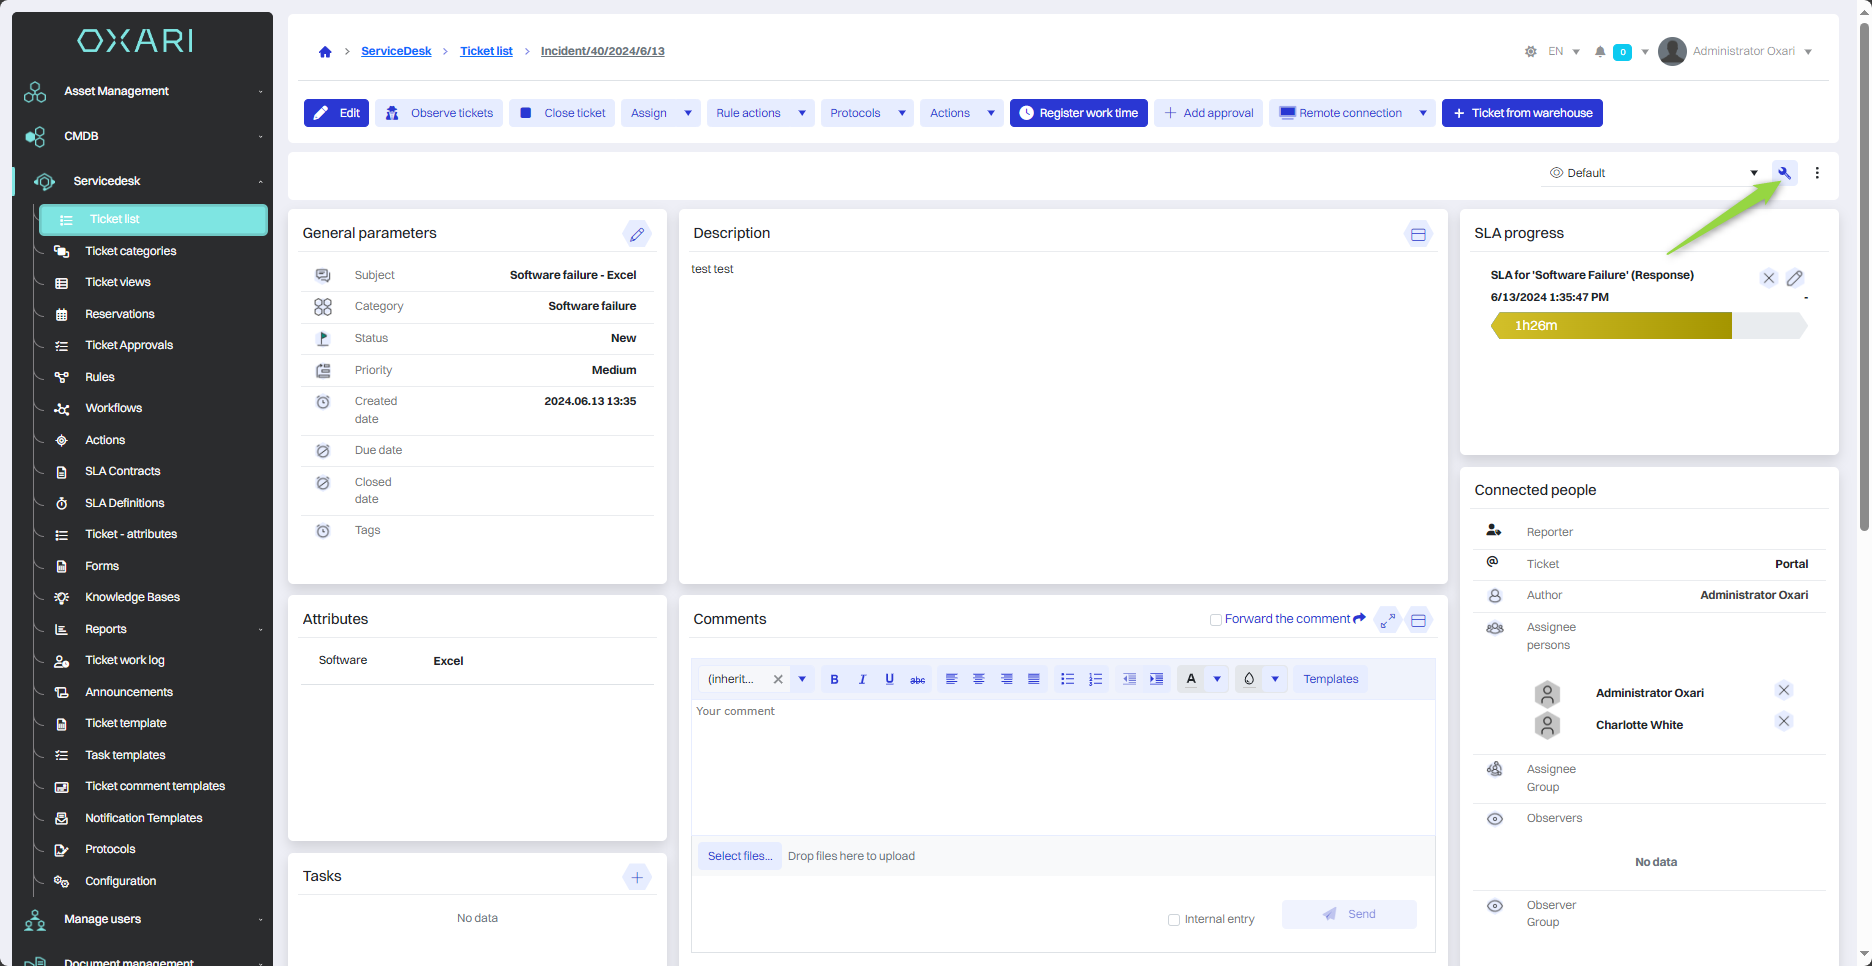
In this step, click the "Add widget" button.
Then, in the "Add widget" window, select "Documents" from the list and click the "Save" button.
In this step, click the "Save Changes" button.
In this step, scroll to the very bottom of the page, then click the "+" button next to the "Documents" widget.
In the presented step, two options are available: "Create new document" and "Search document". The "Create New Document" option allows you to create a new document based on the defined types, similar to the functions available in the Document Management > Documents section. Once created, the document is automatically assigned to a Asset and is visible in the general document list. The "Search Document" option allows you to select and assign a document that already exists in the system. In this case, an already created document will be selected, click the "Search Document" button.
In this step, select the desired document from the list and click the "Save" button.
The given document has been added, you can go to the detailed view of the document by clicking on it or delete the given document.
To set the position and size of the widget: Go >