The “Warehouses” section allows you to administer warehouses and the assets stored in them. The functionalities included in this section allow you to:
-
Adding new assets to warehouses.
-
Creating new warehouses, which is useful for expanding the warehouse infrastructure.
-
Defining warehouse locations, which allows for better organization of assets.
In addition, there are options for managing warehouse operations, such as receiving and issuing assets, both from outside and inside the company, as well as transfers between different warehouse locations.
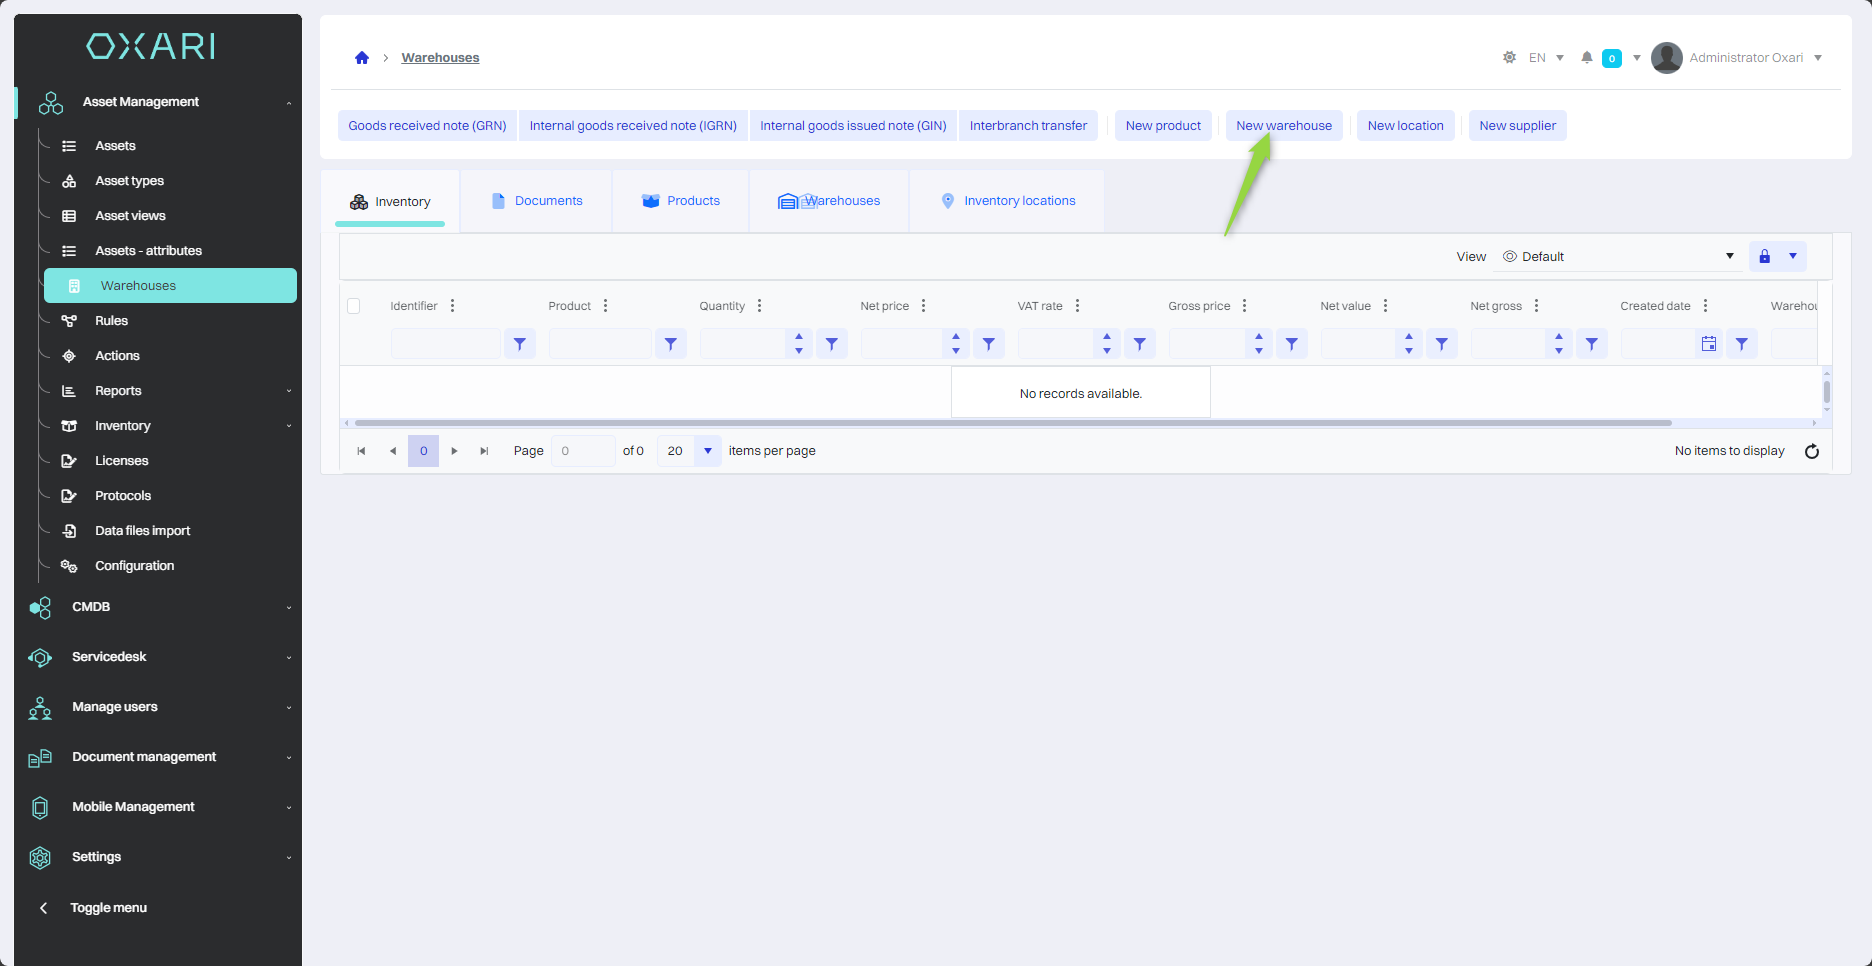
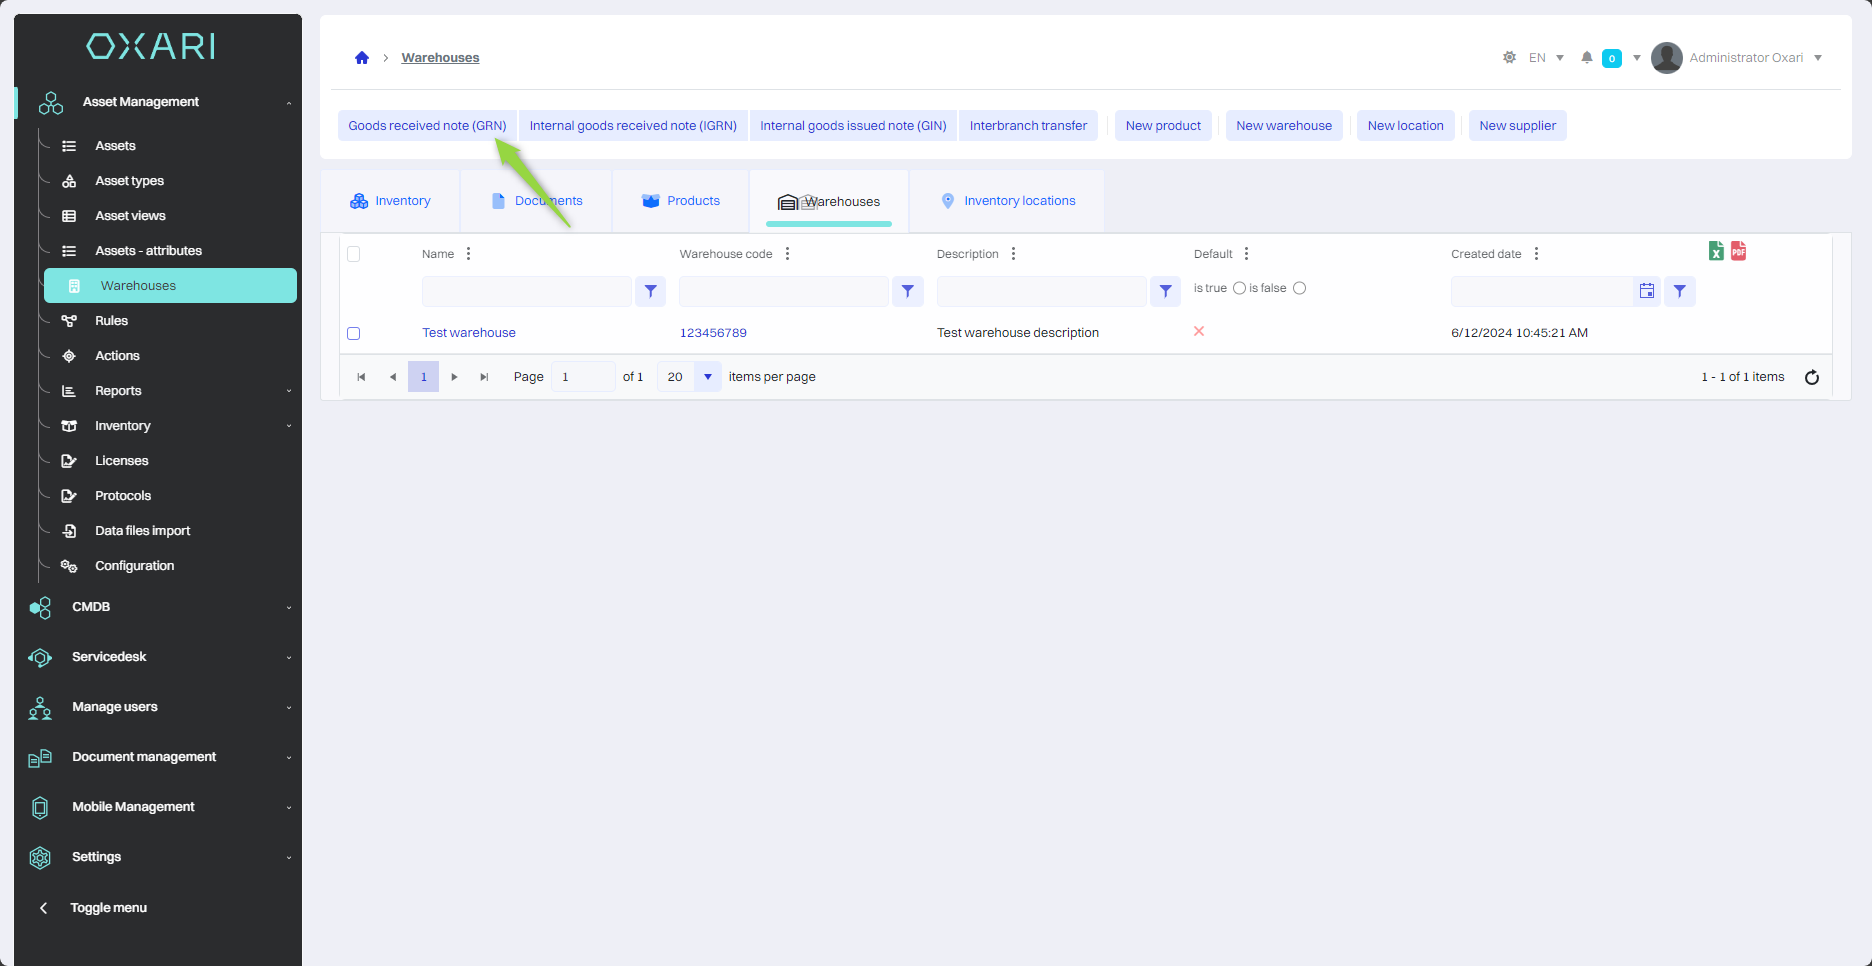
New warehouse
To add a new warehouse, go to Asset Management > Warehouses, and then click the “New Warehouse” button.
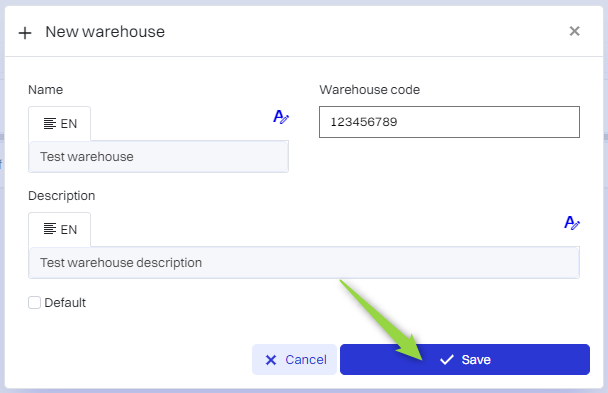
Then in the “New warehouse” window there are items:
|
1 |
Name - Field to enter the name of the new warehouse. |
|
2 |
Warehouse code - Field for a unique code that identifies the warehouse. |
|
3 |
Description - Text field for additional description of the characteristics or purpose of the warehouse. |
|
4 |
Default - Checkbox to indicate whether the newly added warehouse should be set as the default warehouse in the system. |
Fill in the desired fields and click the “Save” button.
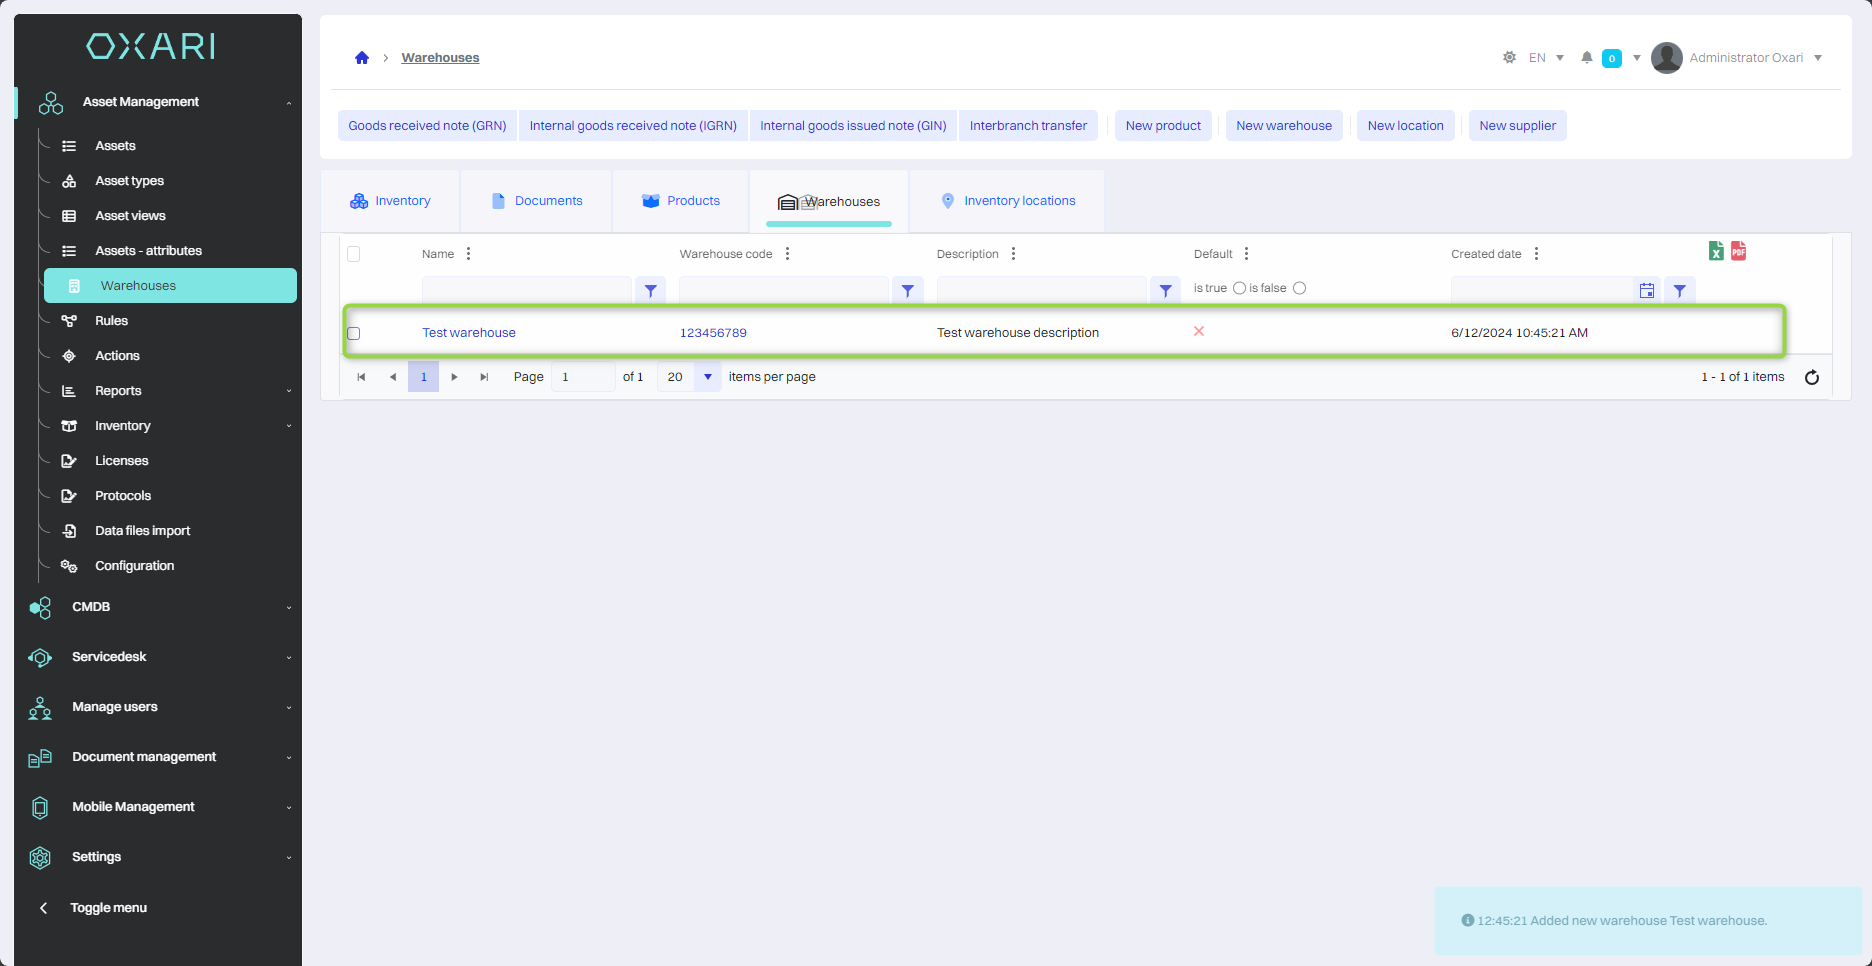
The warehouse has been added to the list.
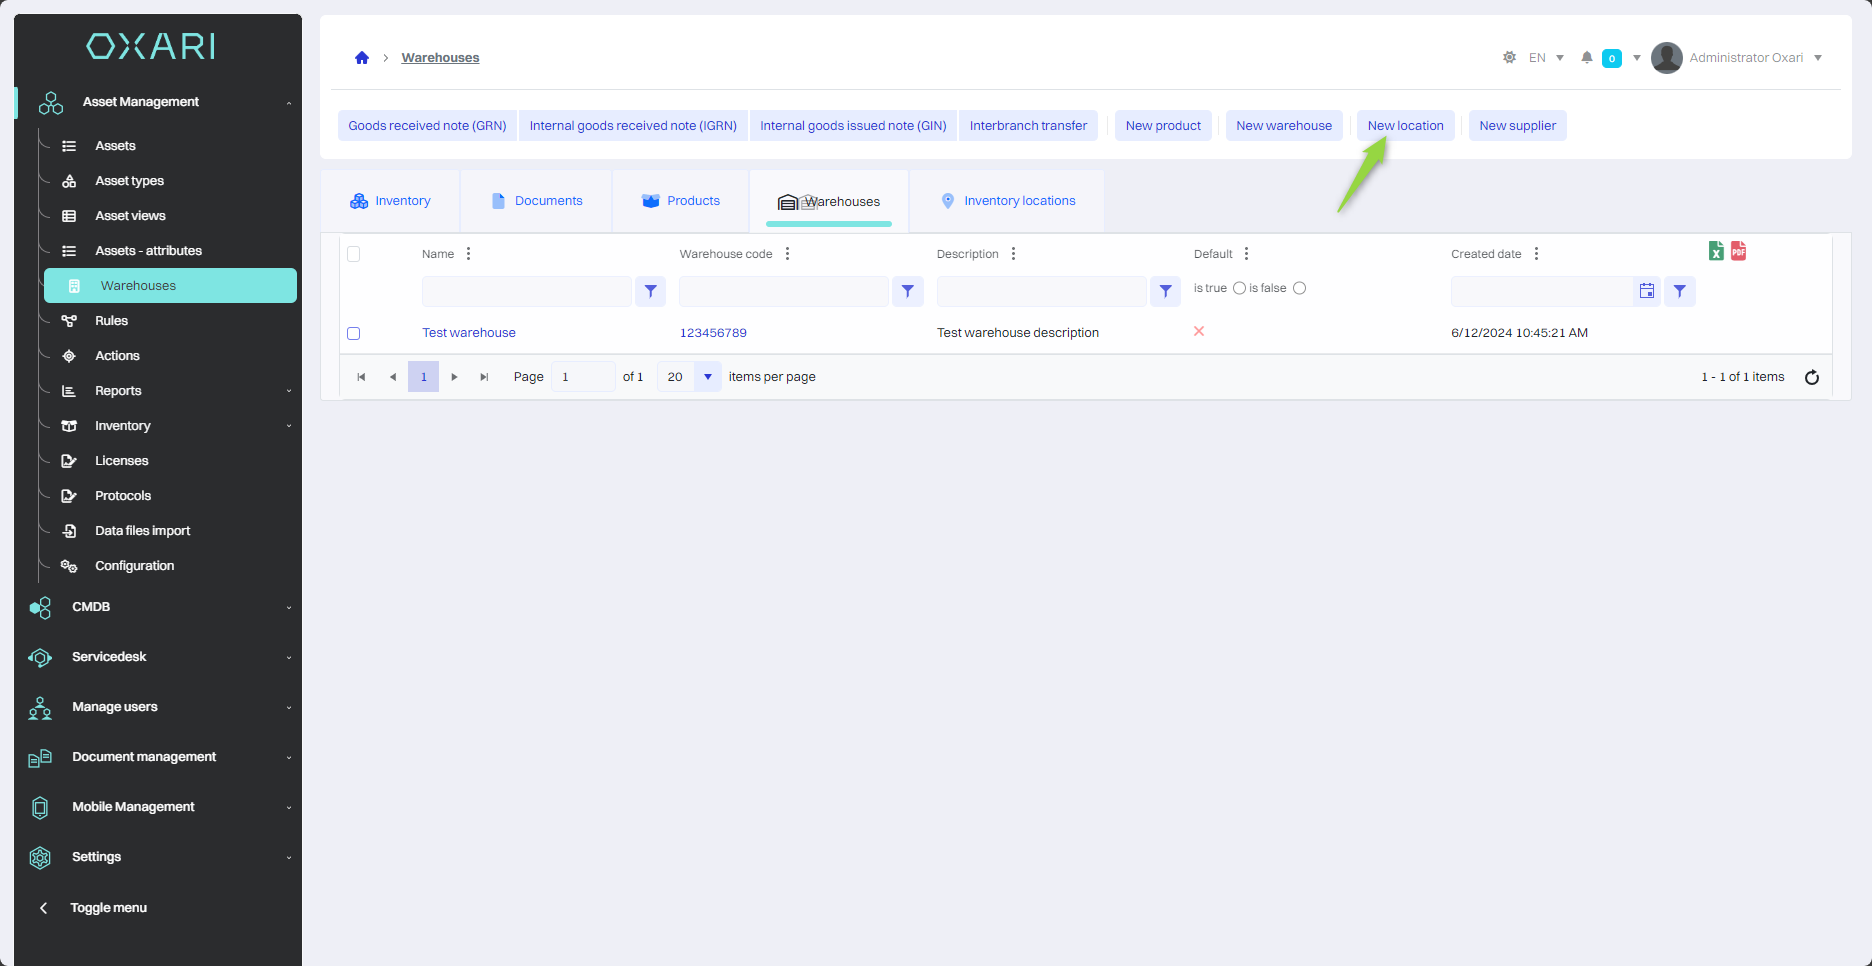
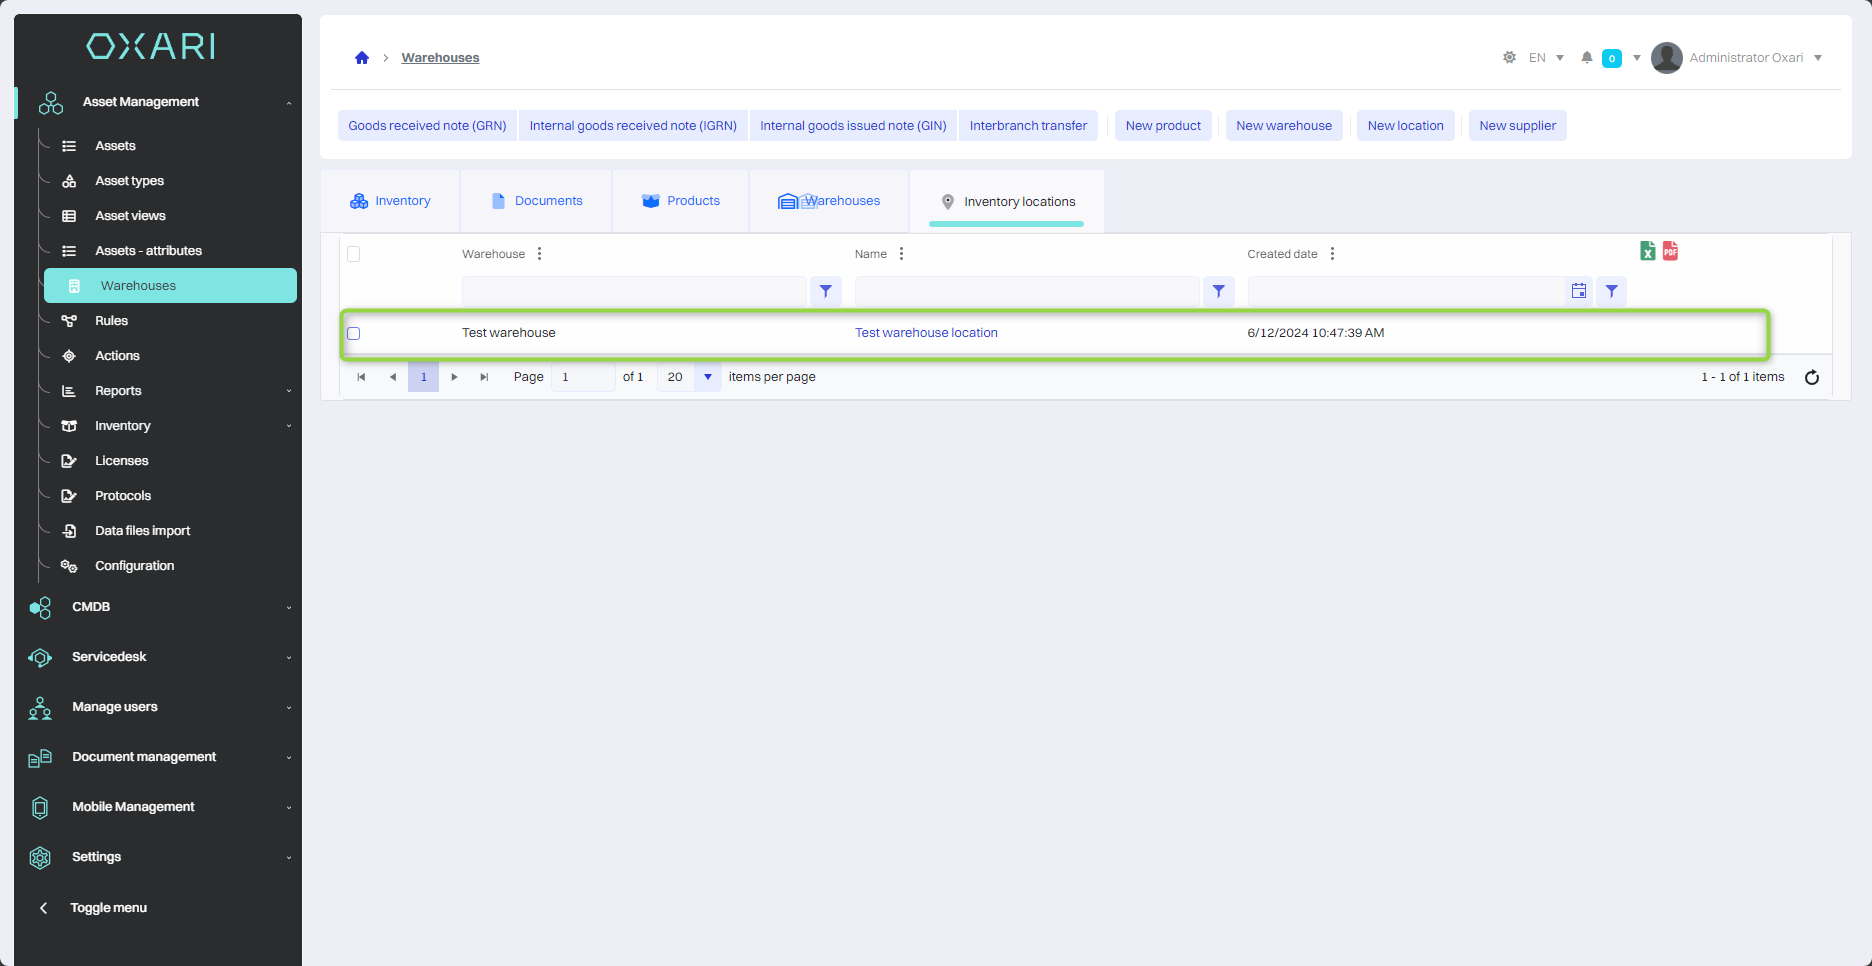
New location
To add a new location, go to Asset Management > Warehouses, and then click the “New Location” button.
Then in the “New inventory location” window, select the desired warehouse from the list and enter the name of the location, finally click the “Save” button.
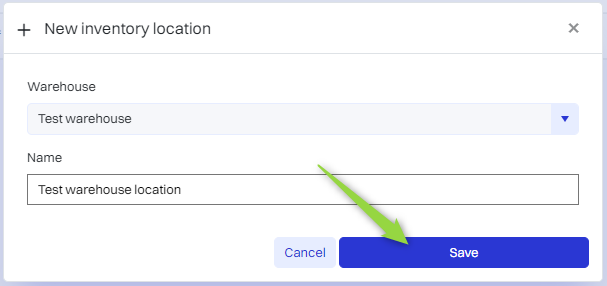
The location has been added to the list.
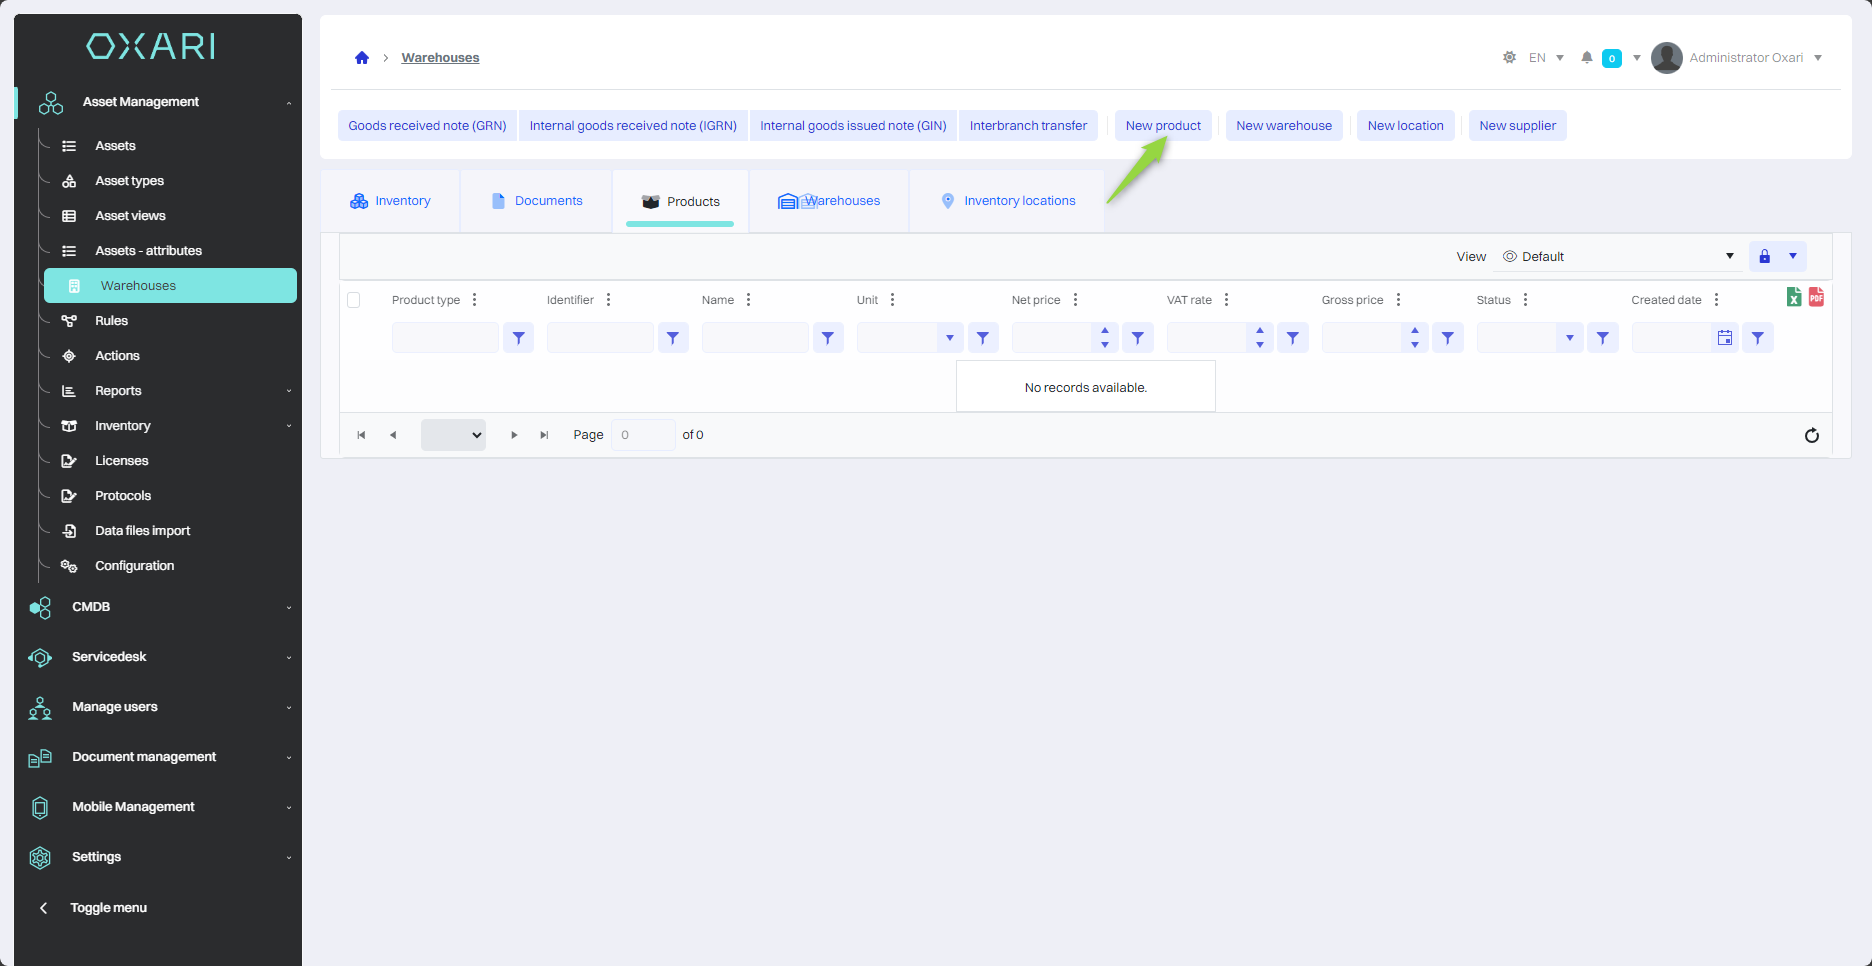
New product
To add a new product, go to Inventory Management > Warehouses, and then click the “New product” button.
Next, the “New Product” window contains items:
|
1 |
Product type - Selection of the product category, in this case “Electronics.” To configure product types: Go > |
|
2 |
Identifier - Field for a unique code that identifies the product. |
|
3 |
Image - Ability to add a product image by uploading a file. |
|
4 |
Name - A field for entering the name of the product. |
|
5 |
Description - Text field for product description. |
|
6 |
Net price - Introduction of the product price without VAT. |
|
7 |
Unit - Selects the unit of measurement for the product, such as piece (pcs). |
|
8 |
VAT rate - Select the VAT rate from the drop-down list (5%, 8%, 23%). |
|
9 |
Status - Select status from drop-down list, choose from: unpublished, in inventory, out of inventory, withdrawn. |
|
10 |
Gross price - The total price of the product including VAT. |
|
11 |
Manufacturer - Select the manufacturer of the product from the list. To configure manufacturers: Go > |
|
12 |
Model - Selection of the product model. |
Fill in the desired fields and click the “Save” button.
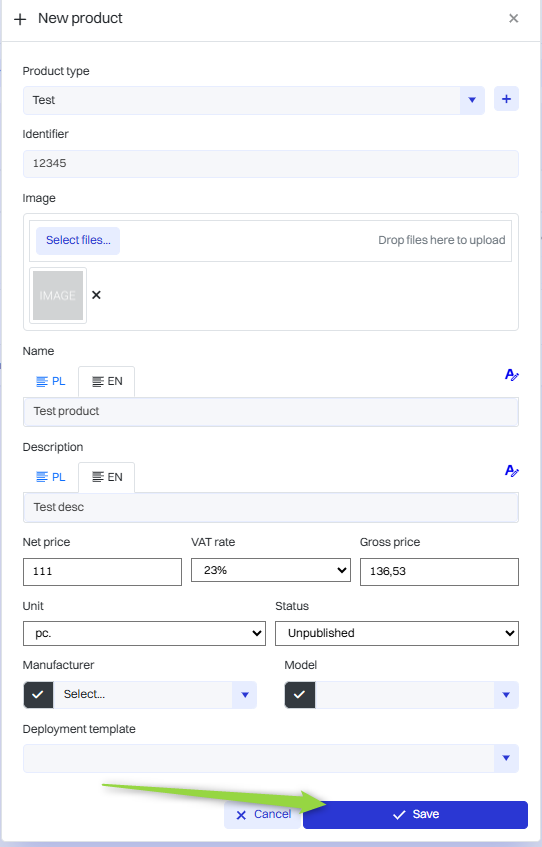
The product has been added to the list.

New supplier
To add a new supplier, go to Asset Management > Warehouses, and then click the “New Supplier” button.
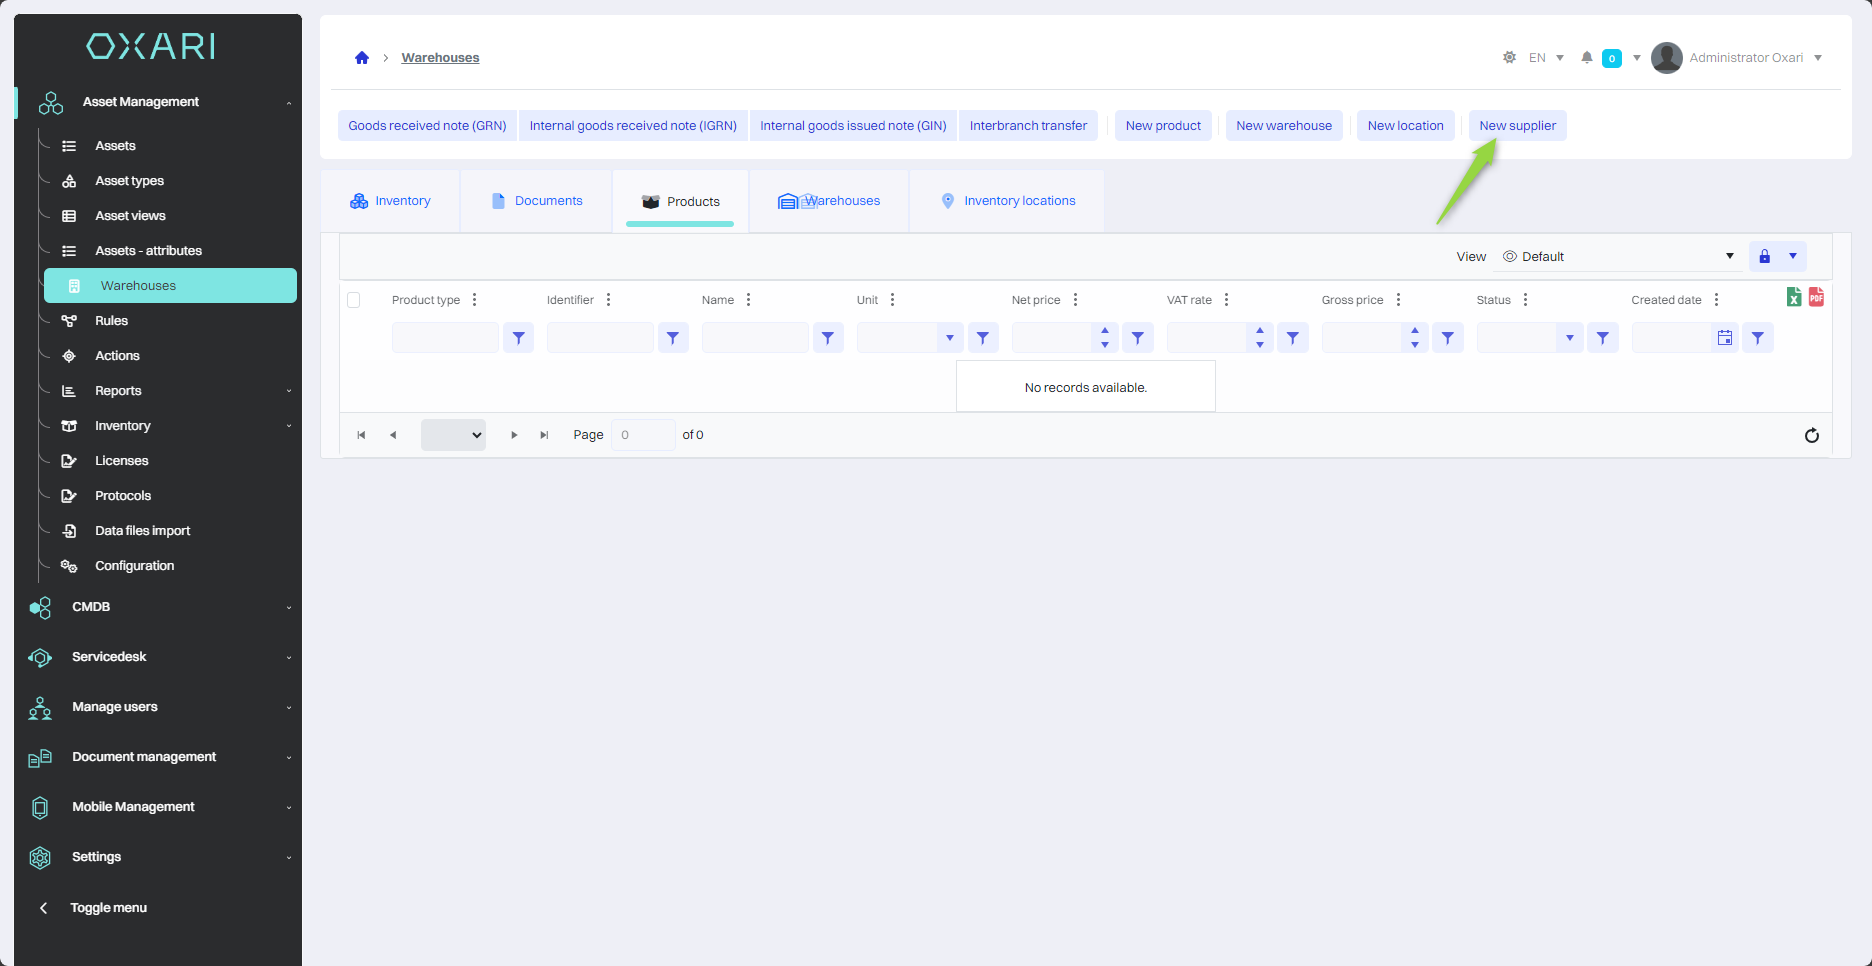
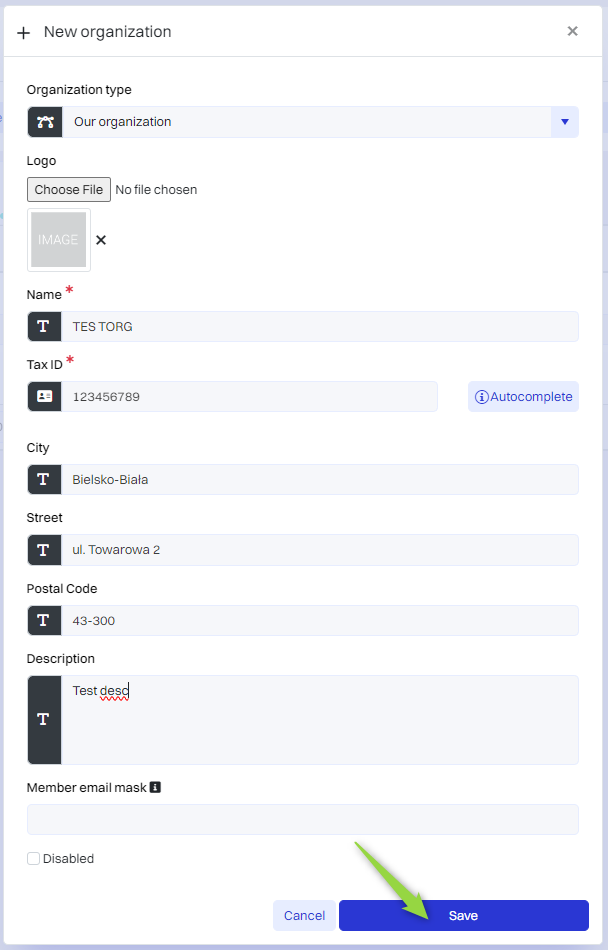
Next, the “New Organization” window contains items:
|
1 |
Organization type - Here the user can specify the nature of the organization's business using a drop-down menu that offers predefined categories (Supplier, Our organization, Subcontractor, Customer, Individual) To configure a new organization type: Go > |
|
2 |
Logo - There is an option to upload a graphic symbol of the organization. The user can select the file from disk or drag it to the designated place. |
|
3 |
Name - In this field you enter the official name of the organization that will be visible in the system. |
|
4 |
TIN - The organization's Tax Identification Number is entered here, with the option to use the autocomplete function, which pulls data directly from the CSO registry based on the number provided. You will need to enter the CSO Api in advance here: Go > |
|
5 |
City - Text field for entering the city where the organization has its headquarters or branch. |
|
6 |
Street - This is where you enter the exact street address, including the house or apartment number. |
|
7 |
Postal code - The postal code corresponding to the organization's address is entered here. |
|
8 |
Description - This is a space for any additional information that may be useful to describe the activities or specifics of the organization. |
Fill in the fields and then click the “Save” button.
Goods received note (GRN)
To create a goods received note (GRN), go to asset Management > Warehouses, and then click the “Goods received note (GRN)” button.
Then there are items in the “Goods received note (GRN)” window:
|
1 |
Warehouse - Selection of the warehouse where the product is to be received. |
|
2 |
Receipt date - A field for entering the date when the products are to be received into the warehouse. |
|
3 |
Supplier - Ability to select a product supplier. |
|
4 |
Invoice number - A field for entering the invoice number associated with the receipt of products. |
|
5 |
Invoice date - A field for entering the invoice date. |
|
6 |
Description -Text field where you can put additional information about the adoption of assets. |
|
7 |
Items - Allows you to add details about specific products, there are two options “New item” and “New product”. New item means selecting from a list of already added products. |
Fill in the desired fields and click the “Save” button.

The document has been added.
Internal goods received note (IGRN)
To create an internal goods received note (IGRN), go to Asset Management > Warehouses, and then click the “Internal goods received note (IGRN)” button.
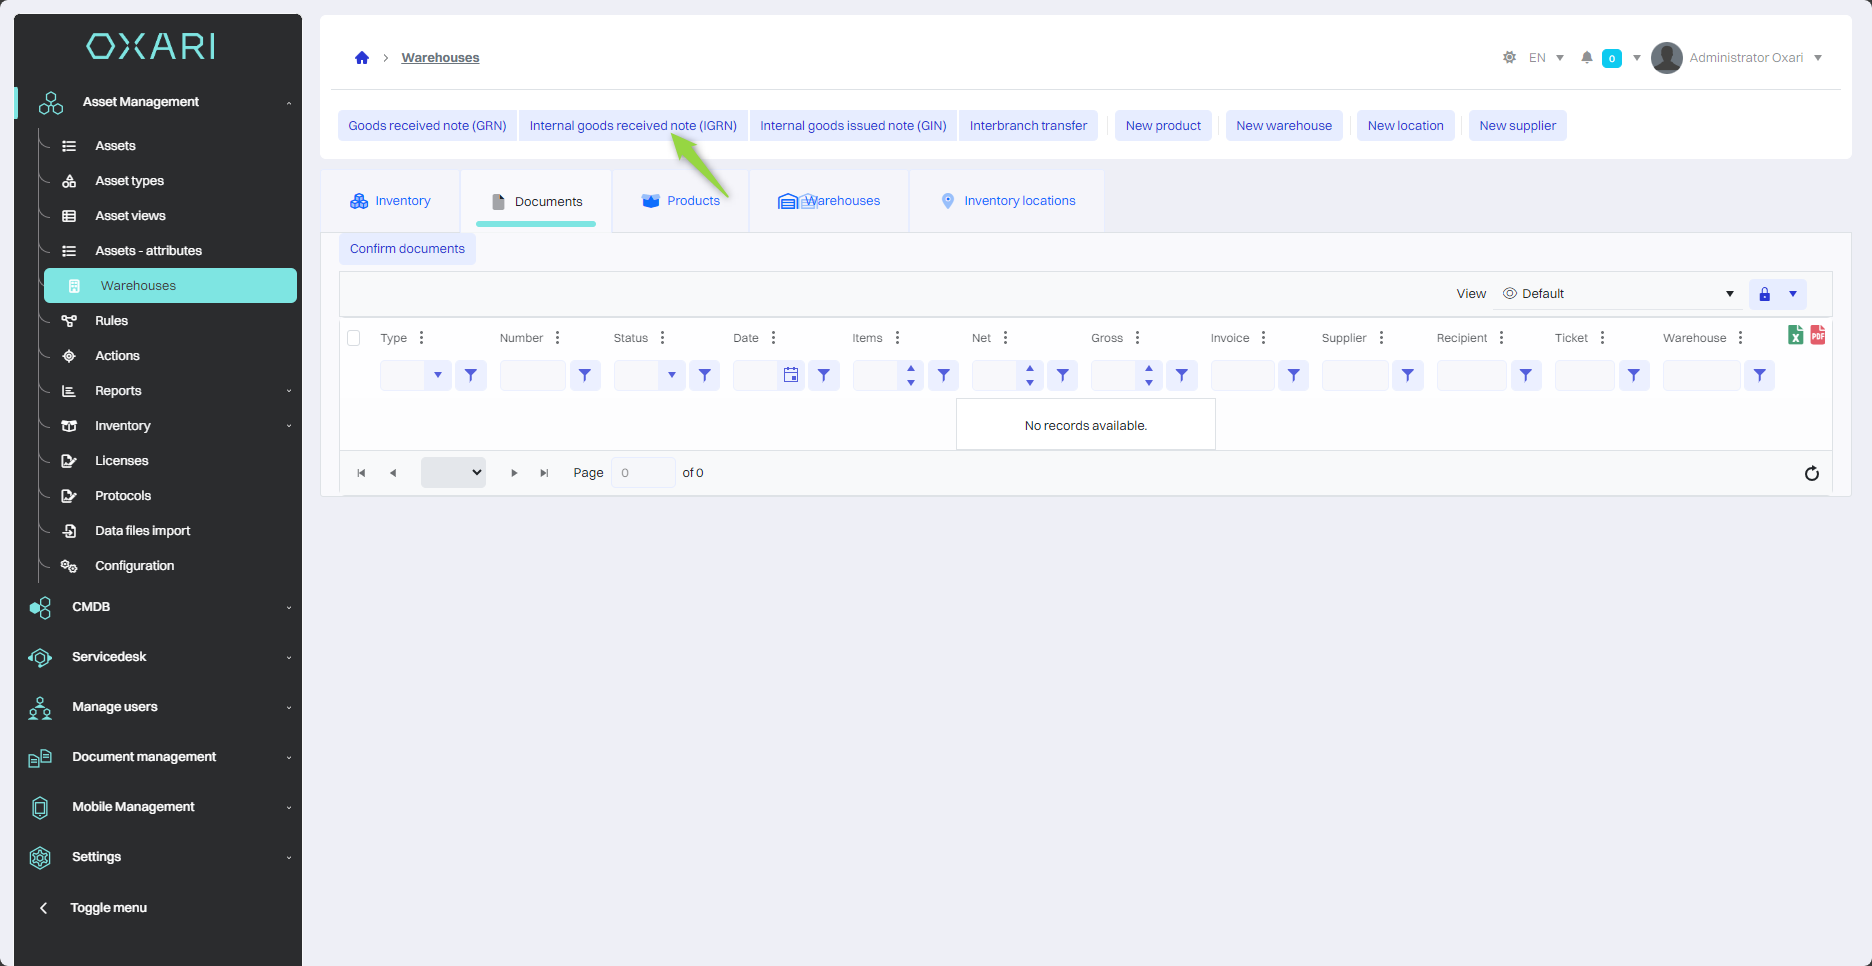
Then there are items in the “Internal goods received note (IGRN)” window:
|
1 |
Warehouse - Selection of the warehouse where the product is to be received. |
|
2 |
Supplier - Ability to select a product supplier. |
|
3 |
Receipt date - A field for entering the date when the products are to be received into the warehouse. |
|
4 |
Items - Allows you to add details about specific products, there are two options “New item” and “New product”. New item means selecting from a list of already added products. |
Fill in the desired fields and click the “Save” button.
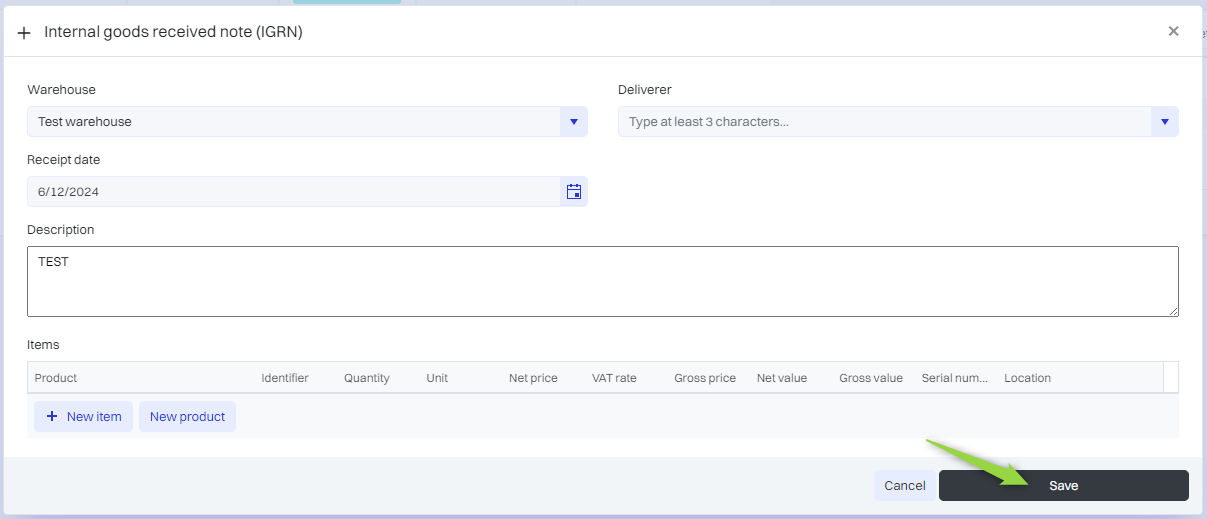
The document has been added.
Internal goods issued note (IGIN)
To create a internal goods issued note (IGIN), go to Inventory Management > Warehouses, and then click the “Internal goods issued note (IGIN)” button.
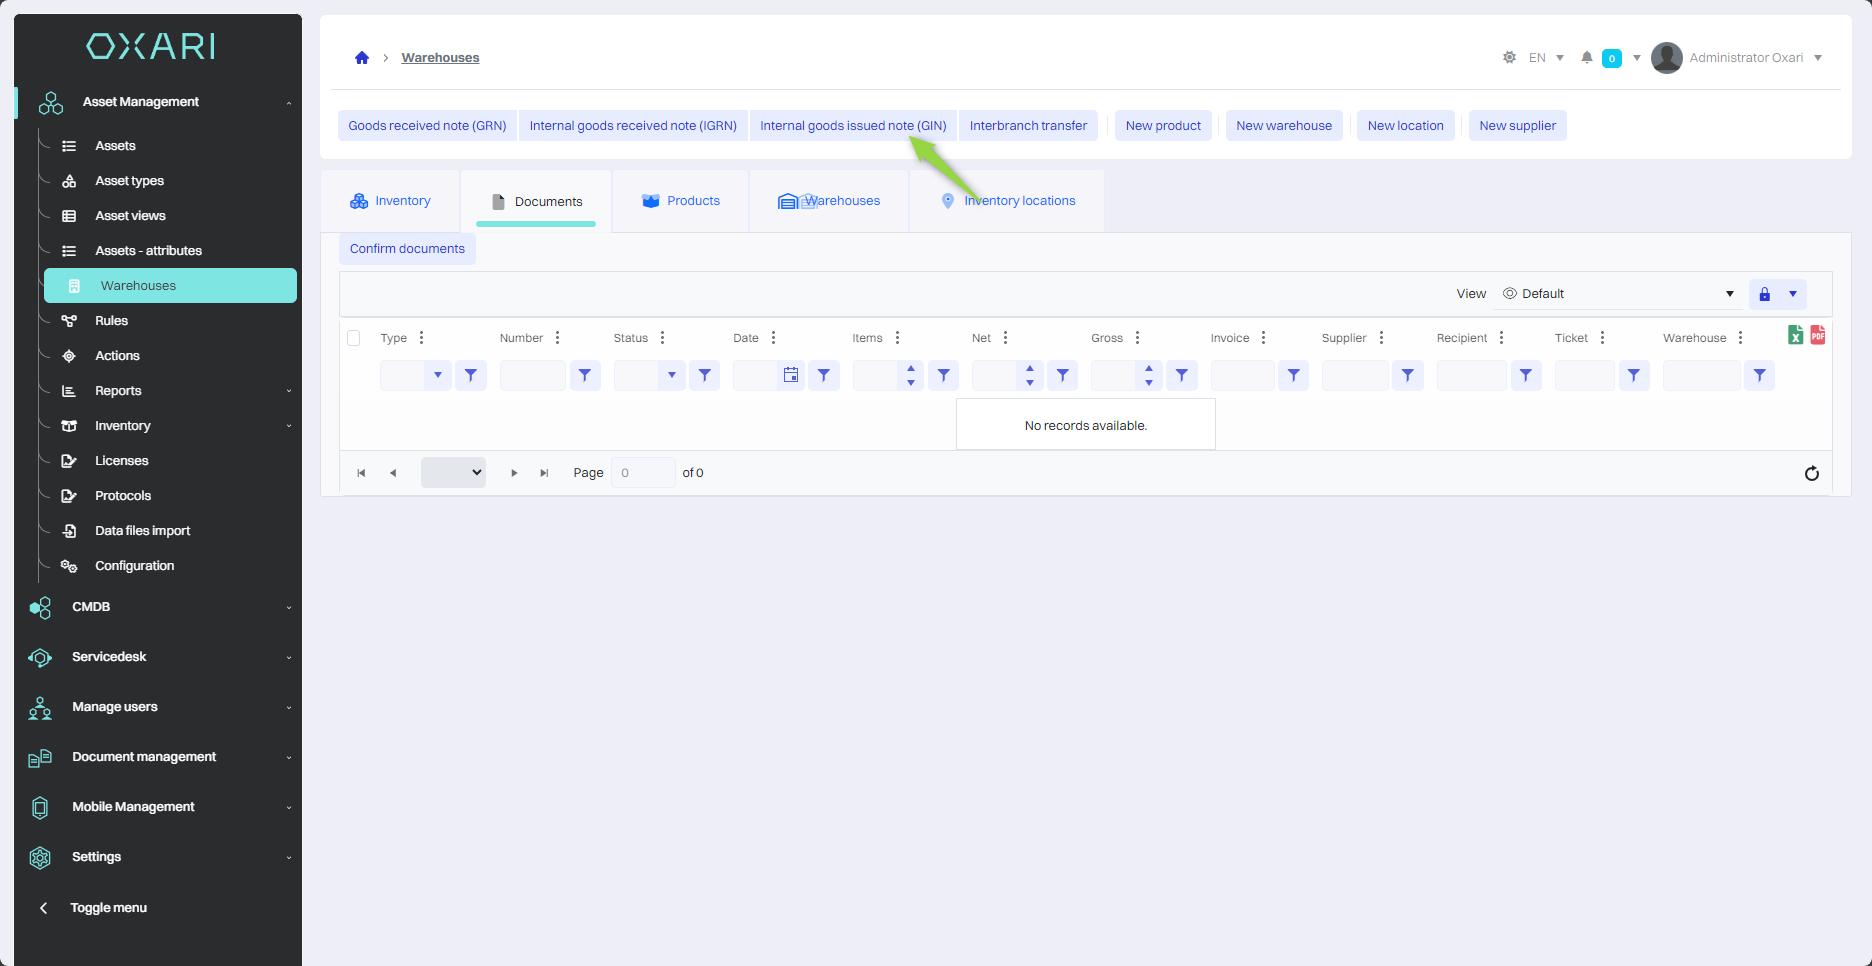
Next, the “Internal goods issued note (IGIN)” window contains items:
|
1 |
Warehouse - Selection of the warehouse where the product is to be received. |
|
2 |
Recipient - Ability to select the recipient of the products. |
|
3 |
Receipt date - A field for entering the date when the products are to be received into the warehouse. |
|
4 |
Items - Allows you to add details about specific products, there are two options “New item” and “New product”. New item means selecting from a list of already added products. |
Fill in the desired fields and click the “Save” button.
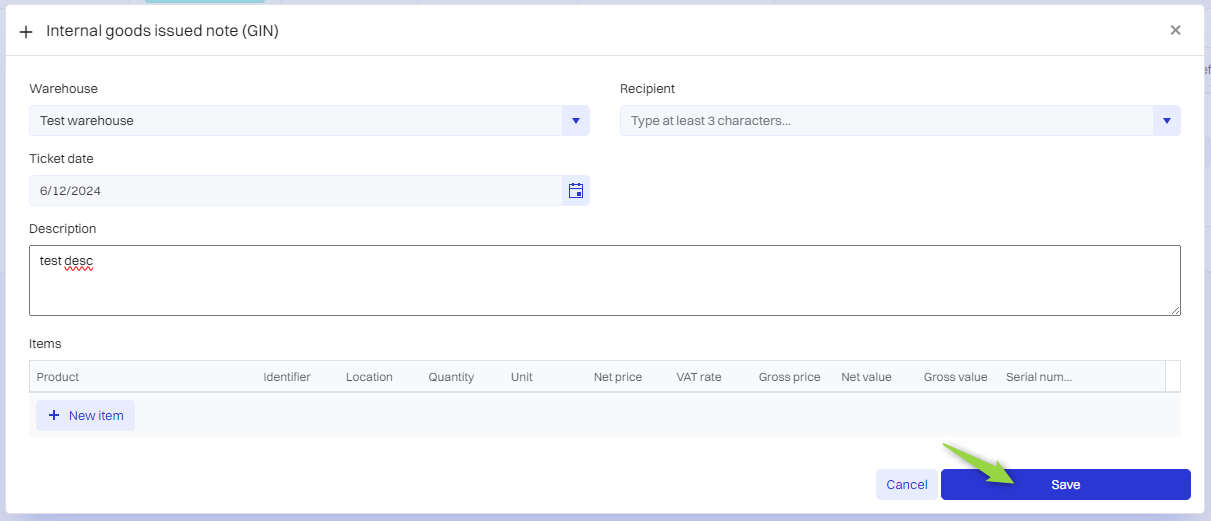
The document has been added.
Interbranch transfer (It)
To create a Interbranch transfer (It), go to Asset Management > Warehouses, and then click the “Interbranch transfer (It)” button.
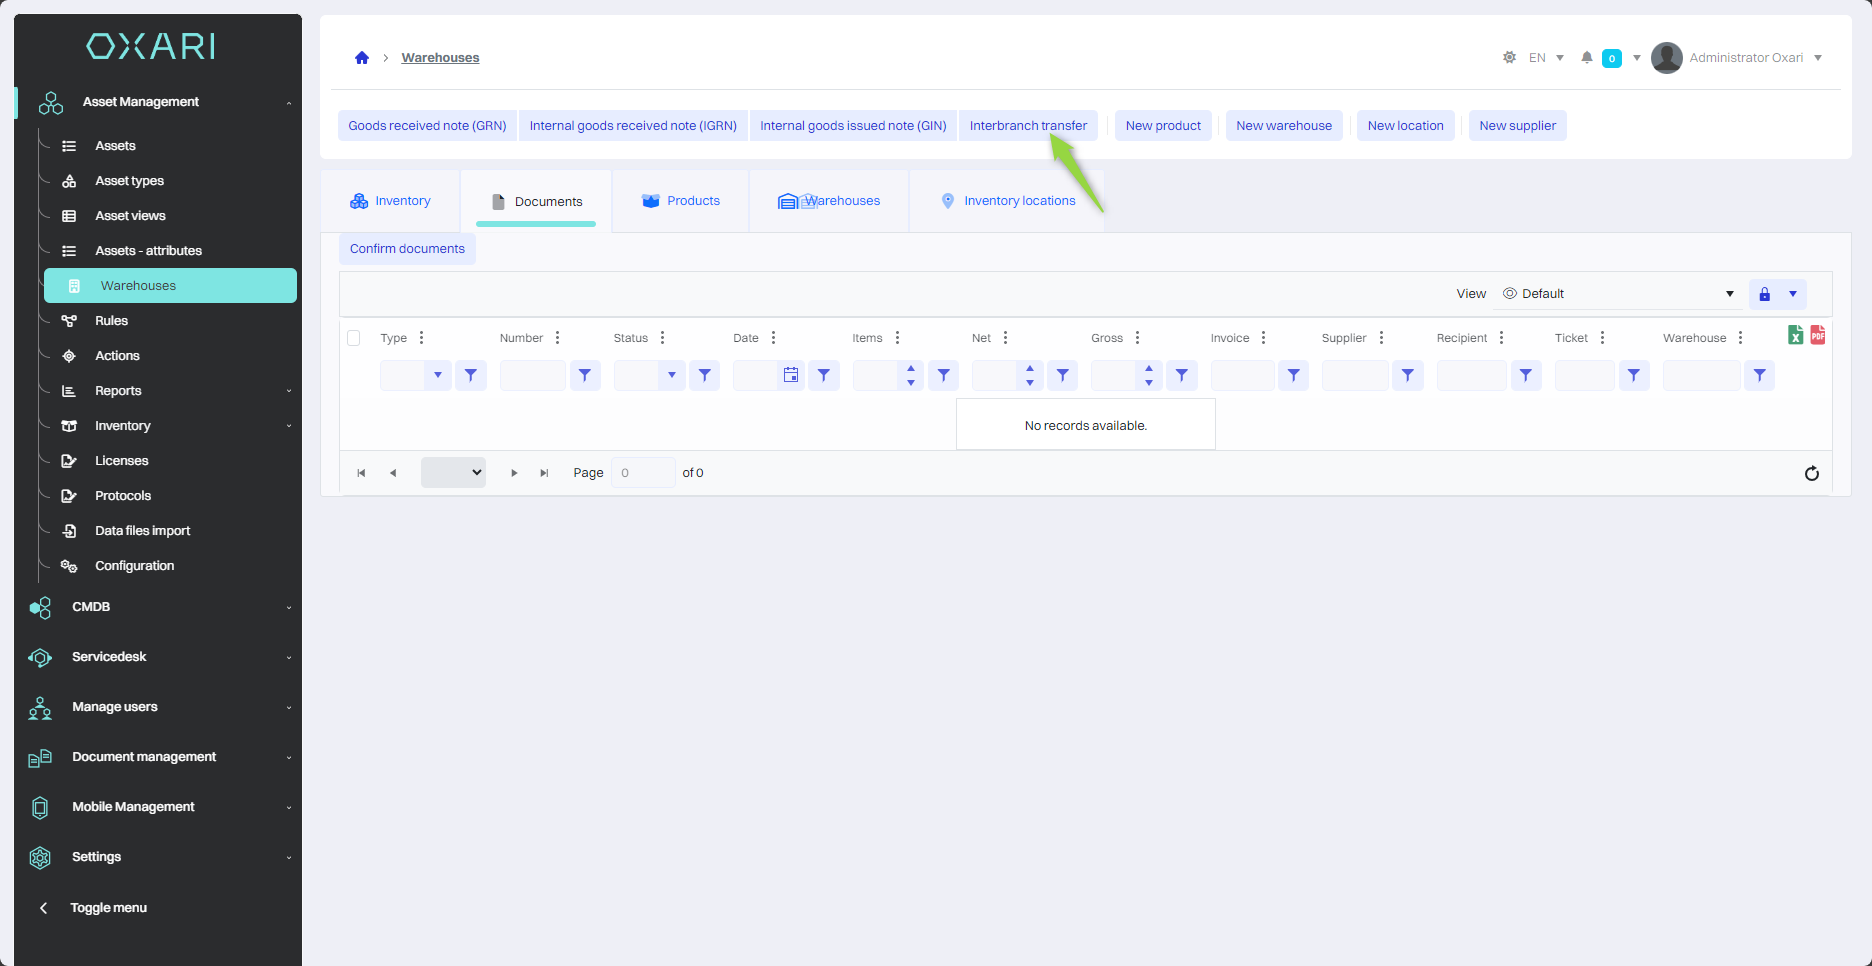
Next, the “Interbranch transfer (It)” window contains items:
|
1 |
Warehouse - Selection of the warehouse from which the product is to be released. |
|
2 |
Destination warehouse - Selection of the warehouse where the product is to be received. |
|
3 |
Transfer date - Field for entering the date when the products are to be received into the warehouse. |
|
4 |
Items - Allows you to add details about specific products, there are two options “New item” and “New product”. New item means selecting from a list of already added products. |
Fill in the desired fields and click the “Save” button.

The document has been added.
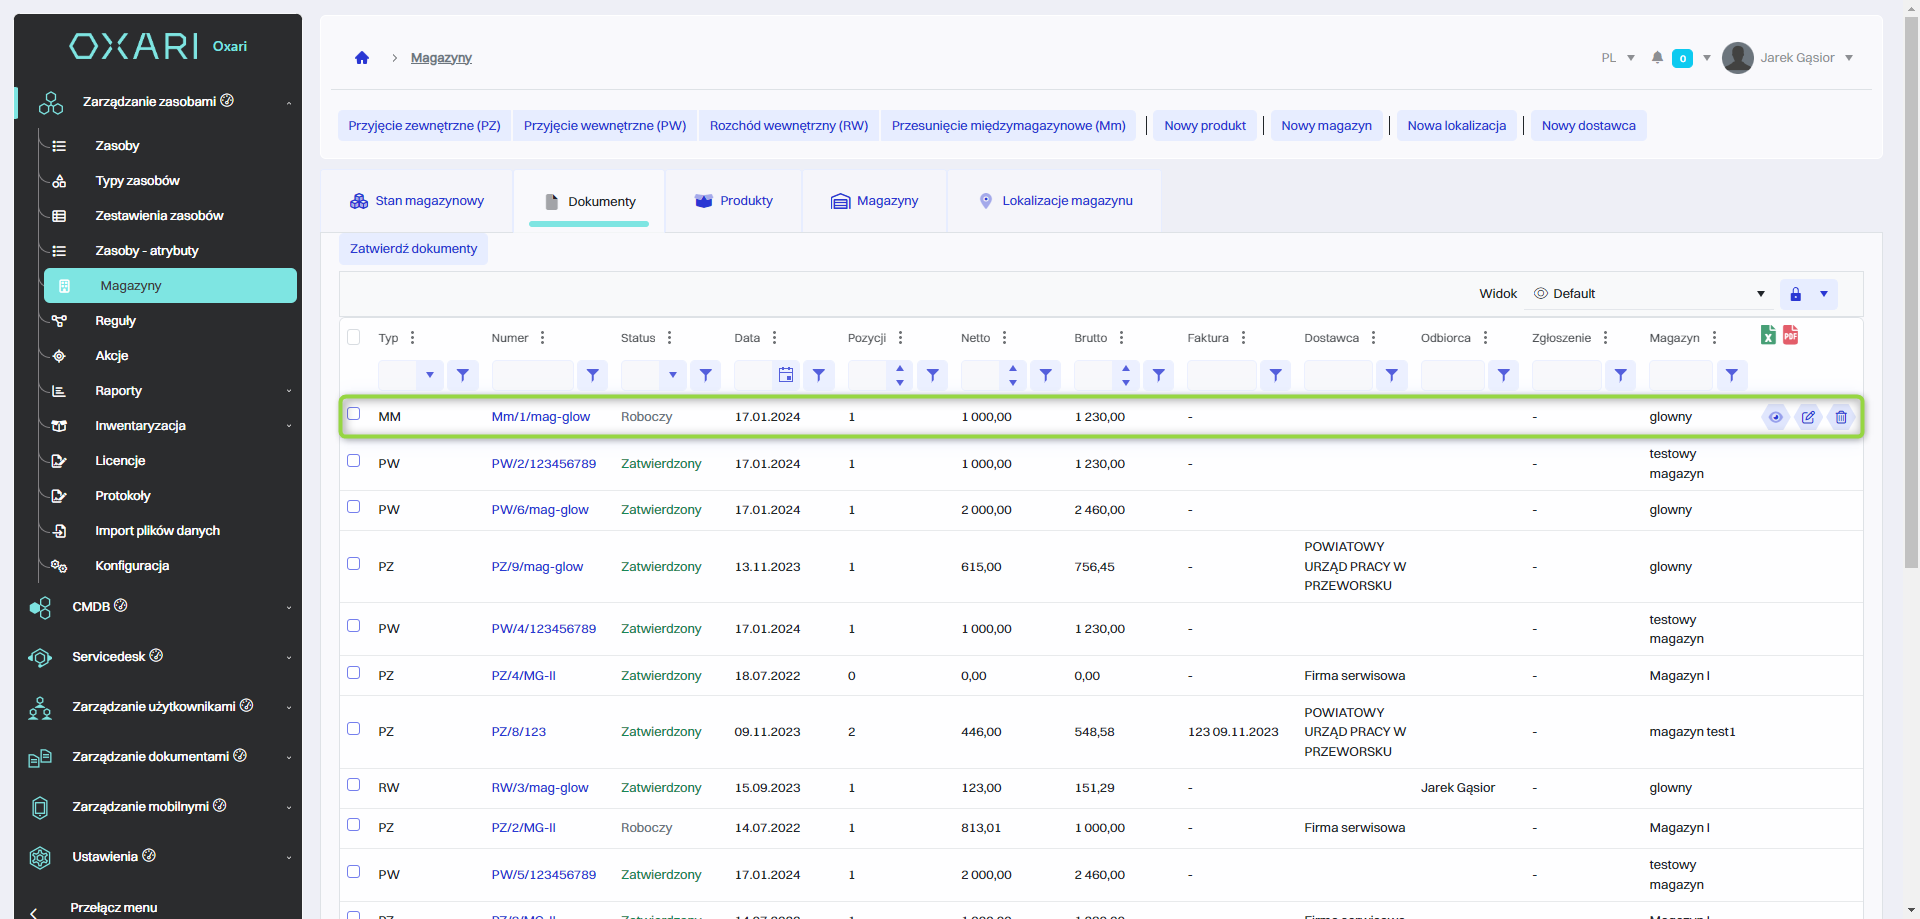
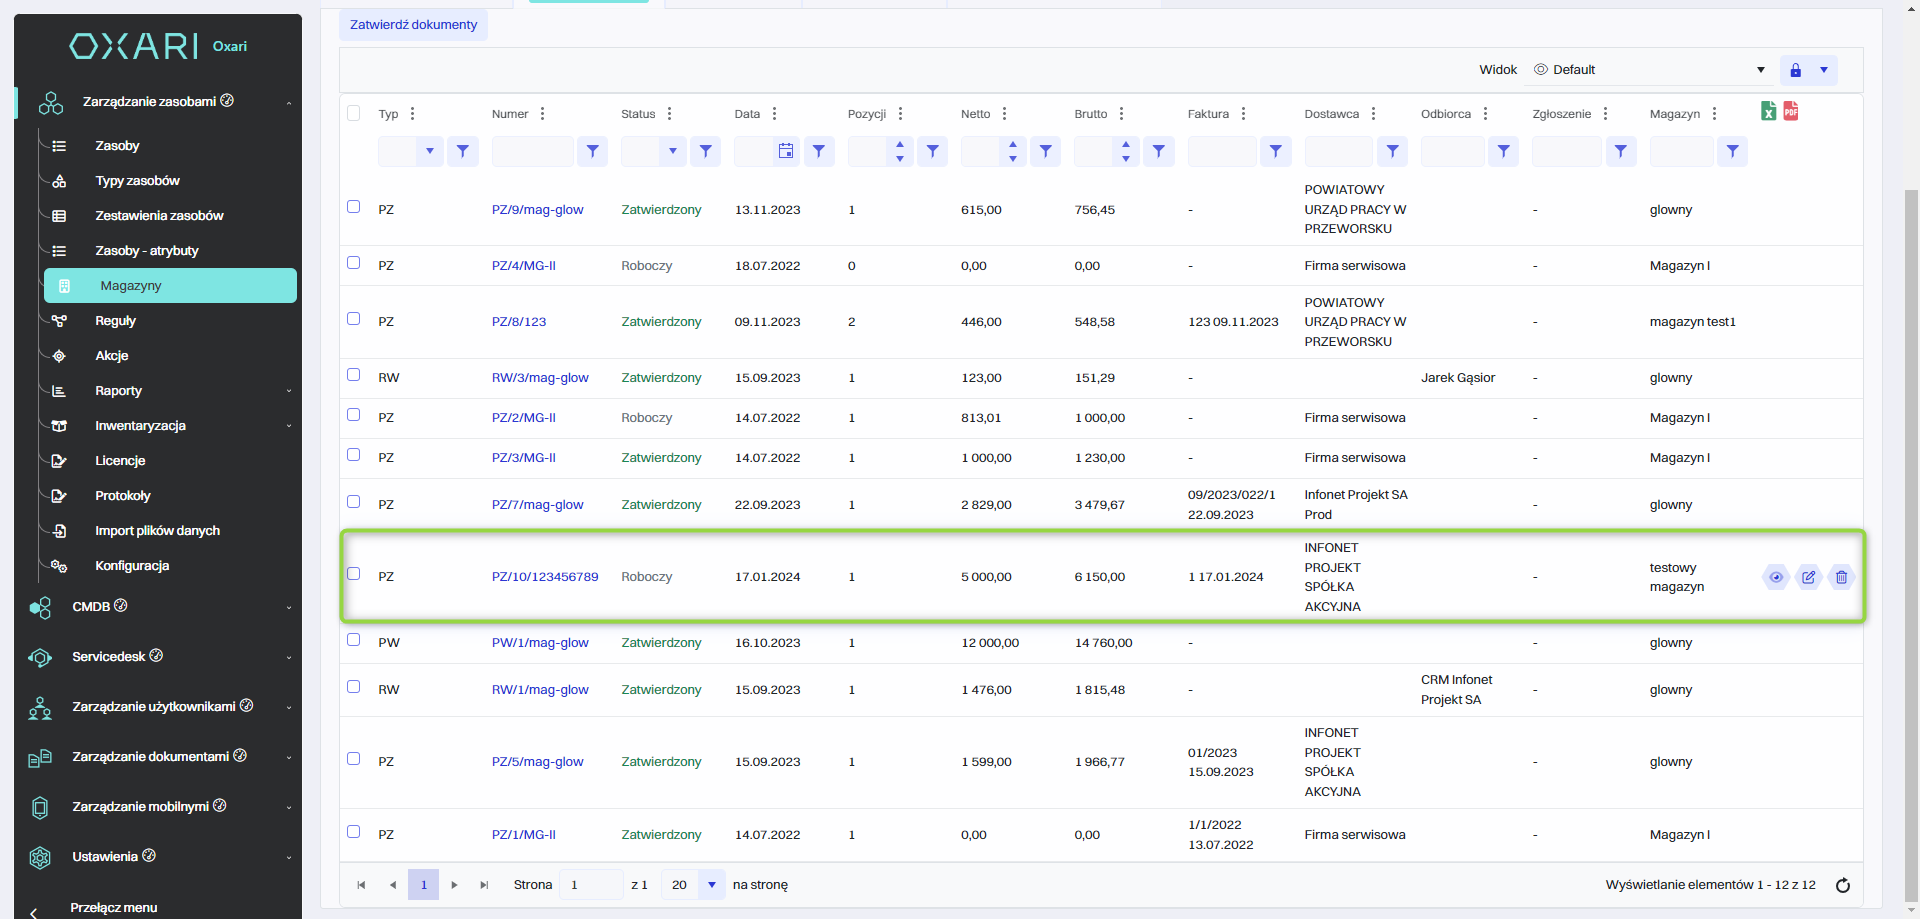
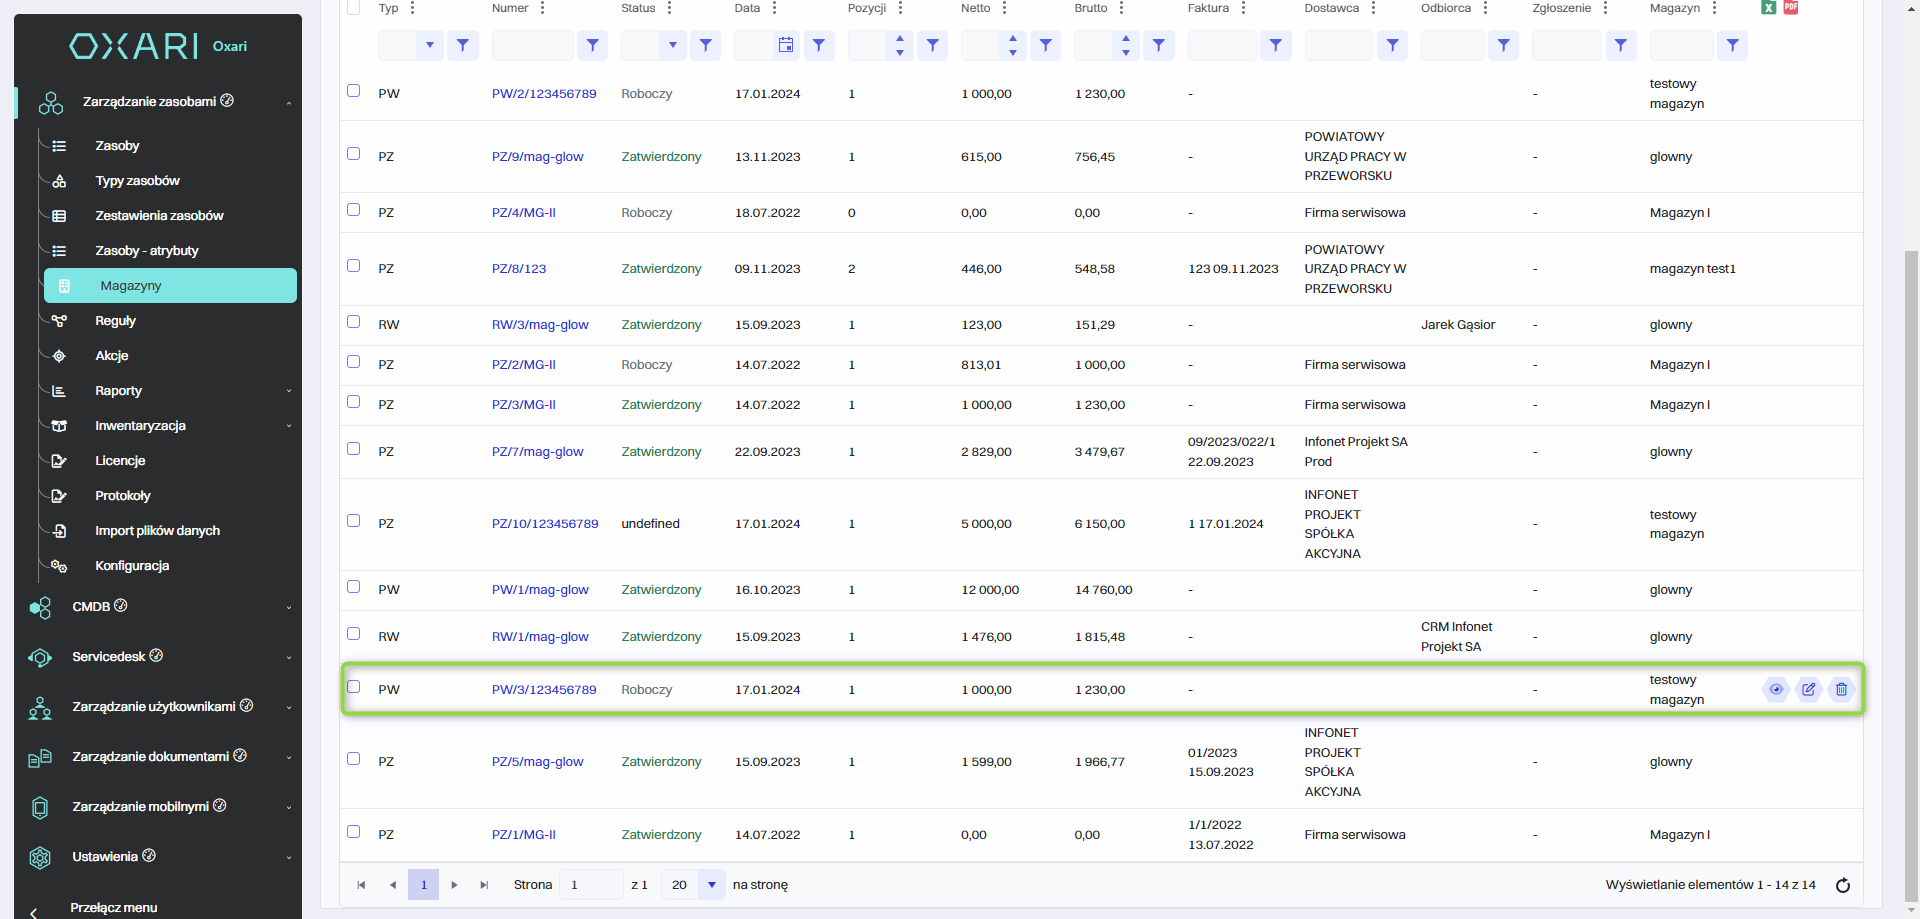
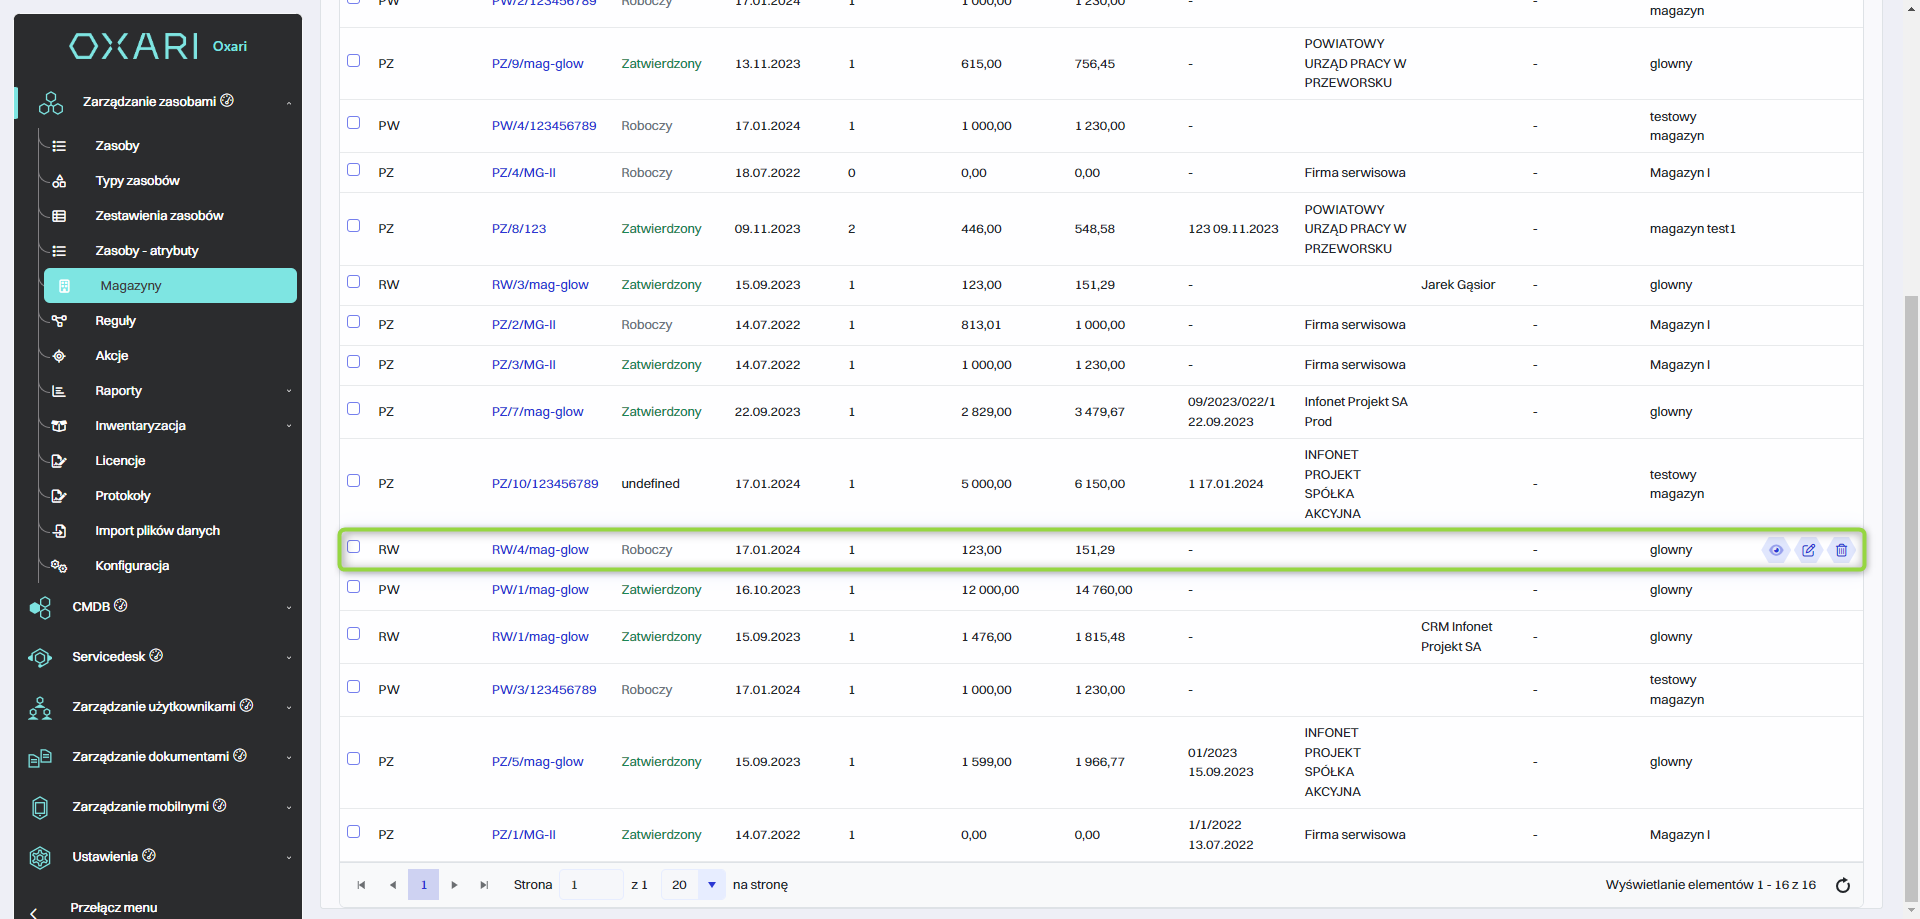
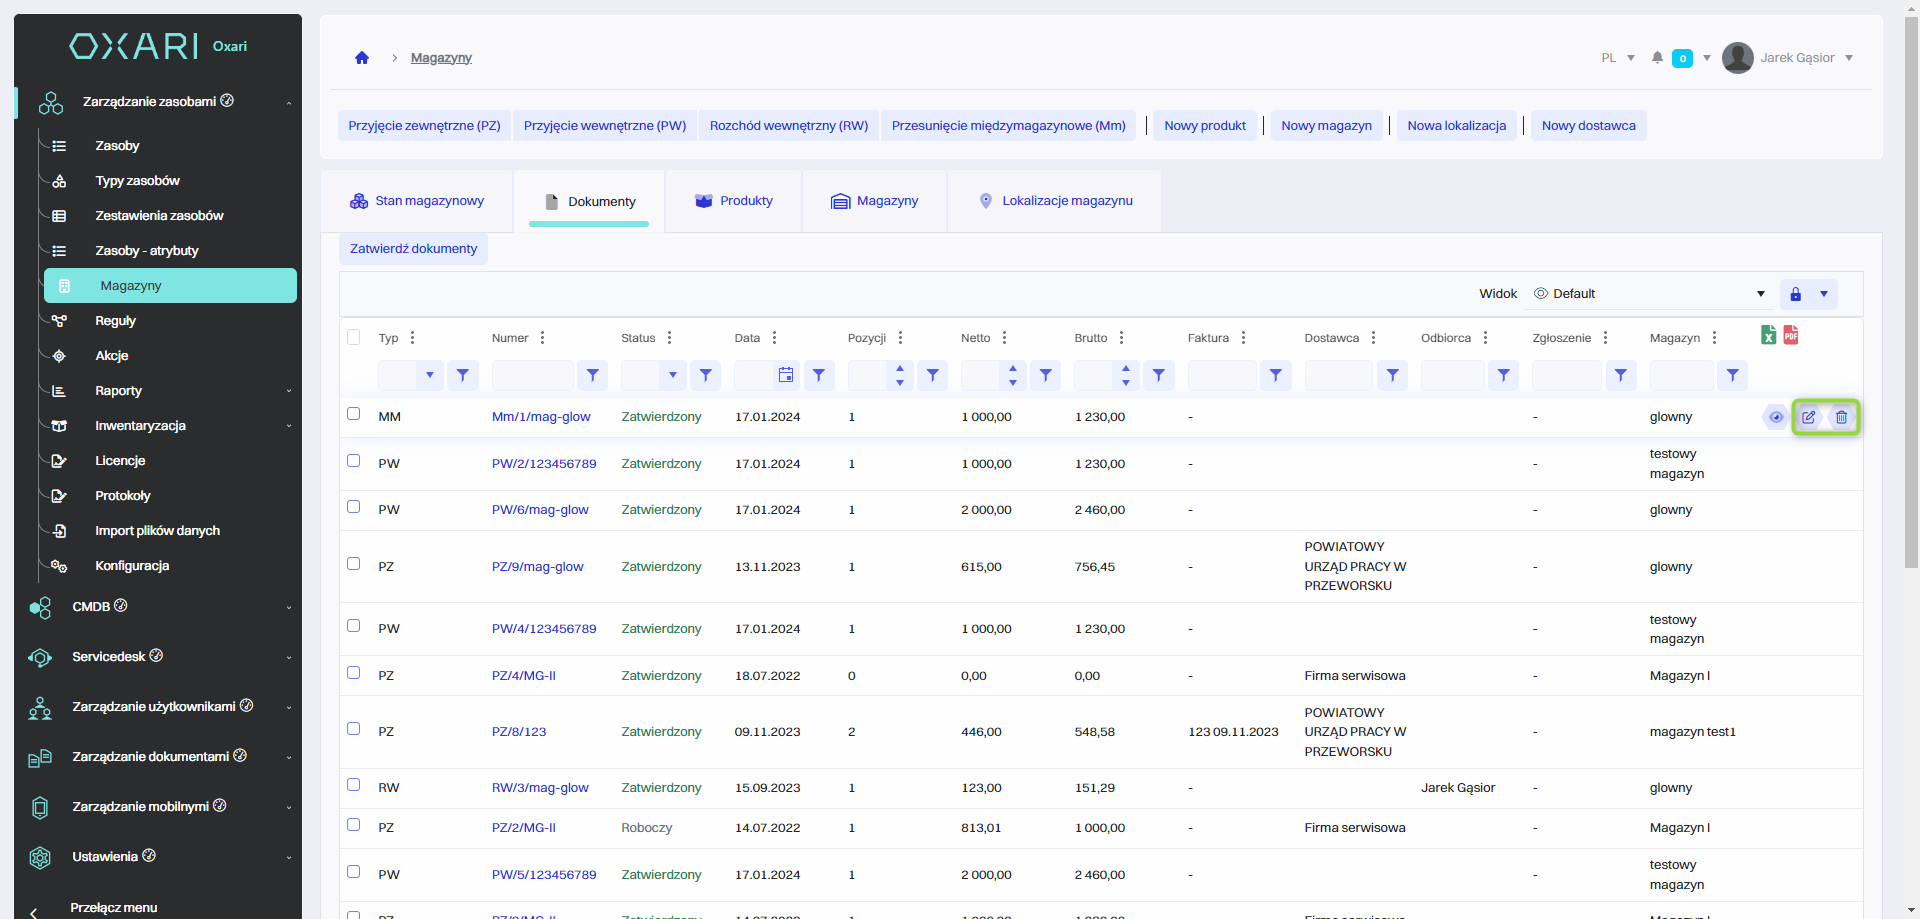
Documents tab
In the Documents tab, the user has access to a comprehensive collection of documents related to warehouse operations, such as receipts (both external and internal), internal disbursements and inter-warehouse transfers. It offers tools for effective documentation management, including approving, viewing details, editing and deleting documents, which makes it easier to maintain order and transparency in warehouse processes.
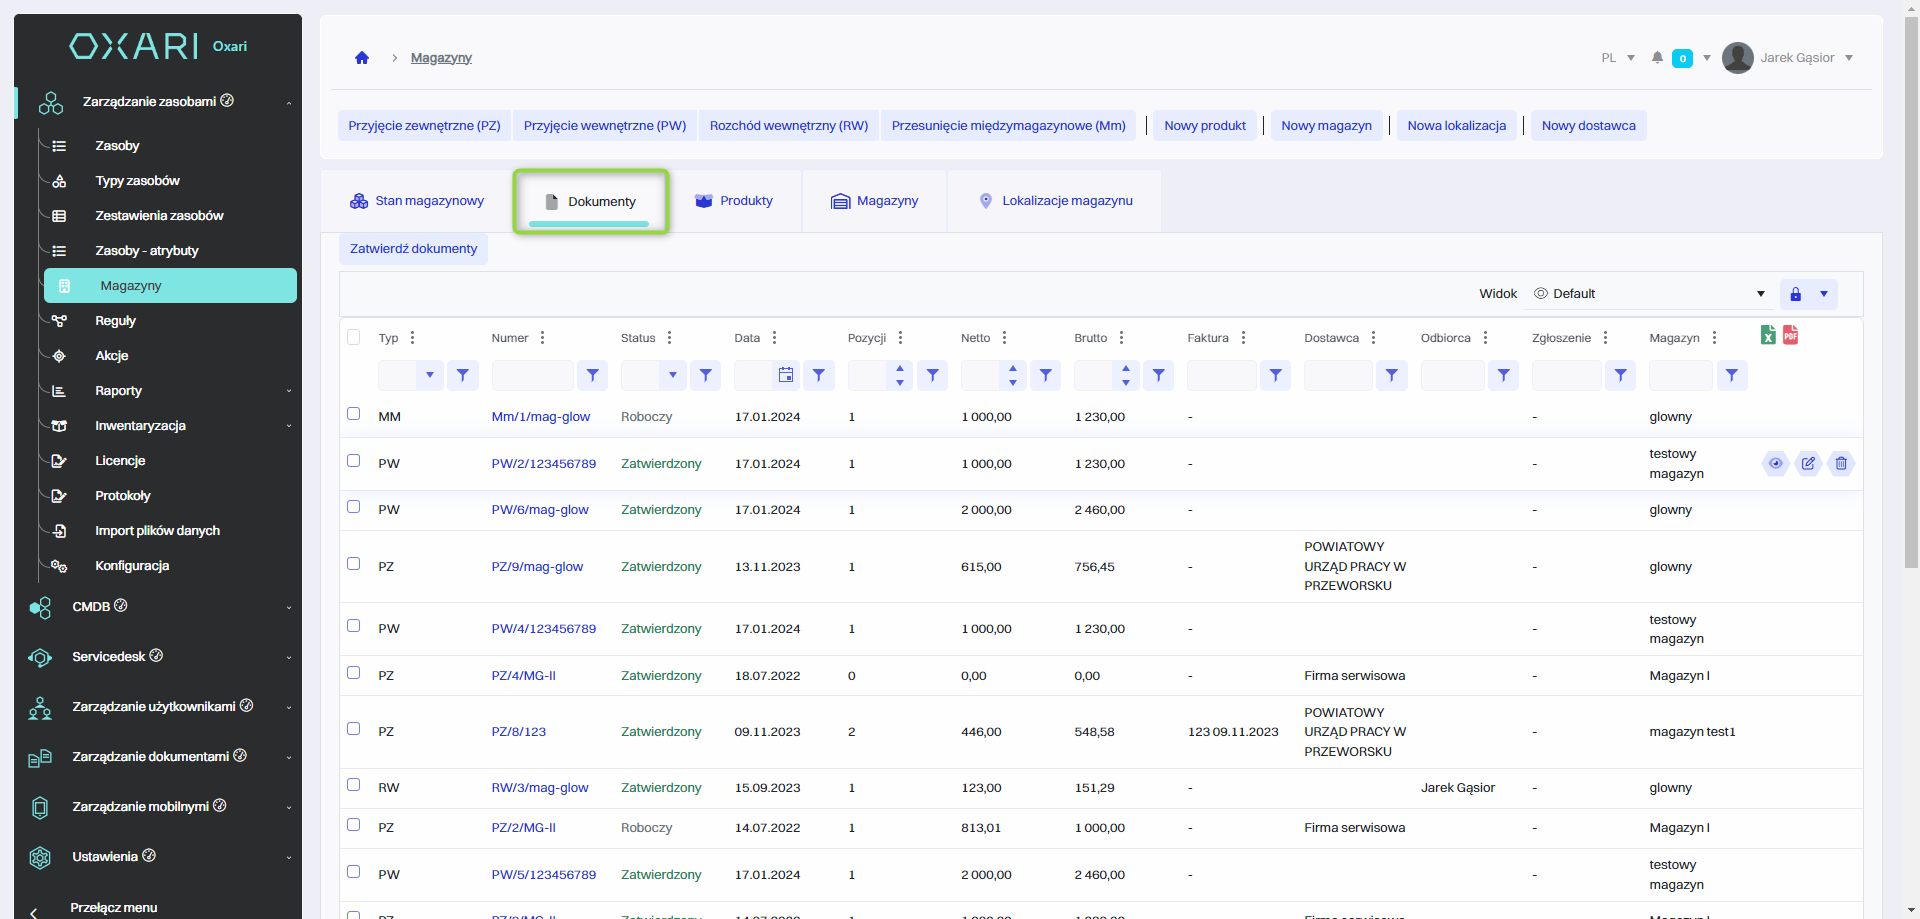
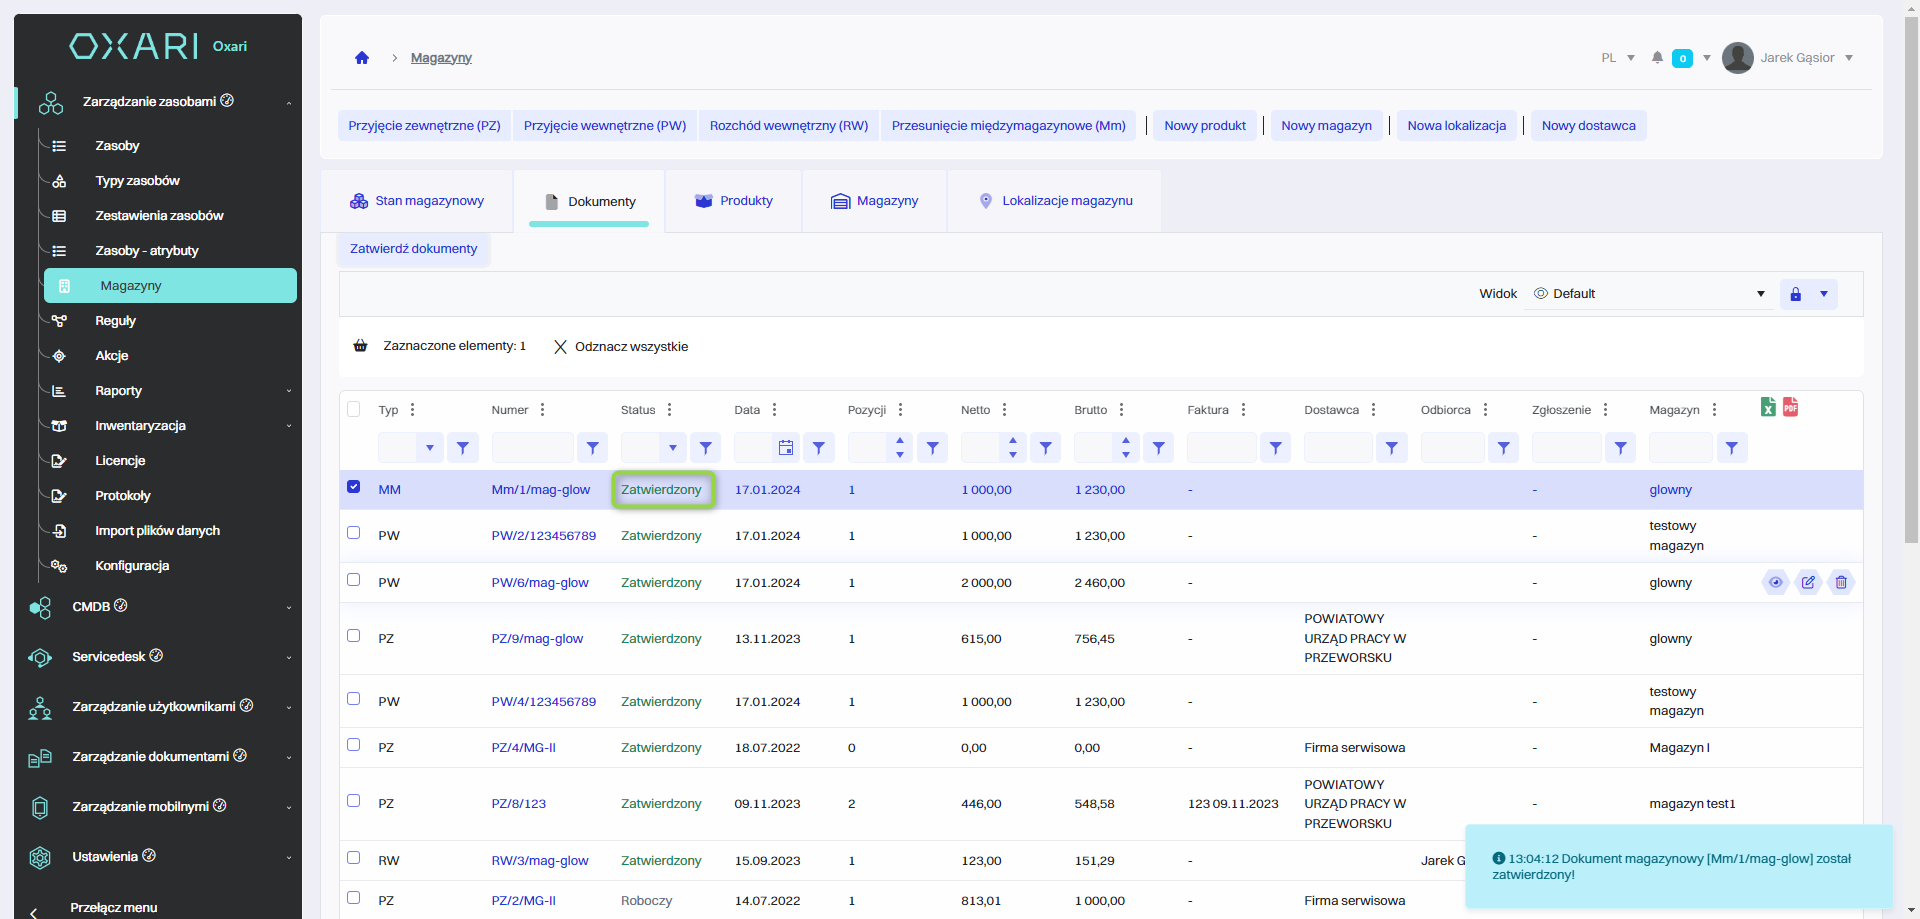
Approval of the document
To approve a document, go to the documents tab, then select the desired document and click the “Approve Documents” button.
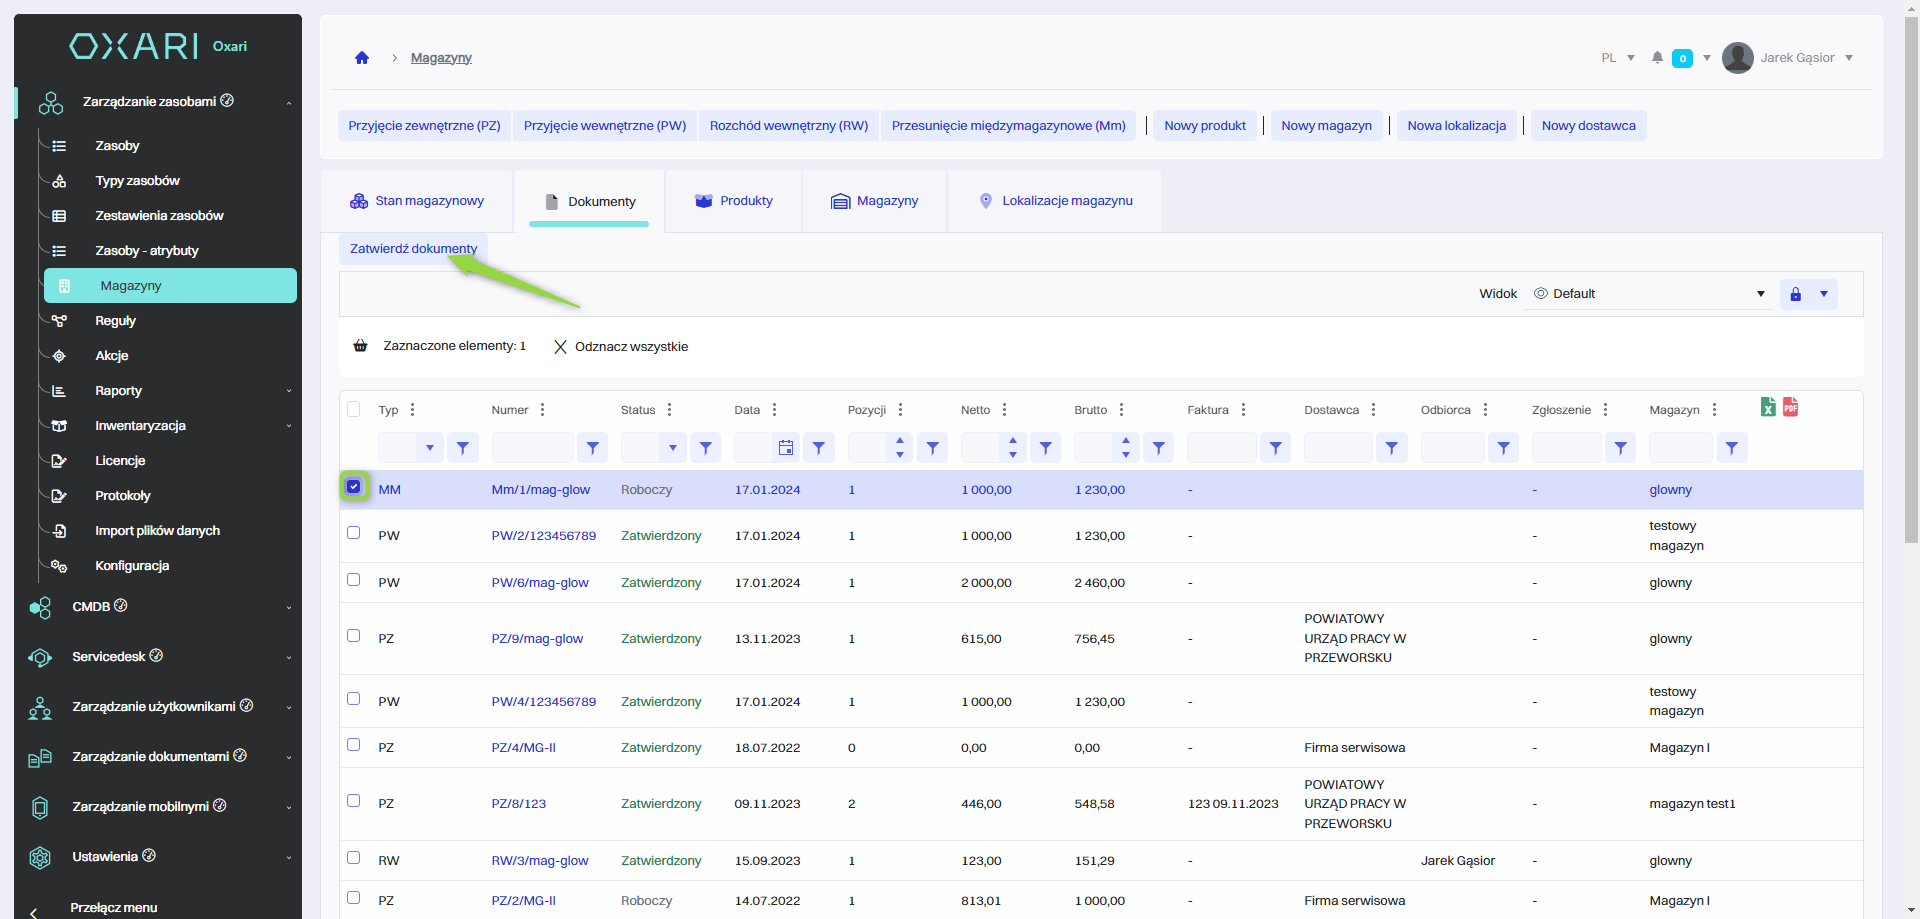
The document was approved.
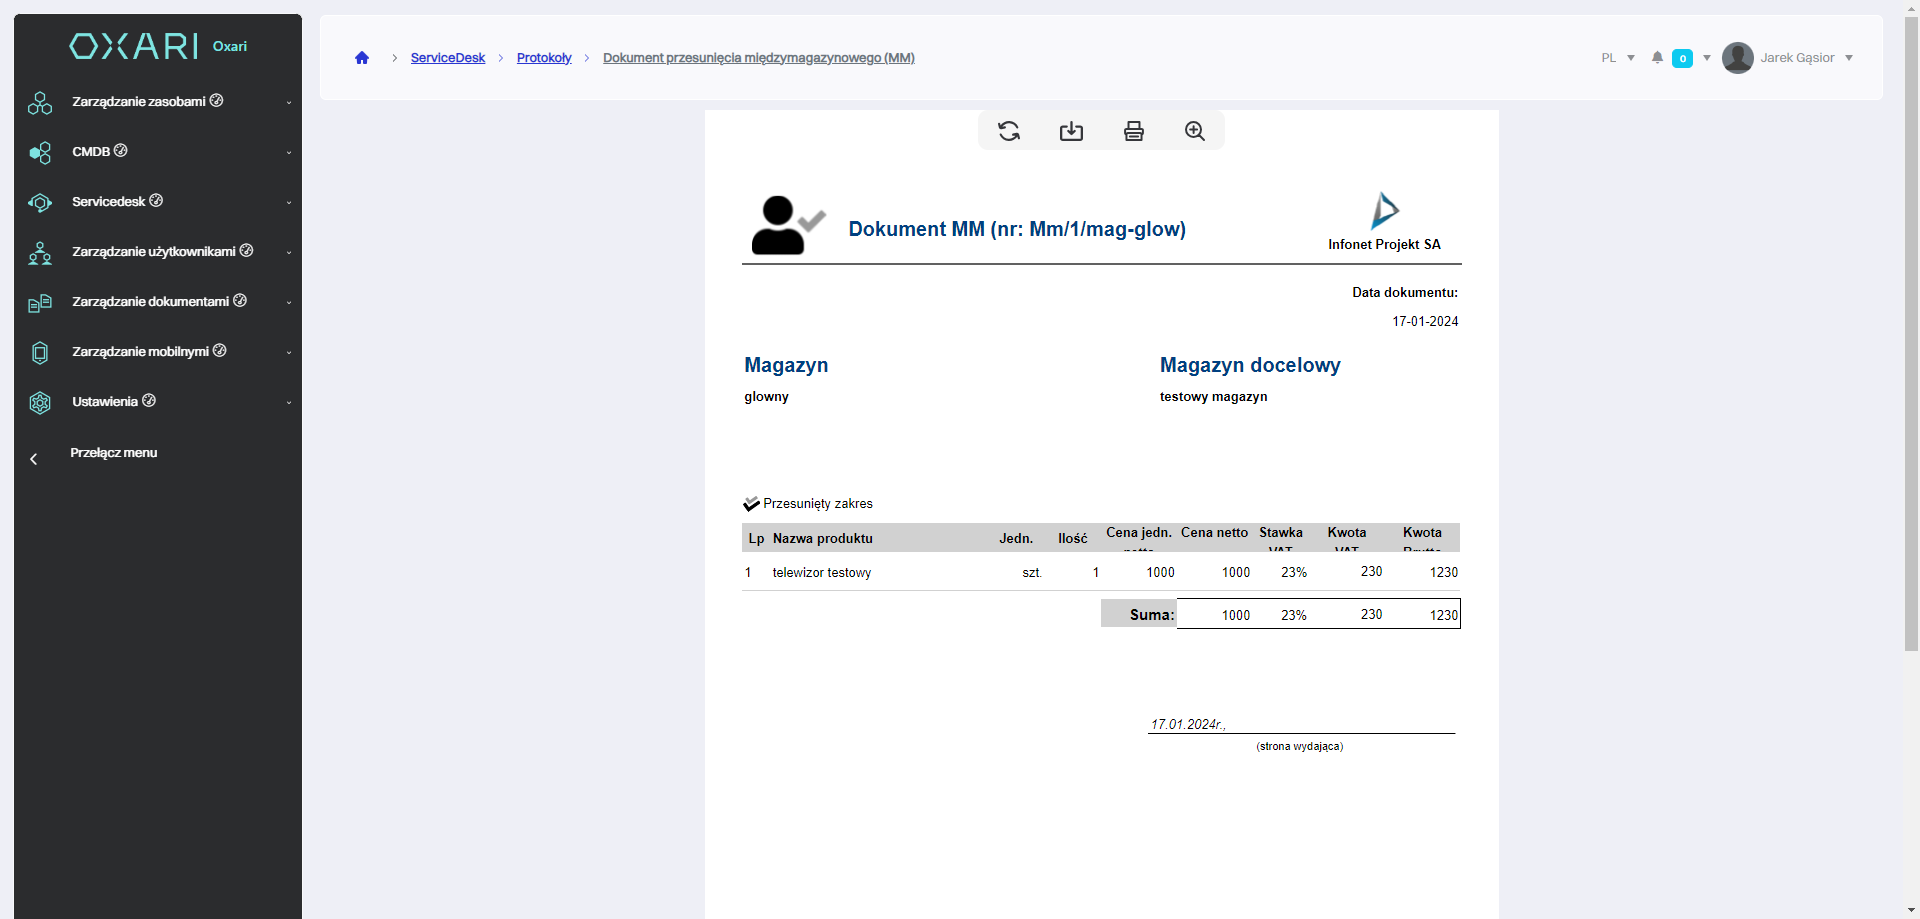
Detailed view of the document
To open the document detail view, go to the documents tab, then click the “Details” button next to the desired document.
The detailed view is shown.
Editing/Deleting a document
A document can be edited or deleted using the following buttons.
Documents with “Approved” status cannot be edited
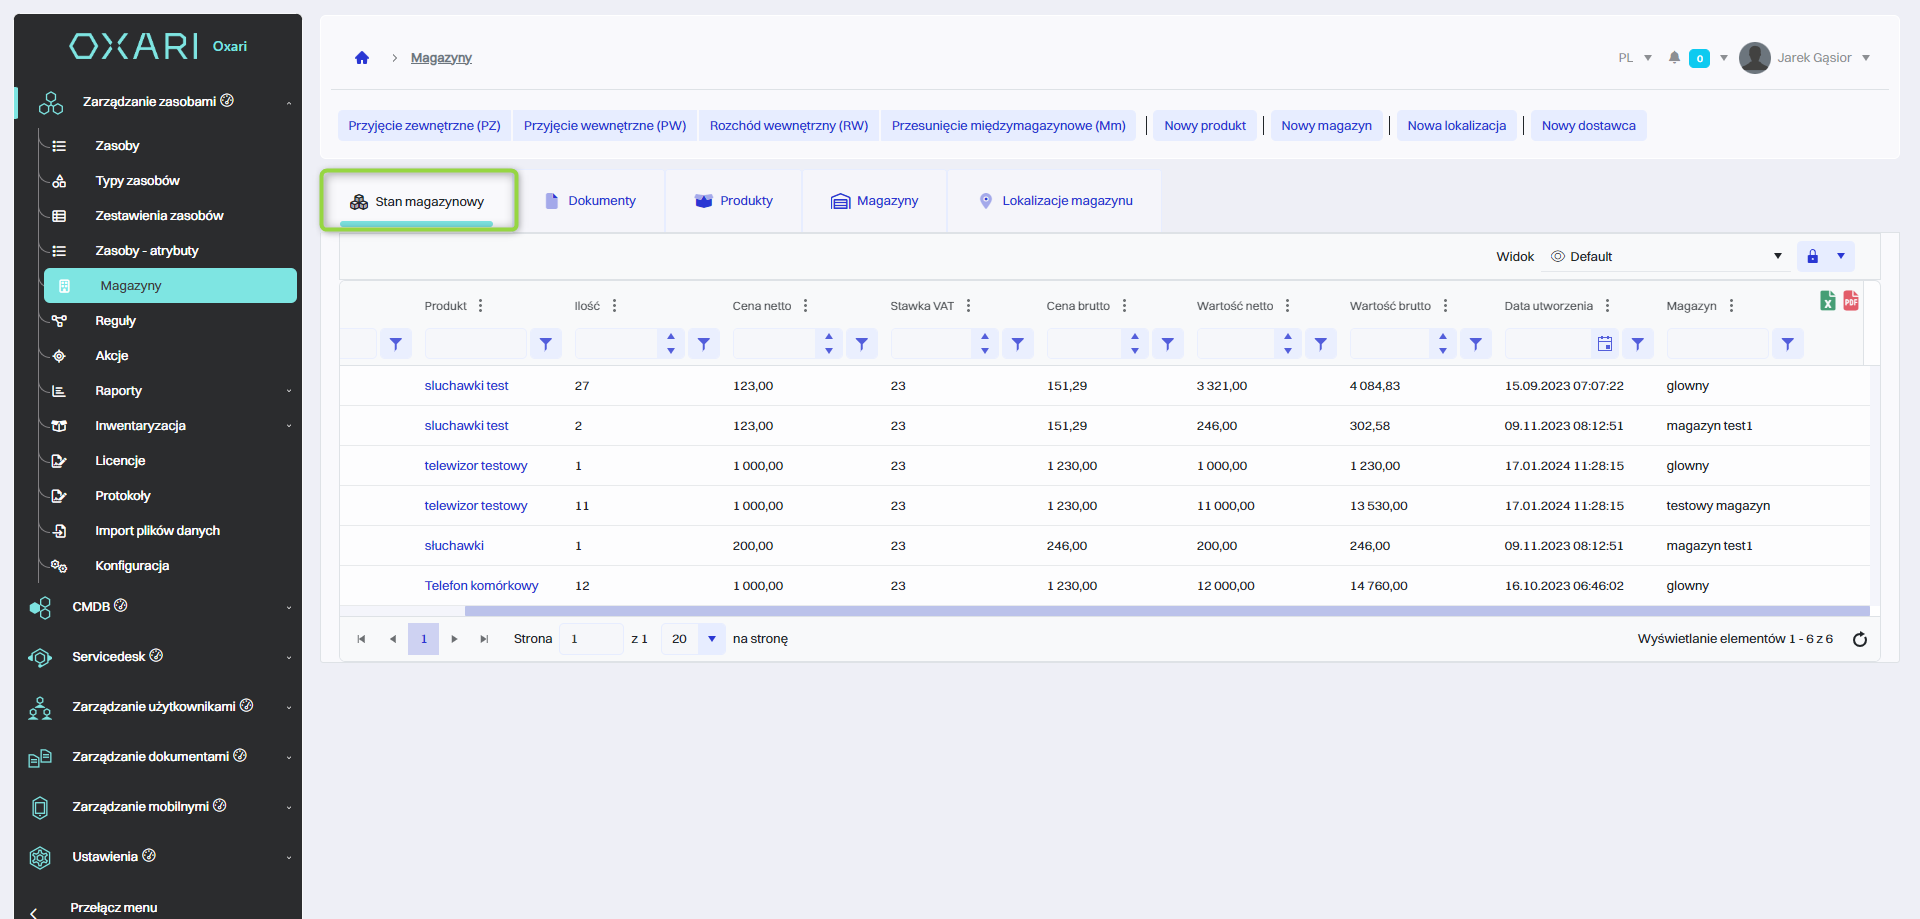
Inventory tab
The “inventory” tab is used to monitor the products in inventory. It displays a list of products with important details such as ID, name, quantity, net and gross price, VAT rate, net and gross value and warehouse location.
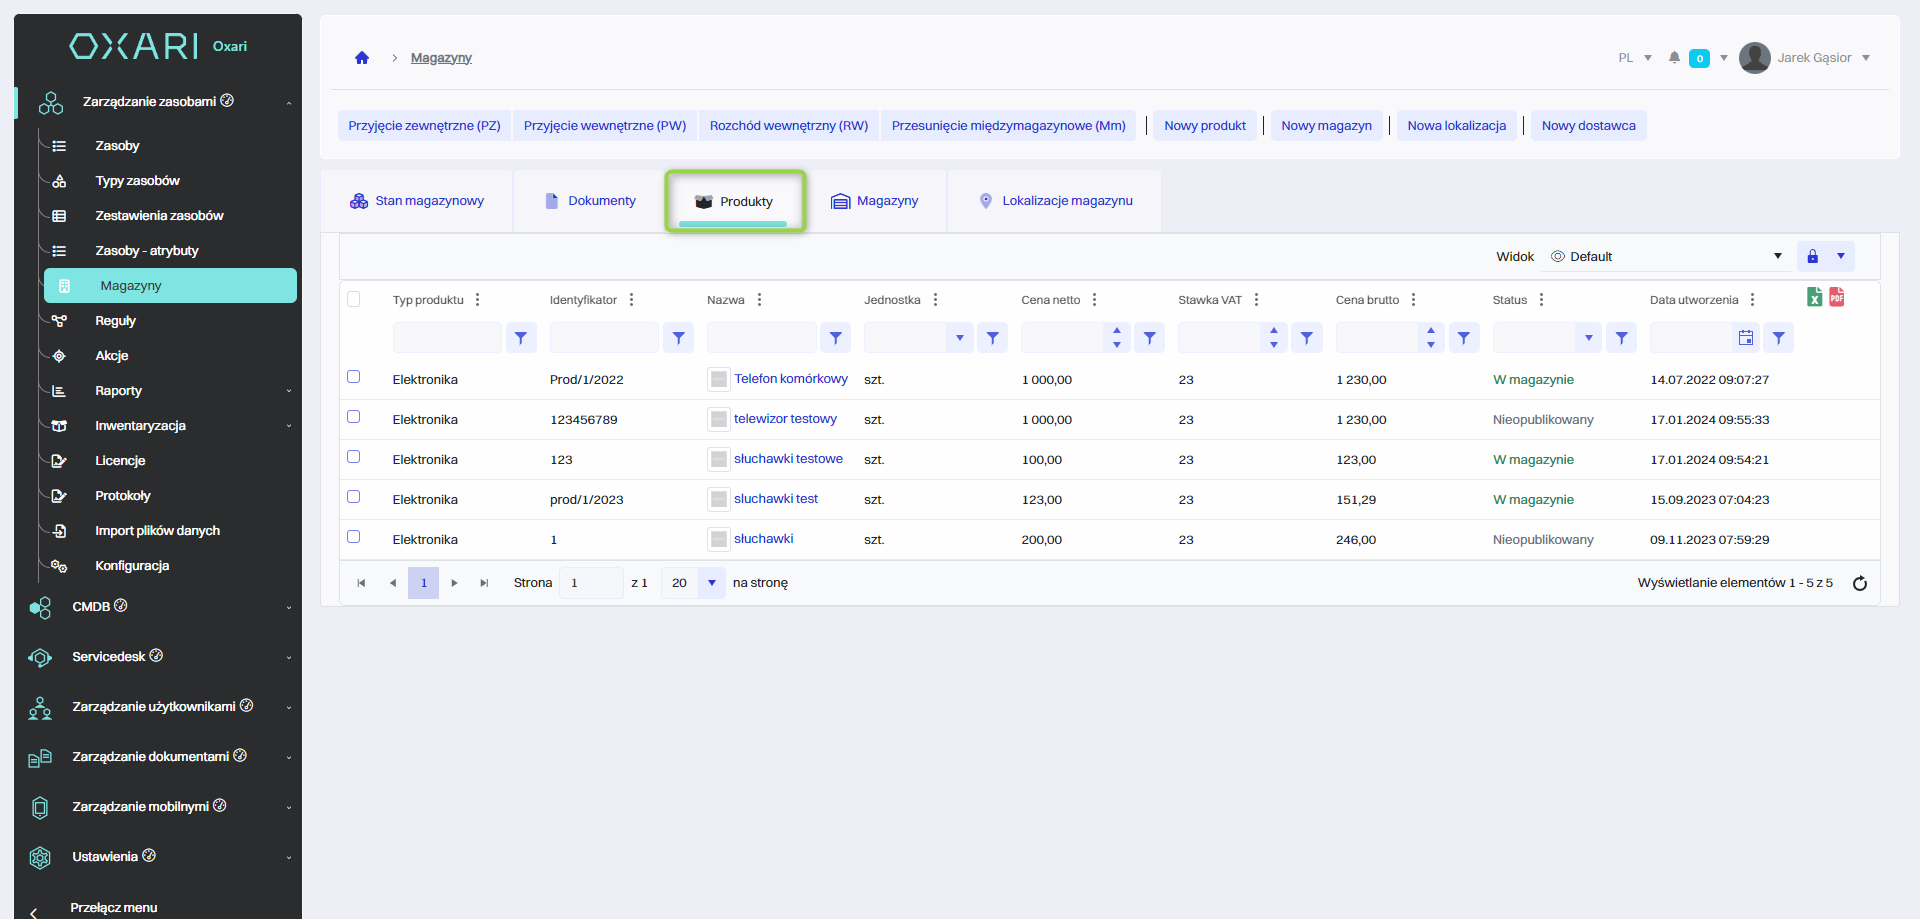
Products tab
The “Products” tab presents a list of products in inventory. It allows you to view details such as product type, ID, name, unit of measure, net and gross prices, VAT rate and status (e.g. “In inventory”, “Unpublished”). There are also functions for adding new products, editing existing products and monitoring their inventory status.
Warehouses tab
The “Warehouses” tab is used to display and manage the various warehouse locations in the company. It presents a list of warehouses along with basic information such as warehouse name, identification code, description and status indicating whether the warehouse is primary or secondary. It allows adding new warehouses, editing existing ones and monitoring their status.
Warehouse locations tab
The Warehouse Locations tab is used to display and organize the various physical warehouse locations within the company. It allows you to view information such as the name of the warehouse, its specific location and the date the entry was created.
