In the OXARI system, the contacts section plays a key role in managing and centralizing contact data, which is essential for effective business communication. Contacts can be assigned directly to individual organizations, allowing users to quickly find relevant information and make contact with a specific entity, such as a company or department. The ability to add multiple contacts to a single person in the system allows users to create comprehensive contact profiles.
More about the organizations: Go >
More about the persons: Go >
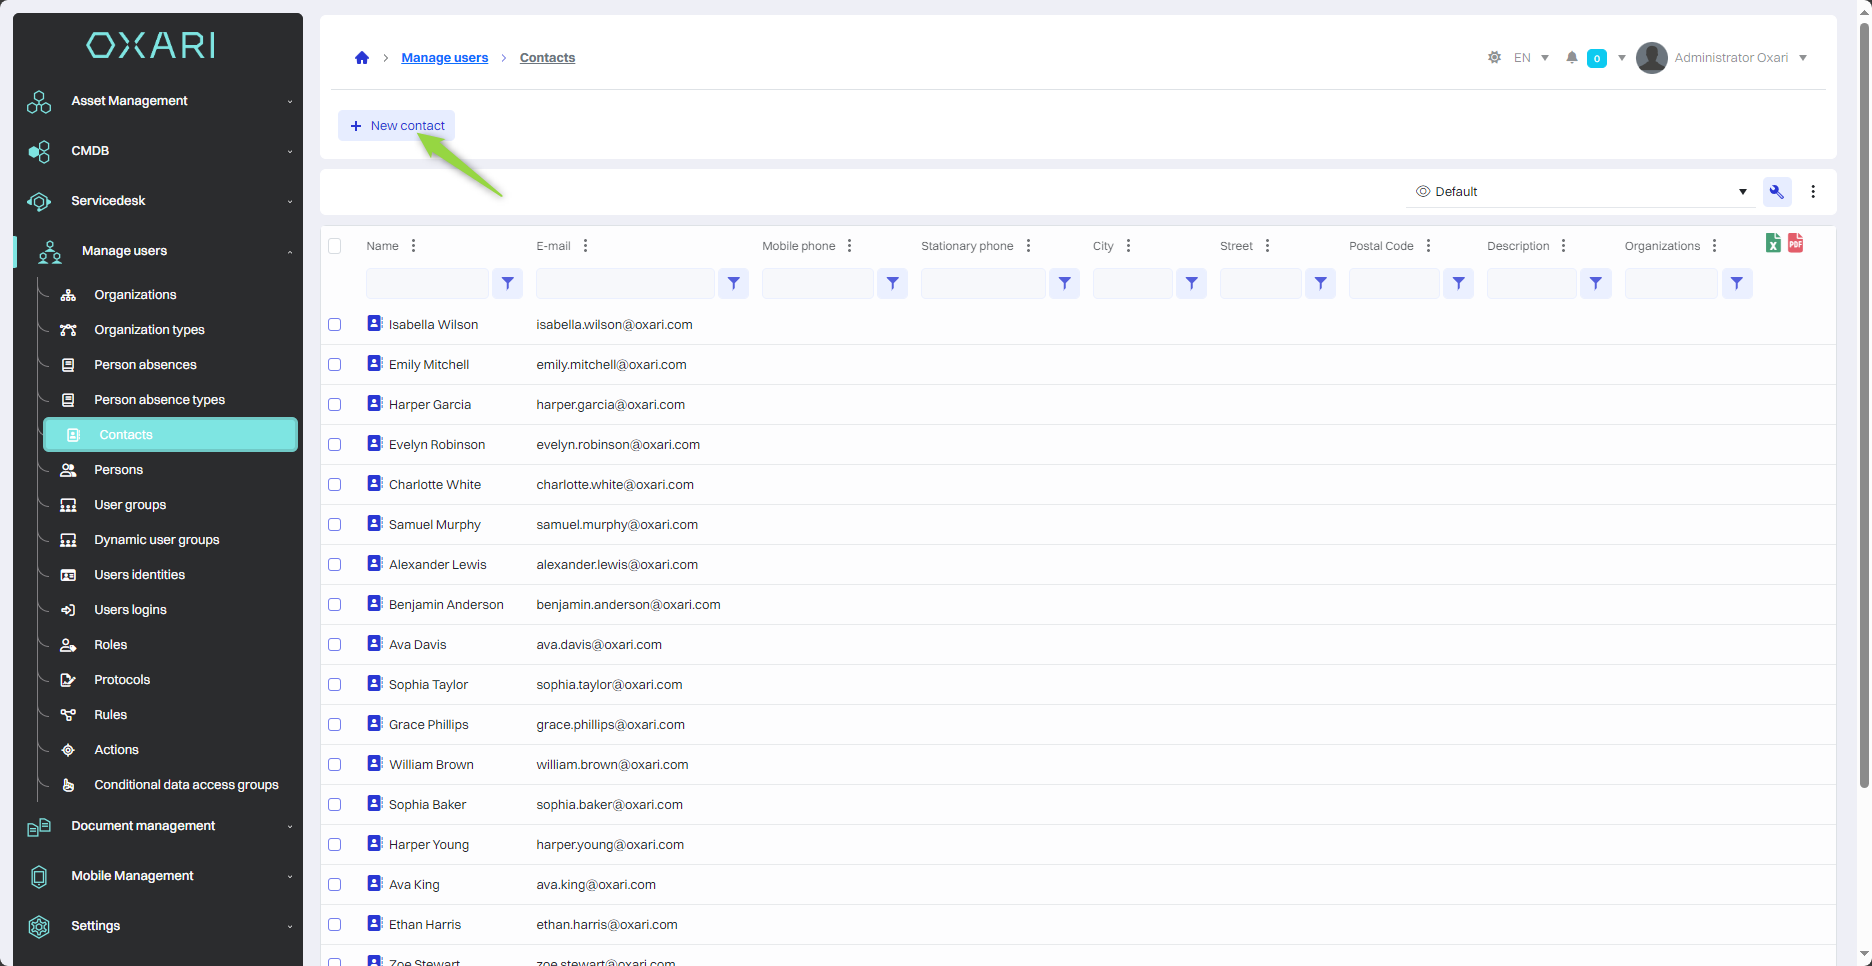
New contact
To add a new contact, go to User Management > Contacts, and then click the "New Contact" button.
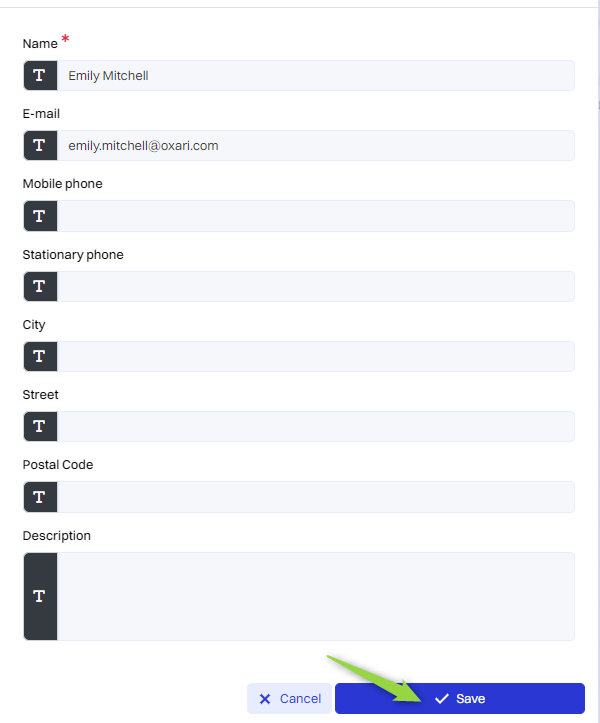
Filling
Next, the "New Contact" window contains the following items:
|
1 |
Organization - A drop-down field where you can select the organization to which the new contact is to be assigned More about the organizations: Go > |
|
2 |
Name* - A text field that is required to enter the name of the contact. |
|
3 |
E-mail - A place for the e-mail address of the contact. |
|
4 |
Mobile phone. - Field for cell phone number. |
|
5 |
Stationary phone - Intended for the contact's landline phone number. |
|
6 |
City/Street/Postal Code - Field for entering the city, street, postal code in which the contact is located. |
|
7 |
Description - A text field where you can add additional information about the contact. |
Fill in the desired fields, and then click the "Save" button.
The given contact is added to the contact list:
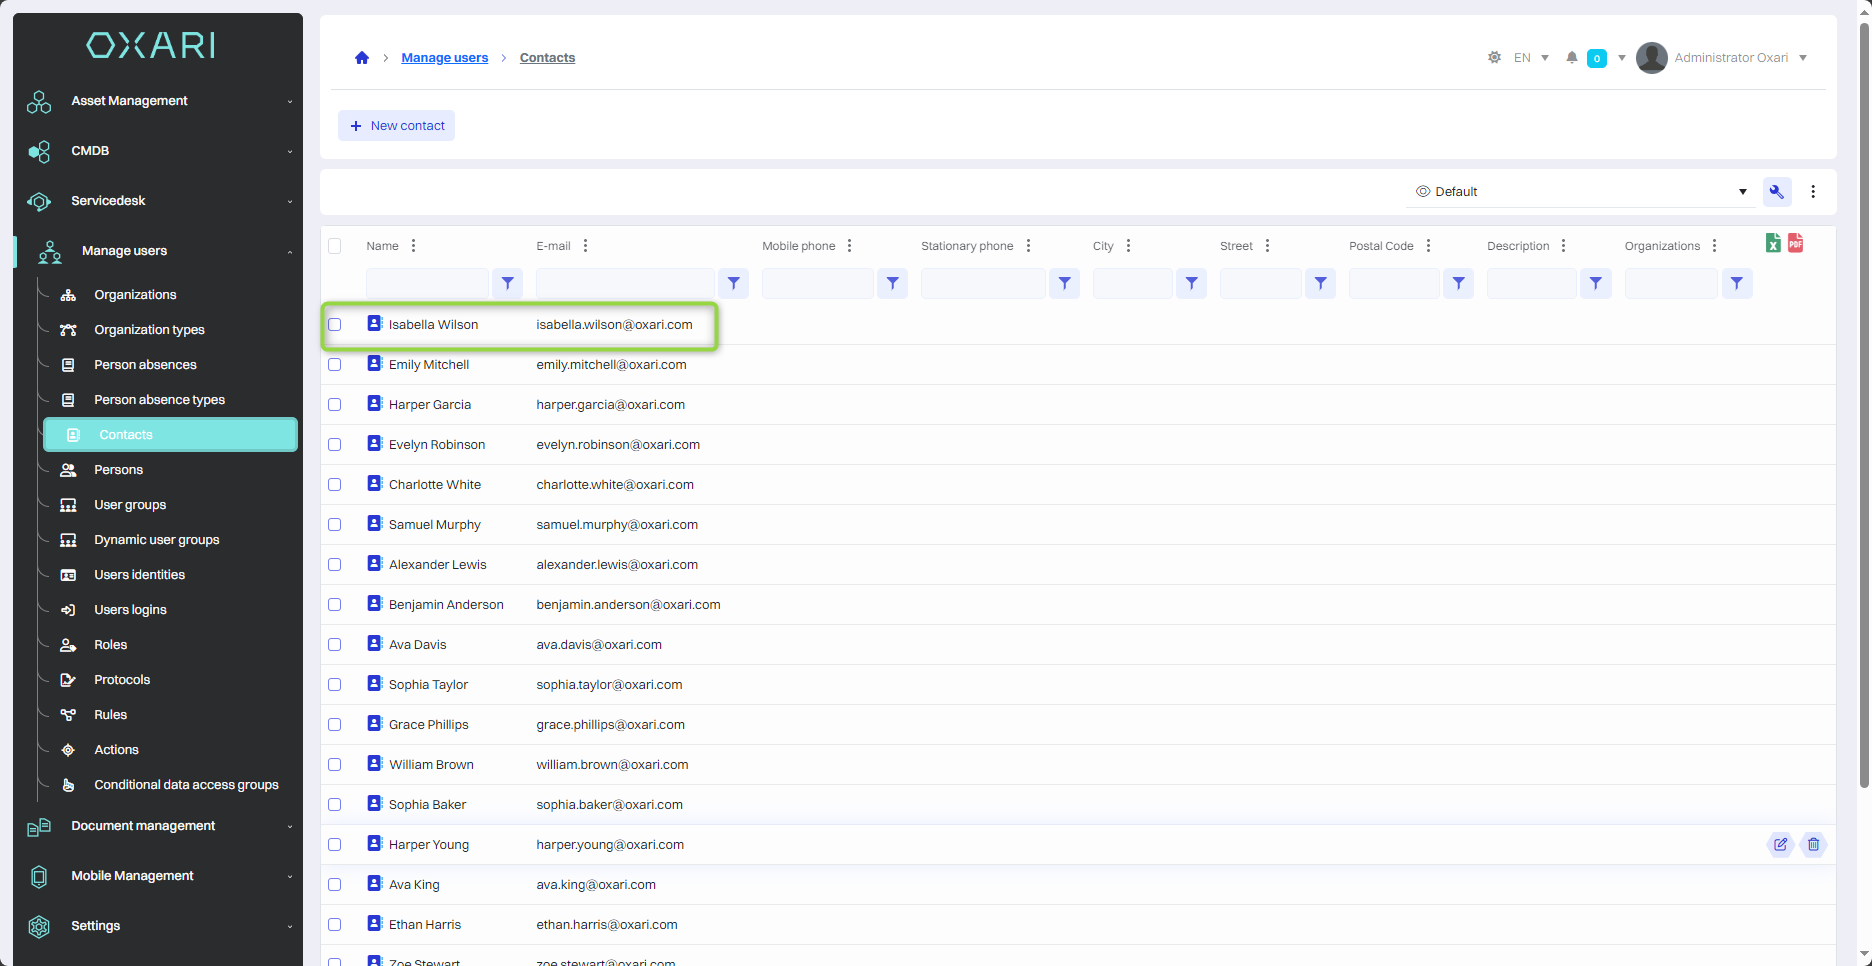
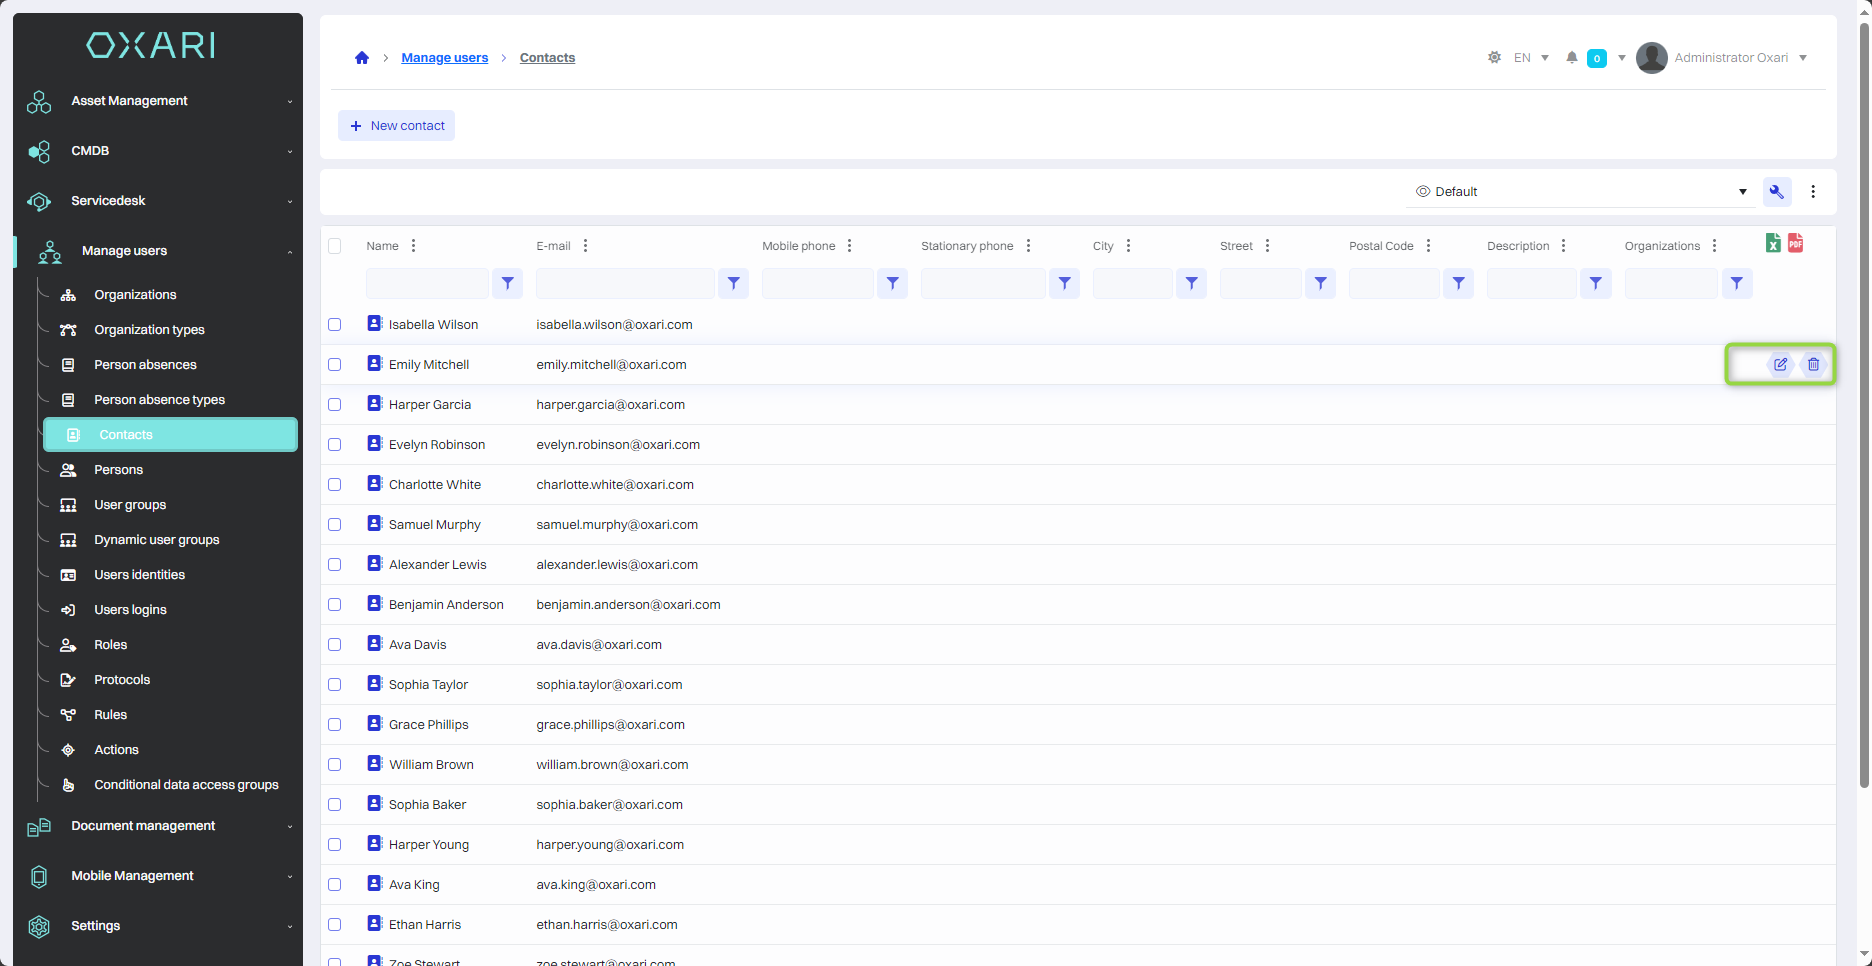
Editing/Deleting
To edit or delete contacts, go to User Management > Contacts. Hover over the desired contact. The edit/delete buttons will be displayed.
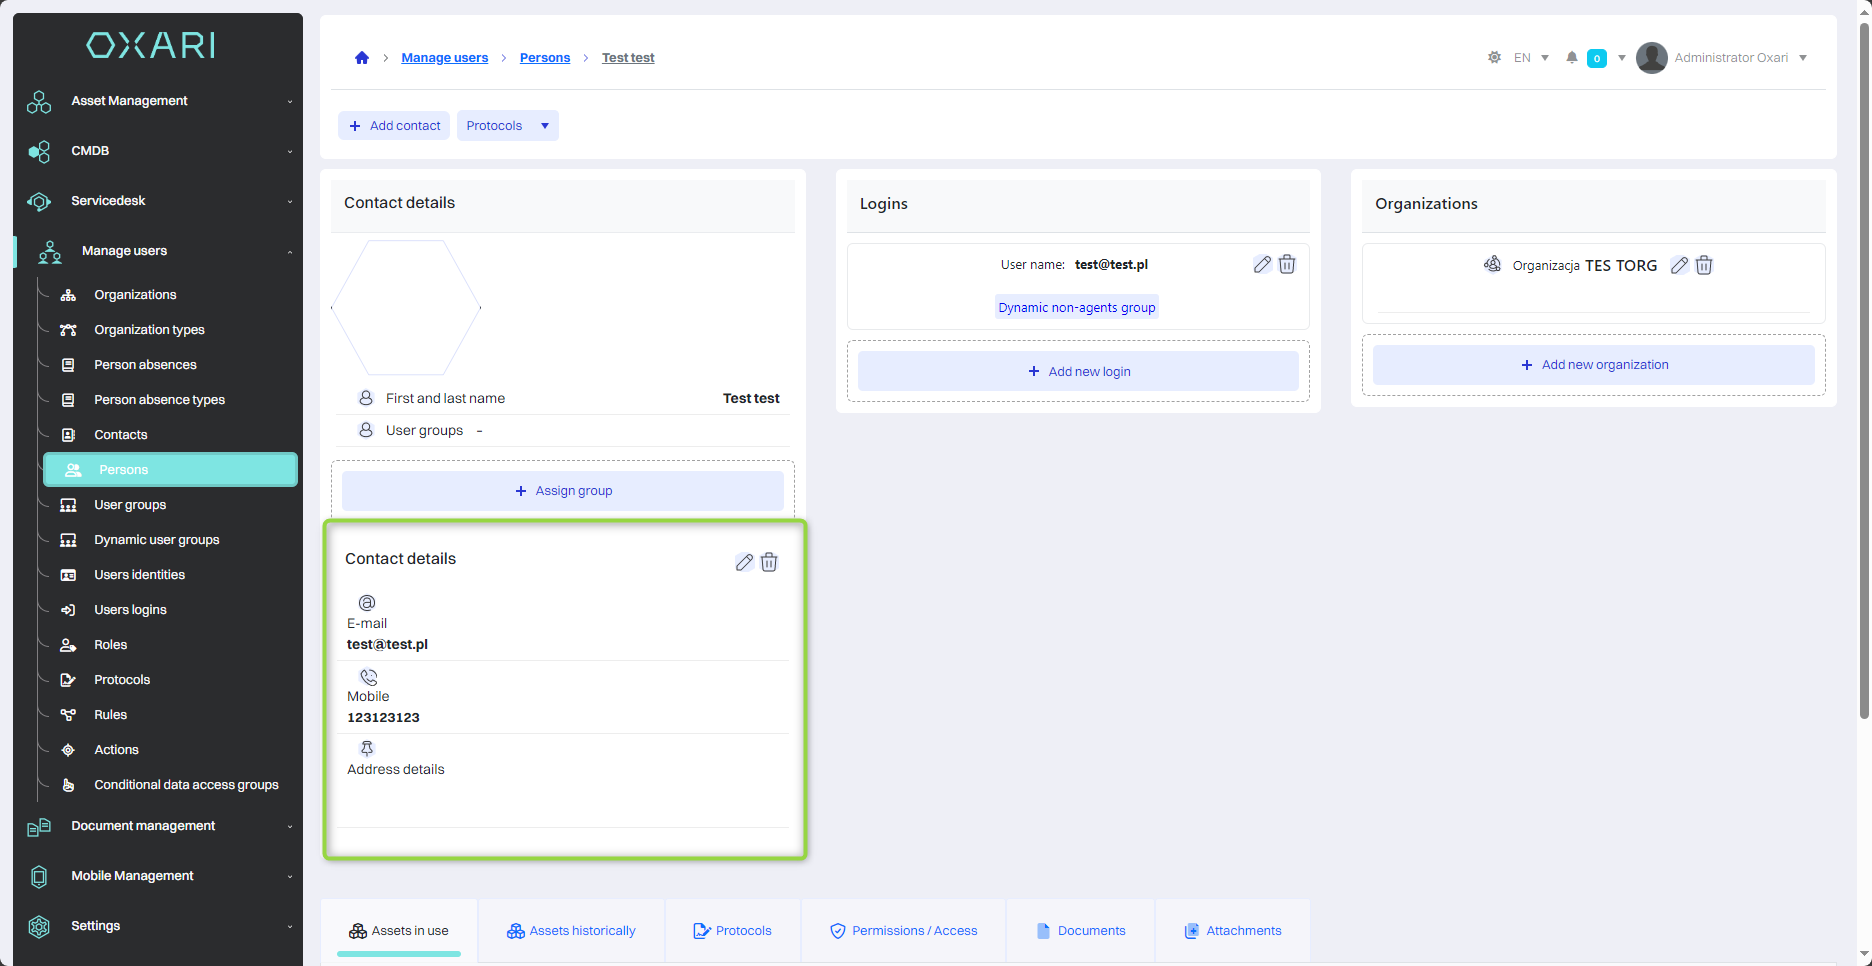
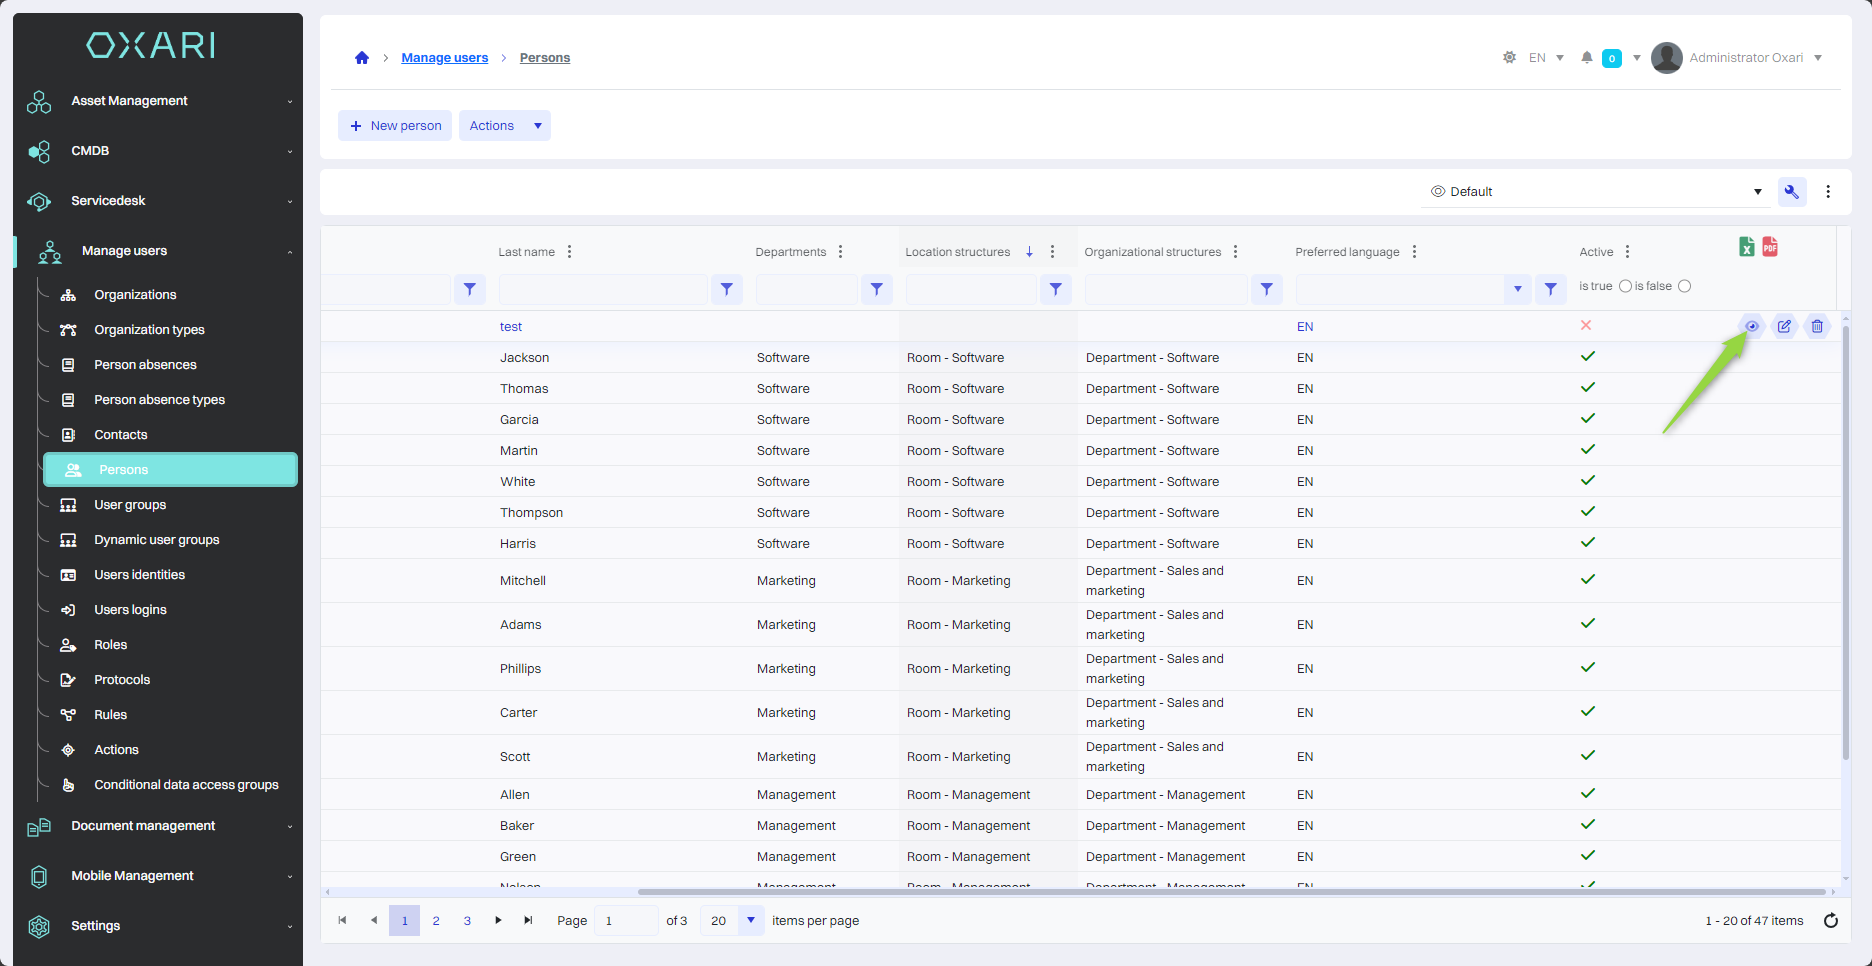
Assigning a contact to a person
To assign a contact to a person, go to User Management > Persons, and then enter the detail view of the desired person by clicking the "Details" button.
To configure individuals: Go >
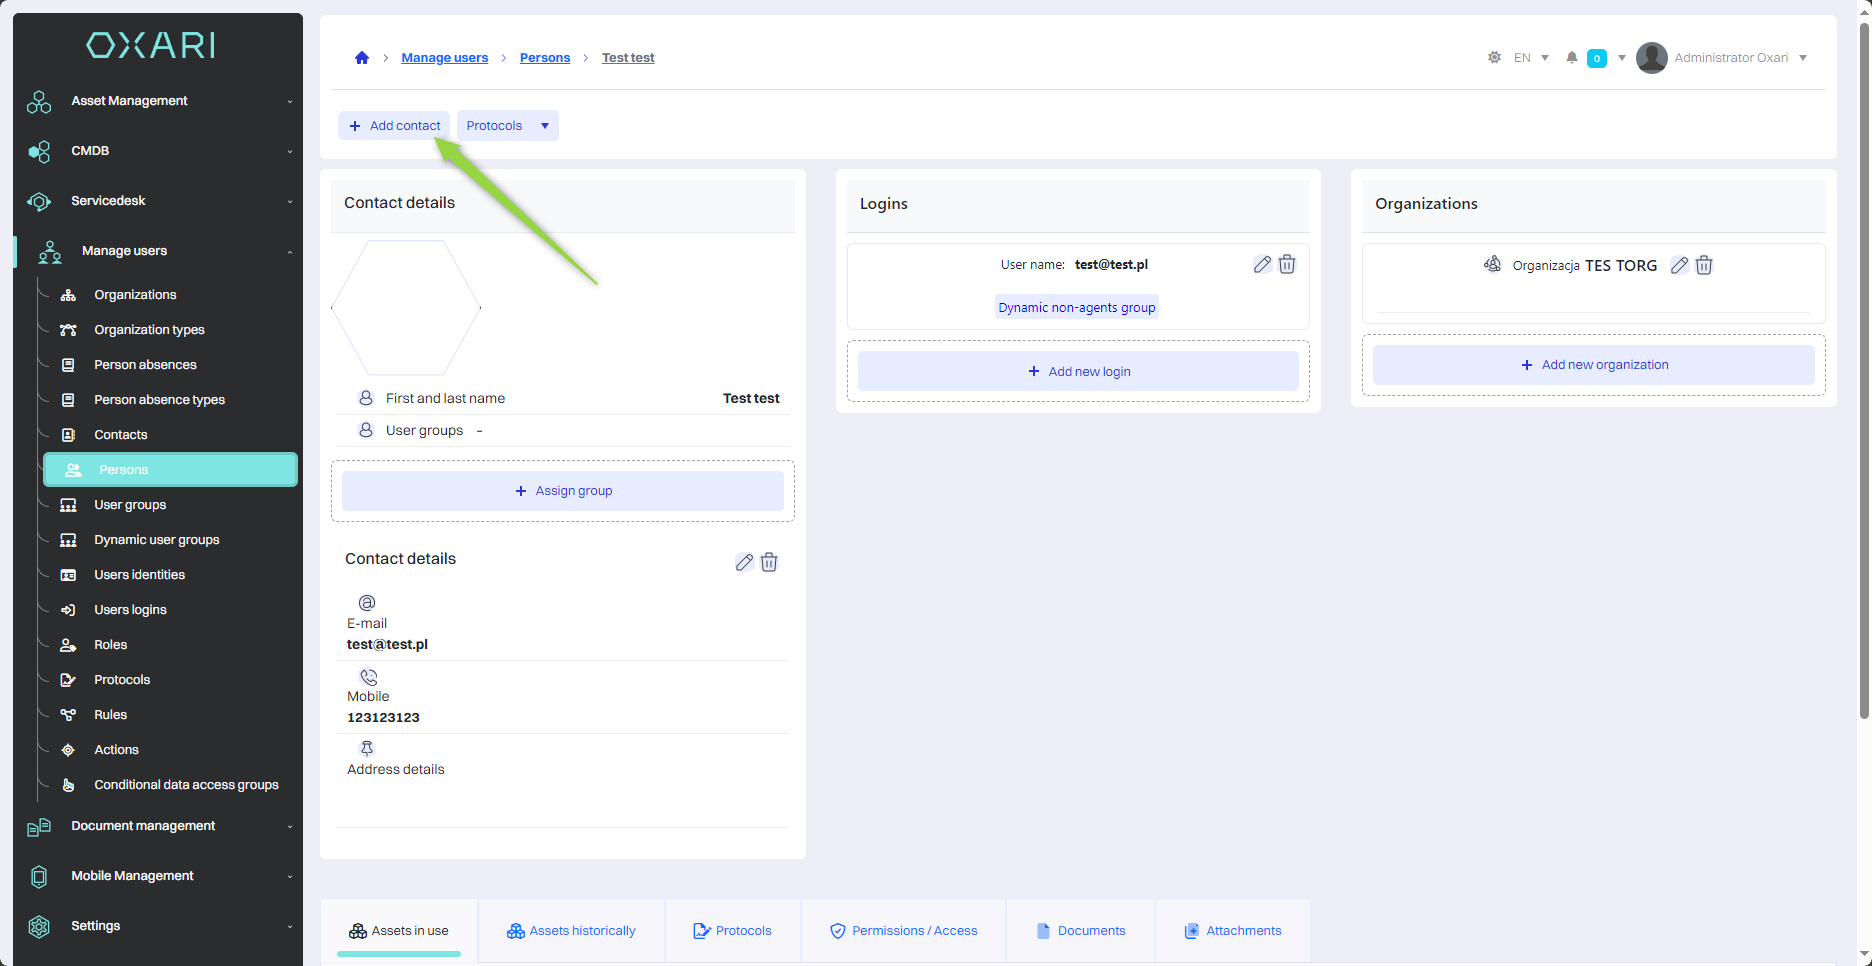
Then in the person's detail view, click the "Add Contact" button.
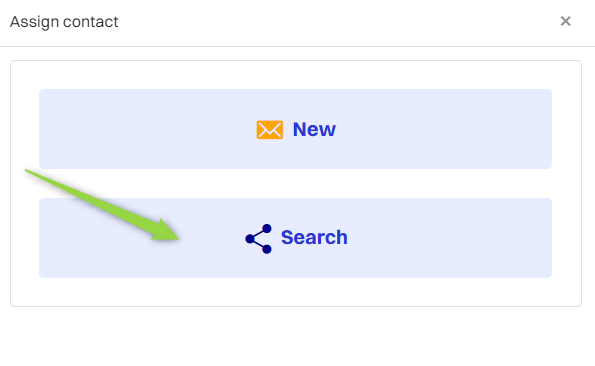
In this step, in the "Assign Contact" window, select the "Search" option.
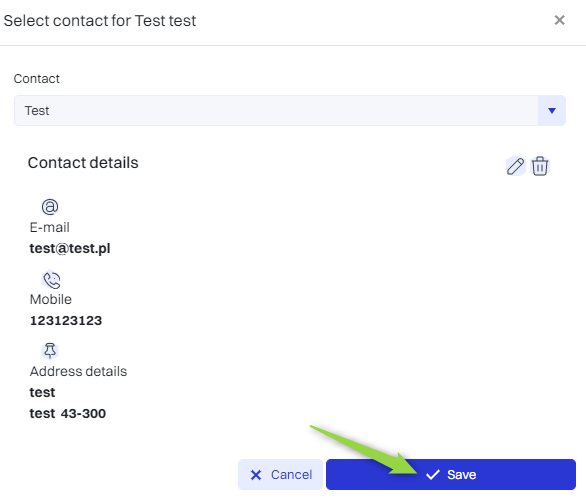
In this step, select the desired contact from the contact list and click the "Save" button.
The contact was added to the person: