OXARI's Service Level Agreement (SLA) definitions are sets of parameters that define the expected level of service that can be activated or deactivated. They allow you to set response times, resolution of tickets, expressed in days, hours and minutes, as well as to choose a work schedule that will affect the duration of the SLA. These definitions are used to create personalized SLAs, which are later assigned to tickets to monitor the performance of service commitments.
More about schedules: Go >
More about SLAs: Go >
New SLA definition
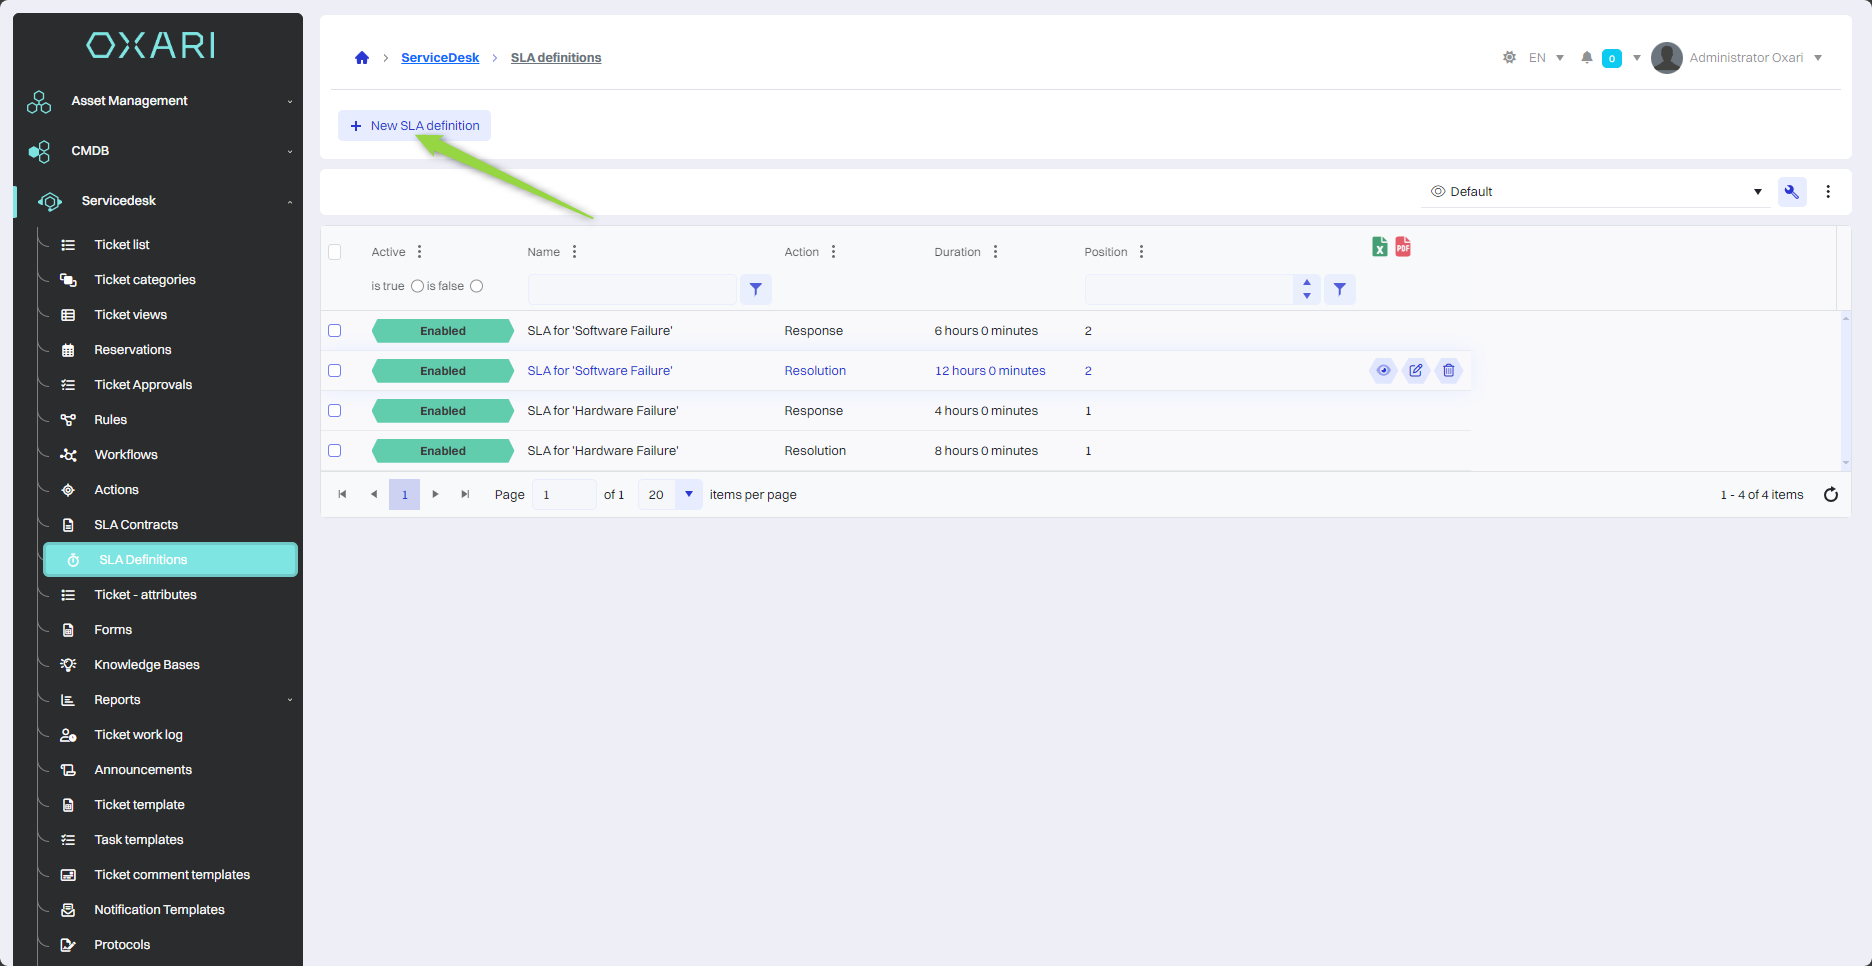
To add a new SLA definition, go to Servicedesk > SLA definitions, then click the “New SLA definition” button.
Next, the “New SLA definition” window contains the items:
|
1 |
Active - A checkbox for whether the definition should be active. |
|
2 |
Name - A field to enter the name of the SLA definition, which should reflect the nature of the agreement, such as call response time. |
|
3 |
Action - Selects the action associated with the SLA, selectable as “Response” or “Resolution.” |
|
4 |
Schedule - Settings for the schedule, or working hours, that will be taken into account when measuring SLA time. To configure the schedule: Go > |
|
5 |
Duration - Define the SLA duration, which determines the maximum time to perform the declared action. |
|
6 |
Description - A place to provide information about the SLA definition, its application and details. |
|
7 |
Position - Can specify its priority or order of application. |
Fill in the desired fields and click the “Save” button.

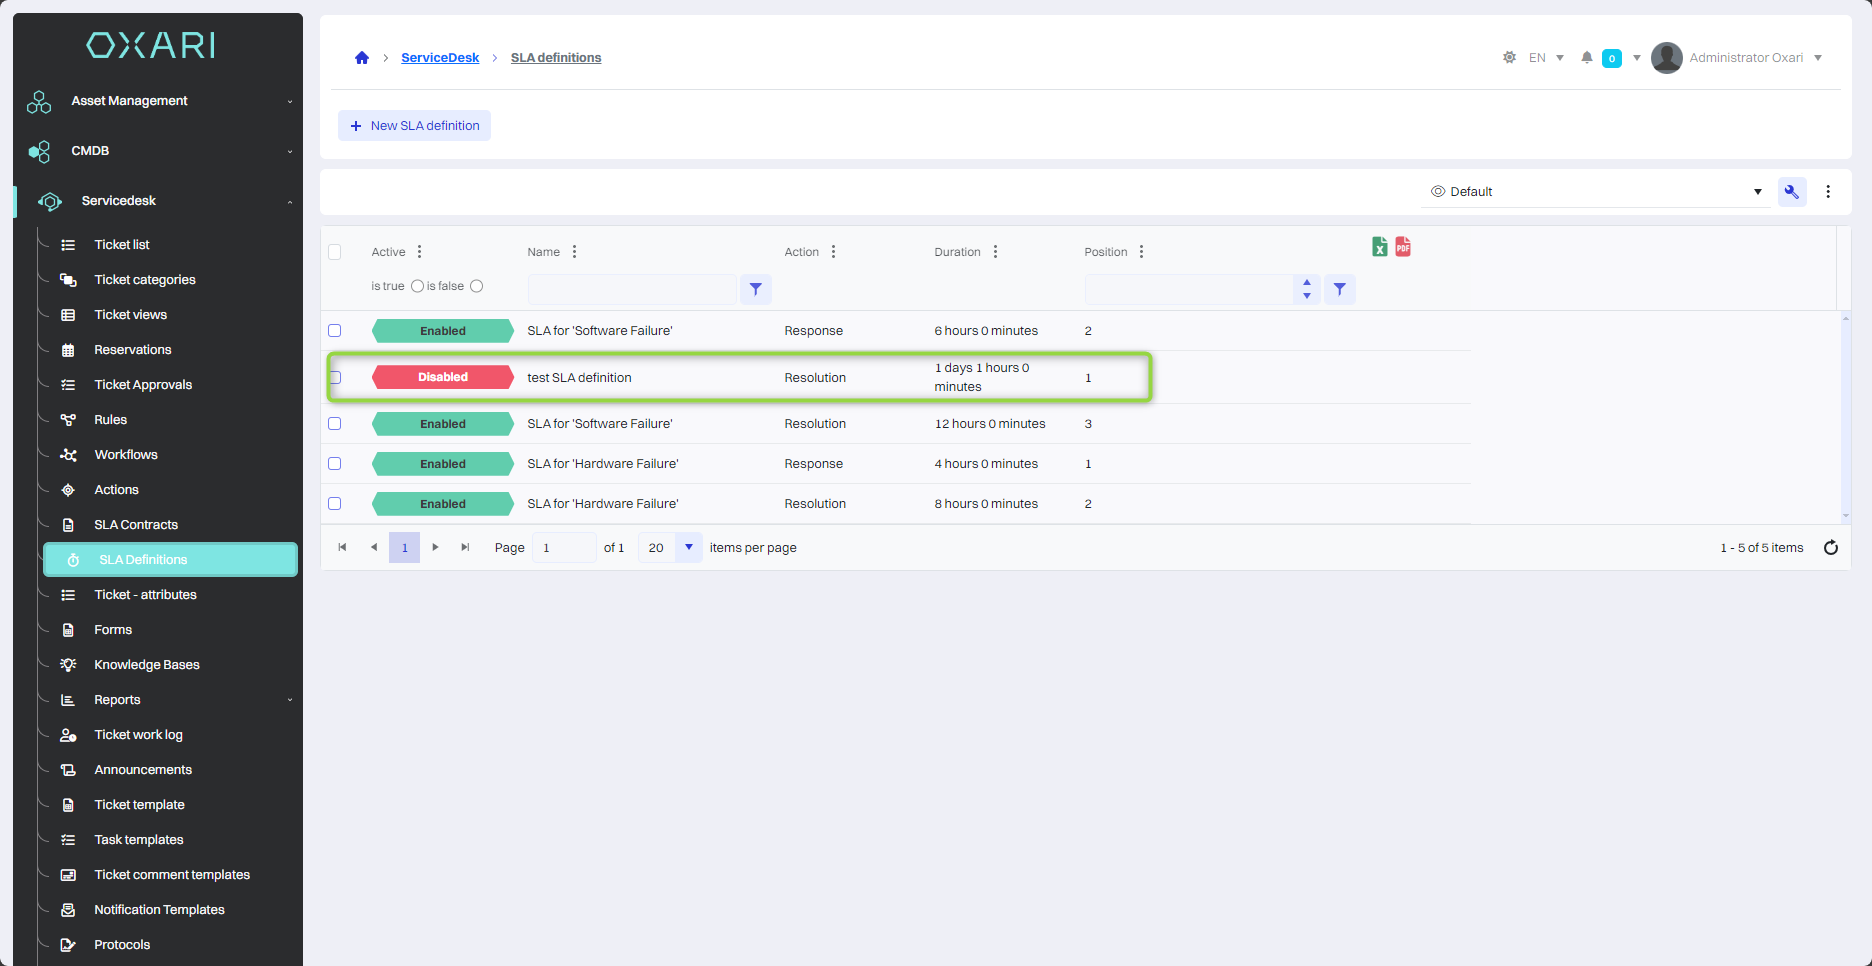
The SLA definition is created.
Editing the SLA definition
To configure the definitions, configure SLA (Service Level Agreement) definitions involves establishing the life cycle of a ticket by specifying conditions such as start, pause, stop and reset. By selecting specific SLA conditions, such as category, status or priority of the ticket, you decide when and how the SLA will be started, paused, stopped or reset, thus ensuring that the services provided are fully compliant with the expectations and obligations set forth in the SLA.
For more on SLAs, Go >
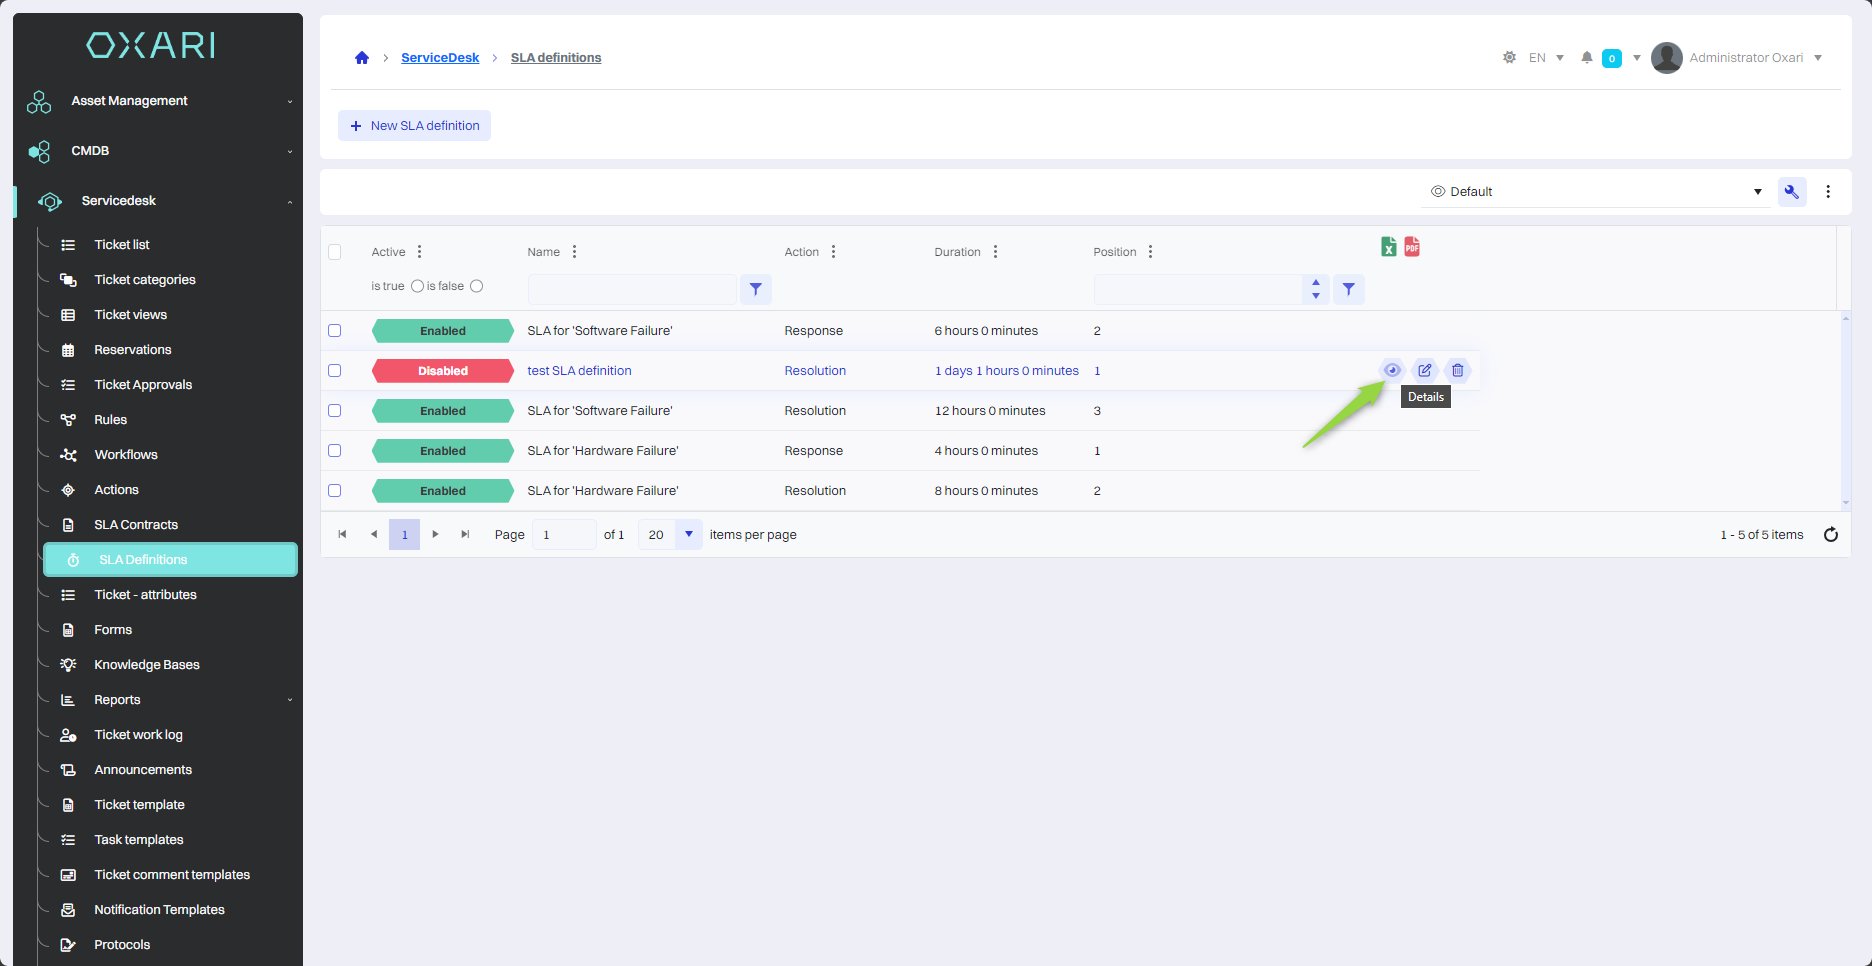
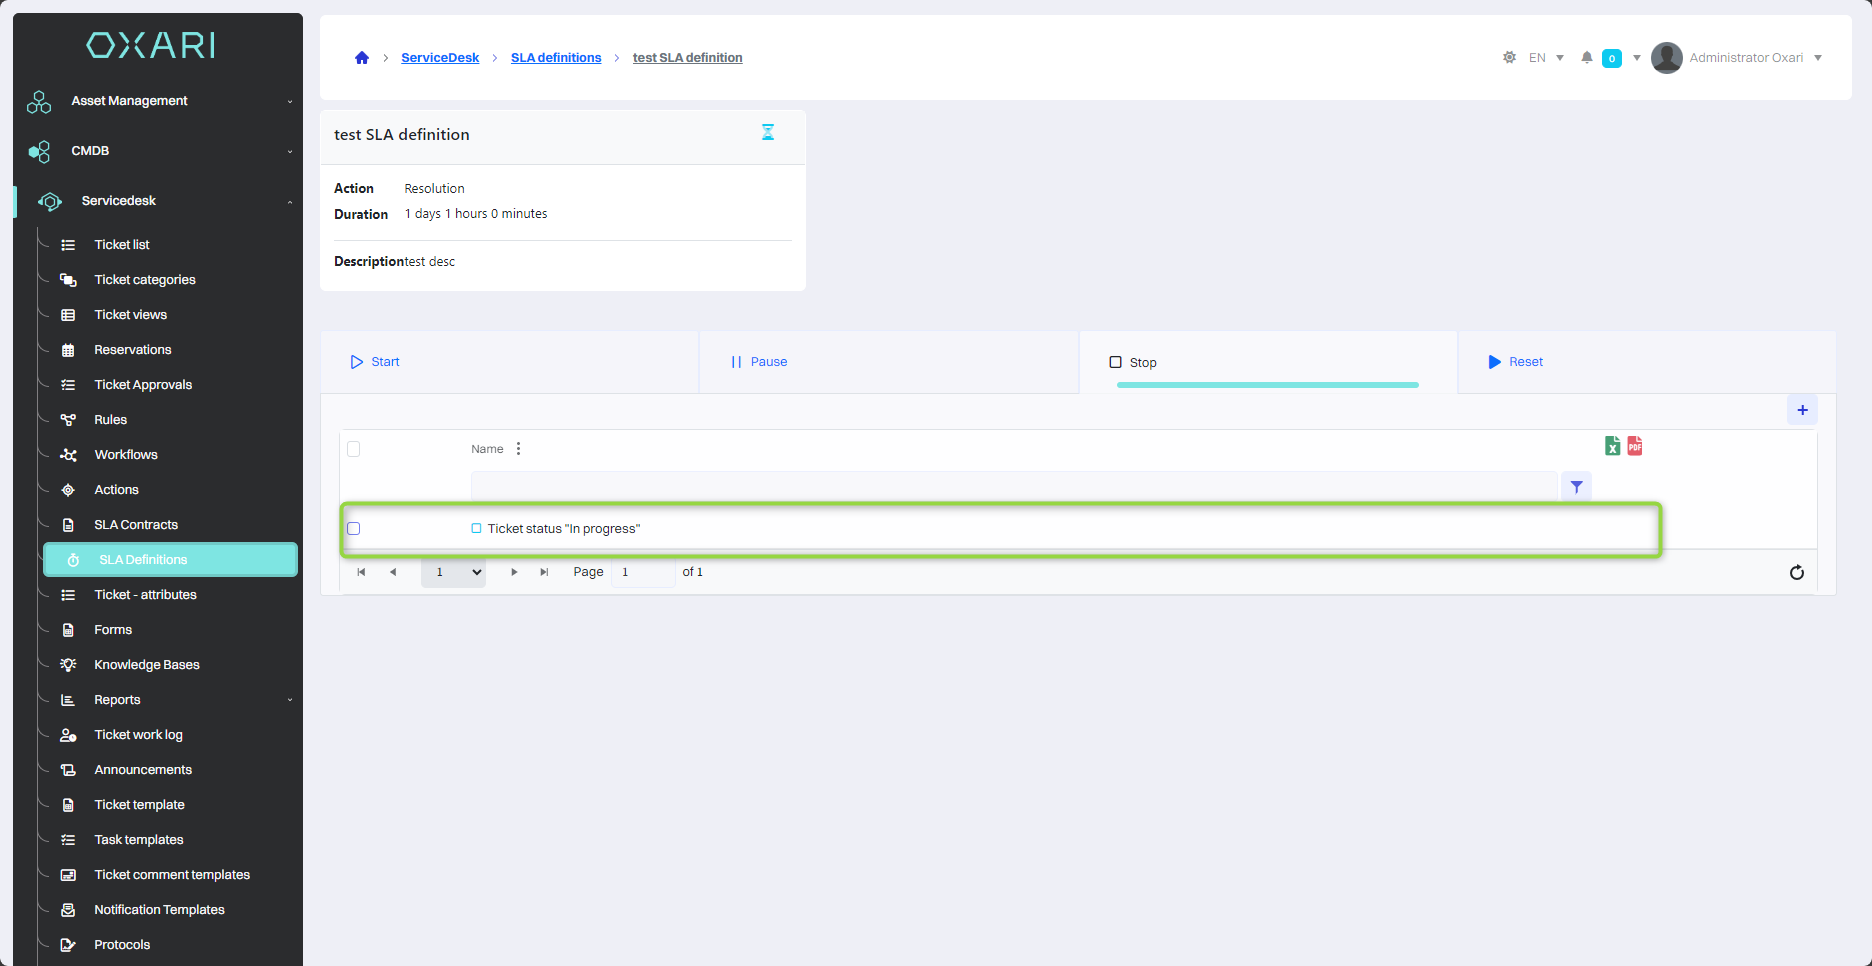
Go to Servicedesk > SLA definitions, then click the “Details” button, next to the desired SLA definition.
Adding a start condition
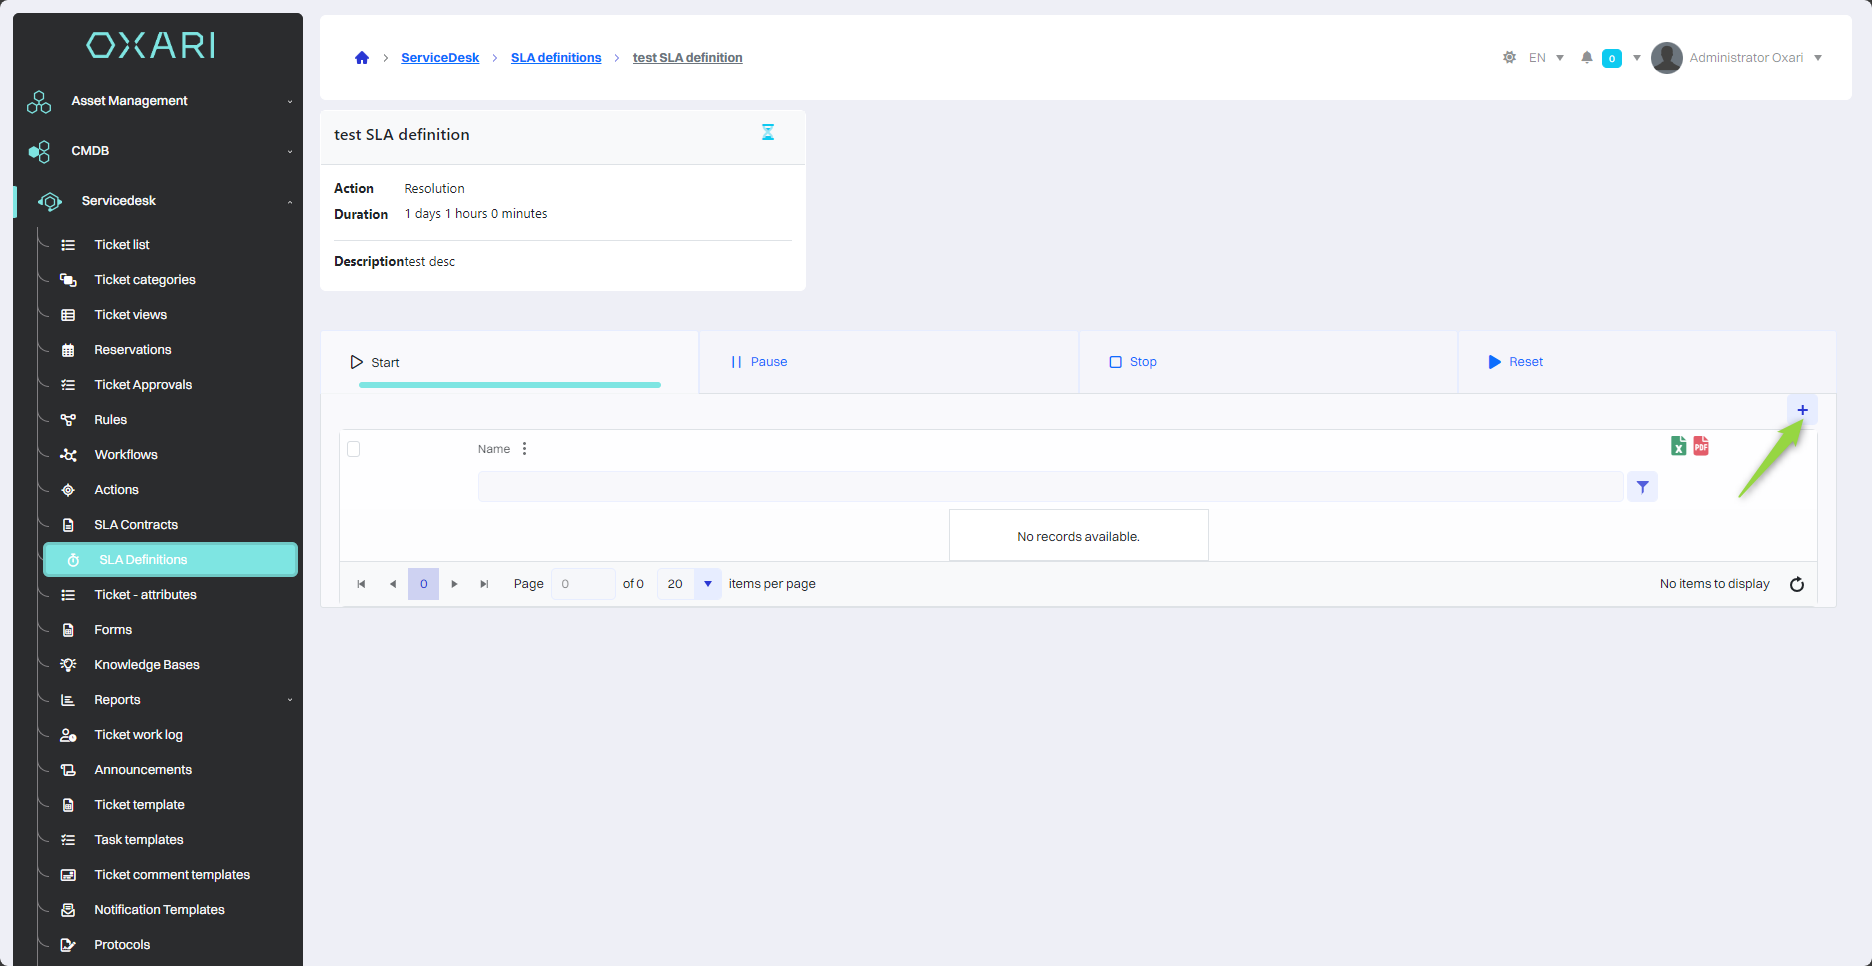
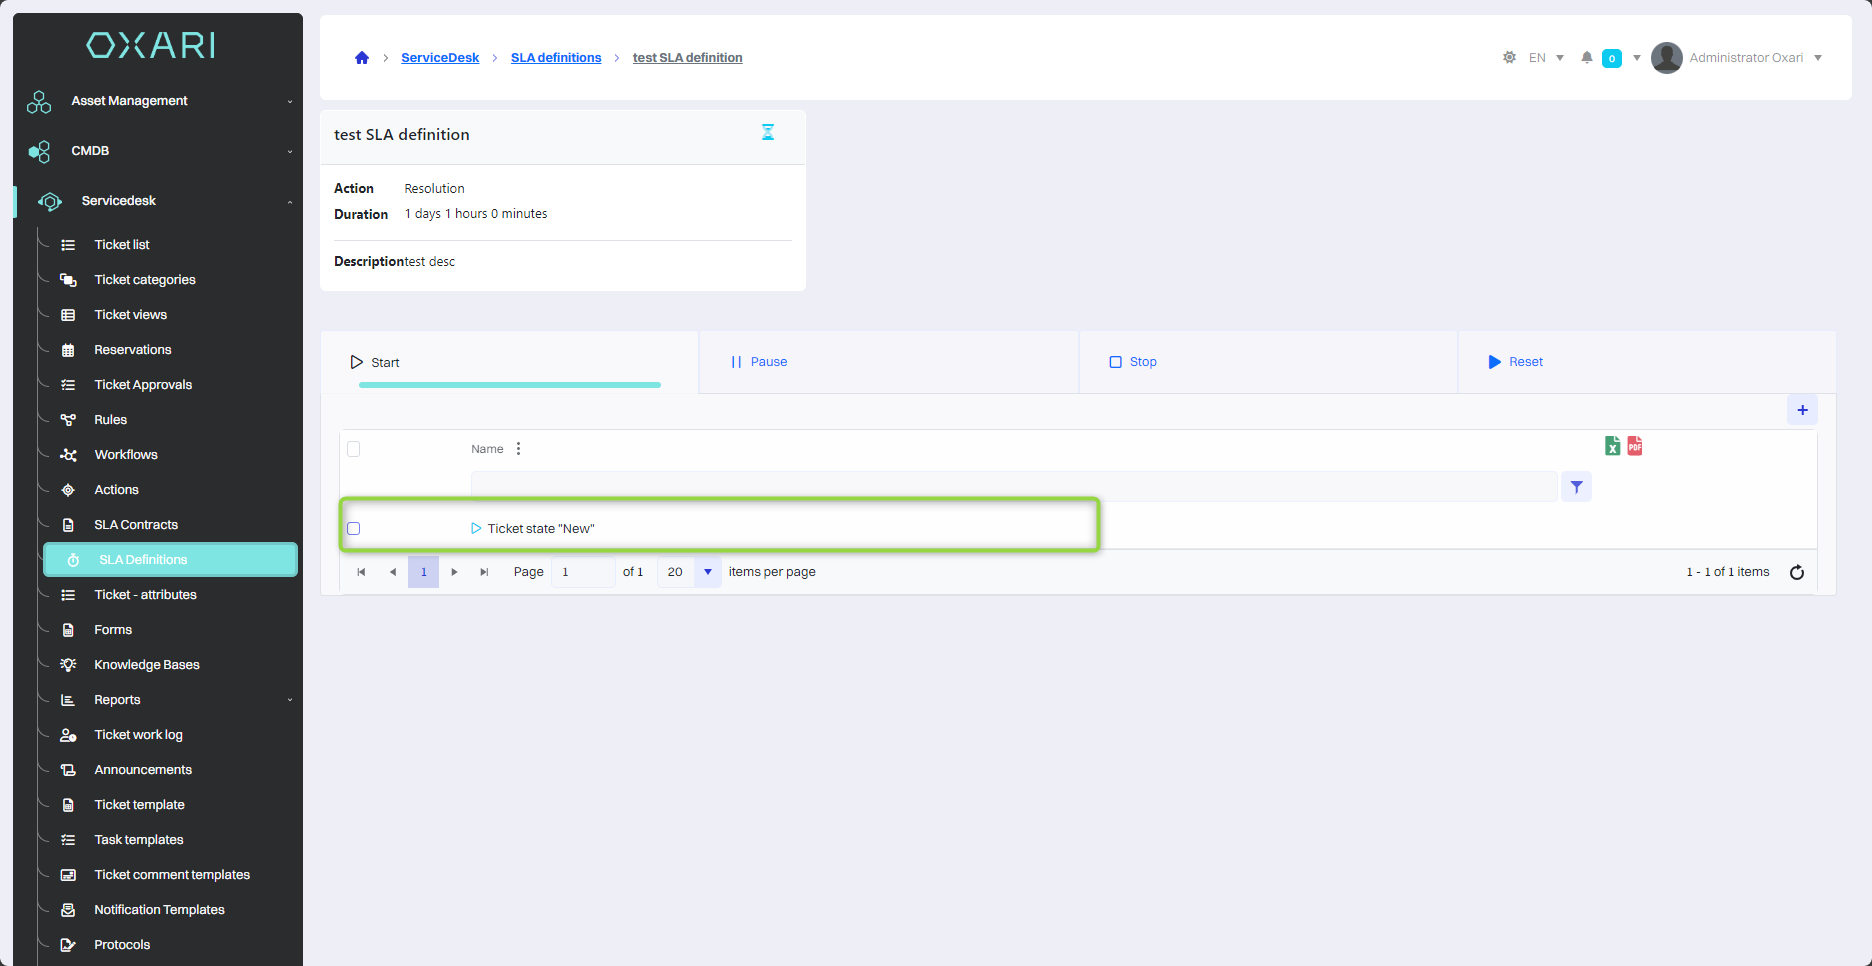
Next, in the Details view, to configure the SLA definition, click the “+” button to add a condition to a particular tab, in this case “Start”.
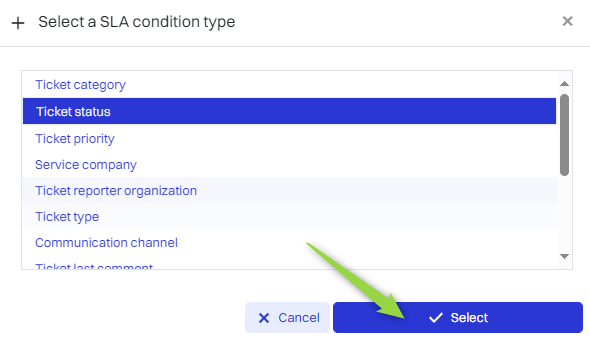
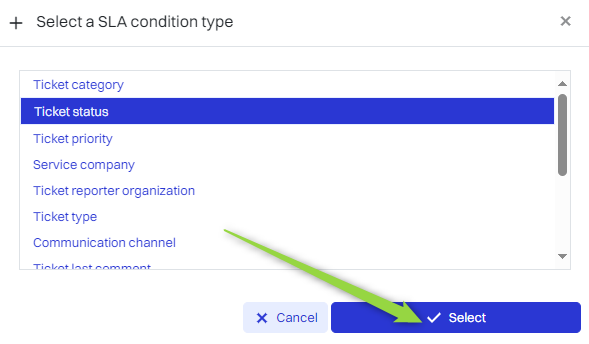
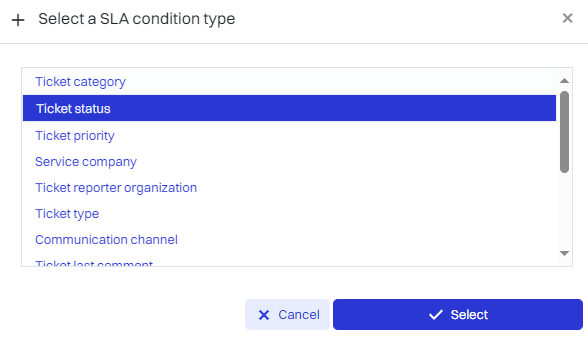
Next, in the “Select SLA condition type” window, select the desired condition and click the “Select” button.
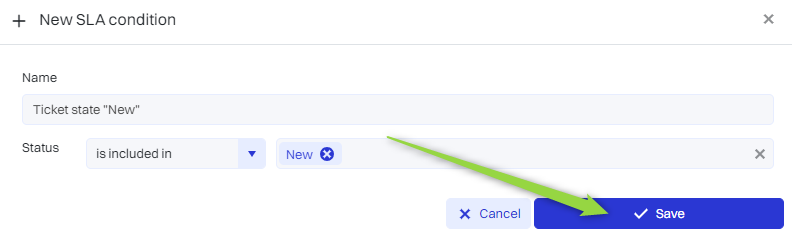
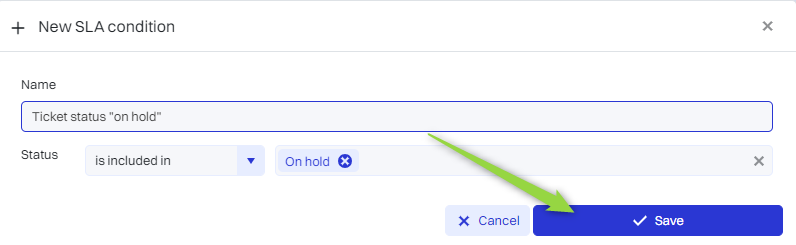
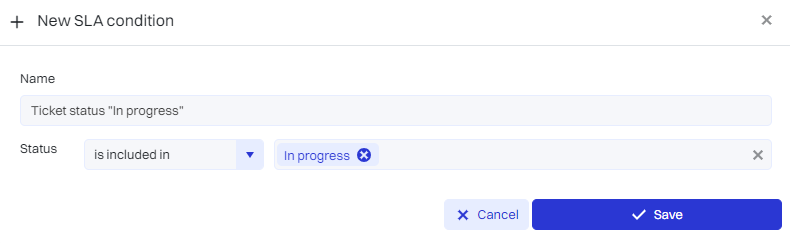
In this step, in the “New SLA condition” window, name the condition and select the status of the request, in this case it will be “New”, and then click the “Save” button.
The start condition has been added.
Adding a pause condition
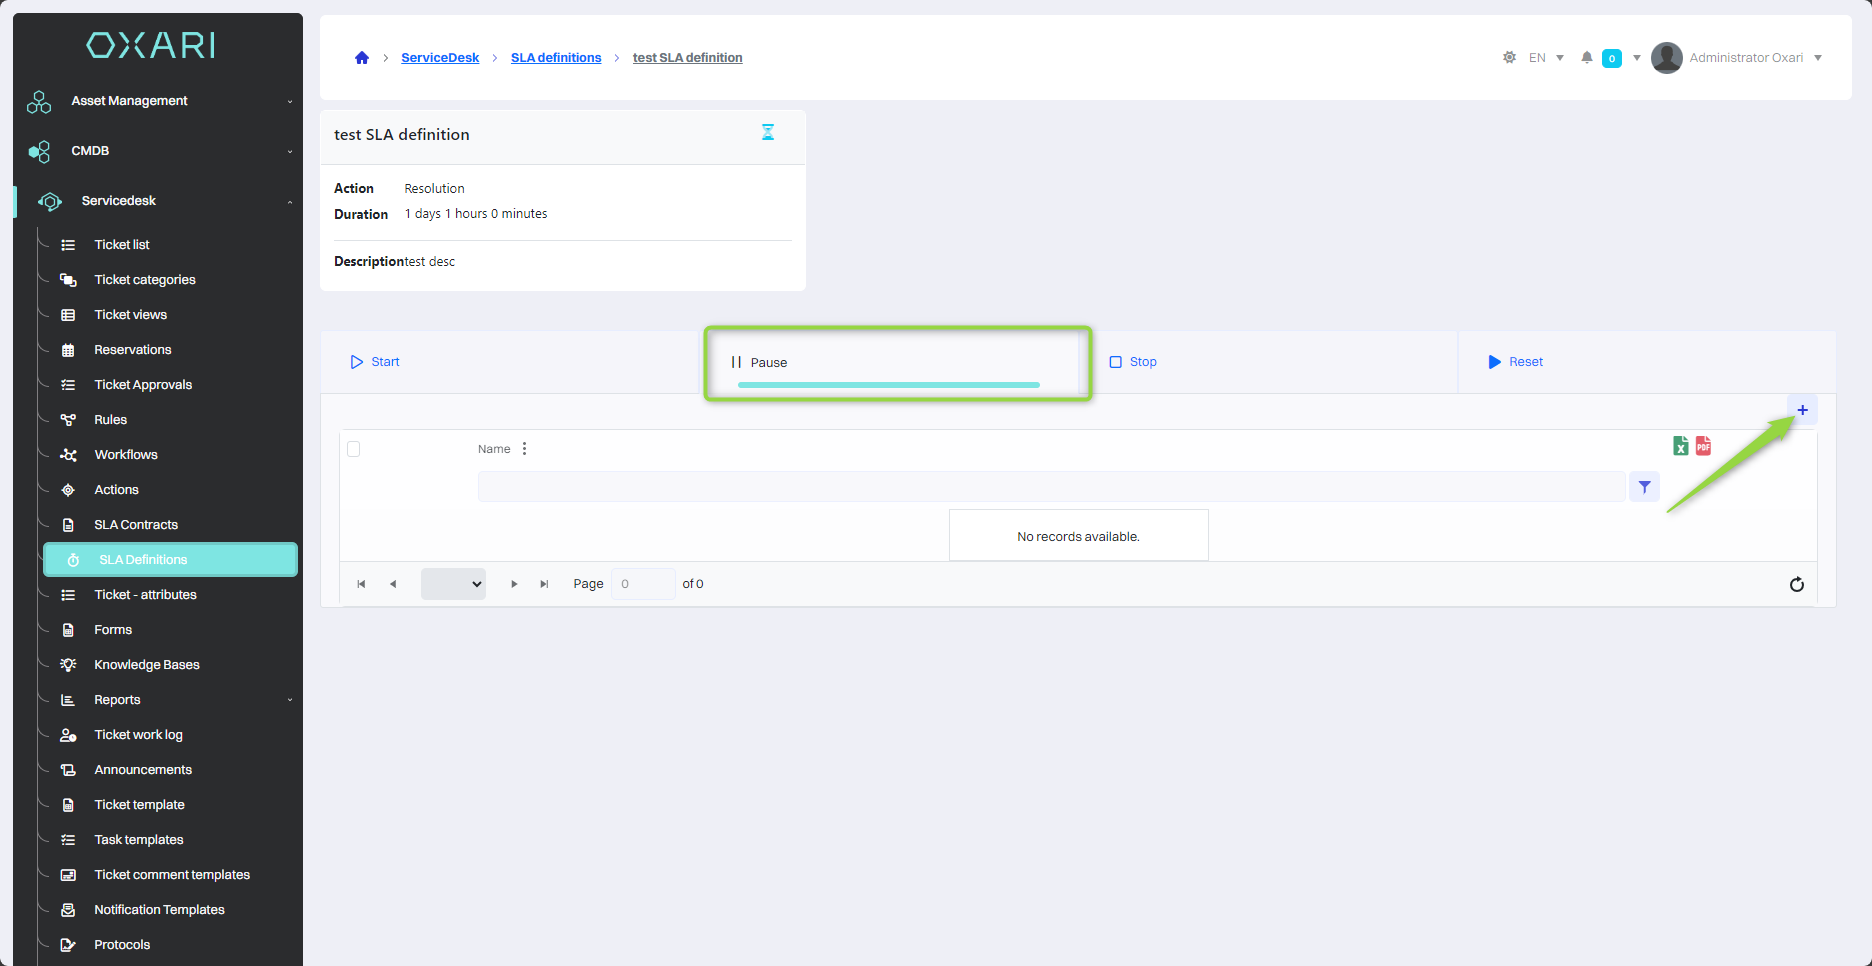
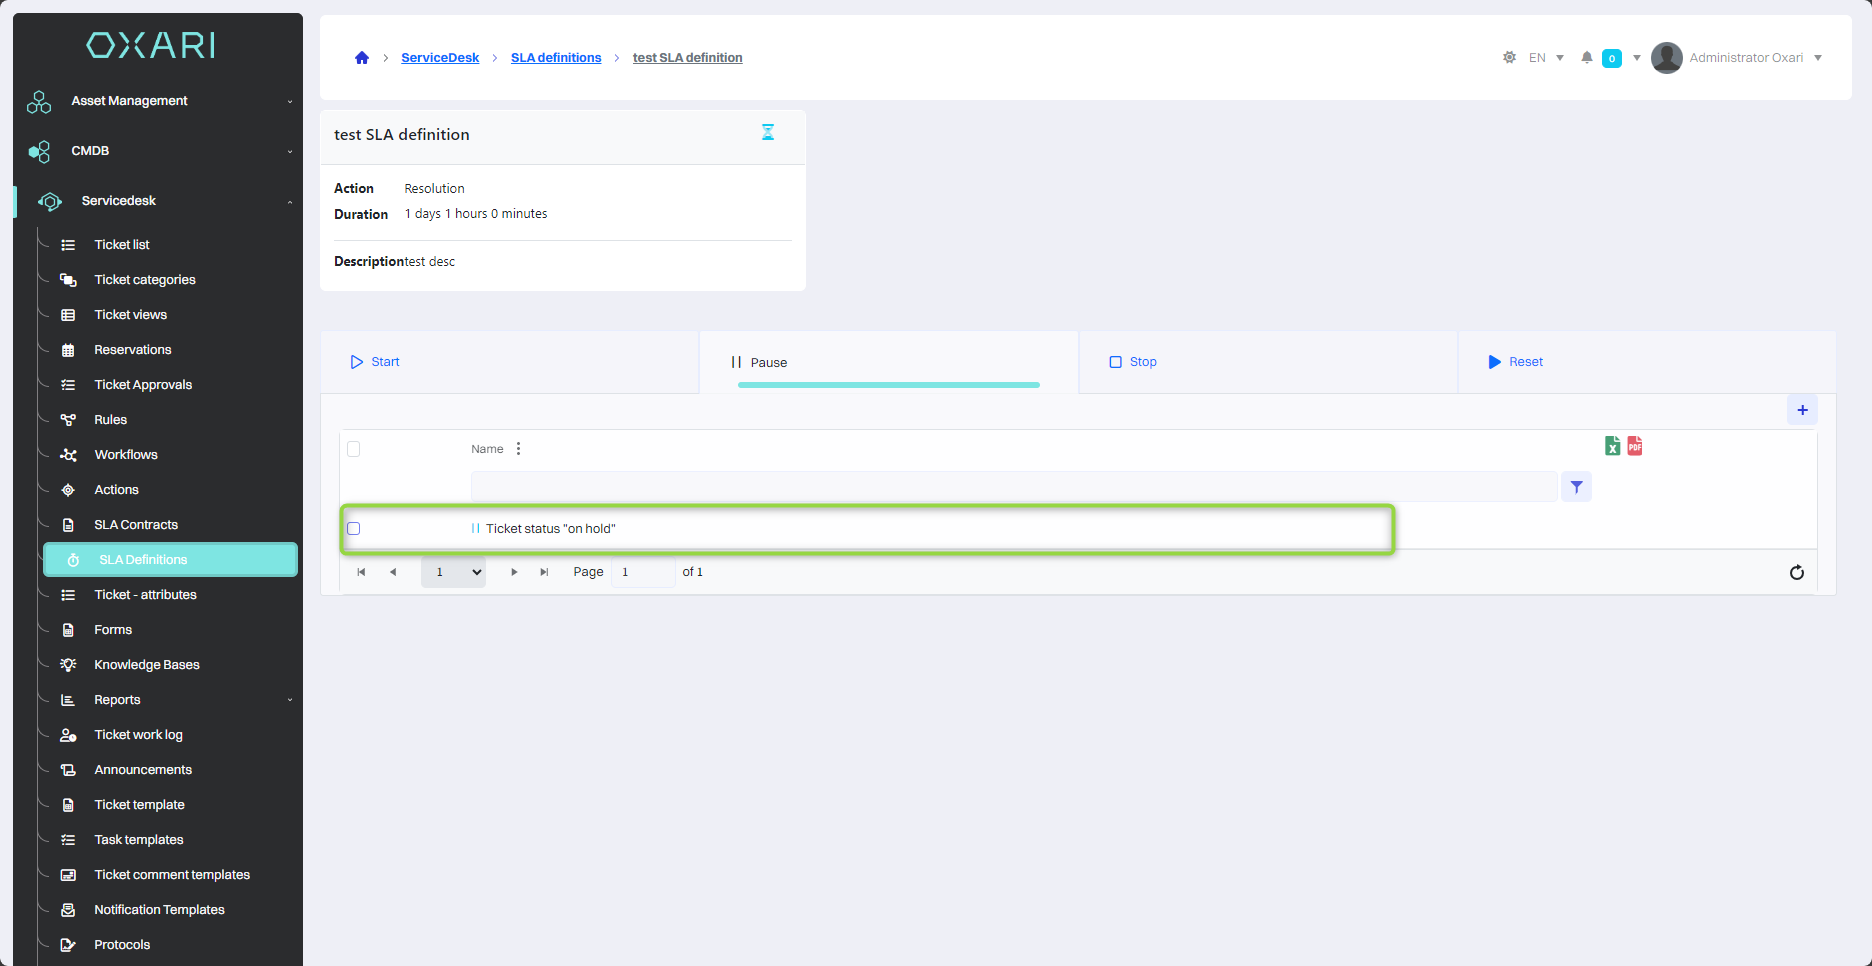
To add a pause condition, go to the “Pause” tab, and then click the “+” button to add the condition.
Next, in the “Select SLA condition type” window, select the desired condition and click the “Select” button.

In this step, in the “New SLA condition” window, name the condition and select the status of the request, in this case it will be “Suspended”, and then click the “Save” button.
The pause condition has been added.
Adding a stop condition
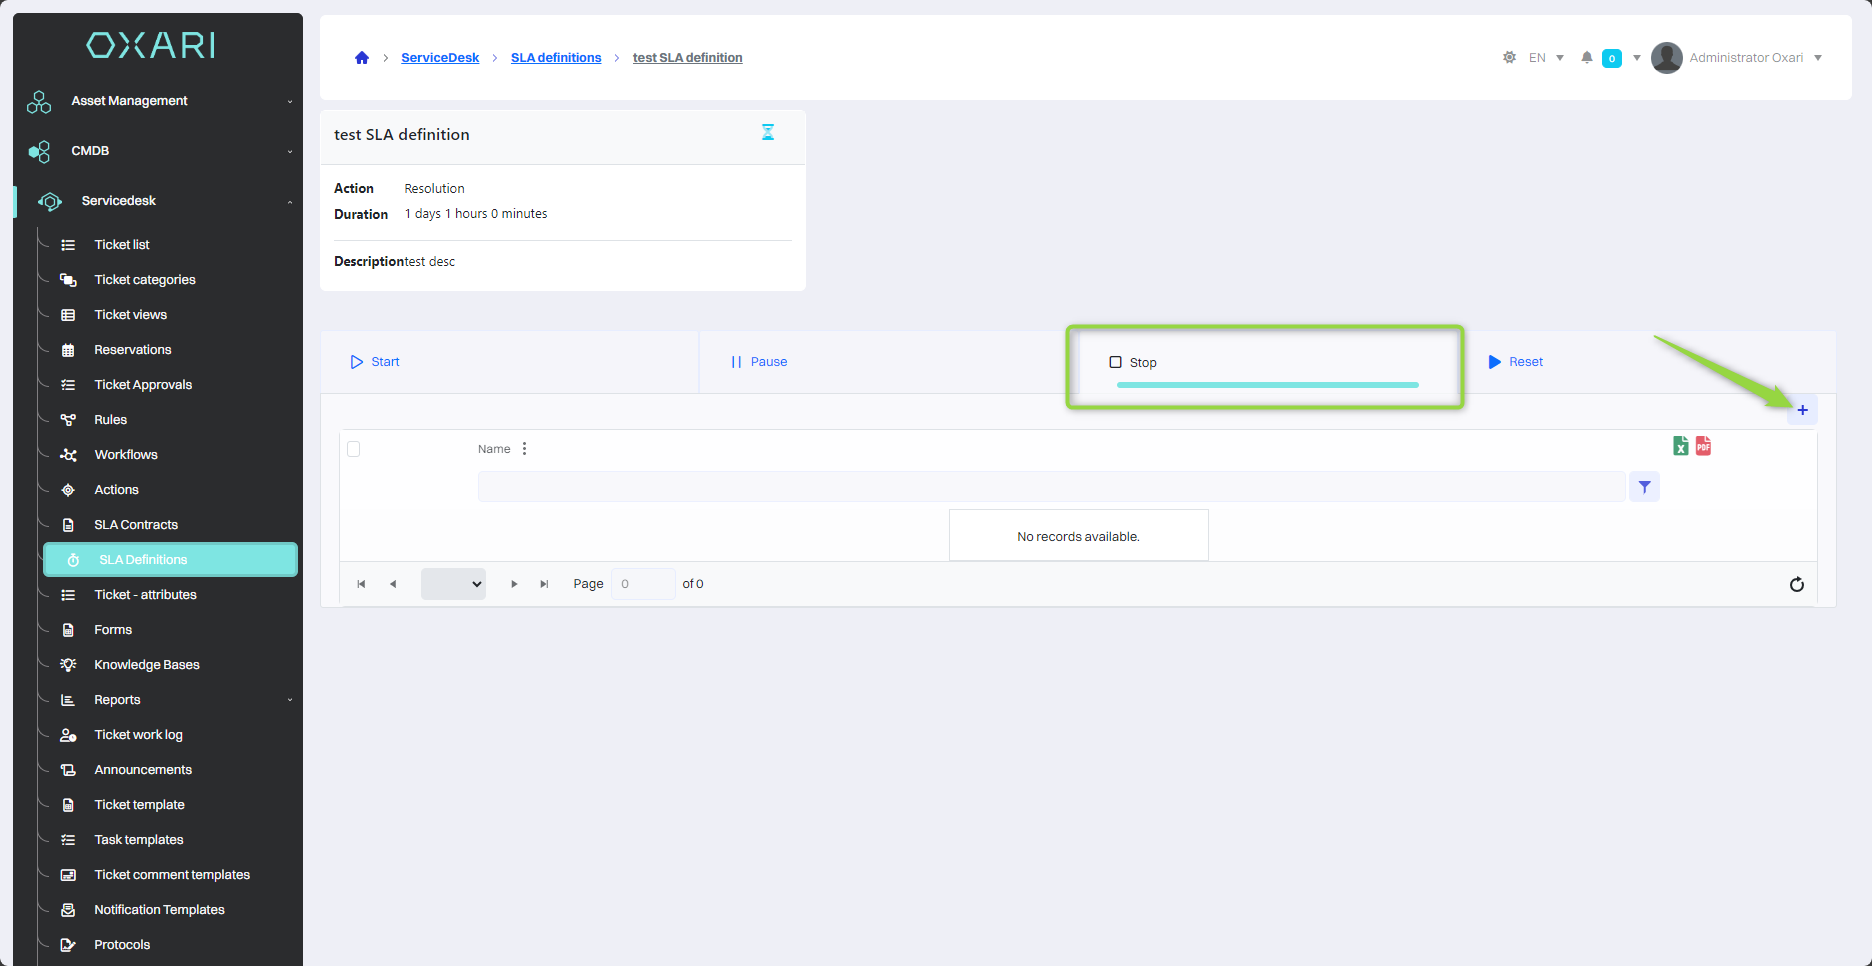
To add a stop condition, go to the “Stop” tab, and then click the “+” button to add the condition.
Next, in the “Select SLA condition type” window, select the desired condition and click the “Select” button.
In this step, in the “New SLA condition” window, name the condition and select the status of the request, in this case it will be “In progress”, and then click the “Save” button.
The stop condition has been added.
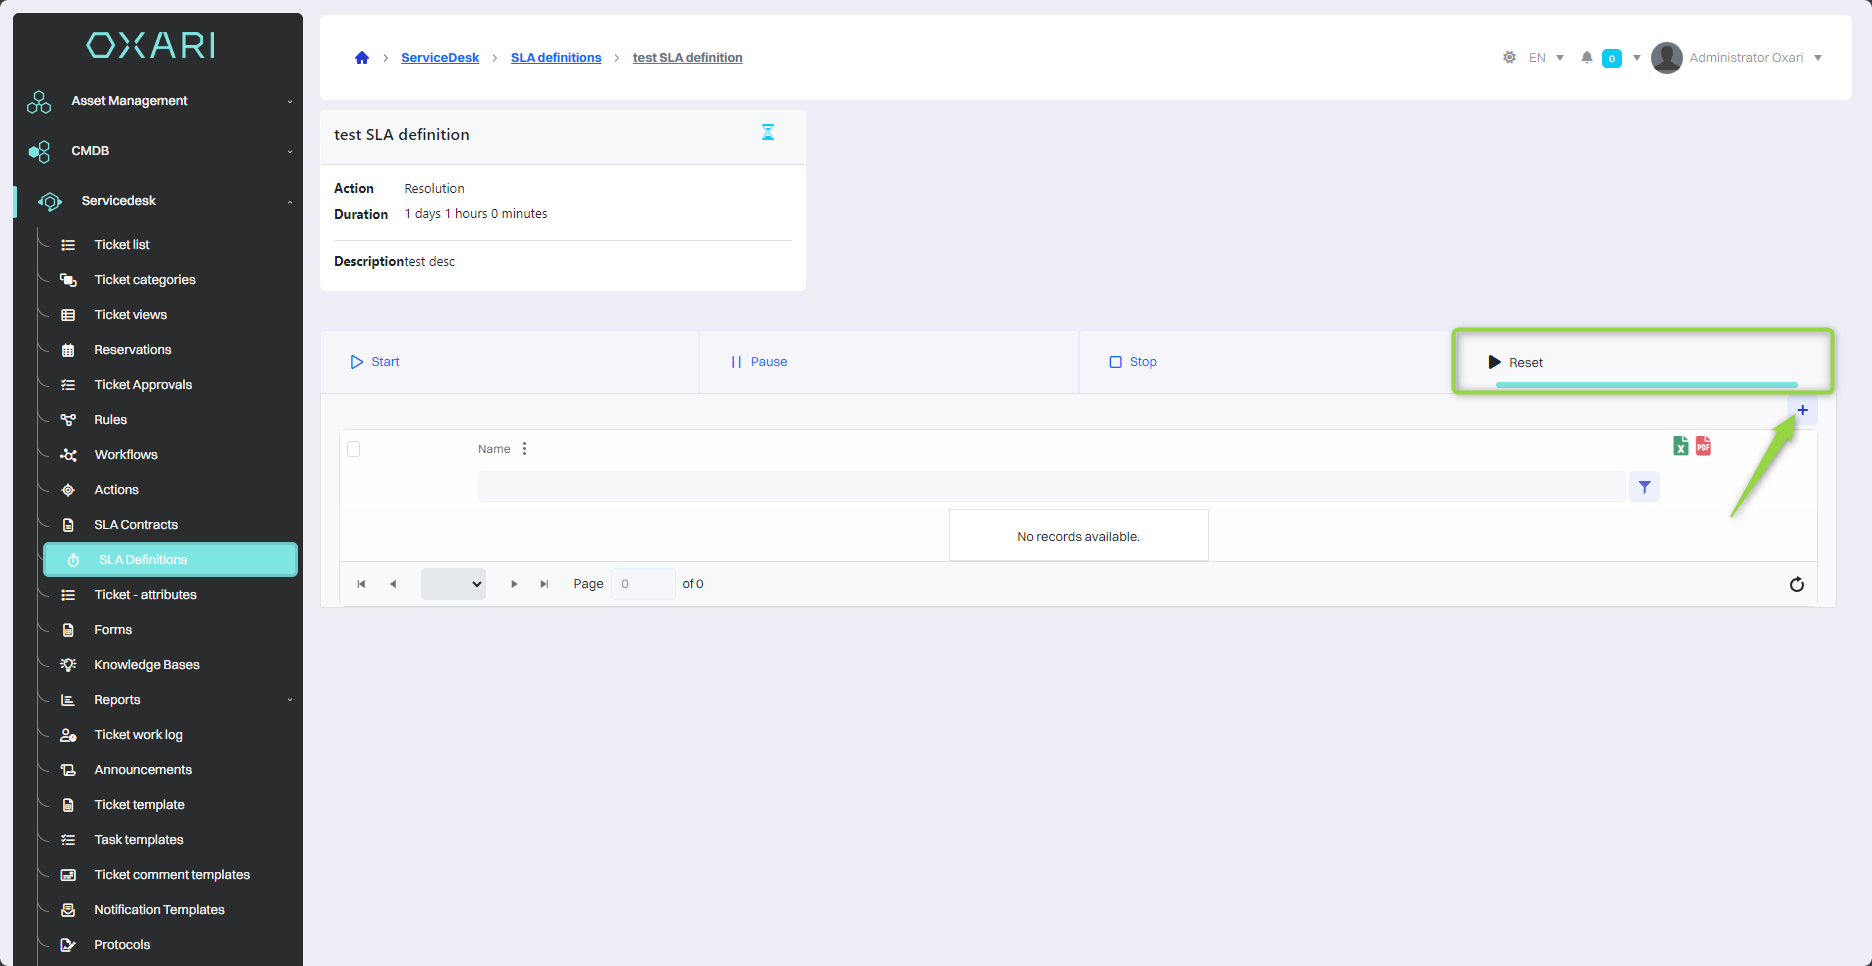
Adding a reset condition
To add a stop condition, go to the “Reset” tab, and then click the “+” button to add the condition.
Next, in the “Select SLA condition type” window, select the desired condition and click the “Select” button.
In this step, in the “New SLA condition” window, name the condition and select the status of the request, in this case it will be “Resumed”, and then click the “Save” button.
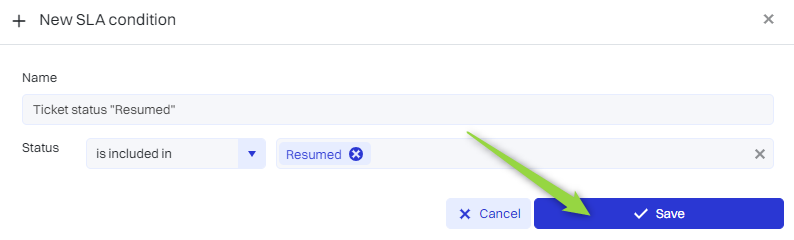
The reset condition has been added.

Editing/Deleting a condition in the SLA definition
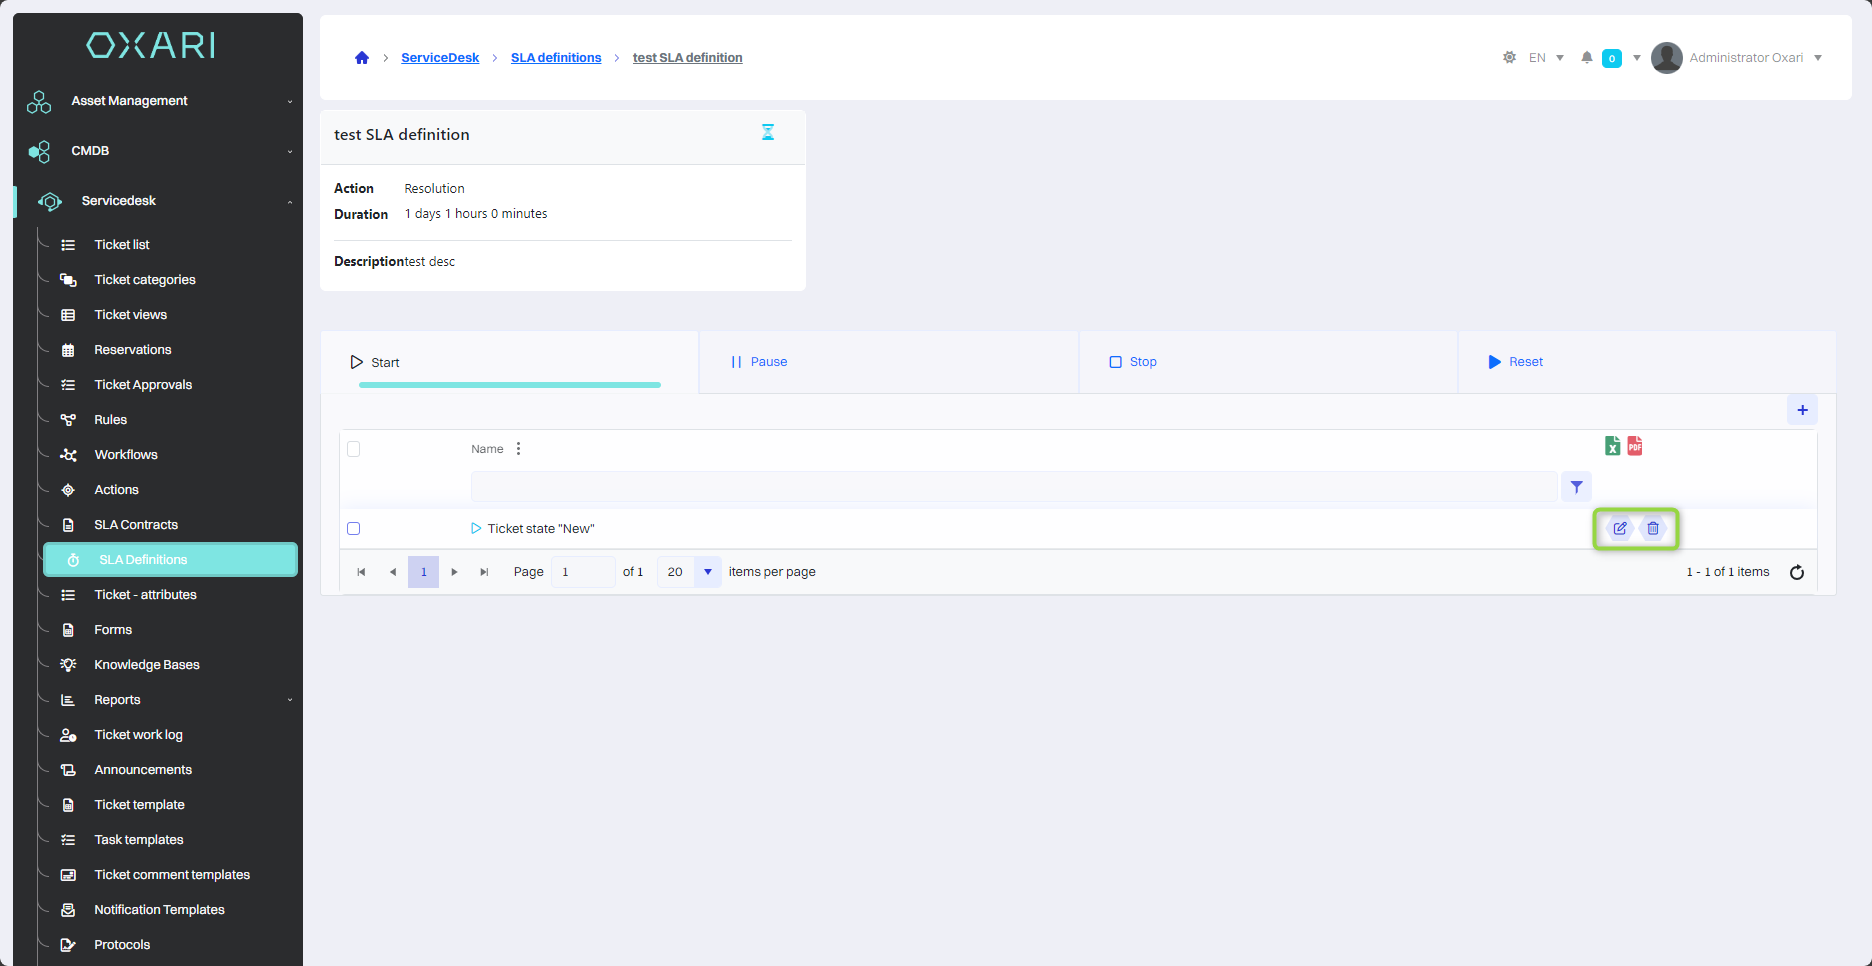
To edit/remove a condition, go to Servicedesk > SLA definitions, then click the “Details” button next to the desired SLA definition.

Then in the detail view, hover over the desired condition, buttons for editing/deleting the condition will appear.
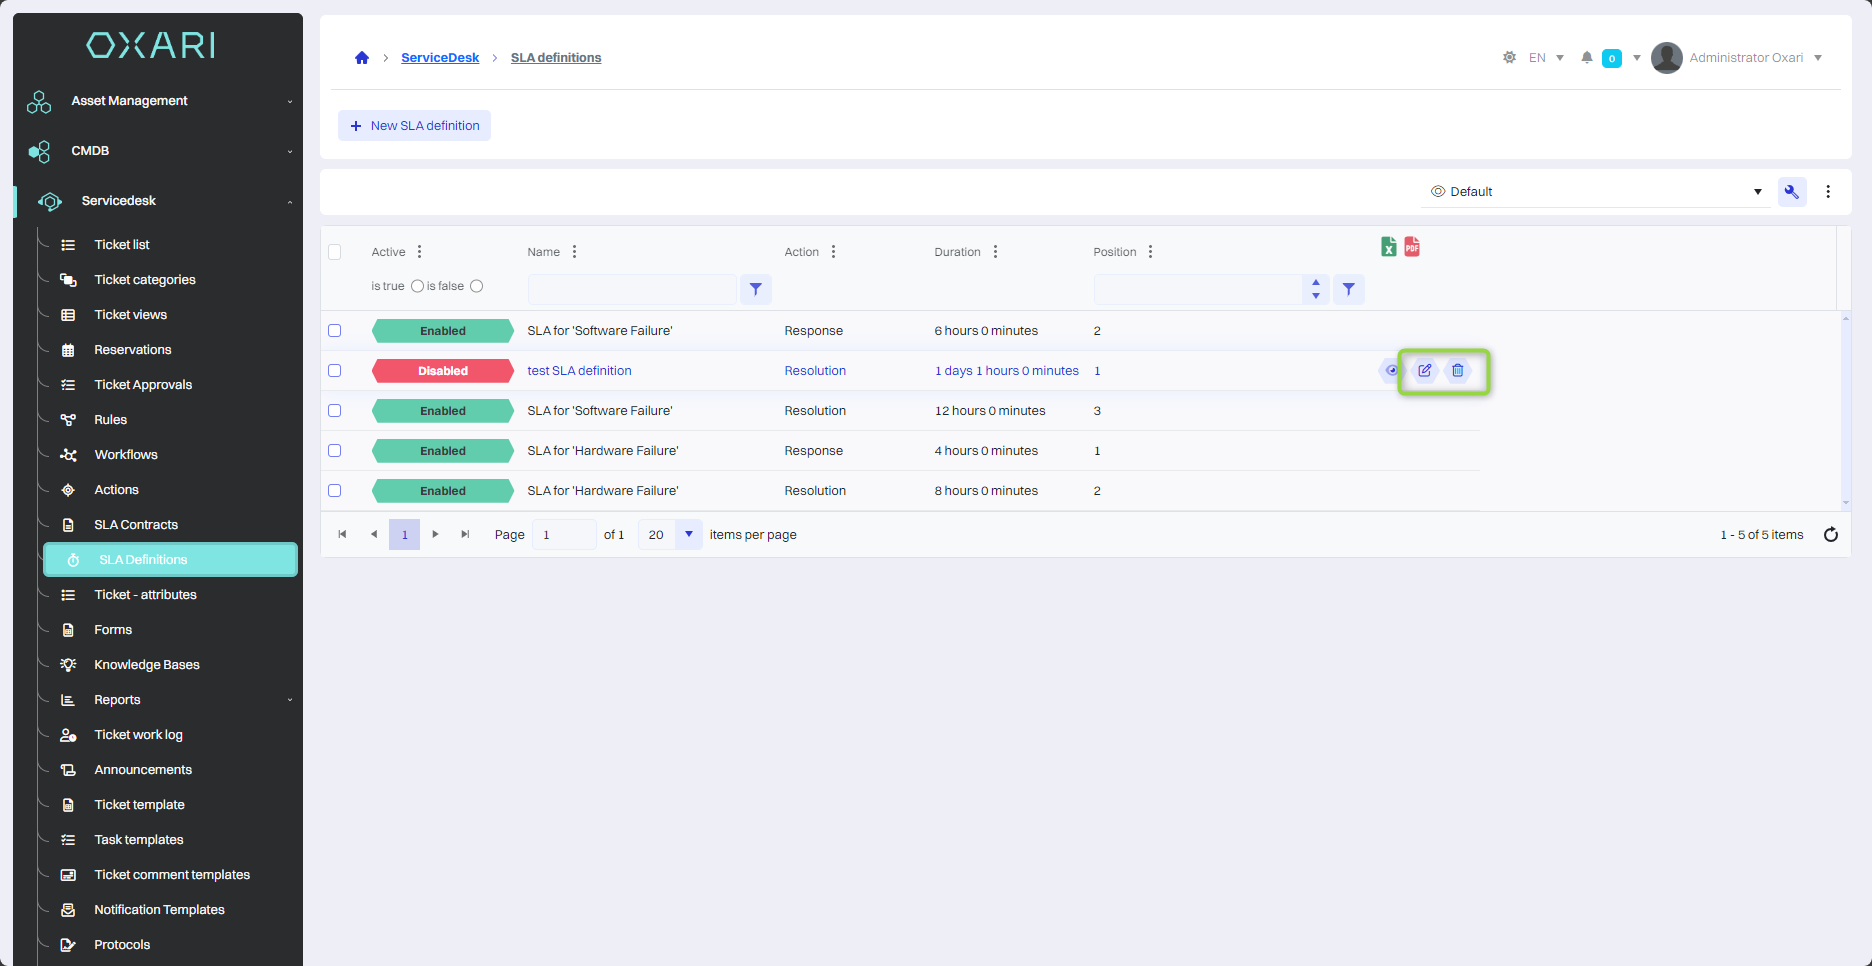
Editing/Removing SLA definitions
To edit/delete SLA definitions, go to Servicedesk > SLA definitions, then hover over the desired SLA definition. The edit/delete buttons will be displayed.
Description of SLA conditions
The following table provides a brief description of the SLA conditions:
|
1 |
Ticket category - Specifies the type of ticket, e.g. failure, problem. |
|
2 |
Ticket status - The current status of the ticket, e.g. new , in progress. |
|
3 |
Ticket priority - The weight of the ticket, which affects the order of service. |
|
4 |
Subcontractor - The company or third party responsible for performing the service. |
|
5 |
Submitting organization - The organization that submitted the case. |
|
6 |
Ticket type - Determine whether the ticket is an incident, task, etc. |
|
7 |
Ticket Source - Where the ticket came from, e.g., email, phone. |
|
8 |
Last comment added - Information recently entered in the ticket. |
|
9 |
Dictionary attribute - A dictionary-defined value that can be assigned to a ticket. More about attributes: Go > |
|
10 |
Boolean attribute - A yes/no type value that can determine business logic conditions. |
|
11 |
Date difference - A date comparison that can affect the timeliness of service delivery. |
|
12 |
Cost center - The organizational unit responsible for the cost of a service. More about cost centers: Go > |
|
13 |
Last comment is/is not an internal entry - A condition related to the type of communication within the ticket. |
|
14 |
Notifier parameters - Information about the notifier that can be included in the SLA handling process. |