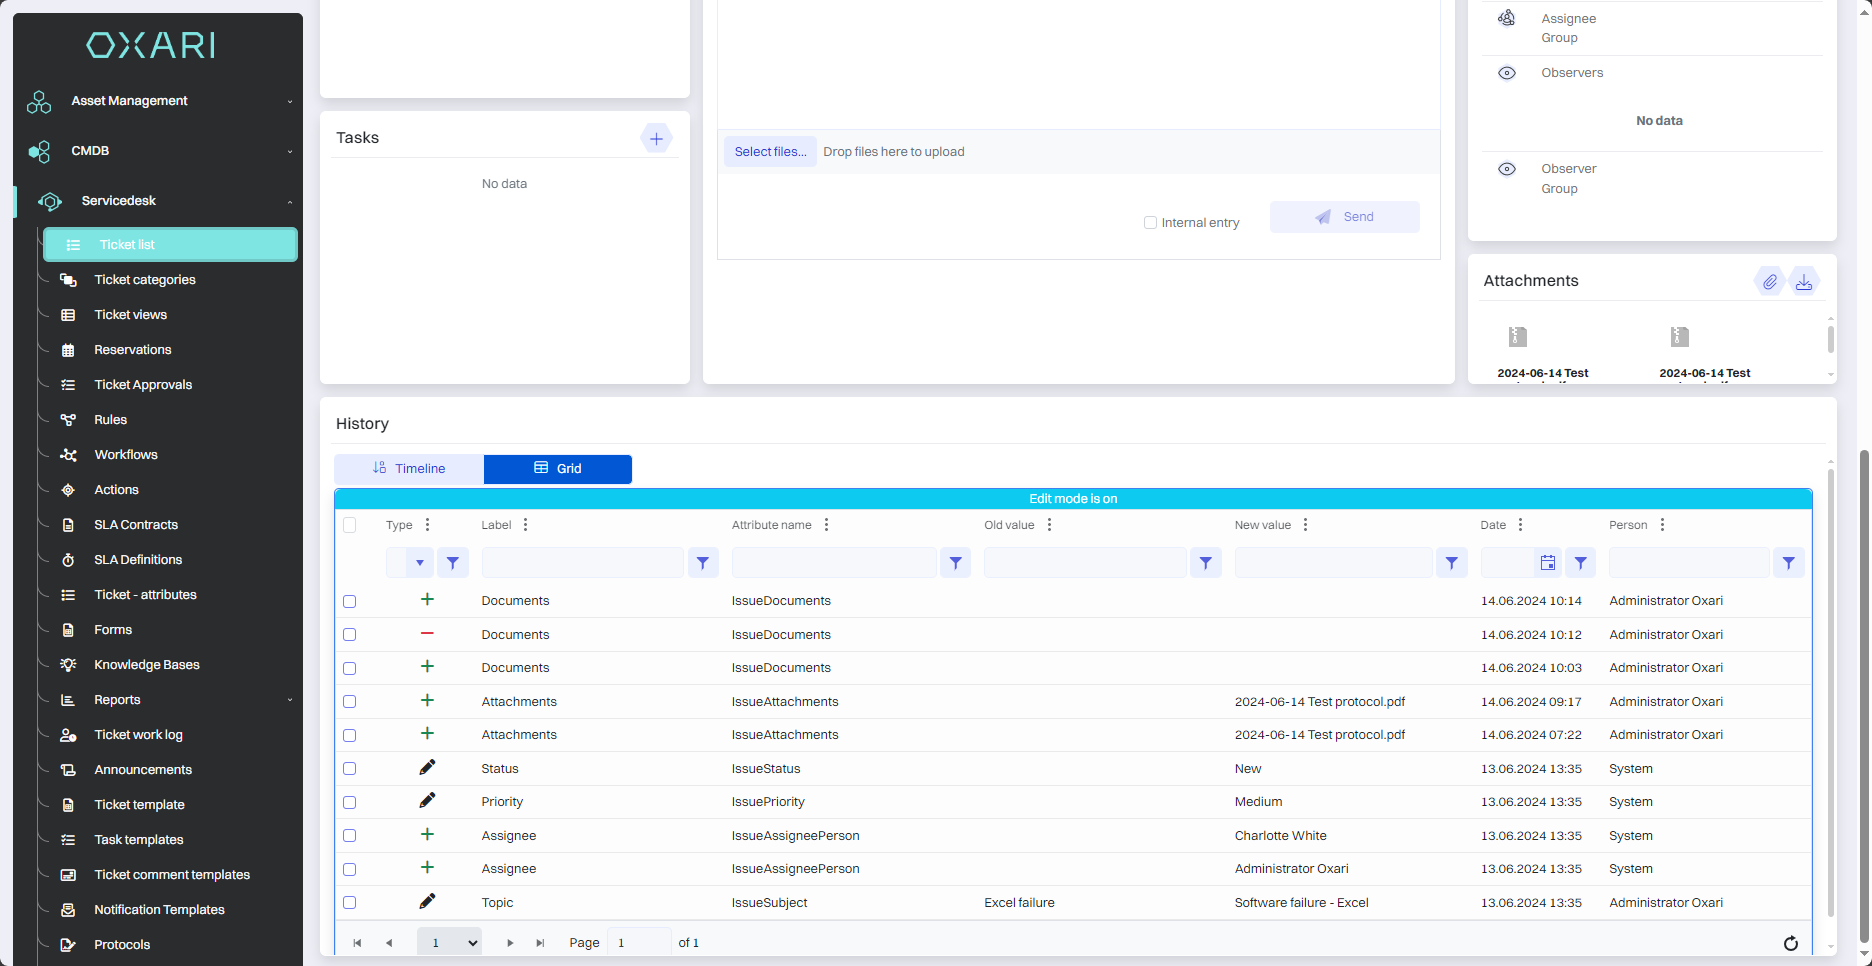
Widgets in OXARI are interactive user interface elements or components that provide quick access to various system functions, information or data. Widgets can be added to a user's dashboard in OXARI, and can also be added to a view in Servicedesk. There are widgets also available in the single request view under Servicedesk > Request List
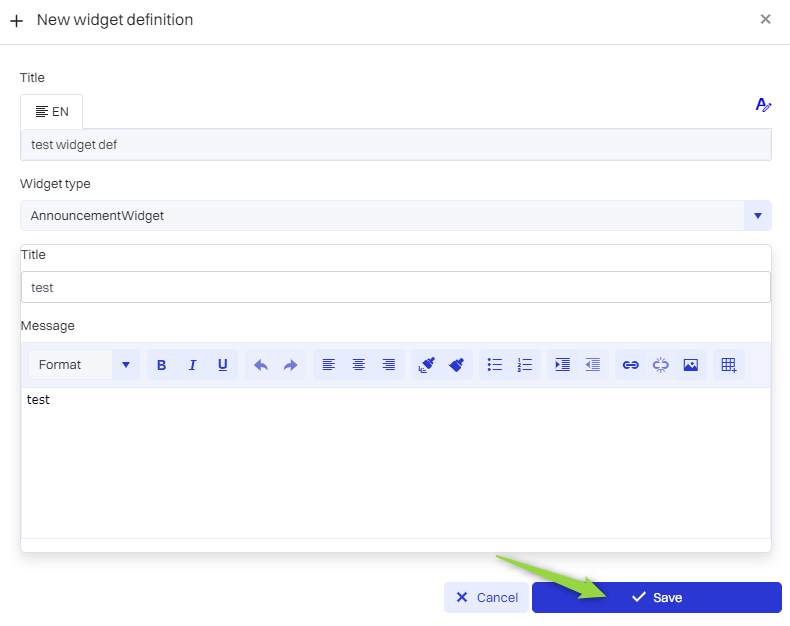
New widget definition
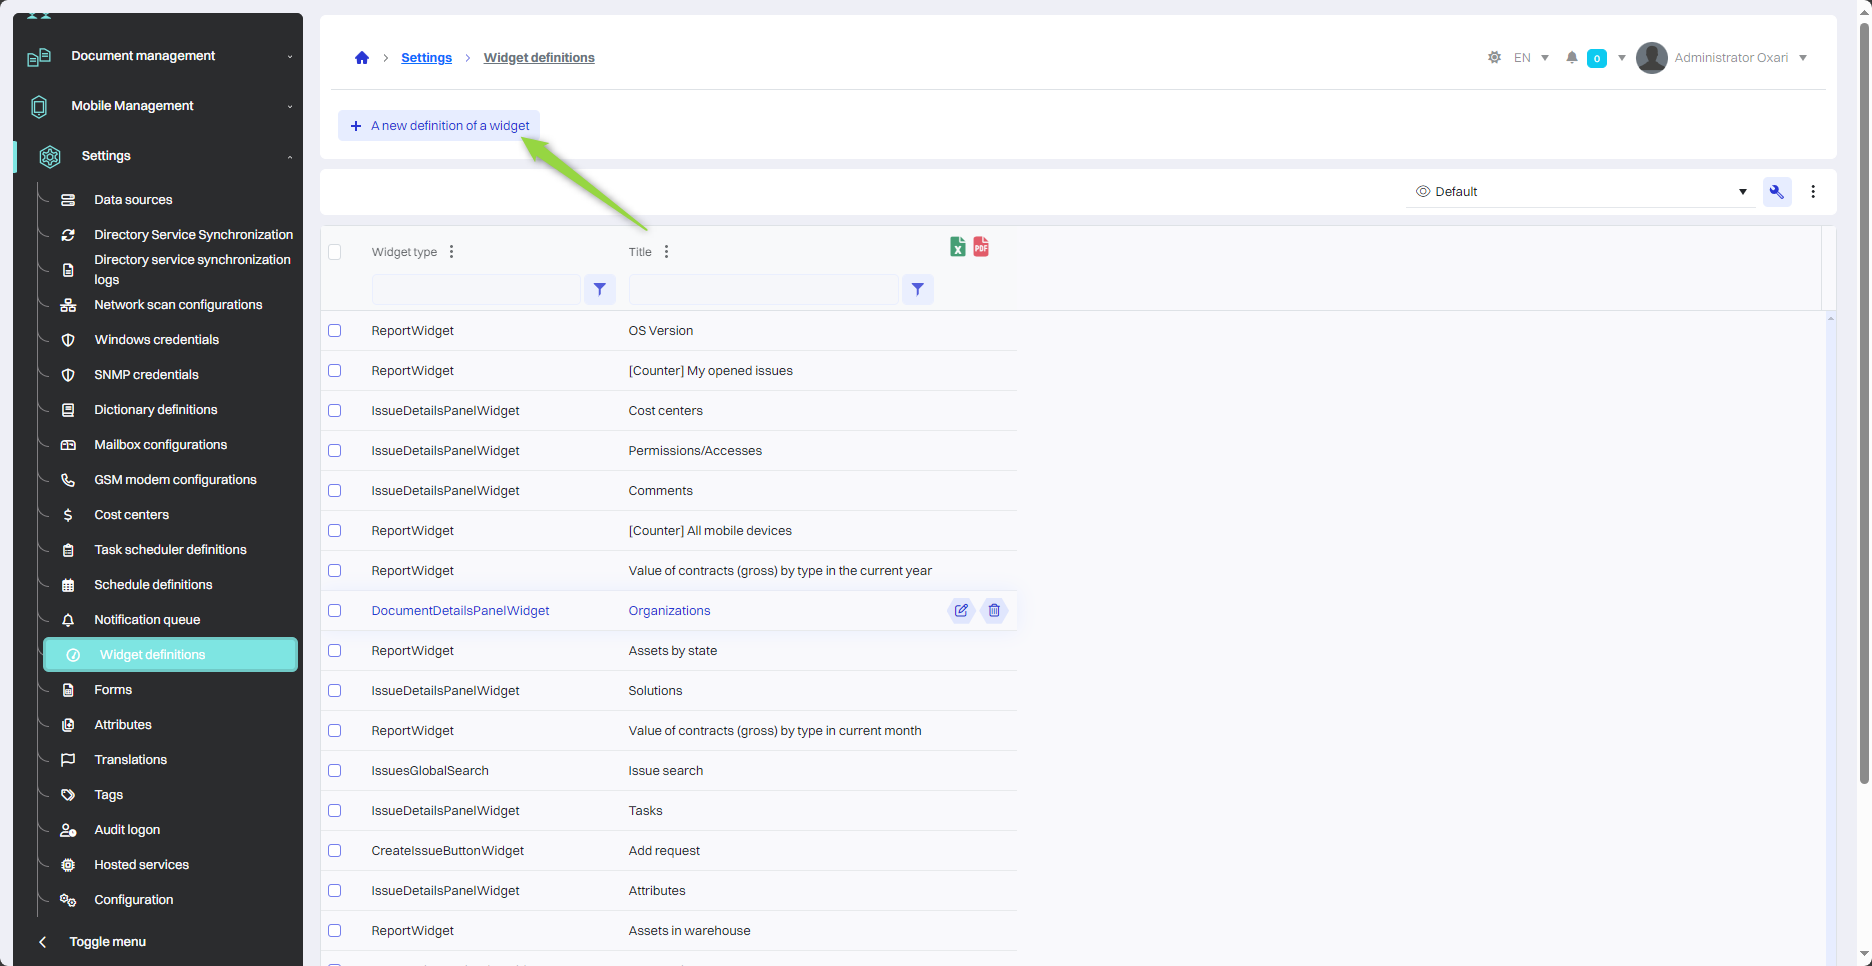
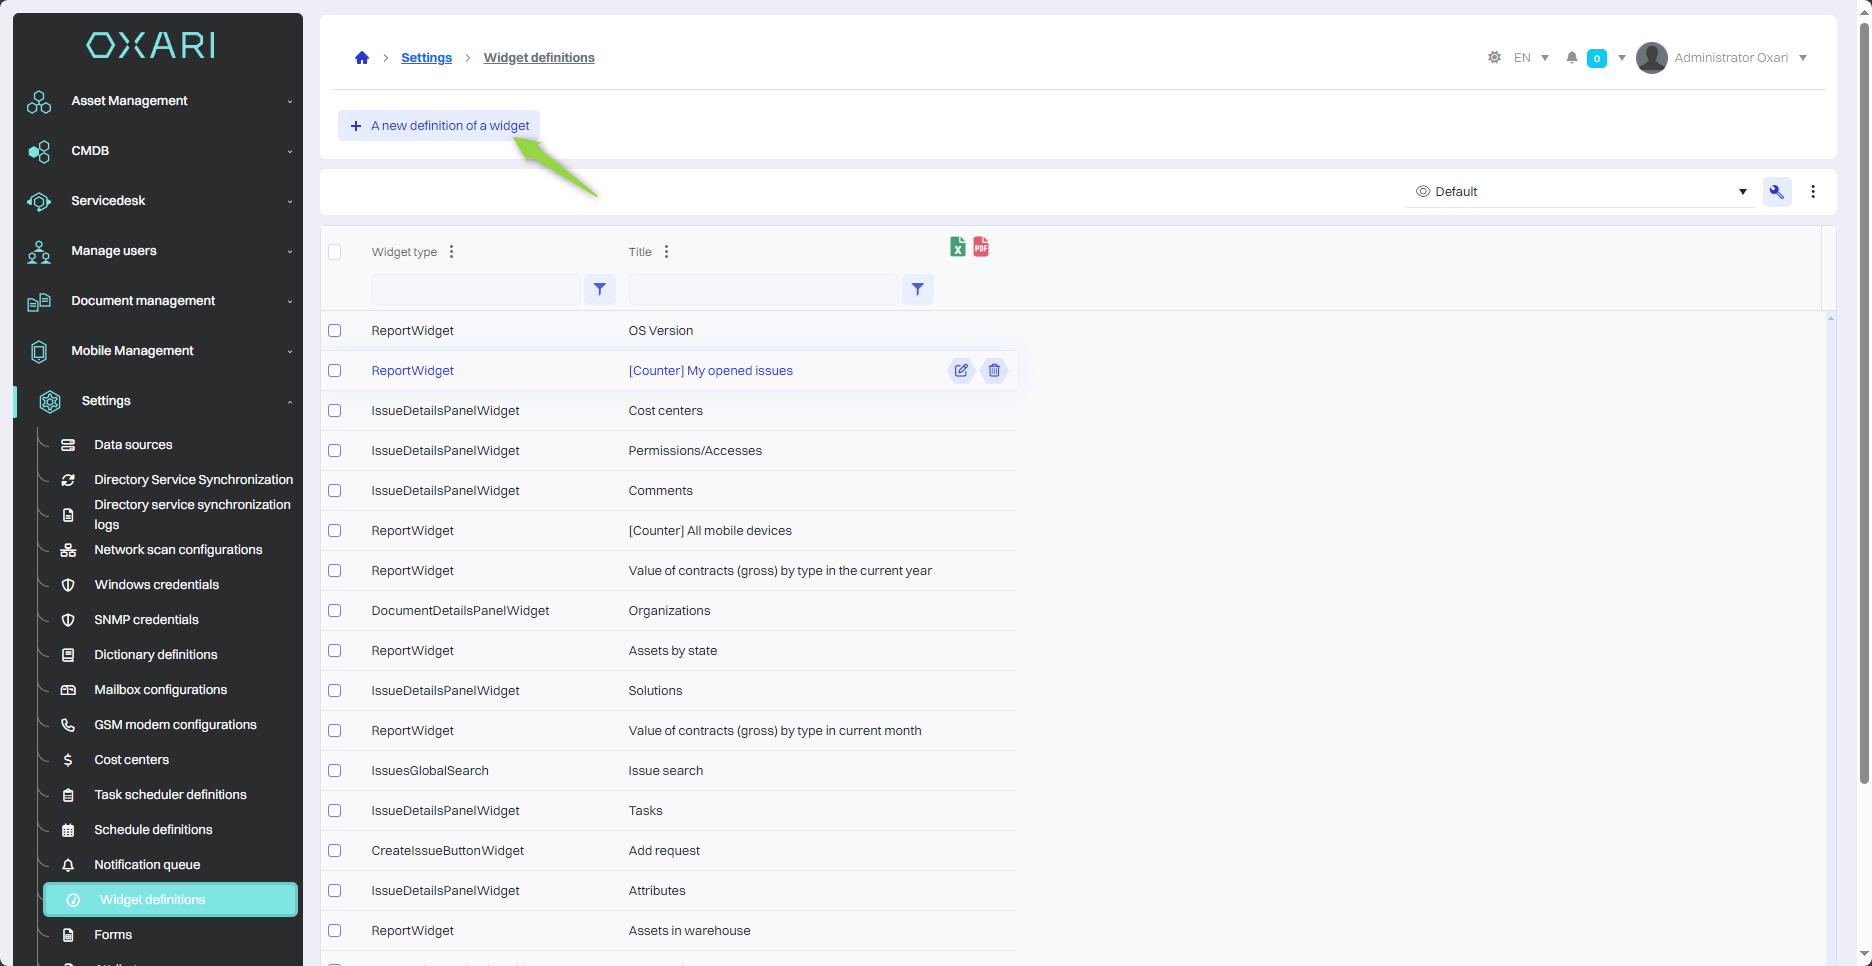
To add a new widget definition, go to the section in question and then click the “New widget definition” button.
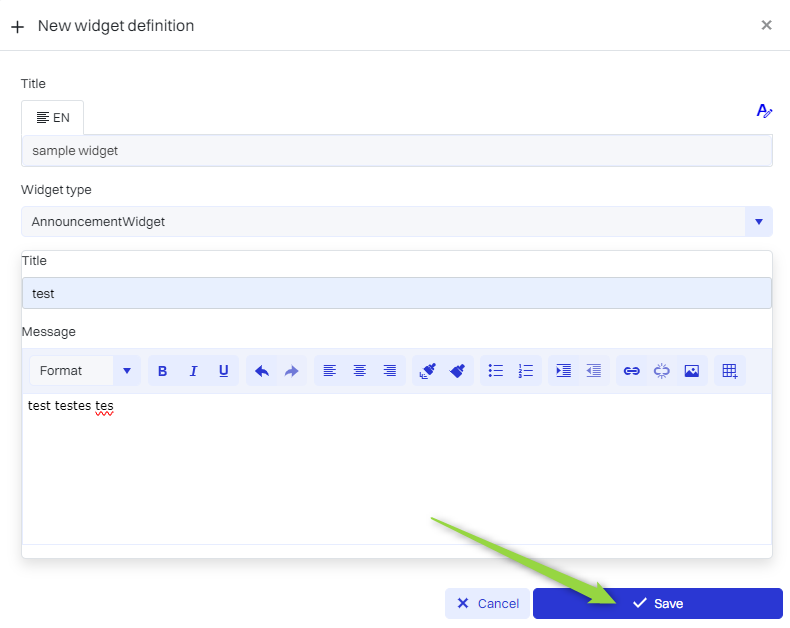
Then, in the “New widget definition” field, fill in the required fields, and then click the “Save” button.
|
Title - You can give the widget a unique title, which allows it to be easily identified. |
|
Widget Type - A selectable list where you can specify the type of widget to be created. The example “AnnouncementWidget” indicates that this particular widget is to be used to publish announcements or messages. |
|
Title (Announcement or Message) - The title of the announcement or message that will be displayed in the widget. |
|
Content - In this area, the user types the content of the announcement or information to be displayed in the widget. The available text formatting options allow you to customize the appearance of the content (bold, italic, underline, etc.). |
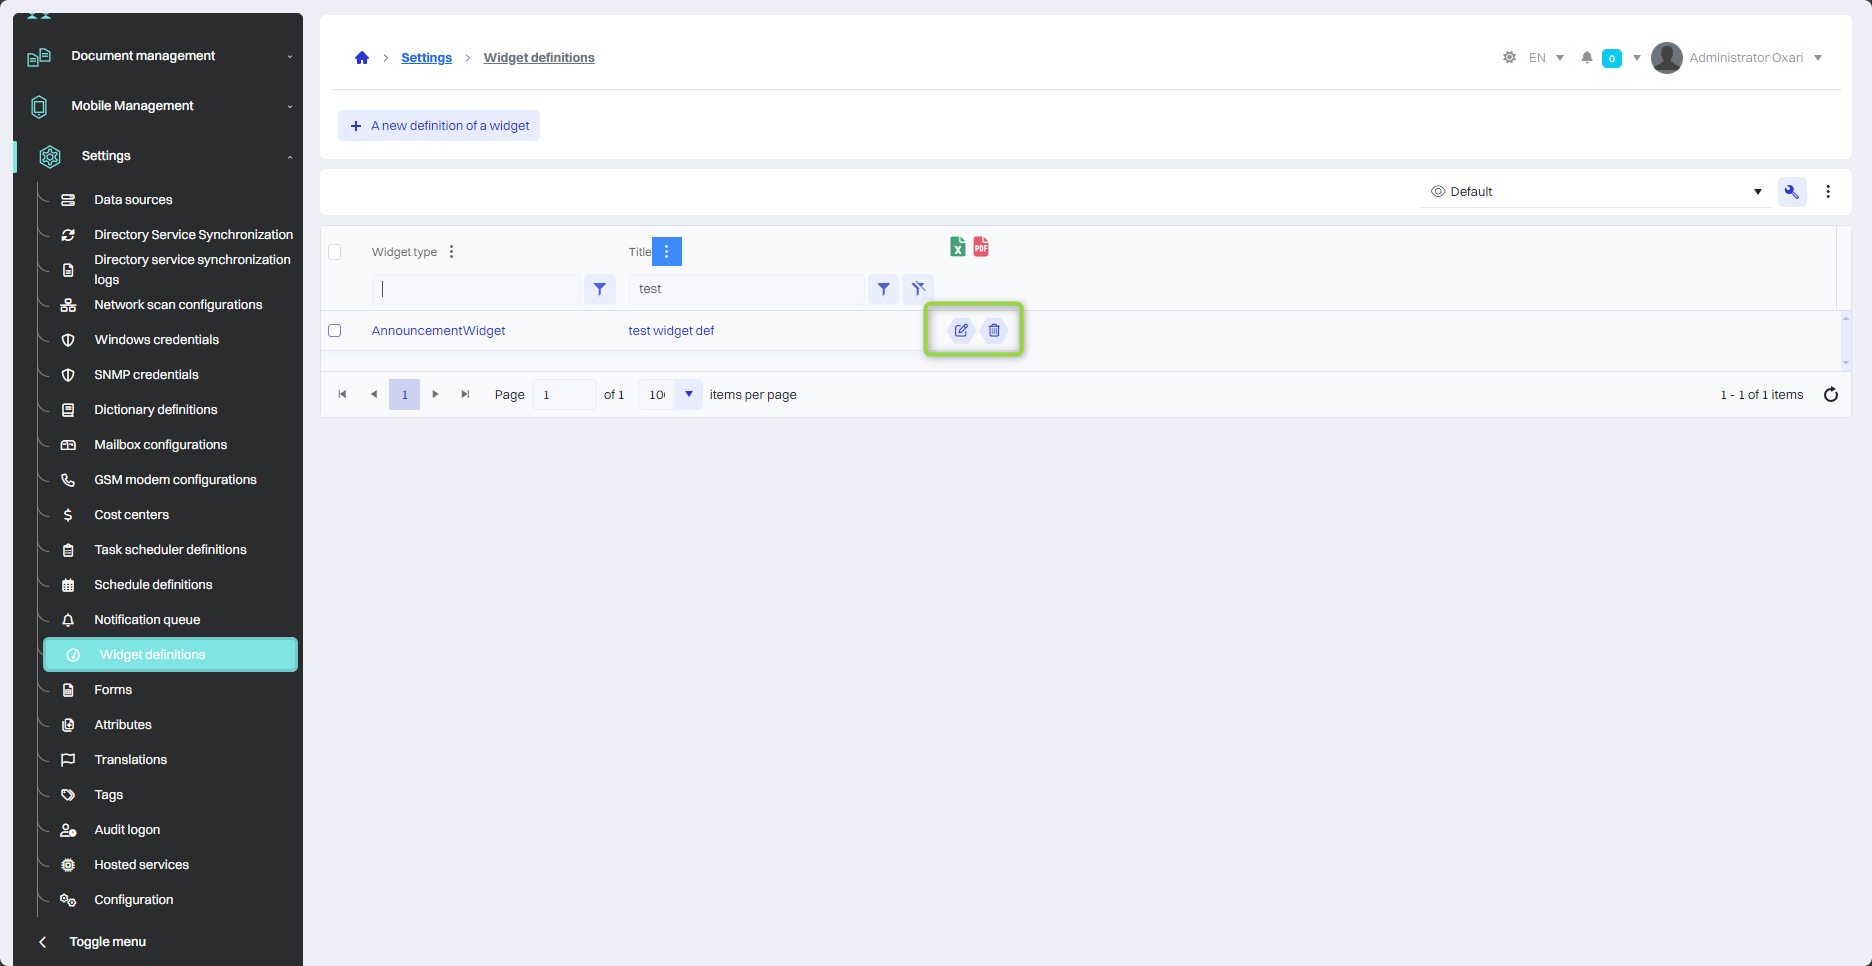
Edit/Delete
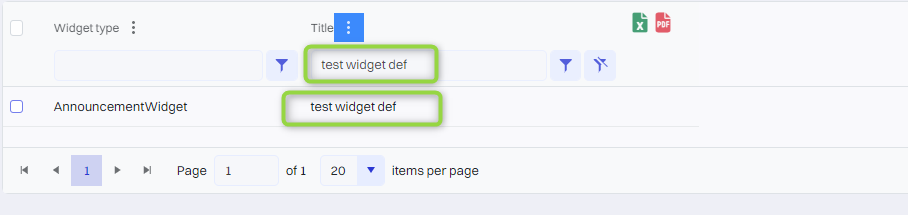
The widget definition can be edited or deleted using the following buttons.
Description of the widgets' functions
Each widget can be configured, customized and organized according to the user's needs, making the dashboard a control center for daily tasks and activities in the OXARI system.
The table below describes the general function of the widgets in question.
|
1 |
AnnouncementWidget - Displays announcements or system messages that are important to all system users. |
|
2 |
ServicedeskNavigationPanelWidget - It offers quick navigation through the various sections of the servicedesk, making it easy to access tasks, requests, reports and other servicing functions. |
|
3 |
NavigationButtonWidget - It can contain buttons or links to frequently used functions or sections of the system, allowing quick access to them. |
|
4 |
ClientQuickAccessWidget - It provides quick access to customer information or tools related to customer service, such as contact history, requests or current projects. |
|
5 |
KnowledgeBasePostsWidget - It provides access to a knowledge base where users can find support articles and educational resources. |
|
6 |
IssuesListWidget - Displays a list of current requests or tasks, allowing you to monitor and manage them from the dashboard. |
|
7 |
IssuesGlobalSearch - It offers a global search by all requests in the system, allowing you to quickly find a specific issue or problem. |
|
8 |
ClientsIssuesListWidget - A special list of requests that can be filtered to show only those for specific customers. |
|
9 |
IssueApprovalListWidget - A list of pending requests for approval for quick review and approval of tasks or changes. |
|
10 |
CreateIssueButtonWidget - A button or function that allows you to quickly create a new request without going to other sections of the system. |
|
11 |
ReservationsCalendarWidget - A booking calendar that can be used to manage appointments, resource reservations or time scheduling. |
|
12 |
AssetManagementNavigationPanelWidget - A dashboard dedicated to asset management that provides access to tools and information related to asset management. |
|
13 |
MobileDeviceNavigationPanelWidget - A dashboard designed specifically for use by mobile devices, offering customized interfaces and features. |
|
14 |
ReportWidget - Displays reports or data analysis that can help you make decisions and manage business processes. |
Example of creating a widget and adding to the dashboard
In the example, a widget will be created from a customized report of equipment failure category reports, then the widget will be added to the dashboard.
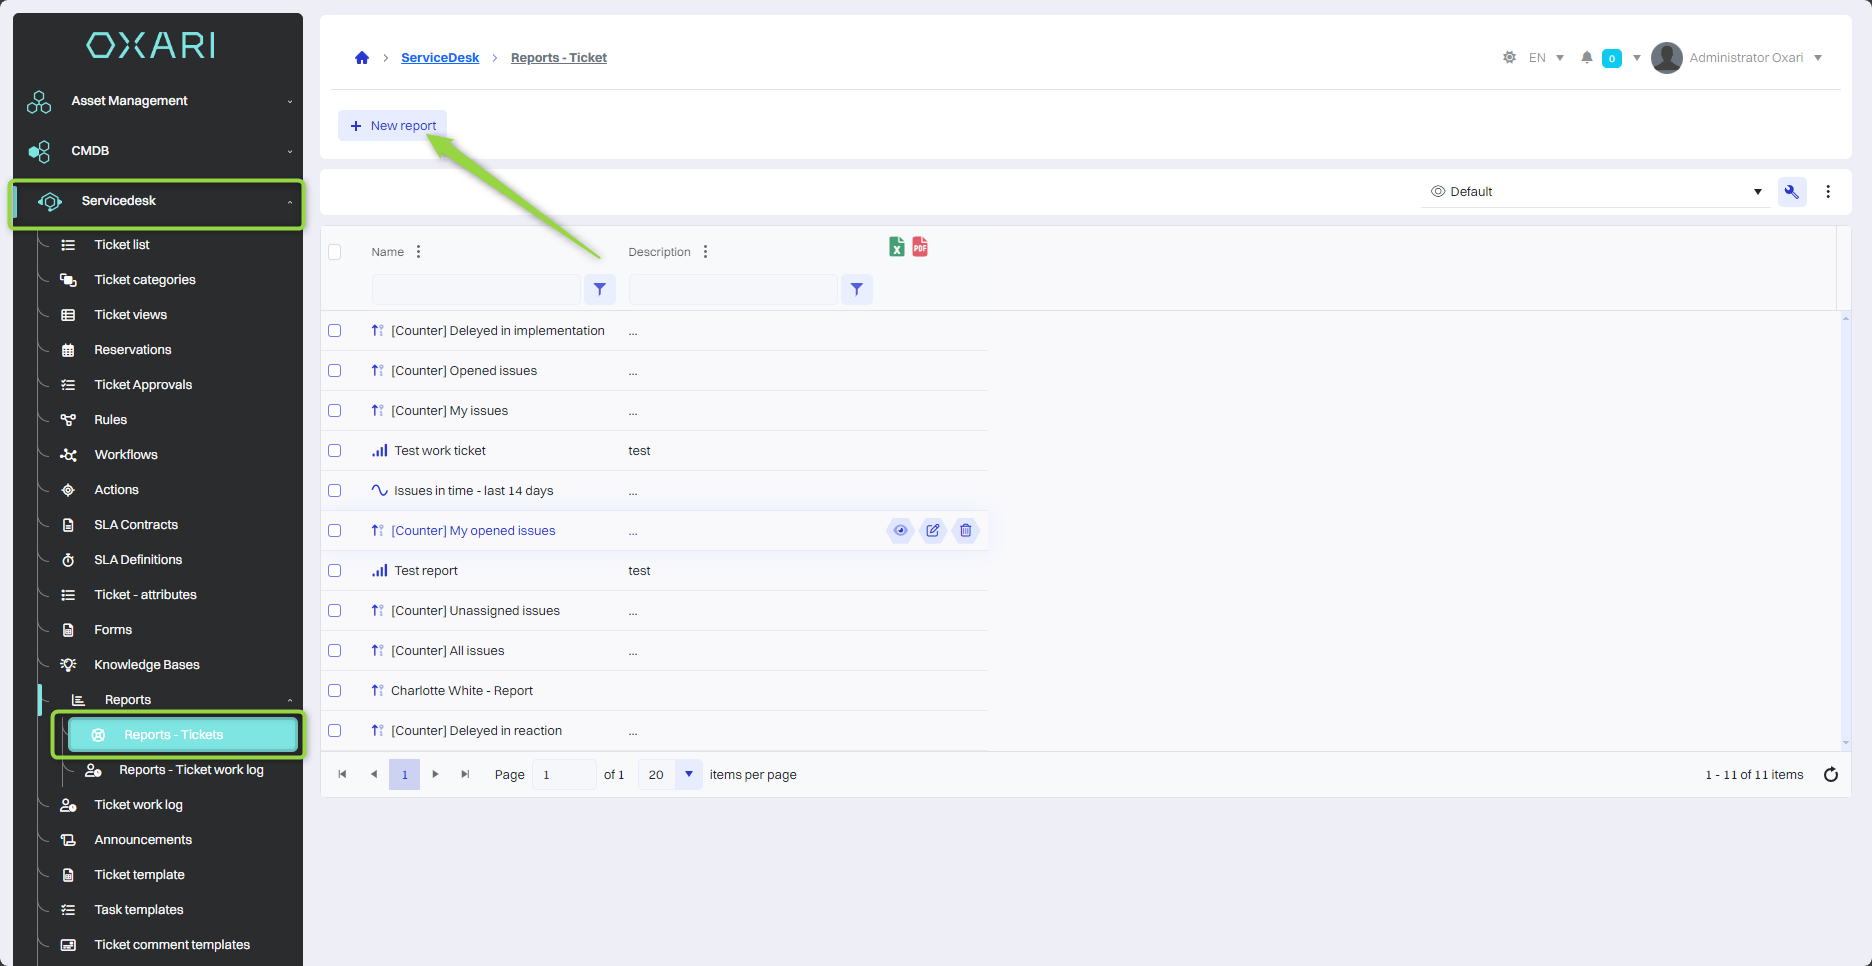
Create a report
In this step, go to Servicedesk > Reports - Notifications and then click on the “New Report” button to create a report.
Read more about the reports: Go >
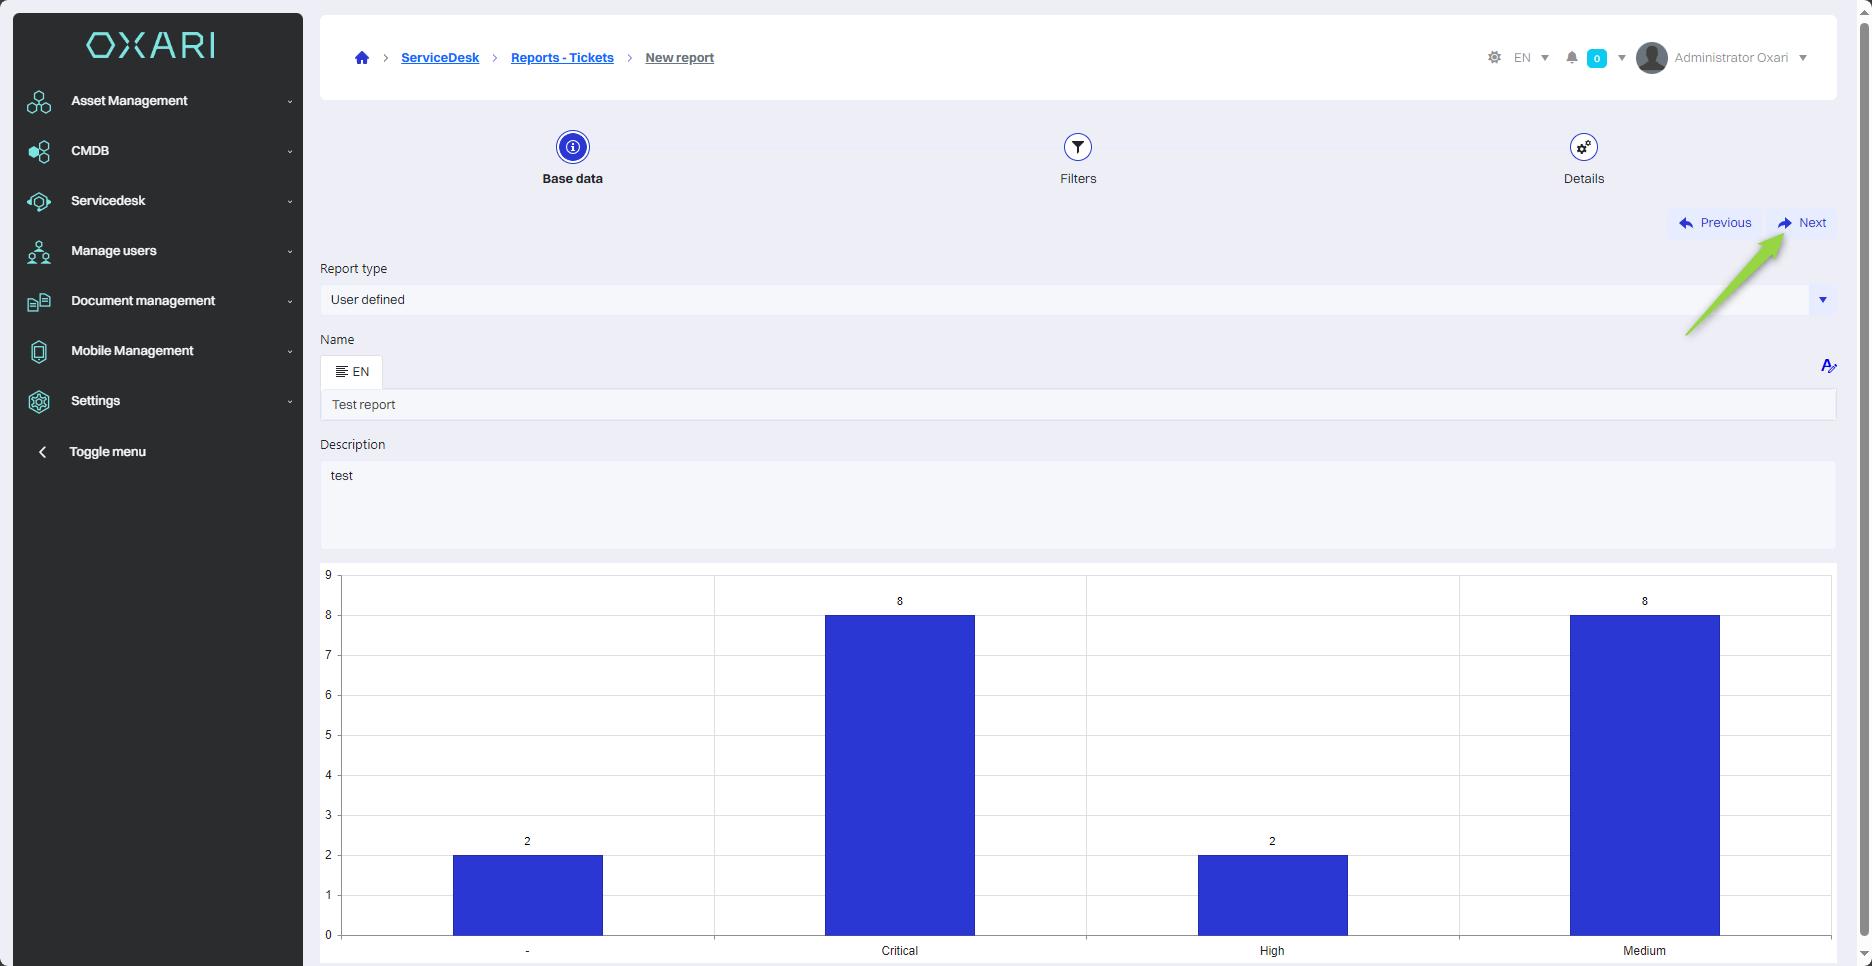
Filling in the basic data
In this step, the basic data are filled in, the Report Type is selected, the report is named and described, then click the “Next” button.
Establish report filters
In this step, the filters of the report are established. 1. click the “Add Expression” button 2. click in the field to set the filter (in this case “Category”). 3. the operator is selected (in this case “Equal”) 4. the category is selected (in this case “Equipment Failure”). 5. the “Next” button must be clicked.

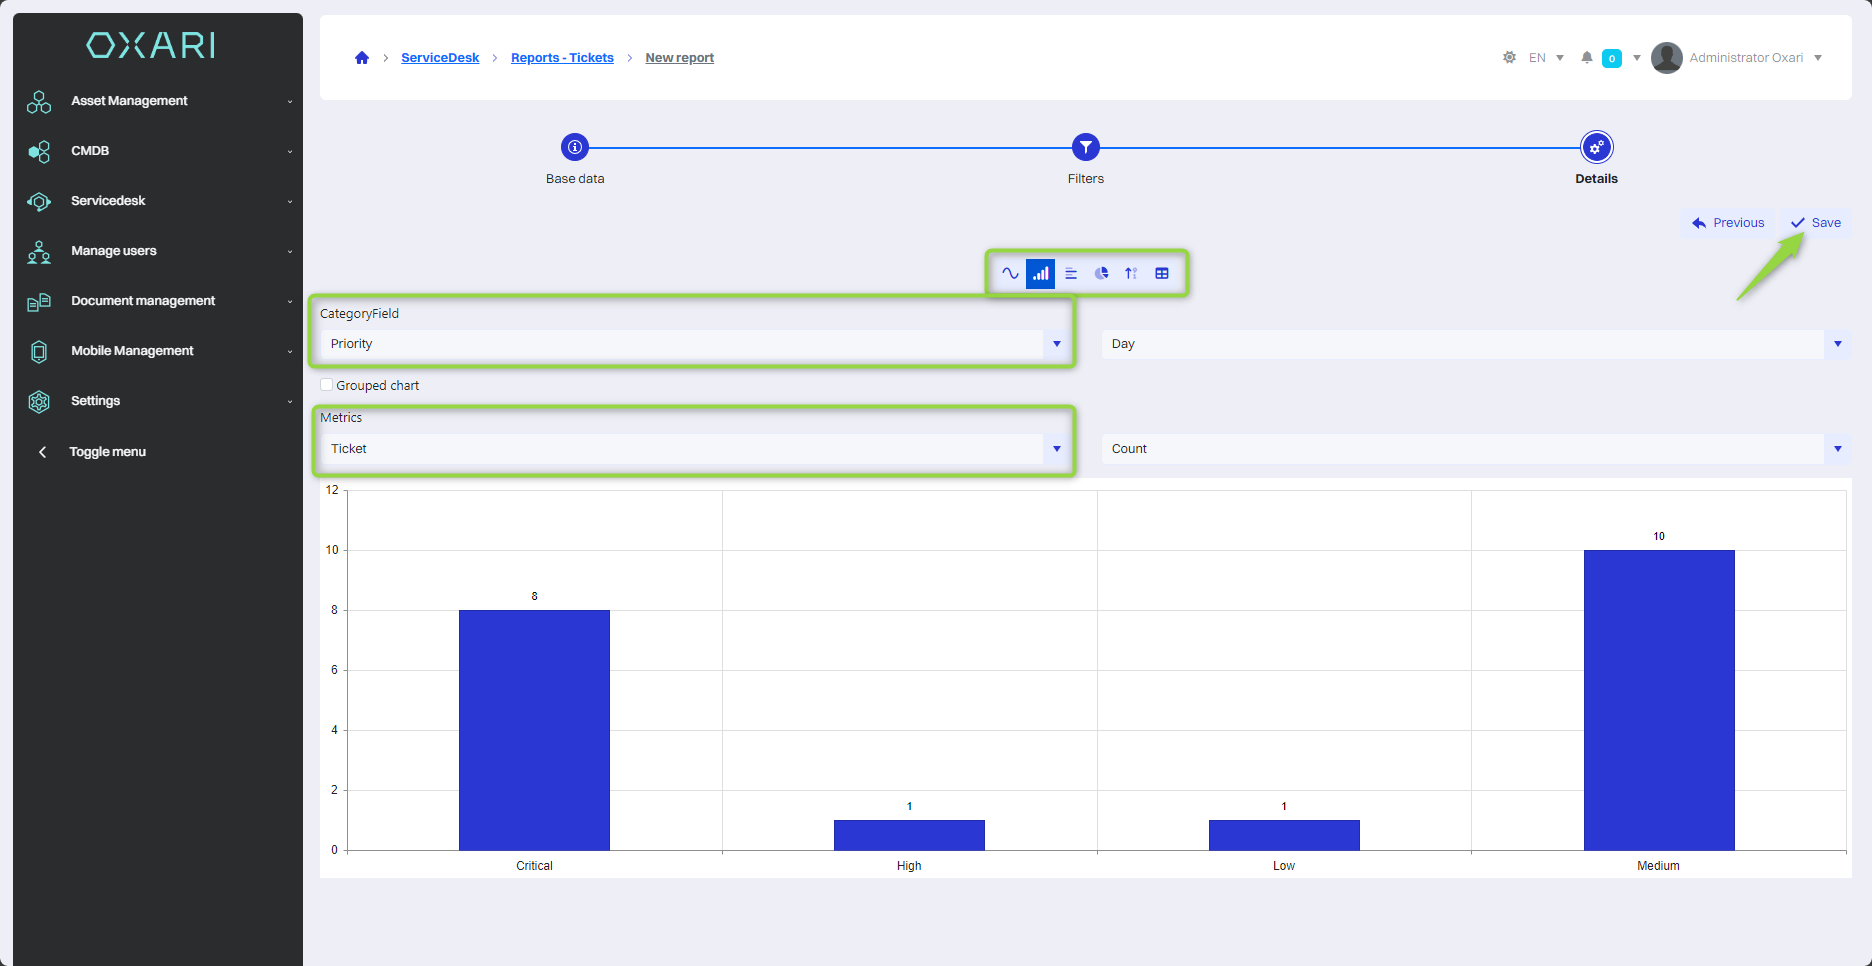
Saving the report
In this step the report is saved, click the “Save” button.
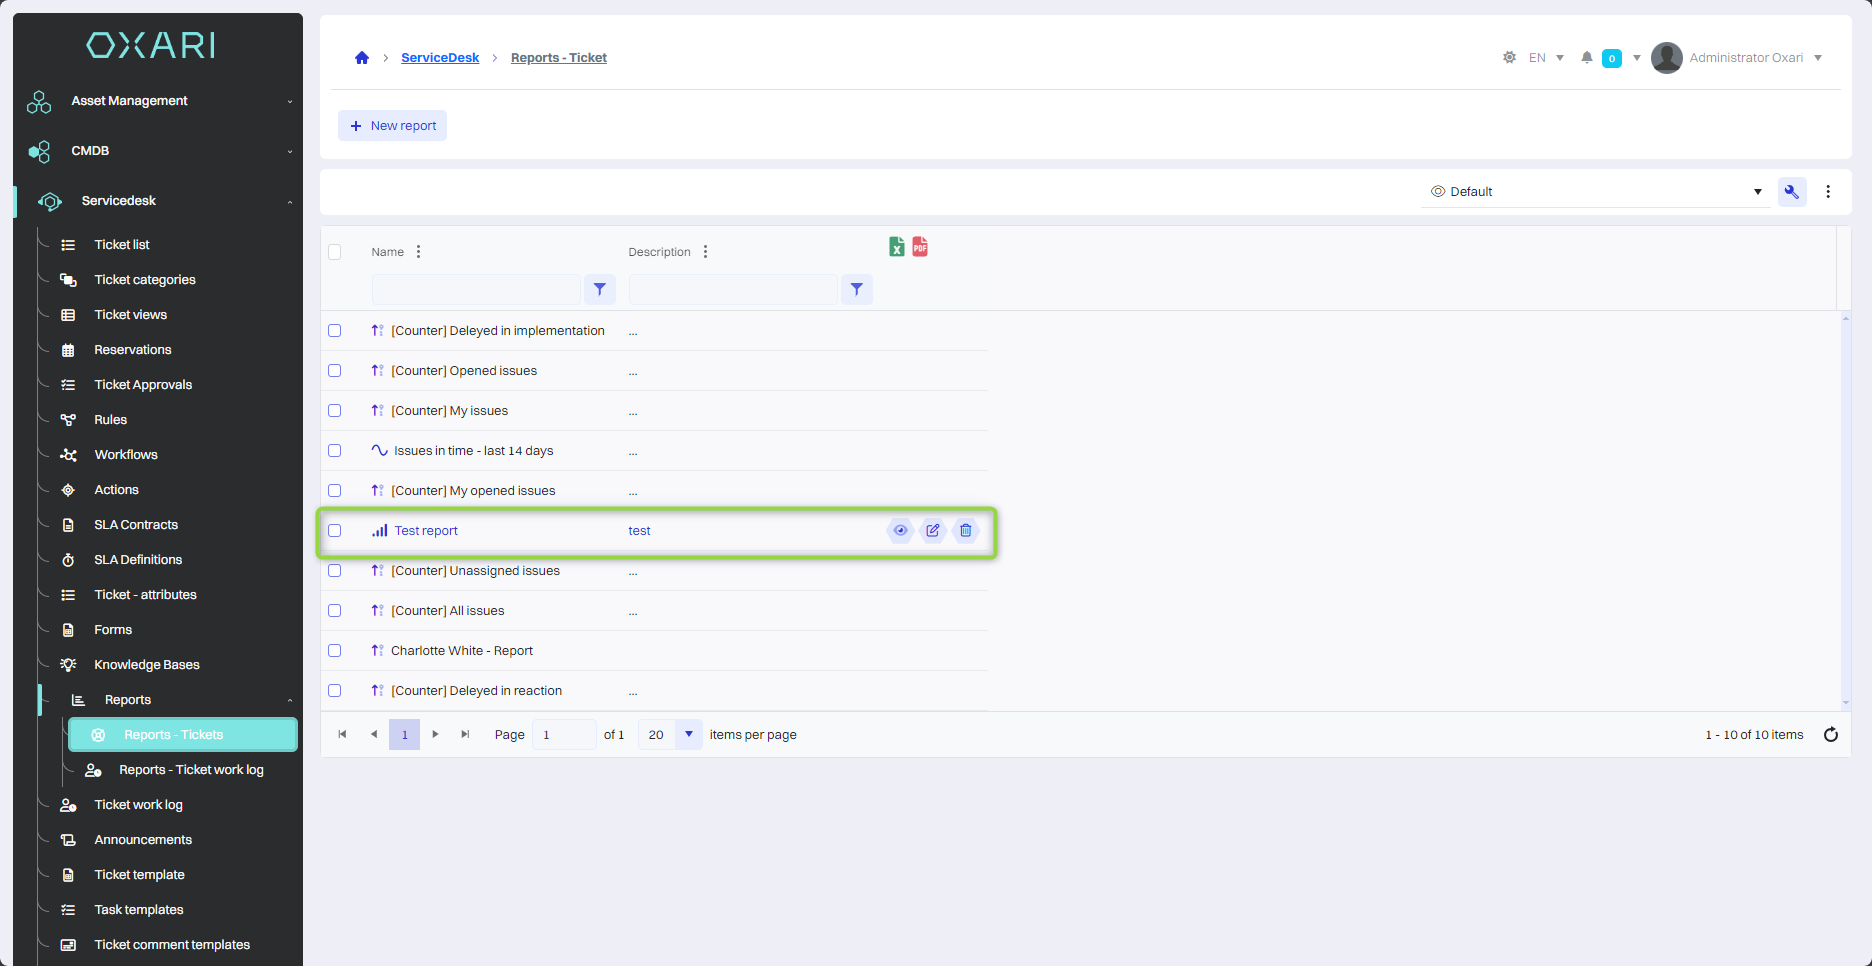
The report, once saved, appears in the Reports - Notifications table.
Create a widget from the created report
To add a new widget definition, go to the section in question and then click the “New widget definition” button.
Filling the widget
In this step, 1. The widget is named. 2. the widget type is selected to “ReportWidget” (this widget displays reports). 3.The report that the widget will use is selected. 4.The “Save” button must be clicked.
The created widget is visible in the table (searched by title).
Switch to the dashboard view
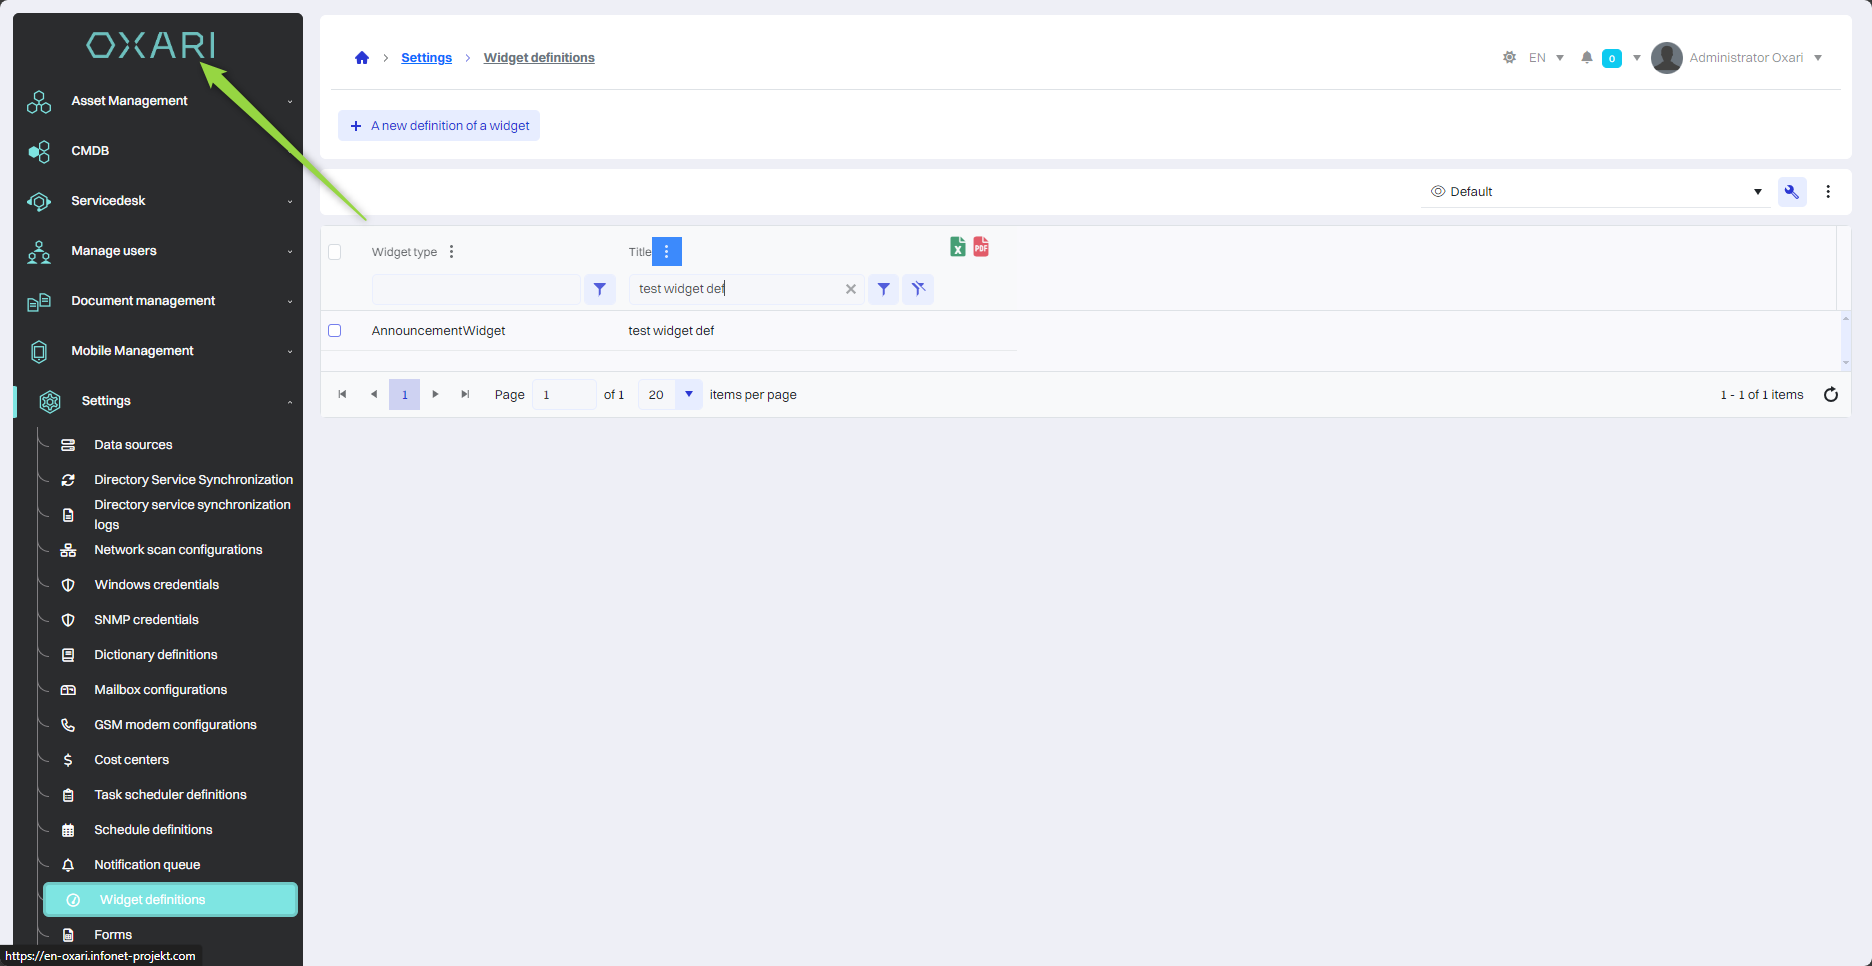
First, switch to the dashboard view, click on the word “OXARI” in the upper left corner.
Enabling dashboard editing mode
In this step, click the edit button.
Adding the created widget to the dashboard
In this step, click the “Add widget” button.
Then the widget created is selected and approved with the “Save” button.
The widget is added, it appears at the very bottom of the dashboard page (scroll down), the widget display size is editable, and you can also change its place on the dashboard.
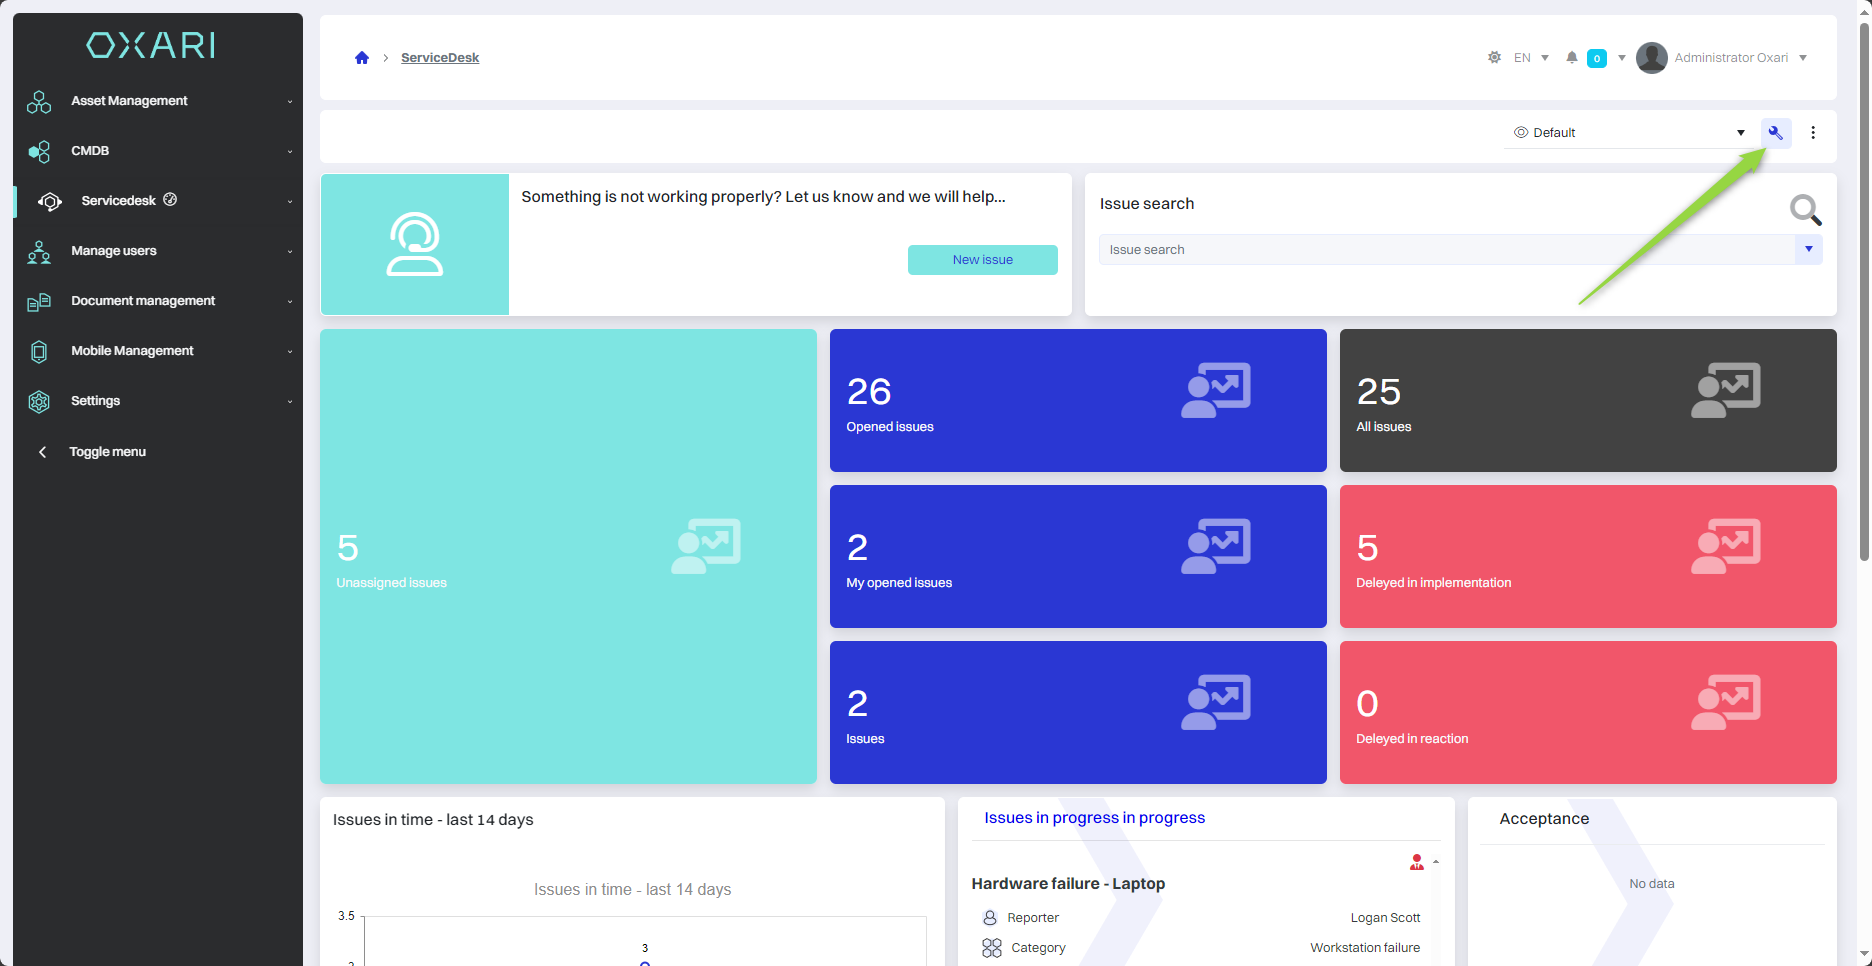
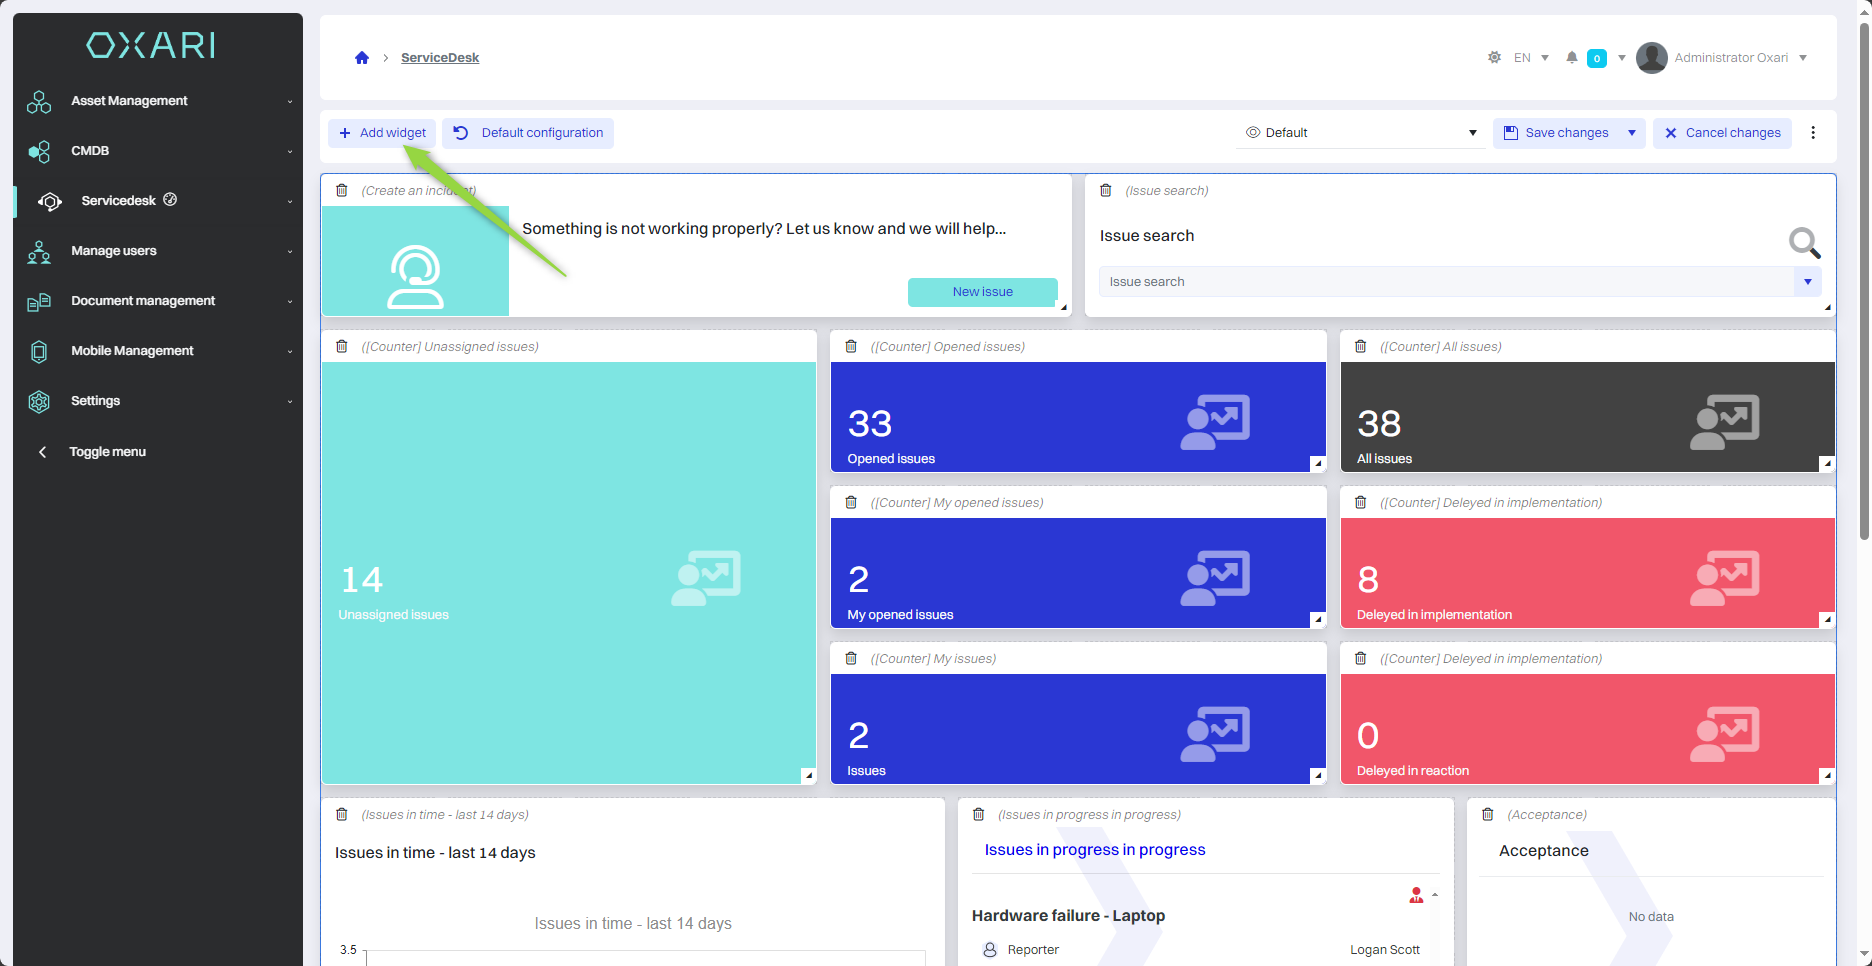
Adding a widget to the Servicedesk view
To add a widget to the ticket view, click on the Servicedesk section.
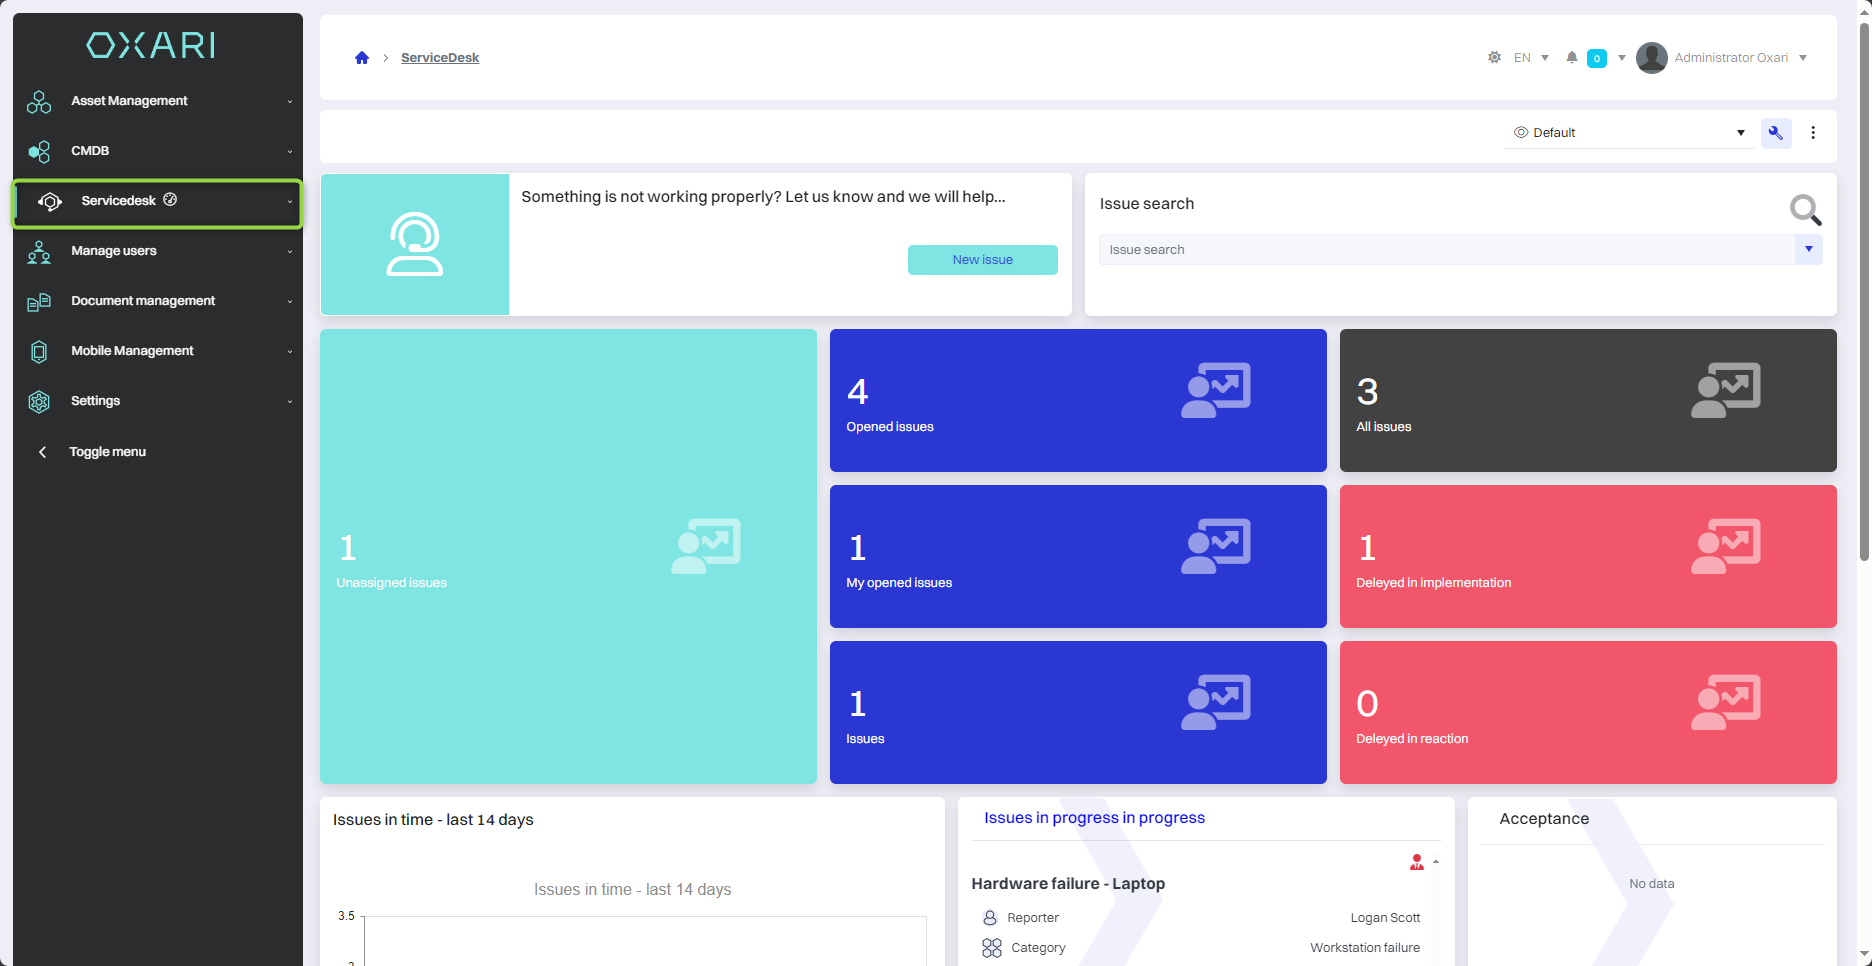
Then click the “key” button to edit the view.

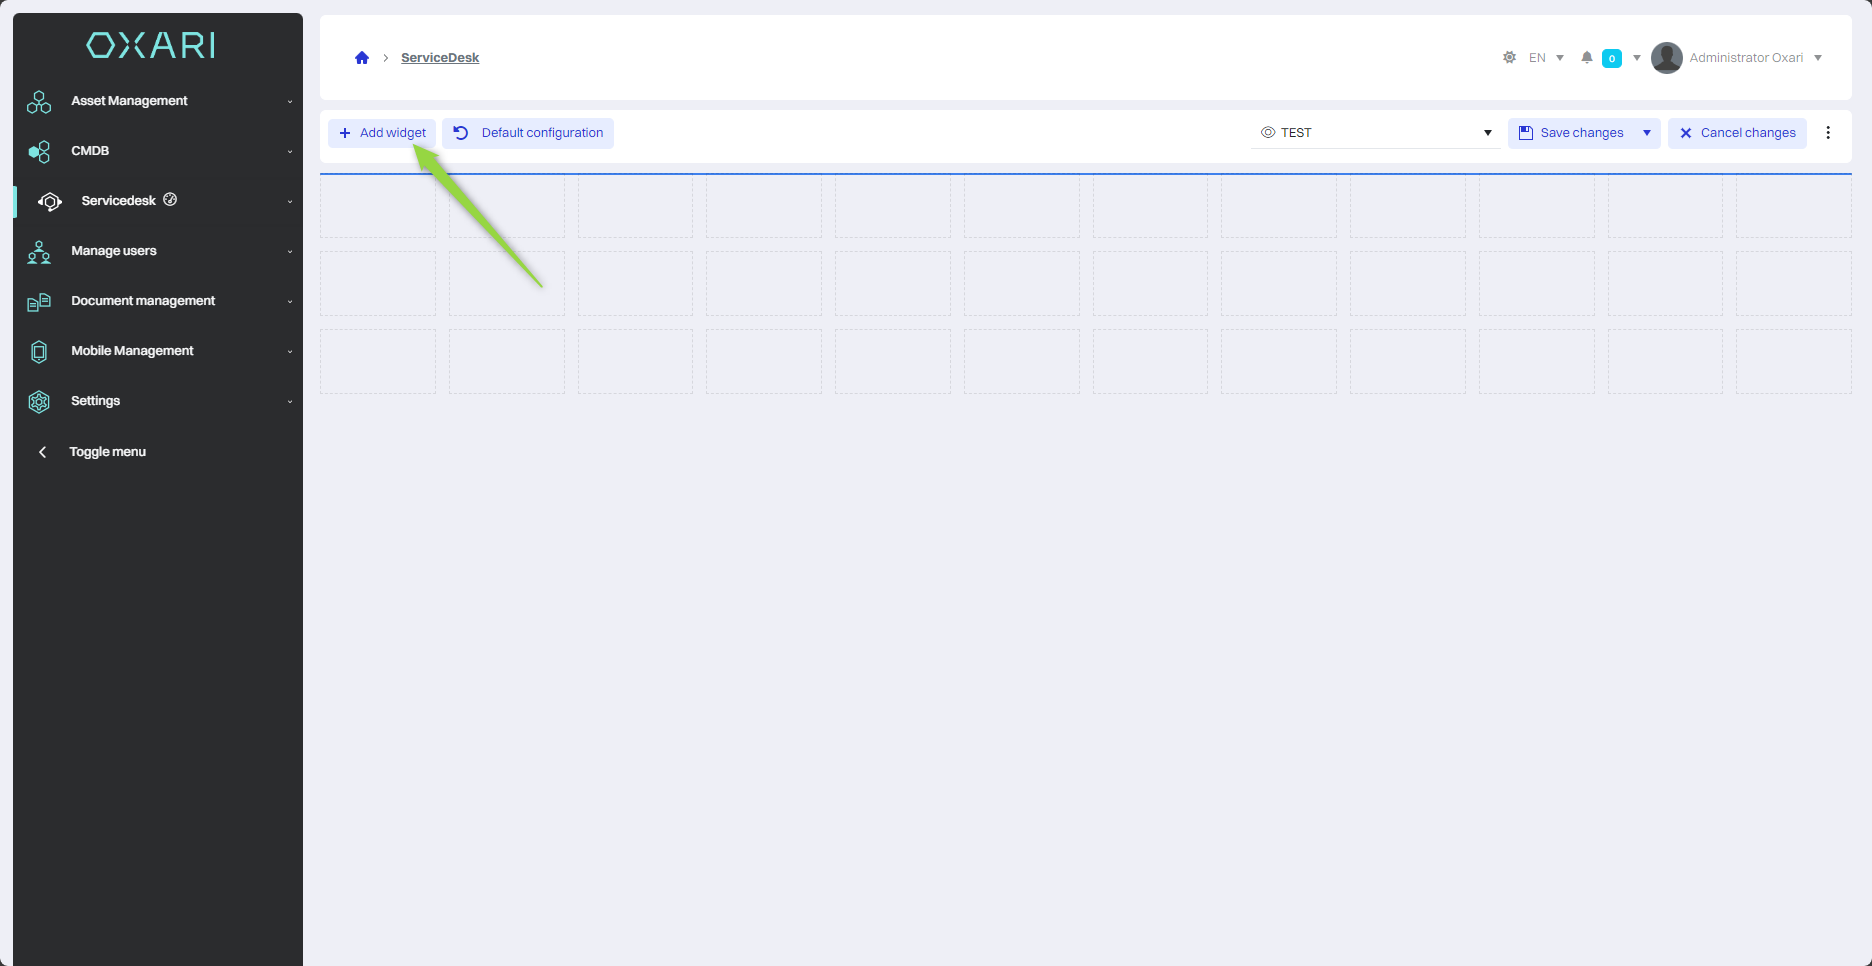
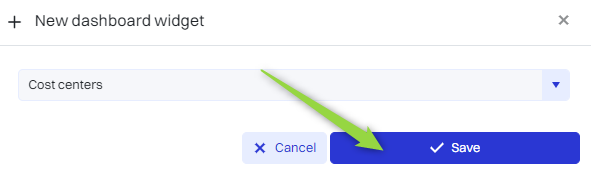
In this step, click the “Add Widget” button.
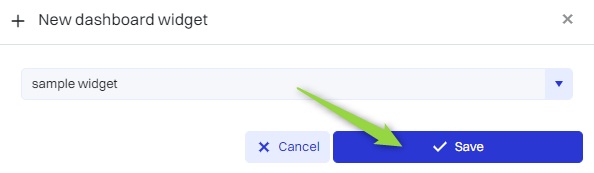
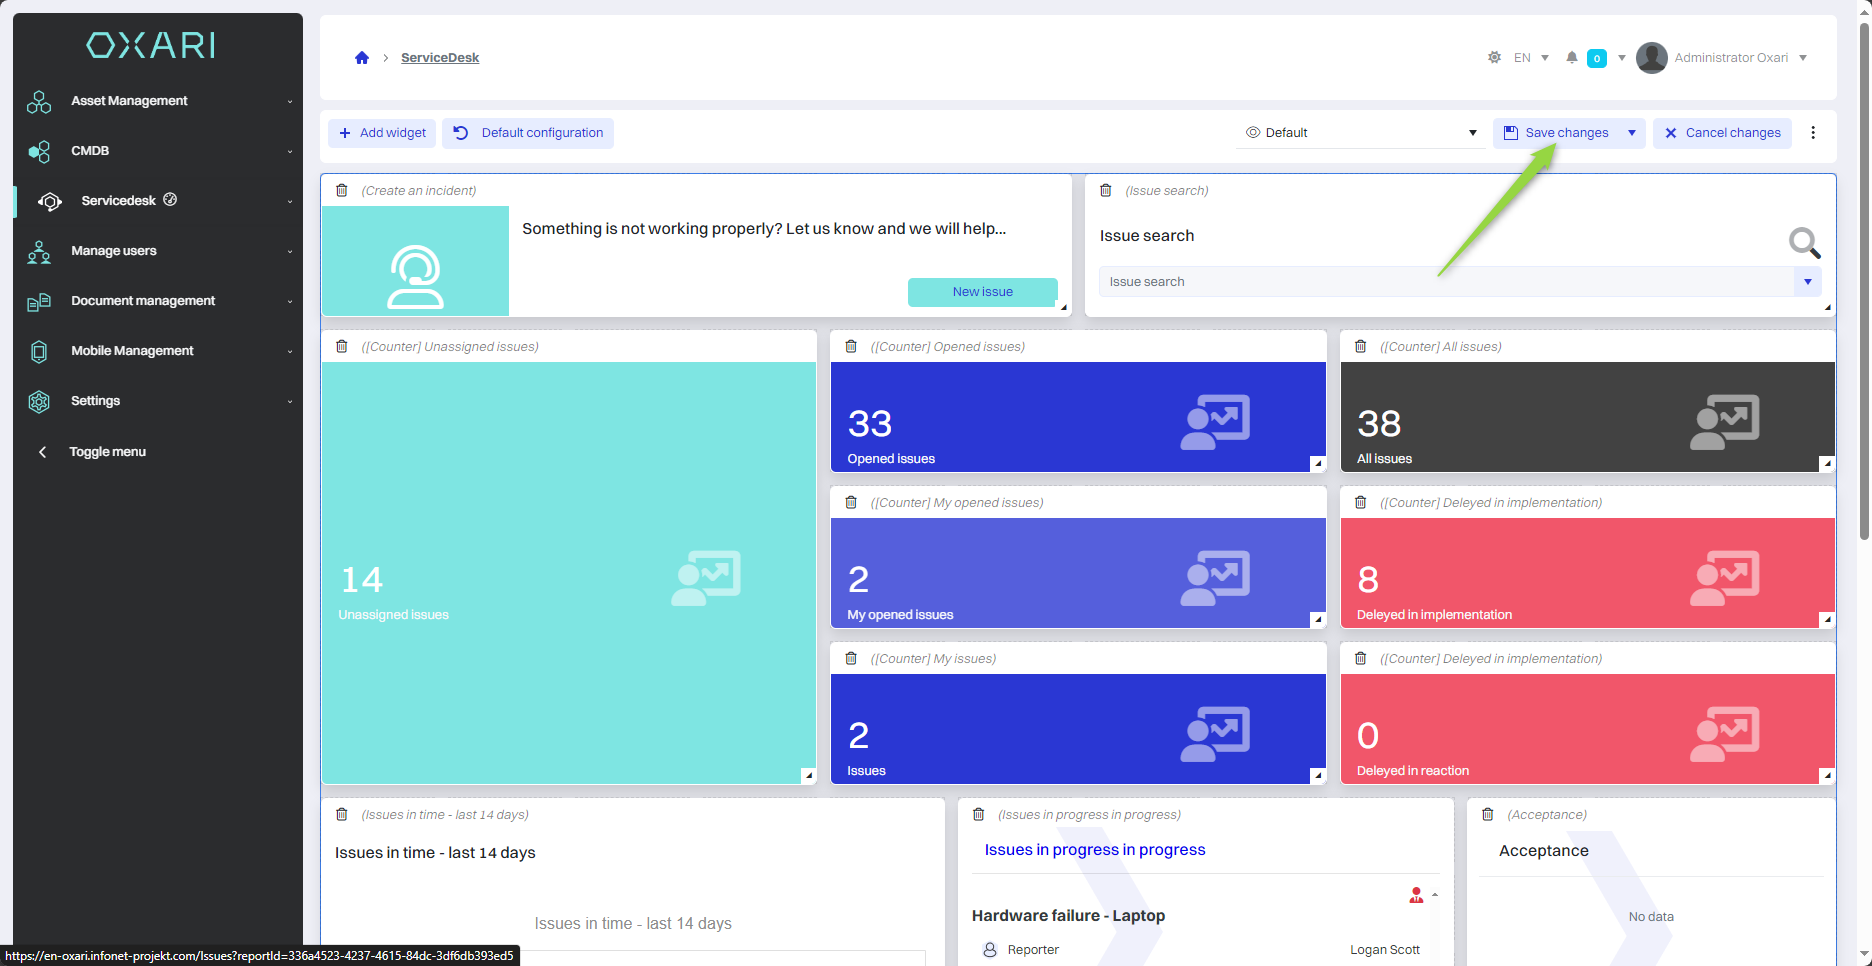
Then, in the “Add widget” window, select the desired wiżdet from the list and click the “Save” button.

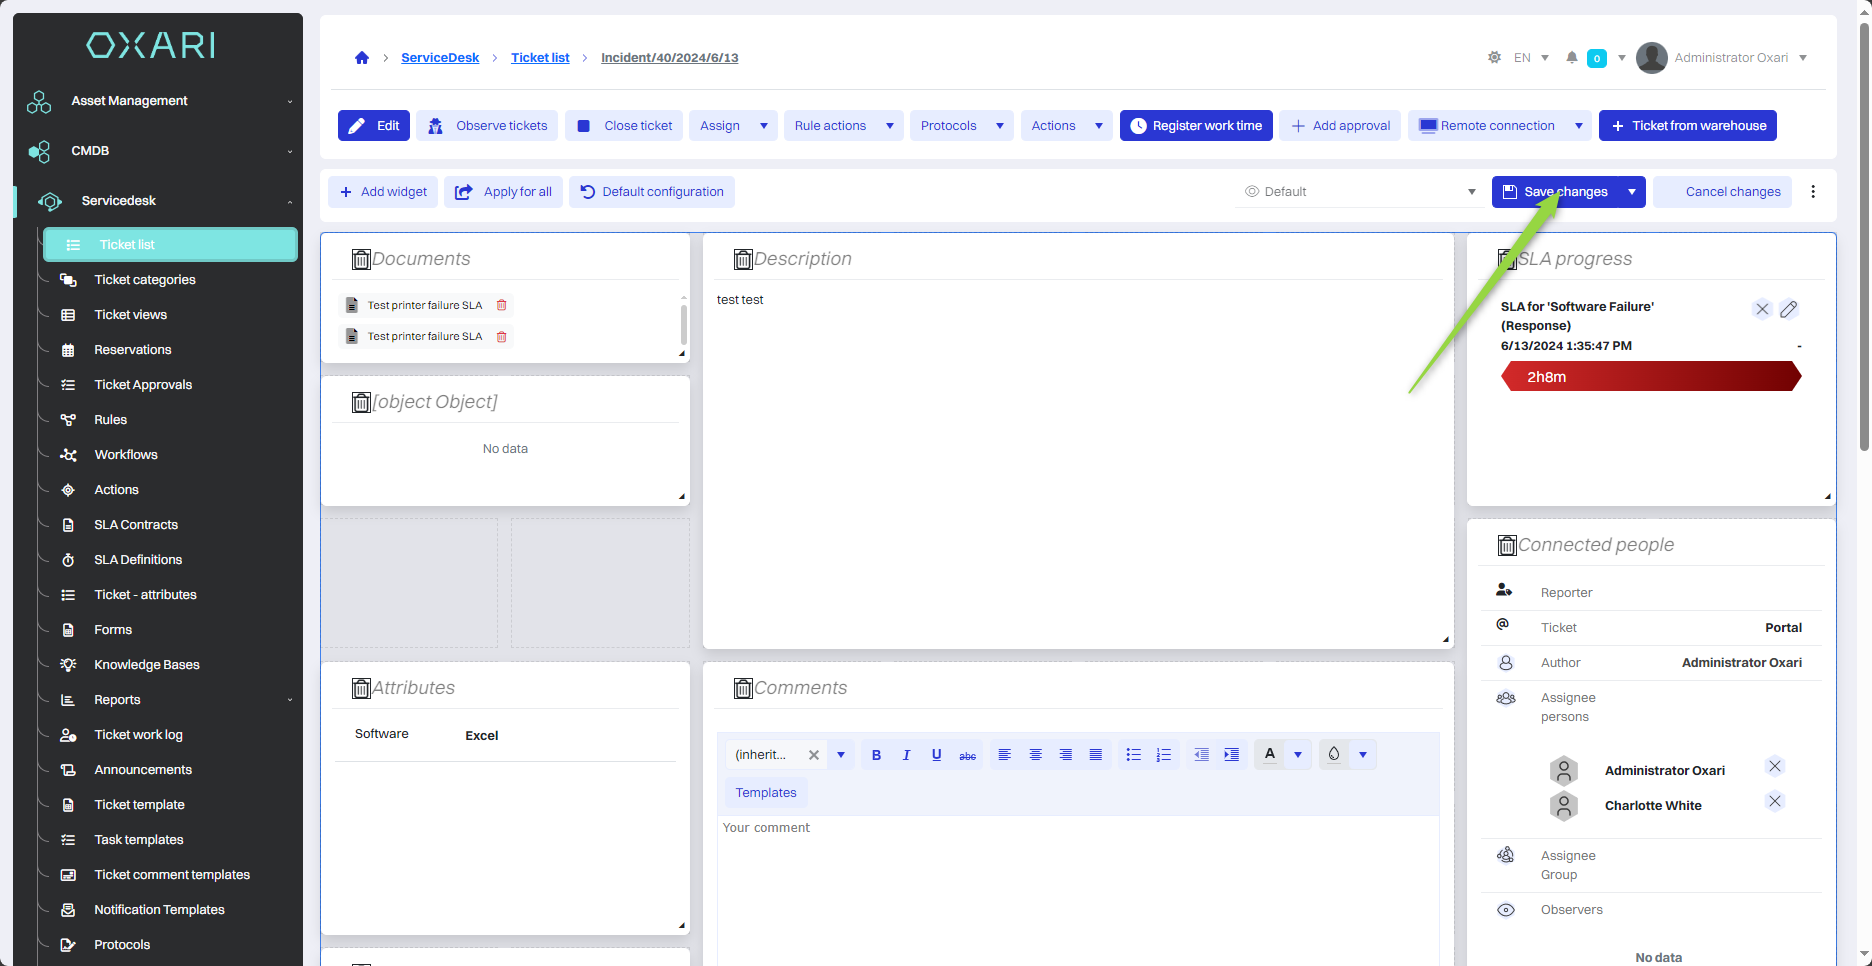
Finally, click the “Save configuration” button.
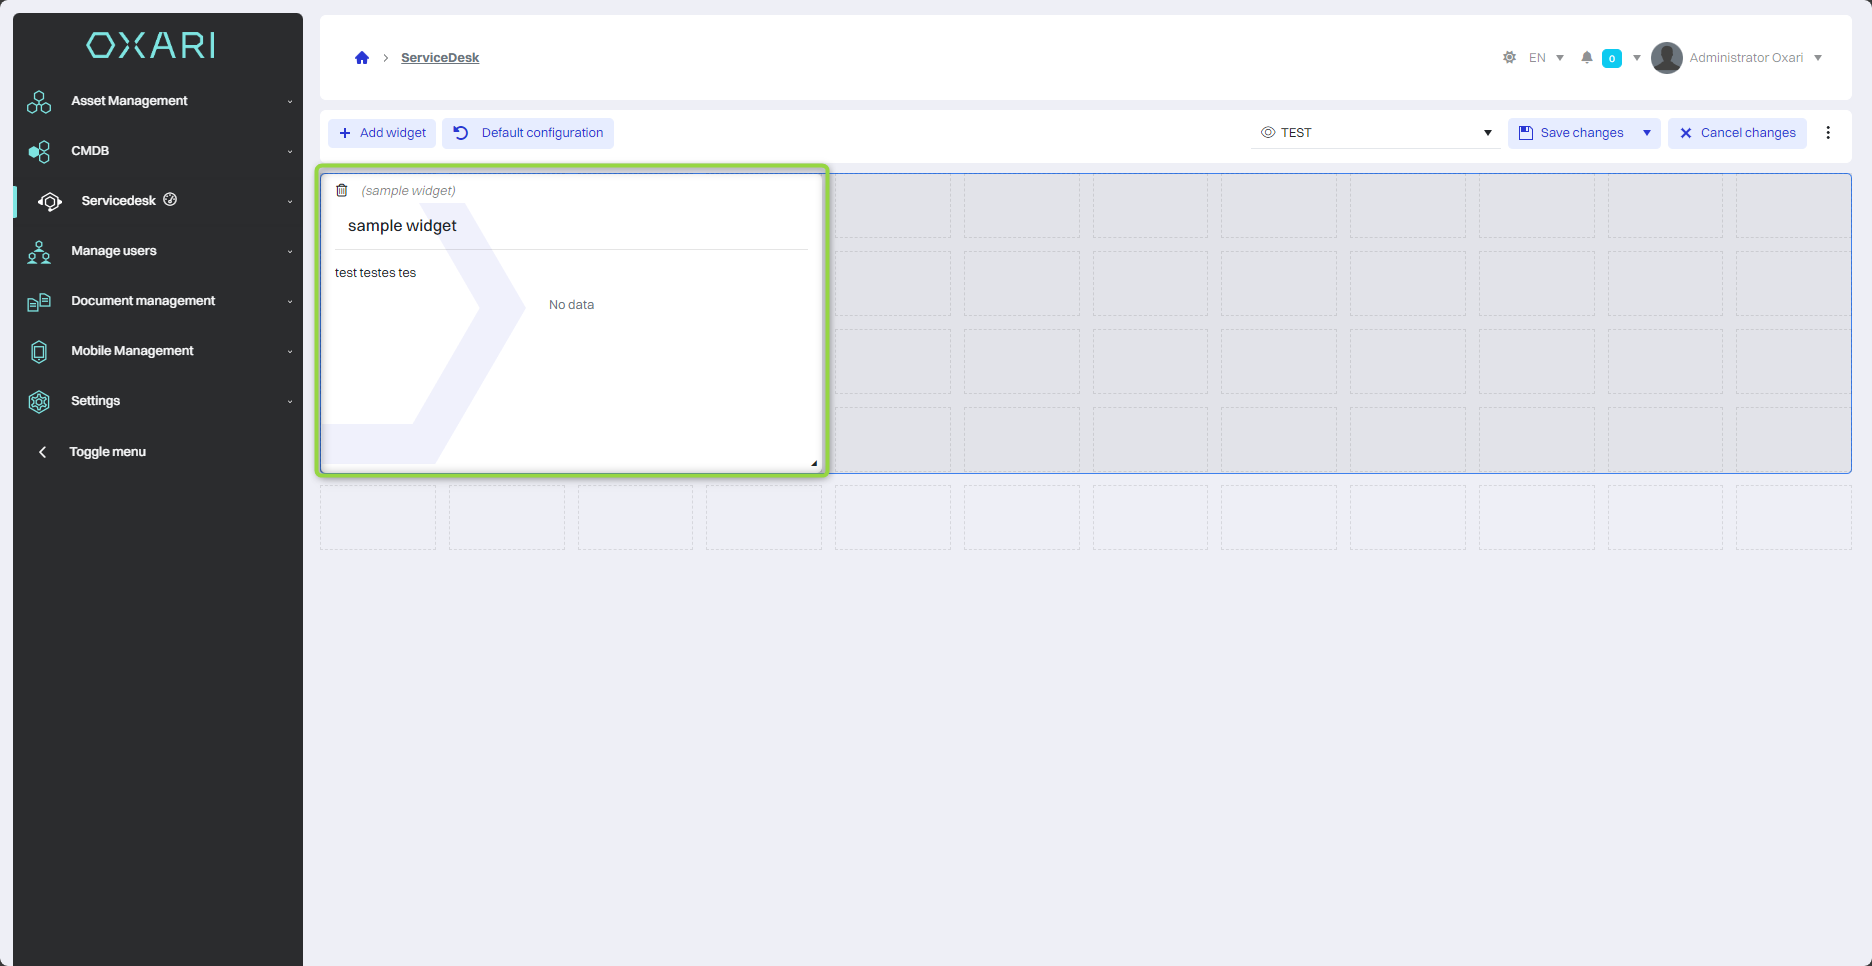
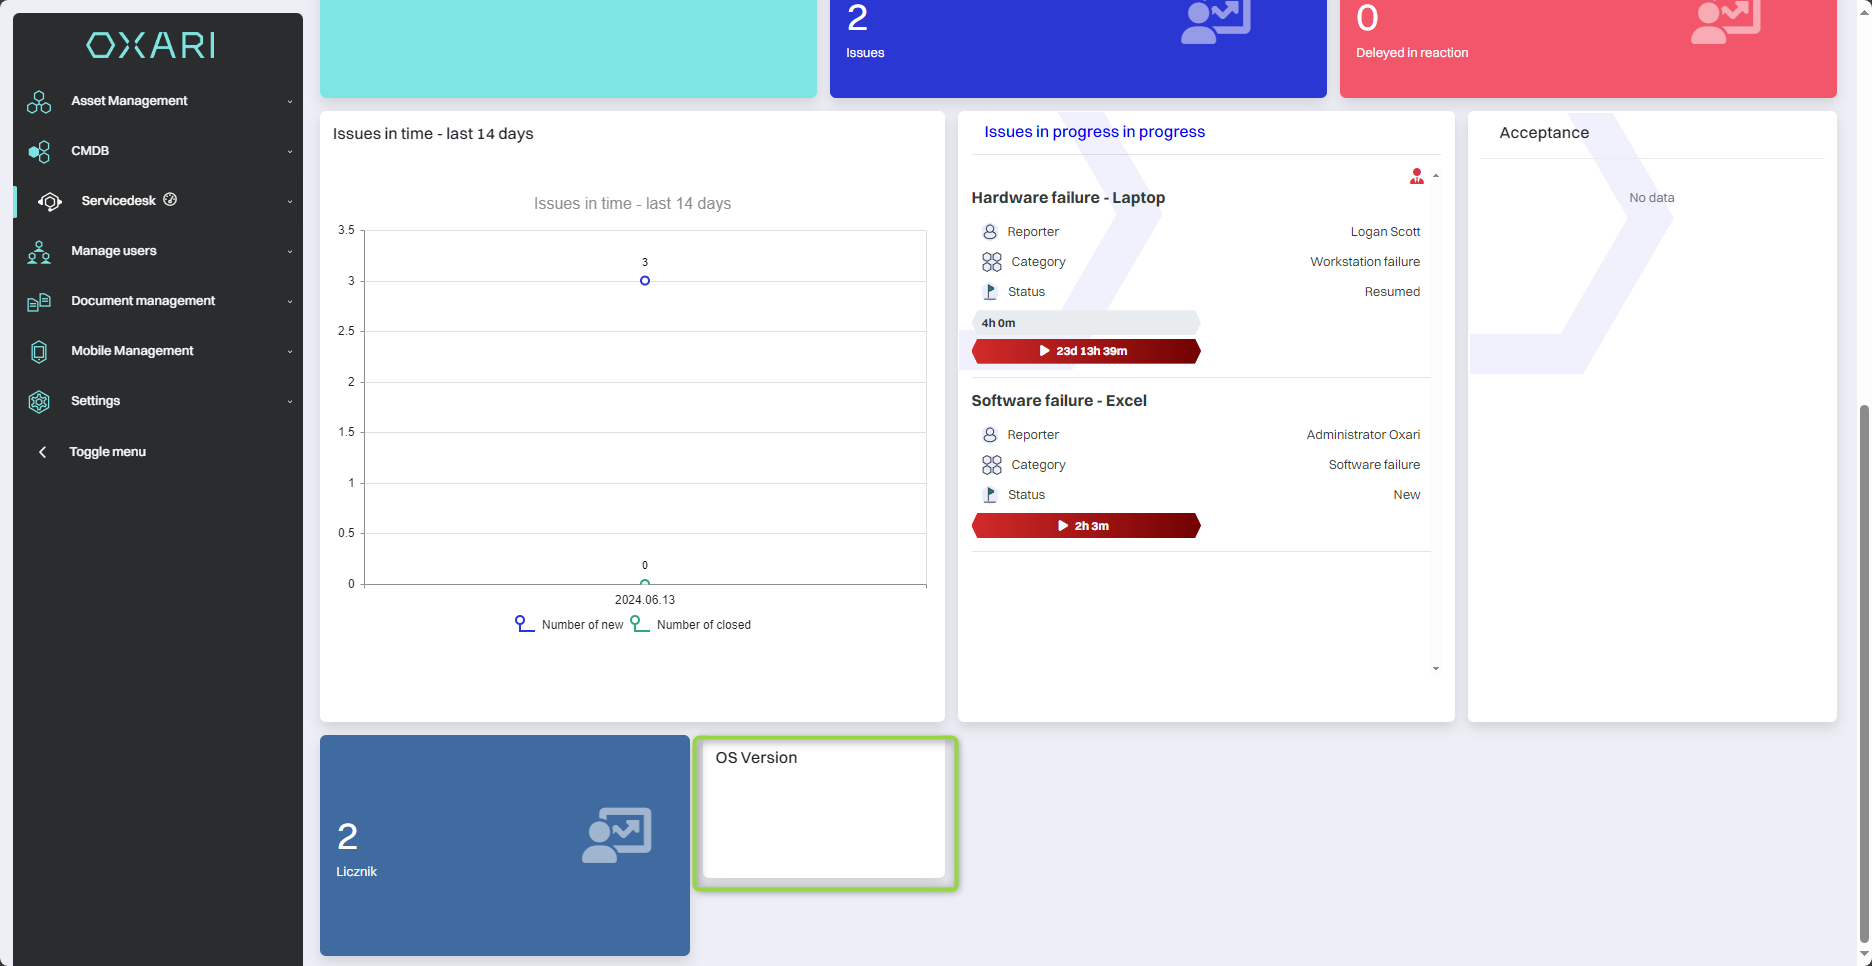
The given widget will appear at the very bottom of the submissions view page:
Adding a widget to a single request view
To add a widget to a single request, go to Servicedesk > Ticket List.
Read more about tickets: Go >
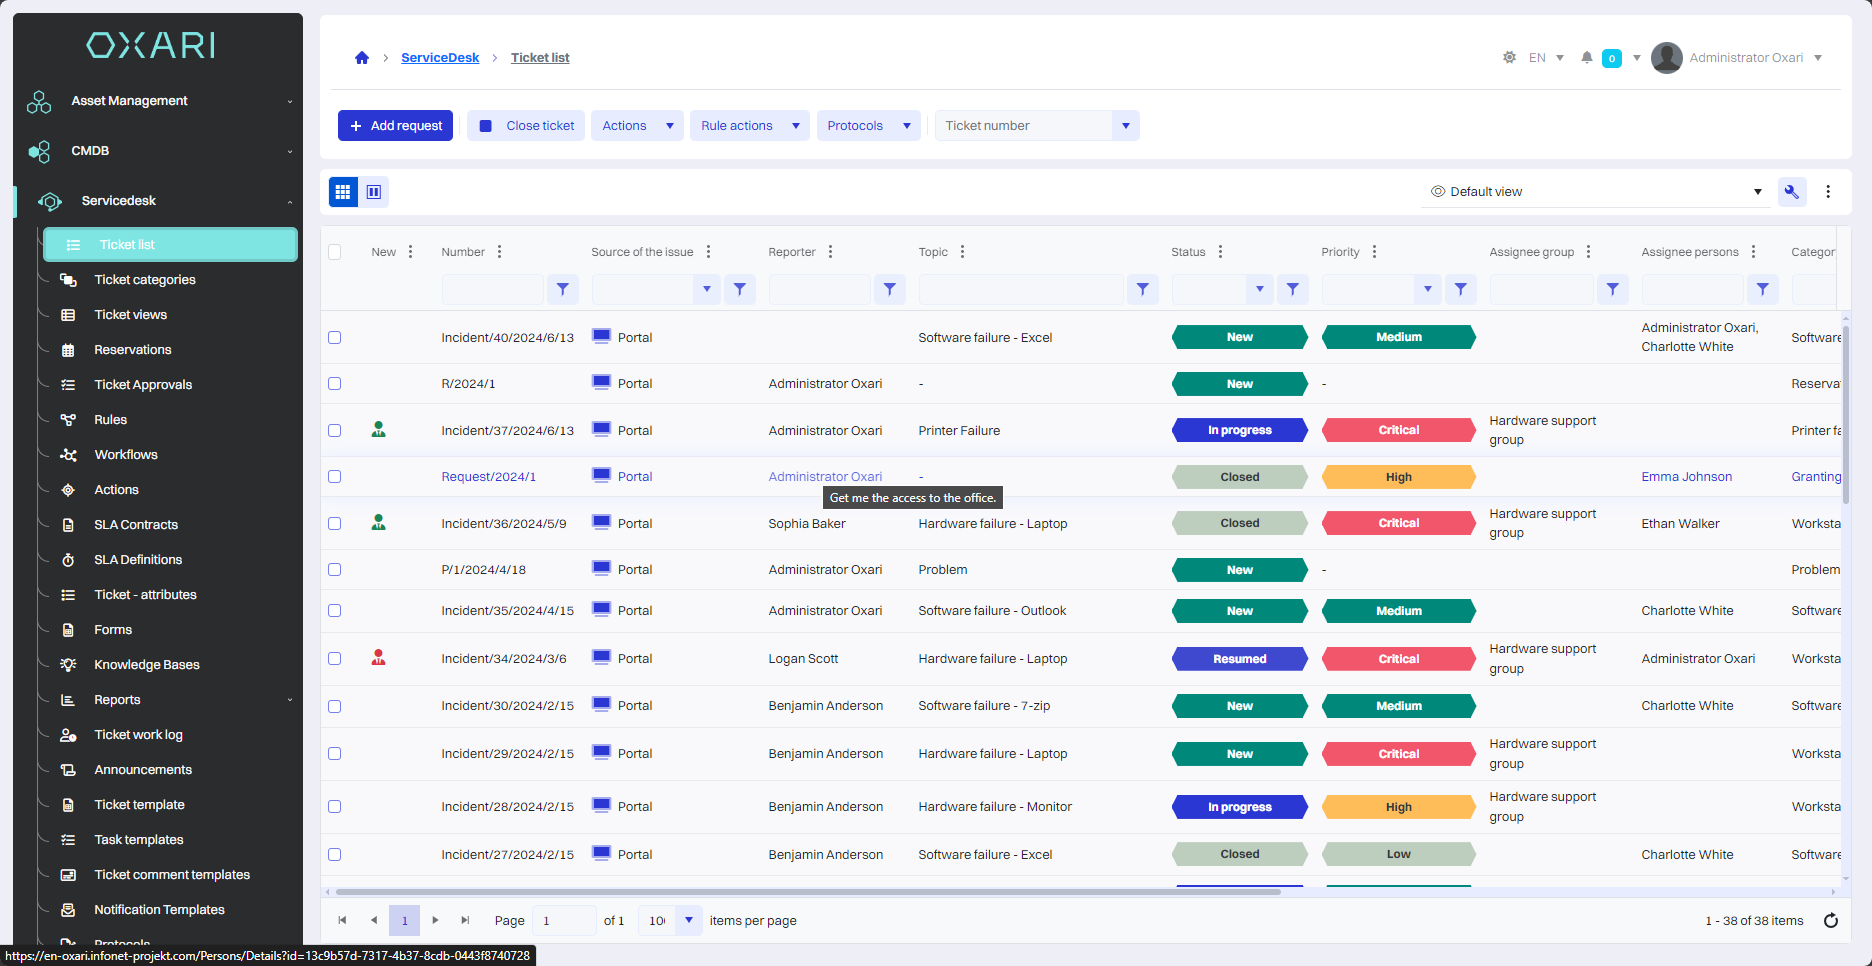
Then go to the detail view of a single application by clicking the “Details” button.
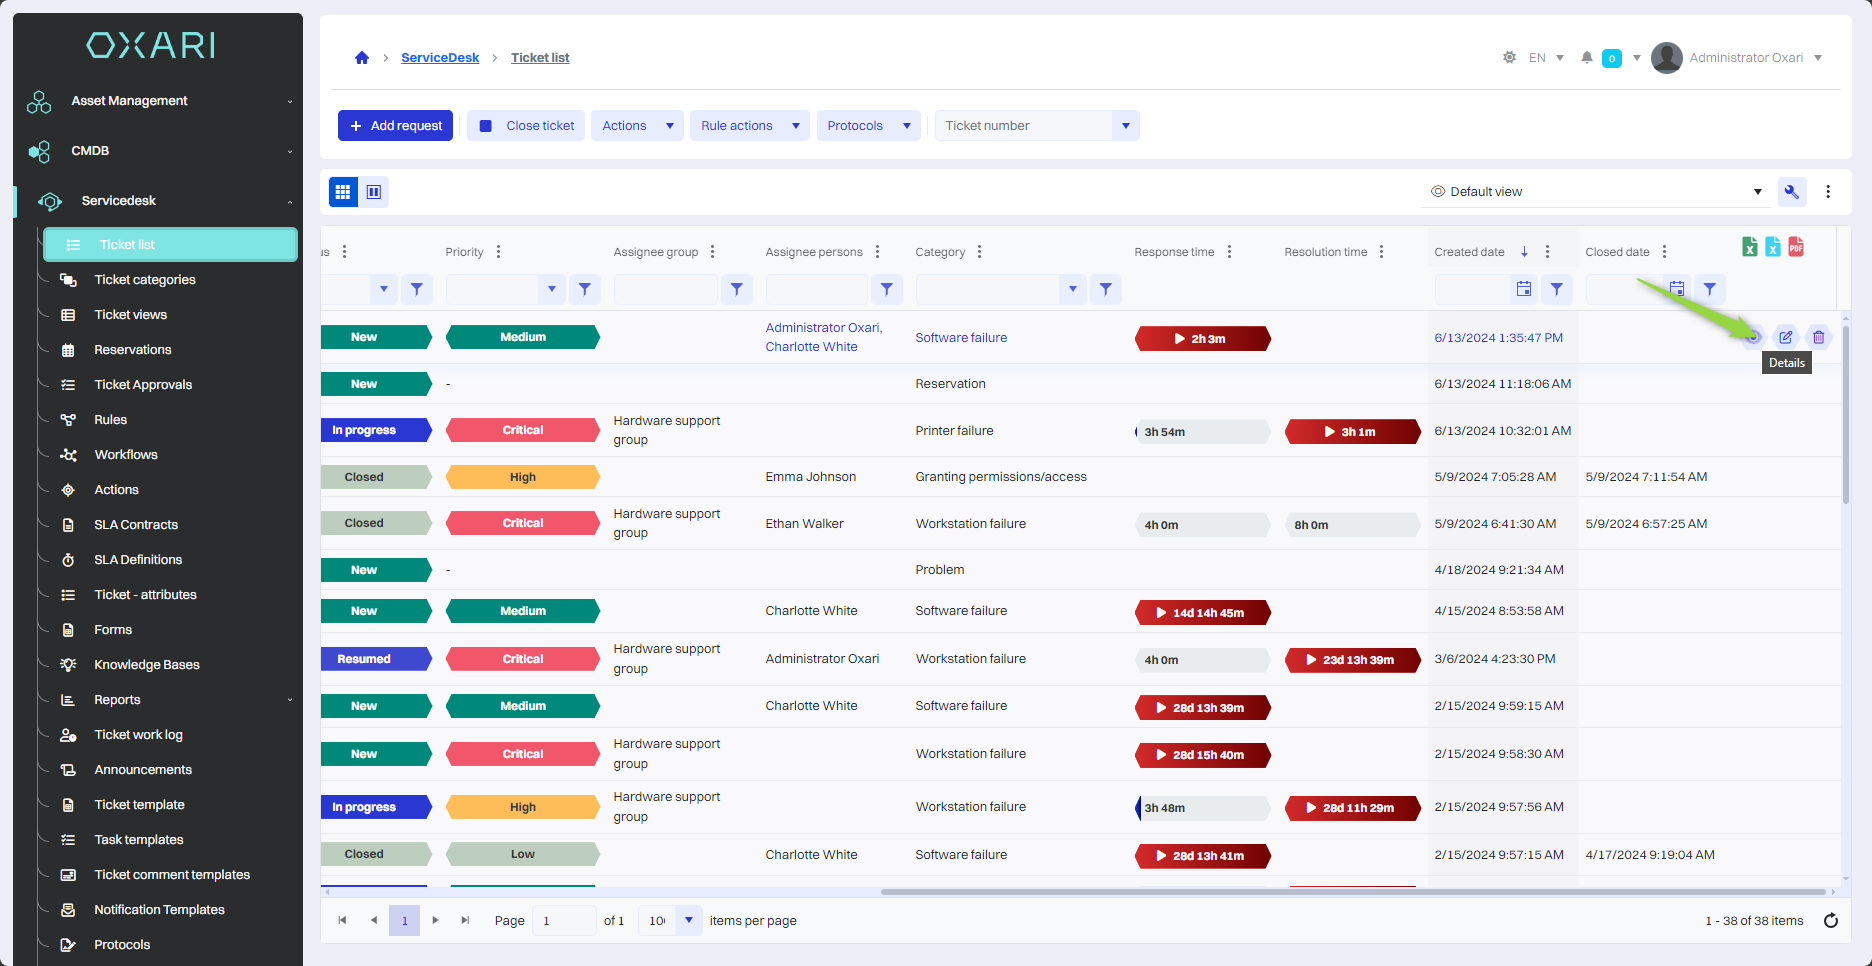
Then click the “key” button to edit the view.
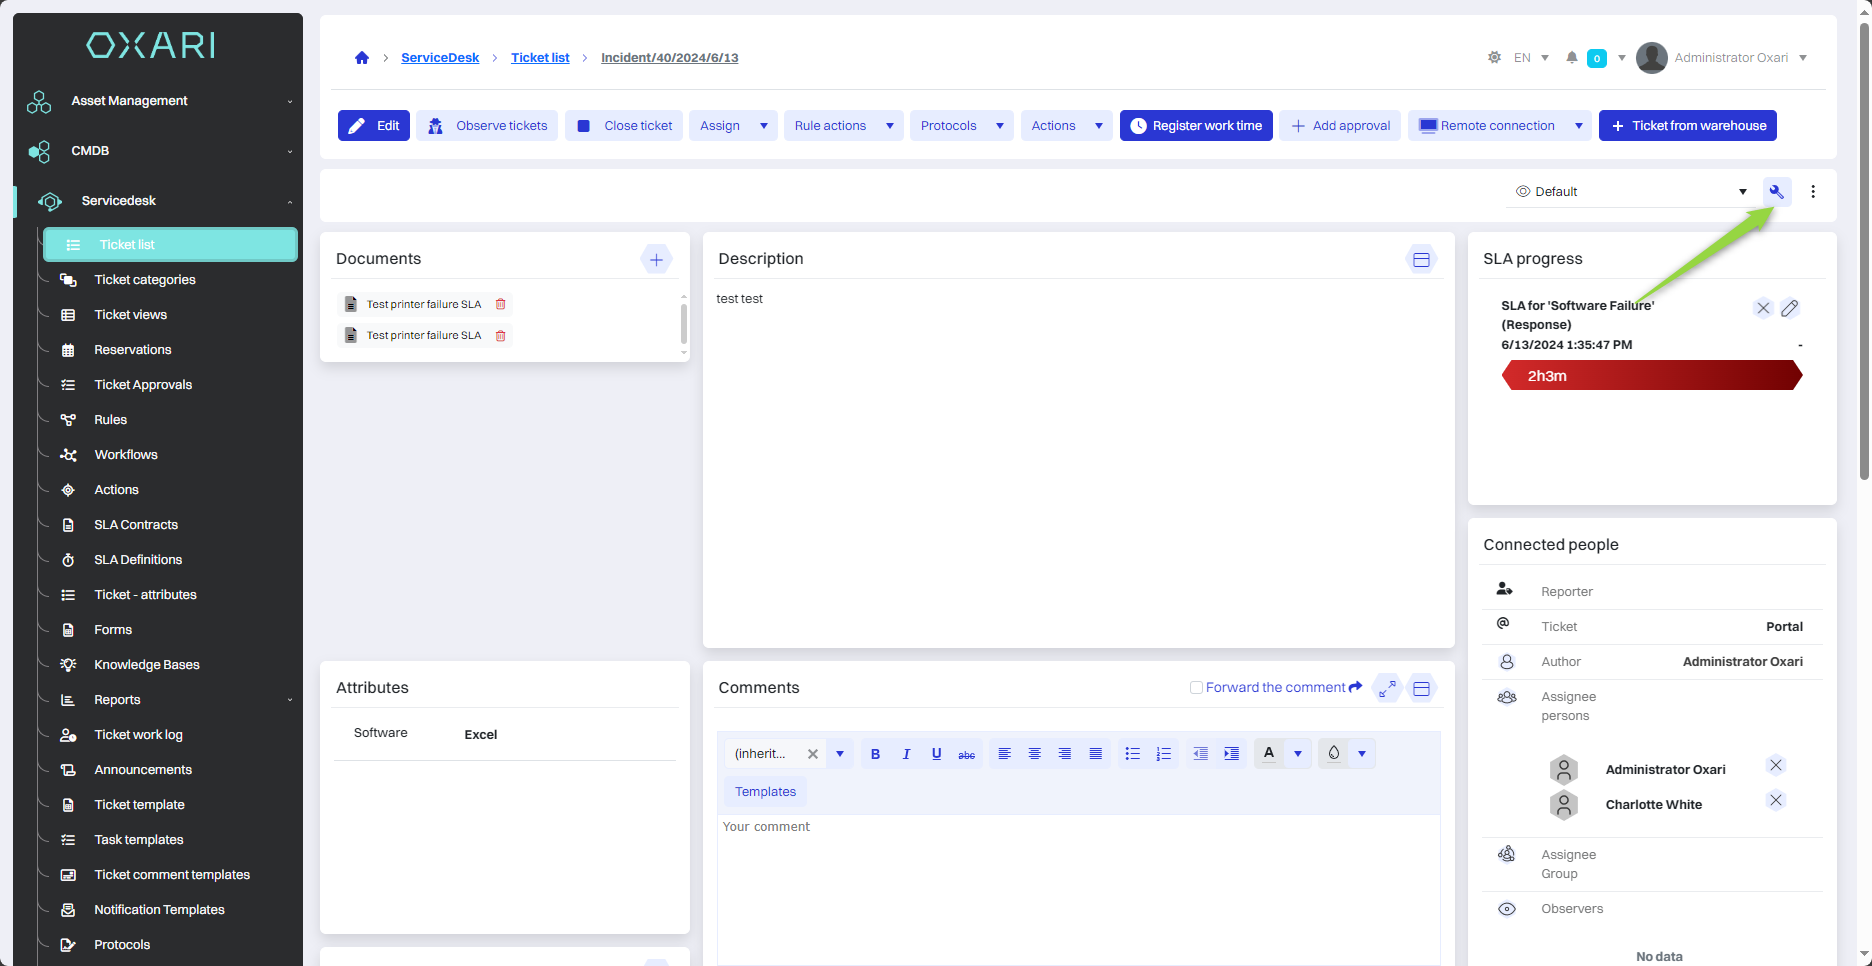
In this step, click the “Add widget” button.
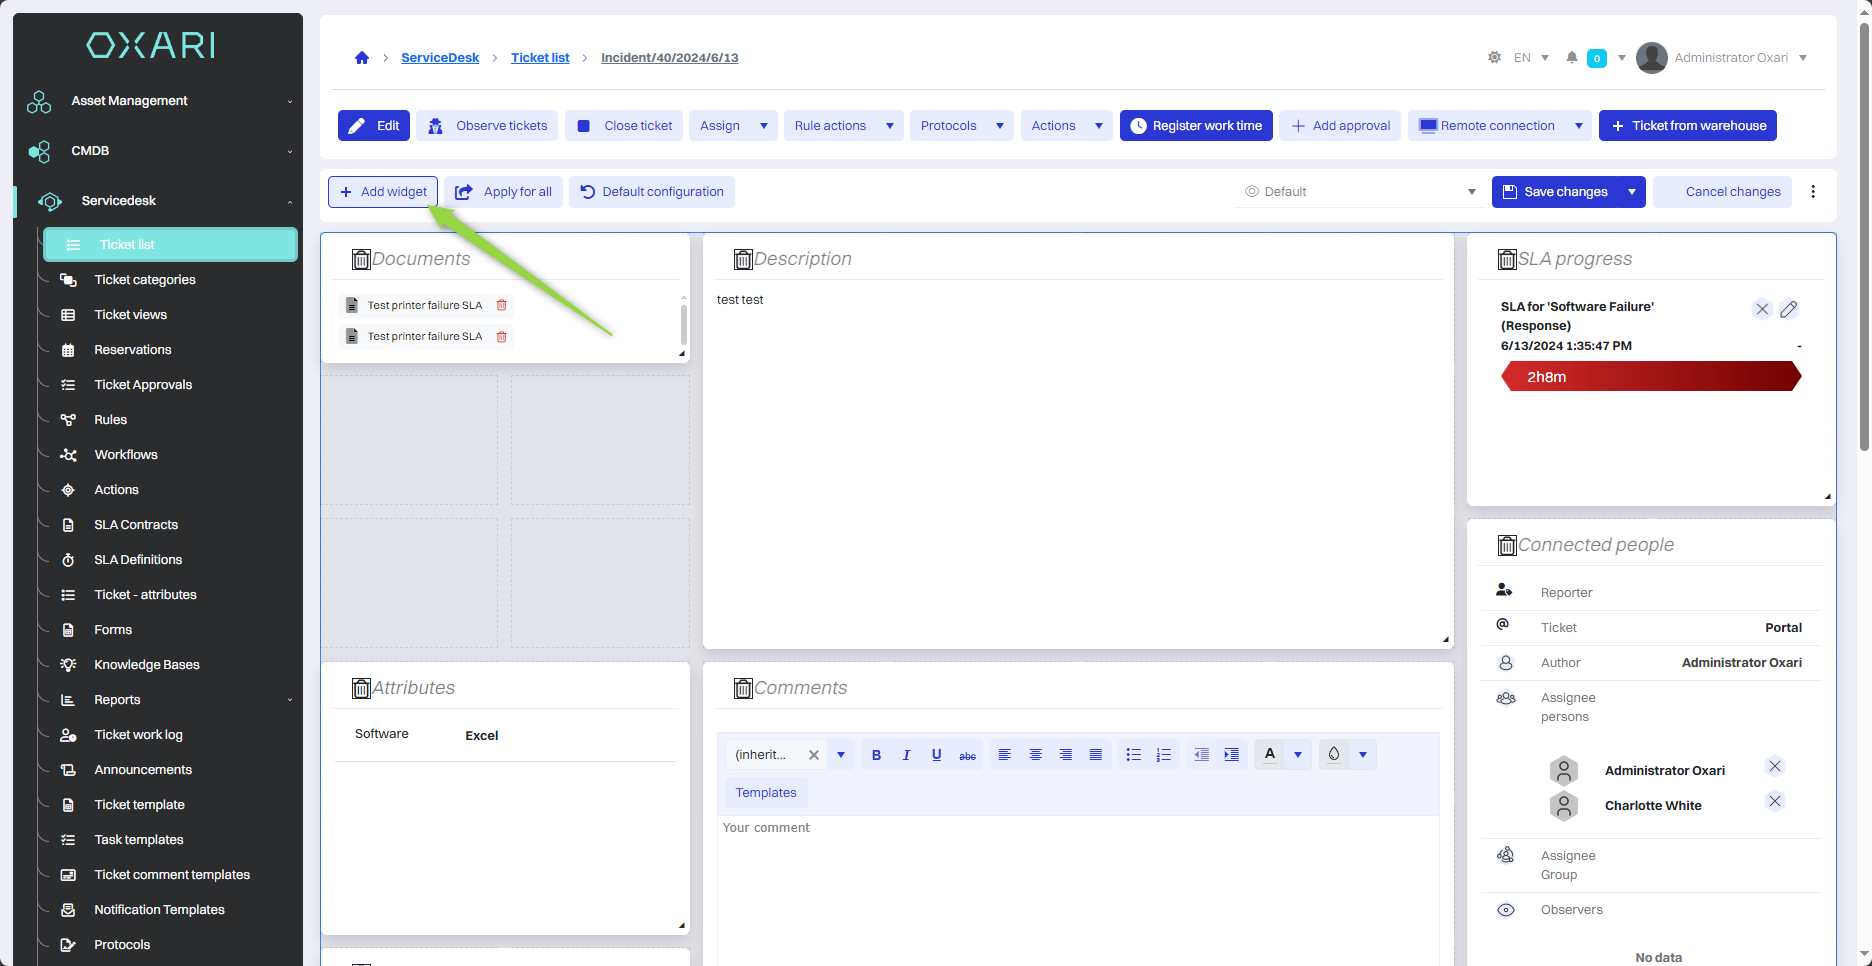
Then, in the “Add widget” window, select “Documents” from the list and click the “Save” button.
In this step, click the “Save Changes” button.
The given document widget is visible at the very bottom of the page:
To configure documents: Go >