Ticket templates are used to streamline the process of creating new tickets. They provide a standard format and predefined fields that can be quickly customized to meet specific needs without having to enter the same information every time.
New ticket template
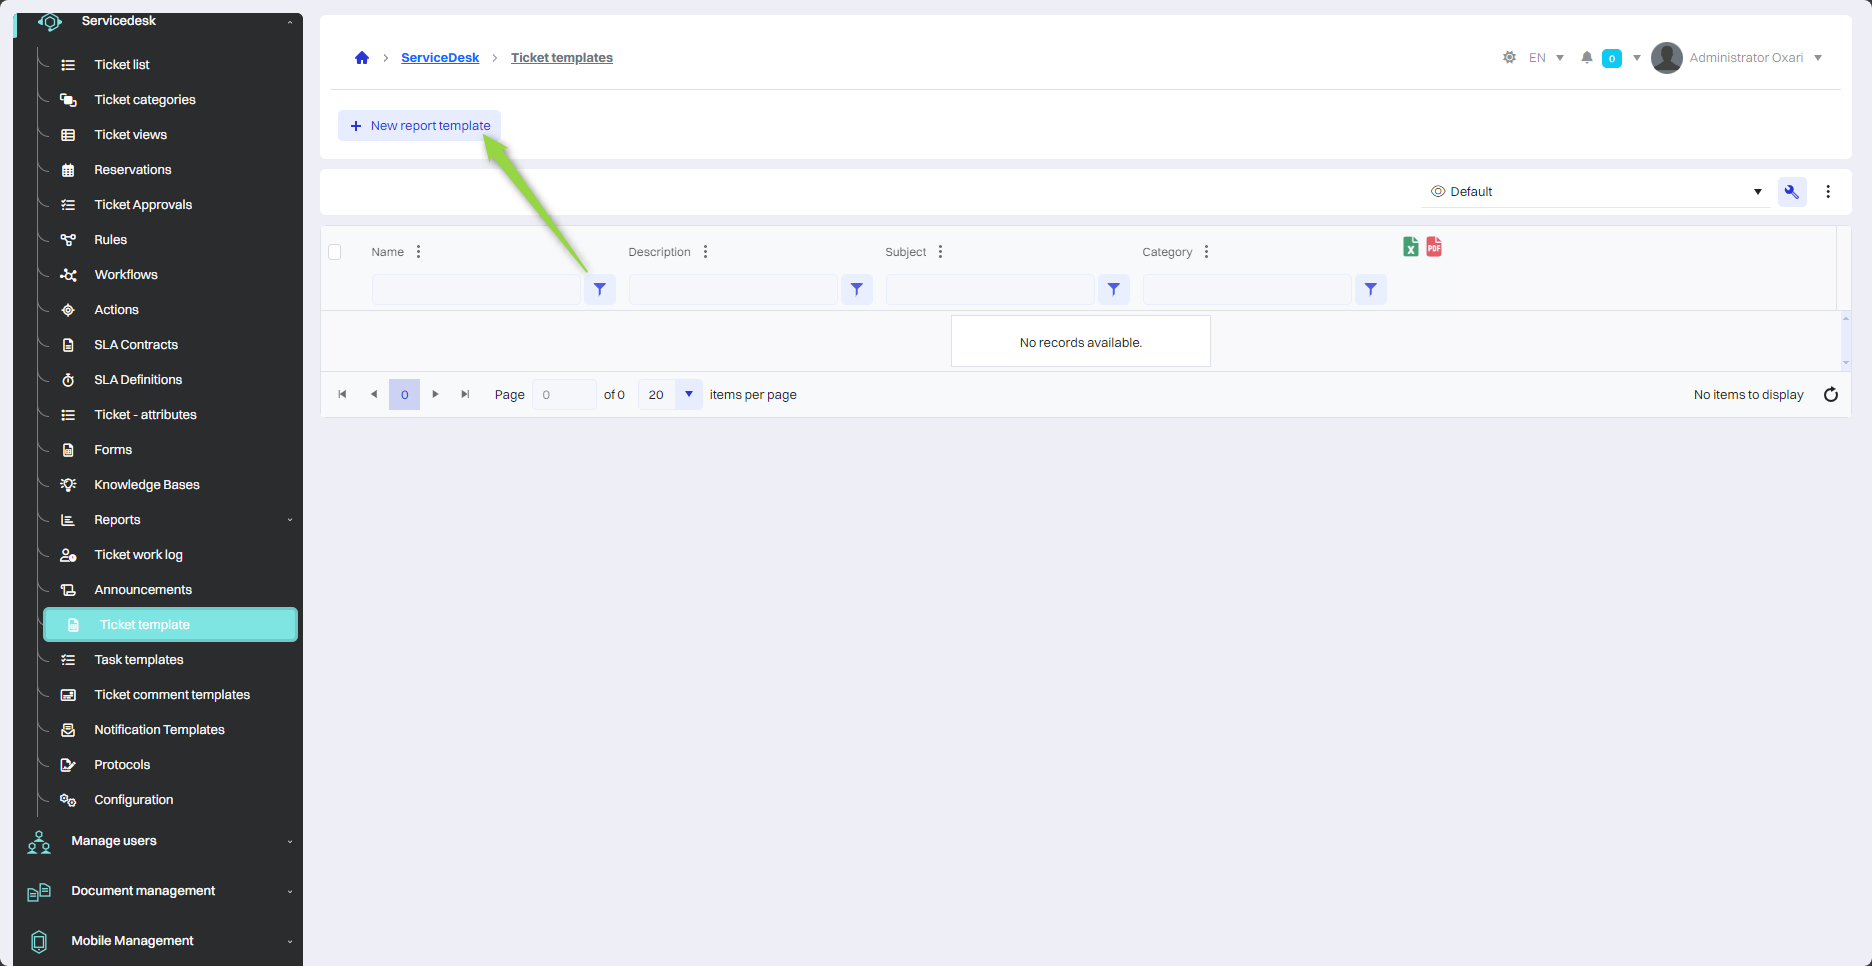
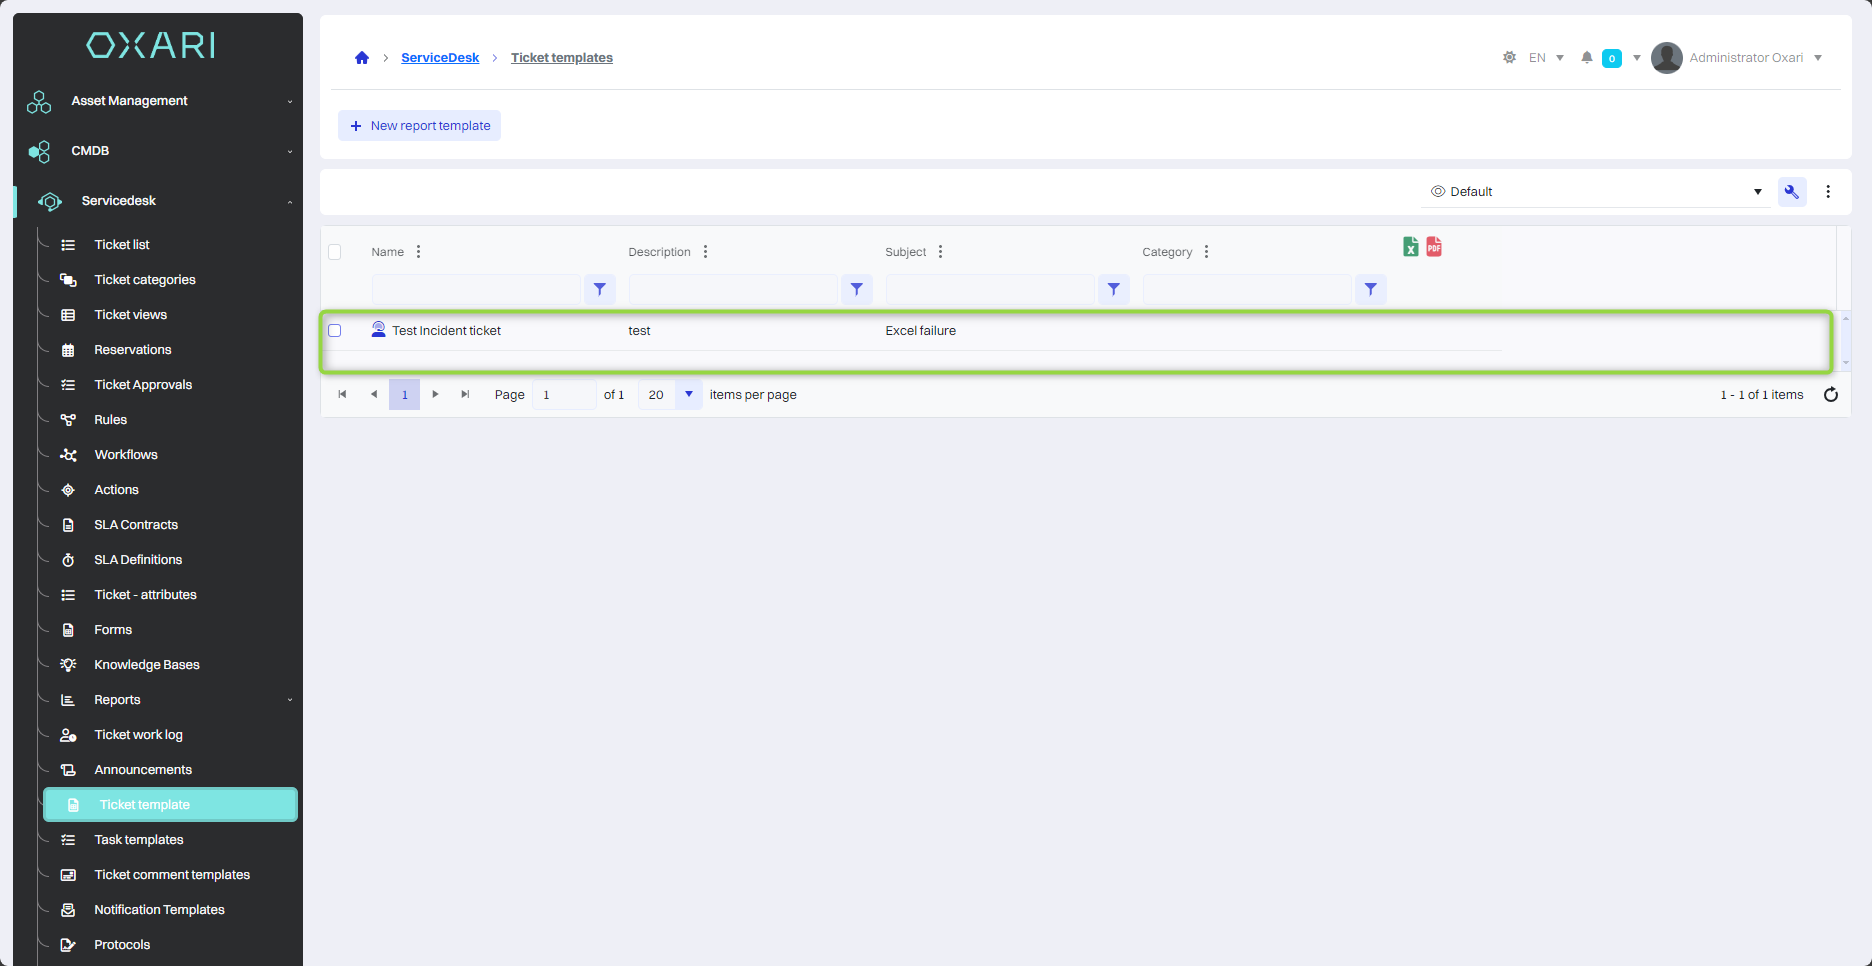
To add a new ticket template, go to Servicedesk > Ticket templates, then click the “New ticket template” button.
The “New ticket template” window is a tool for creating predefined templates for different types of tickets, such as incident, task, problem, reservation or service. With these templates, users can quickly generate new tickets using ready-made structures. Fill in the desired fields and click the “Save” button.

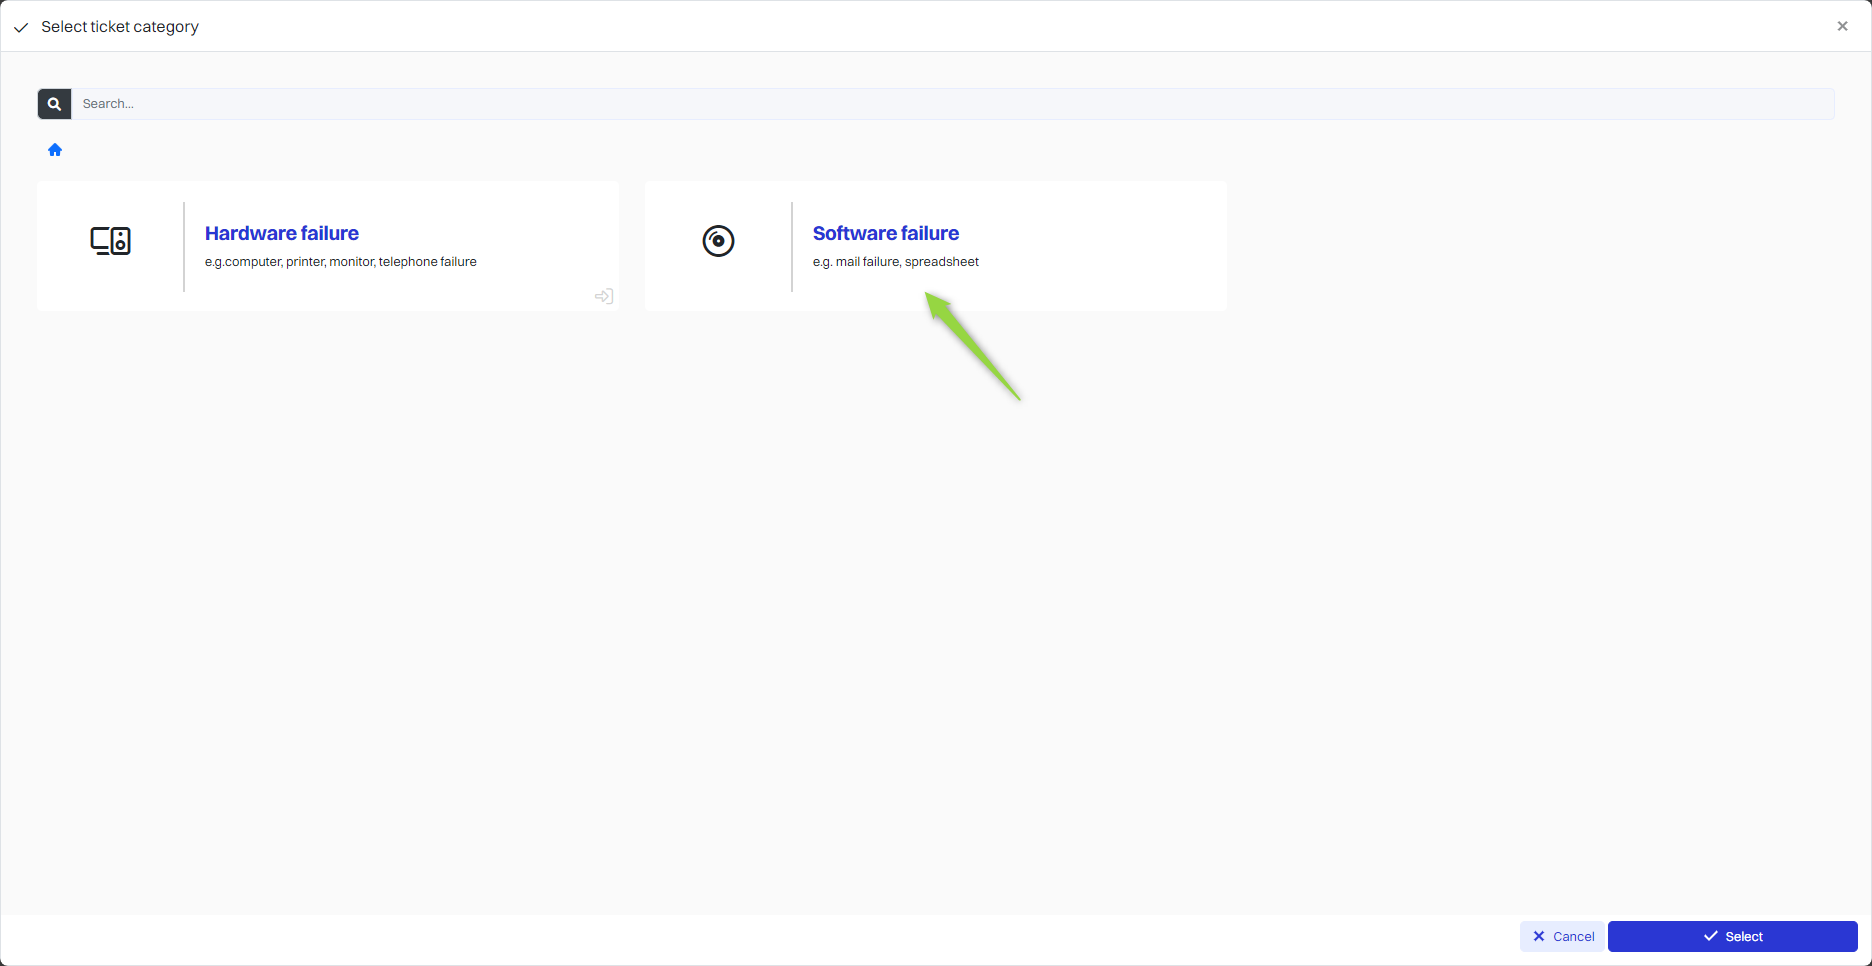
Next, select the ticket category for the ticket template to be created.
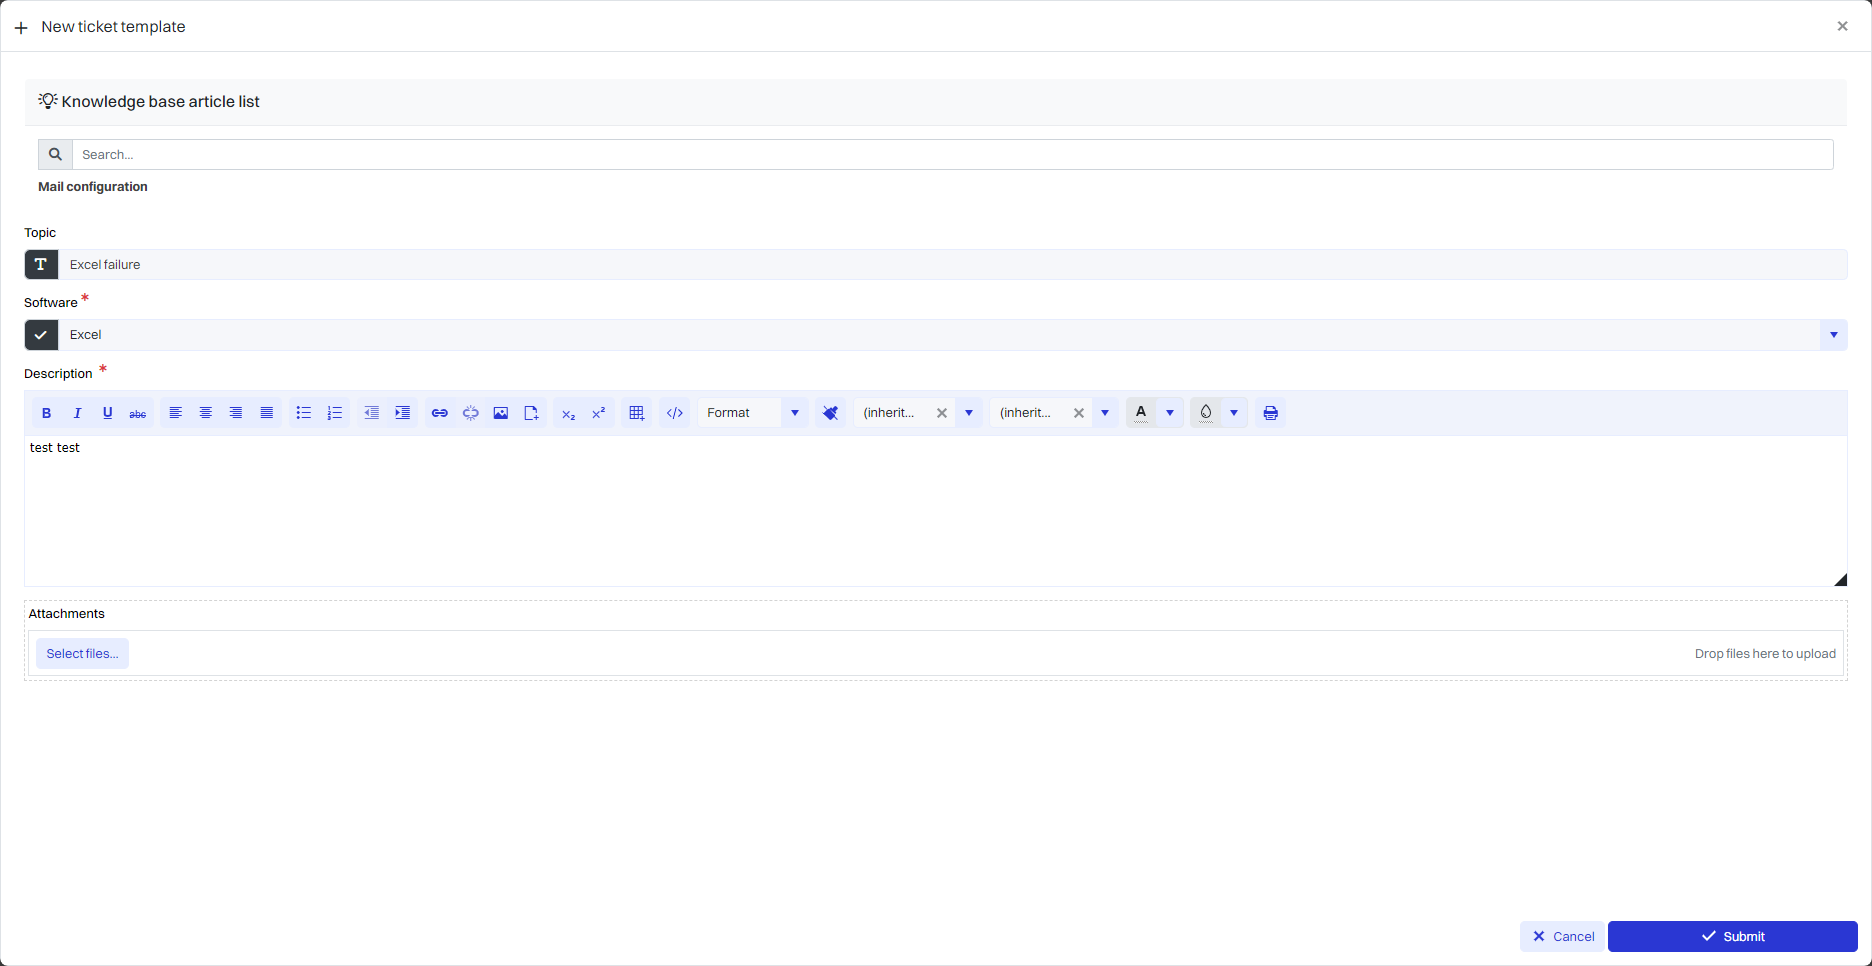
In this step, in the “New ticket template” window, fill in the desired fields from the form and click the “Submit” button.
More about forms: Go >
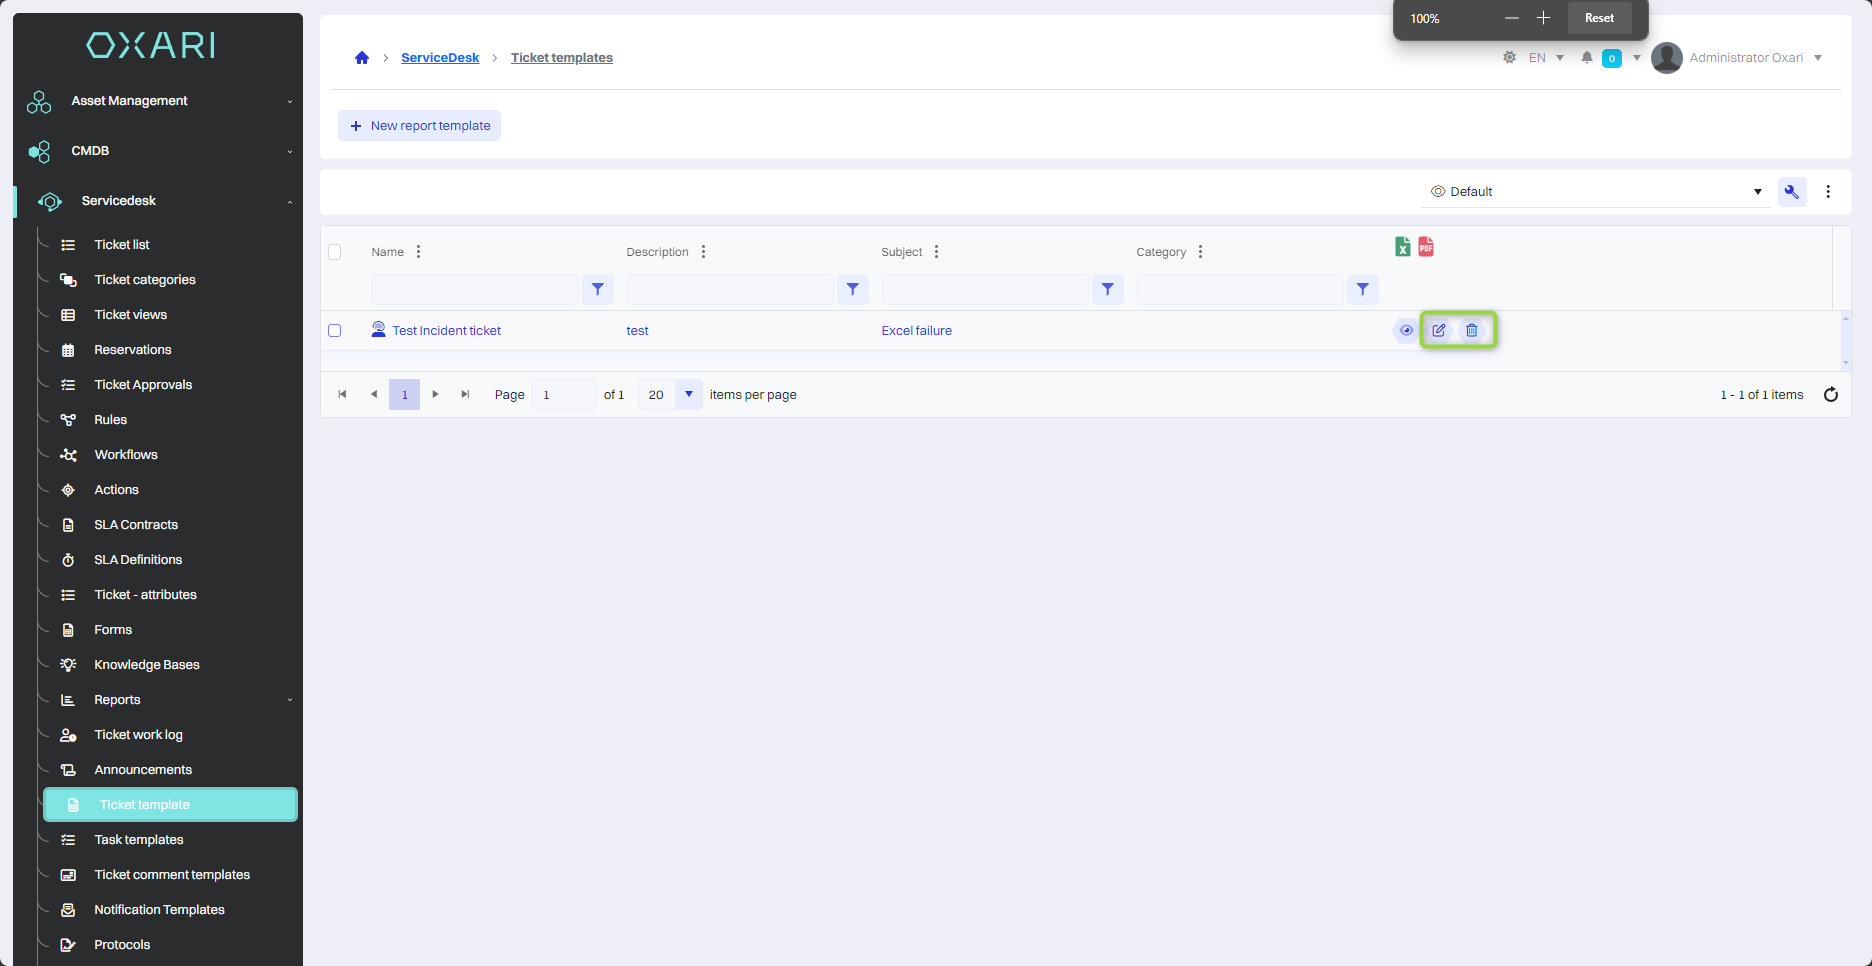
The ticket template has been added to the list.
Using the ticket template
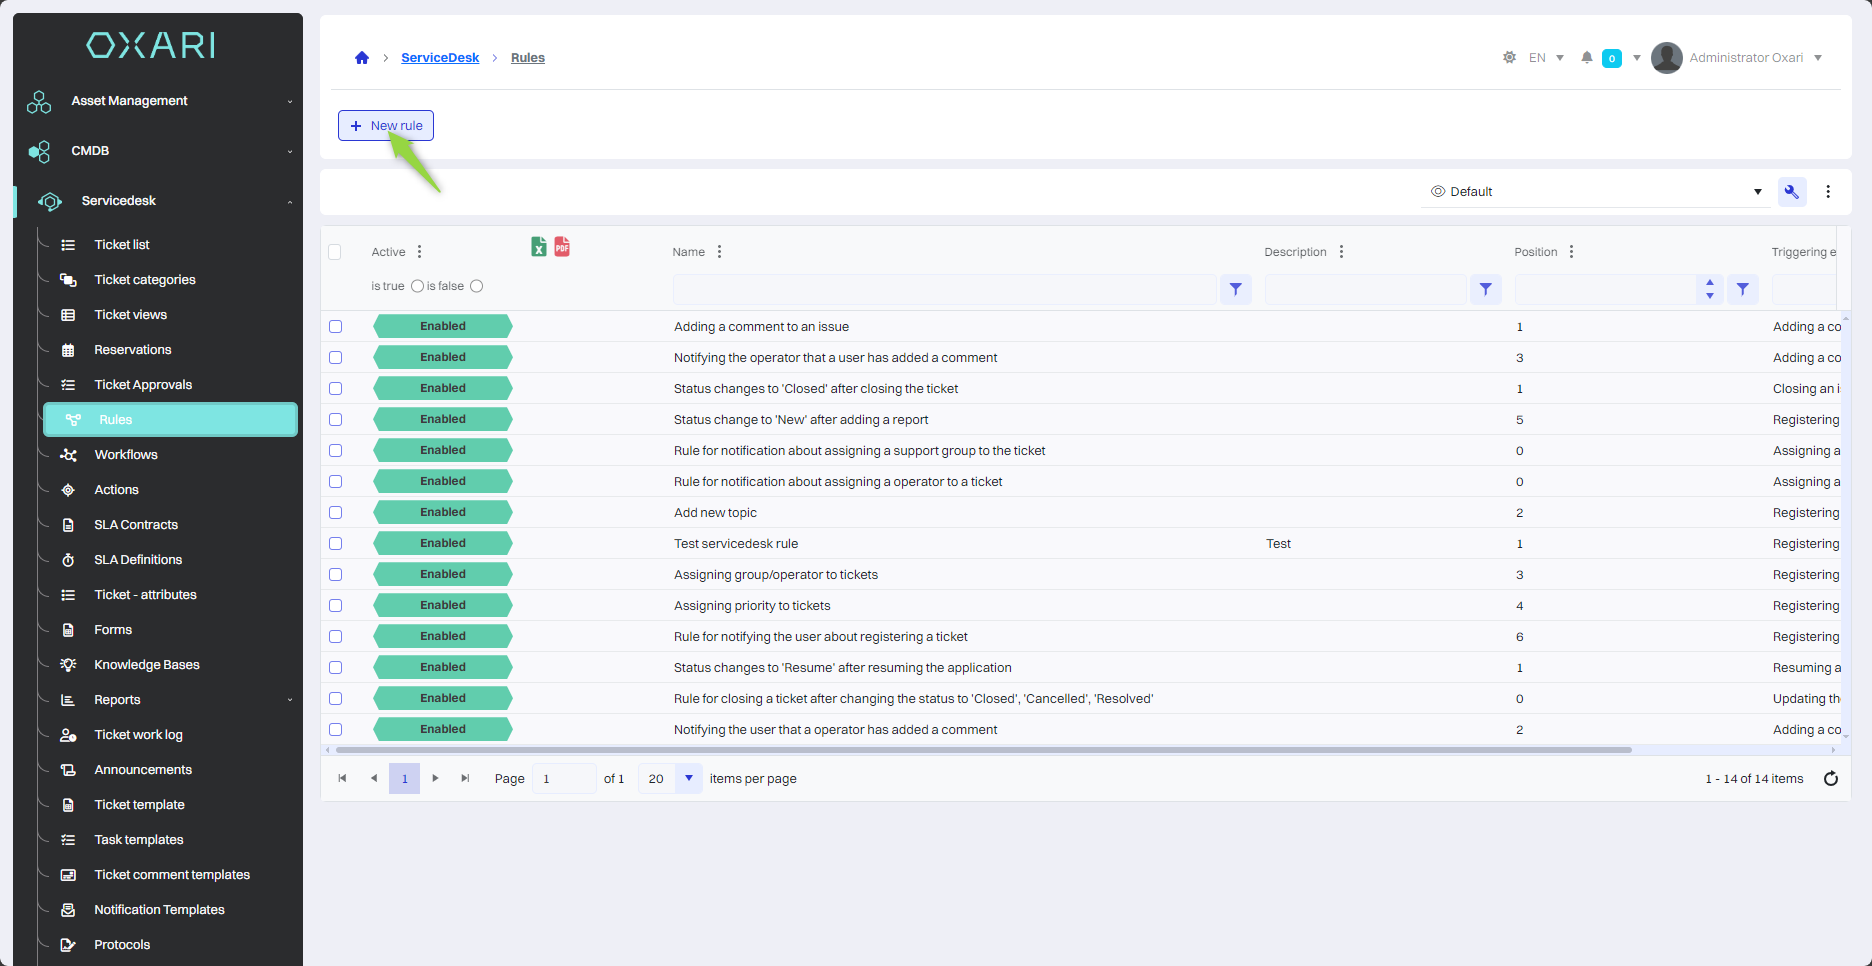
In order to use the ticket template, you need to create and properly configure a rule with the “Select action in ticket details” trigger event. Go to Servicedesk > Rules, and then click the “New rule” button.
More about rules: Go >
Create a rule
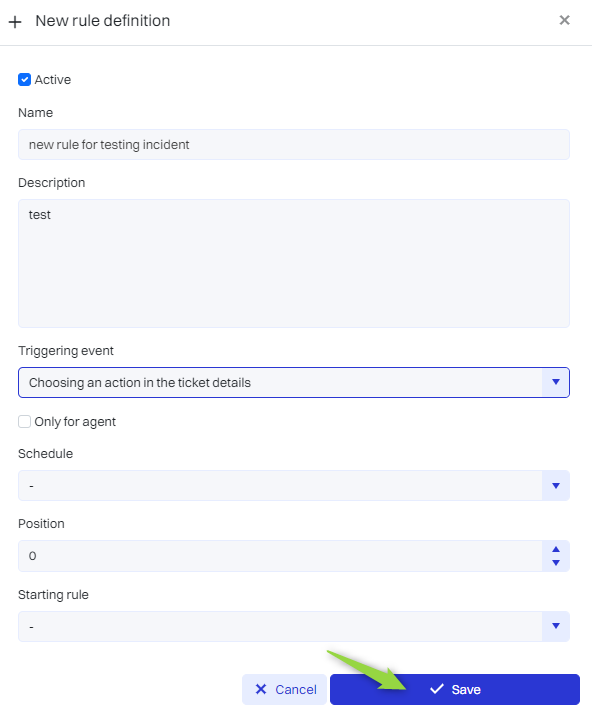
In this step, you need to create a rule with an event that triggers “Select action in ticket details”.
Create an action
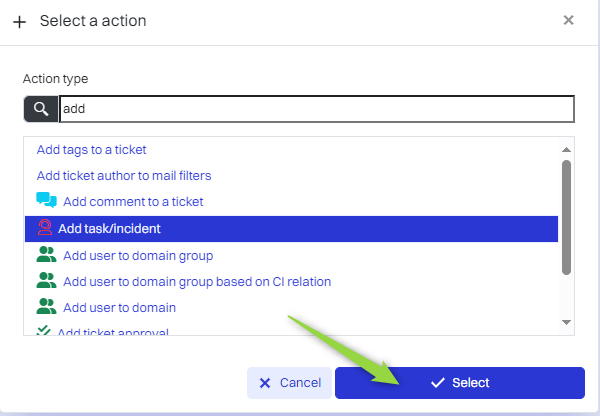
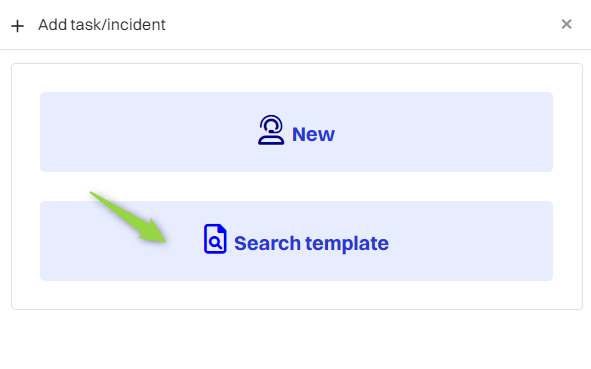
Next, assign an action for the truth “Add task/ticket”.

In this step, select the “Search template” option because the ticket template has already been created before.
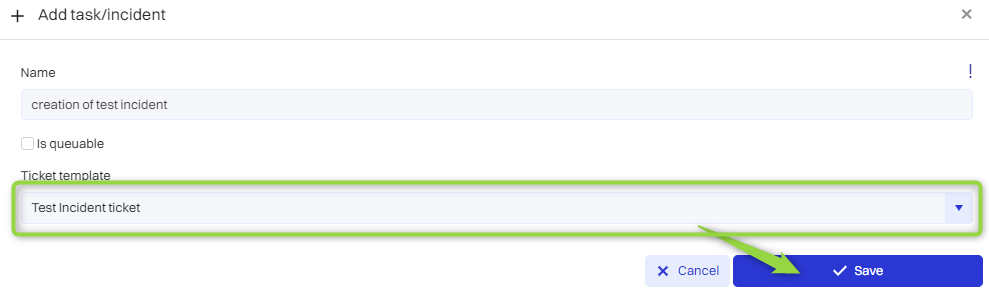
Finally, select the desired template, name the action and click the “Save” button.
Execute the action
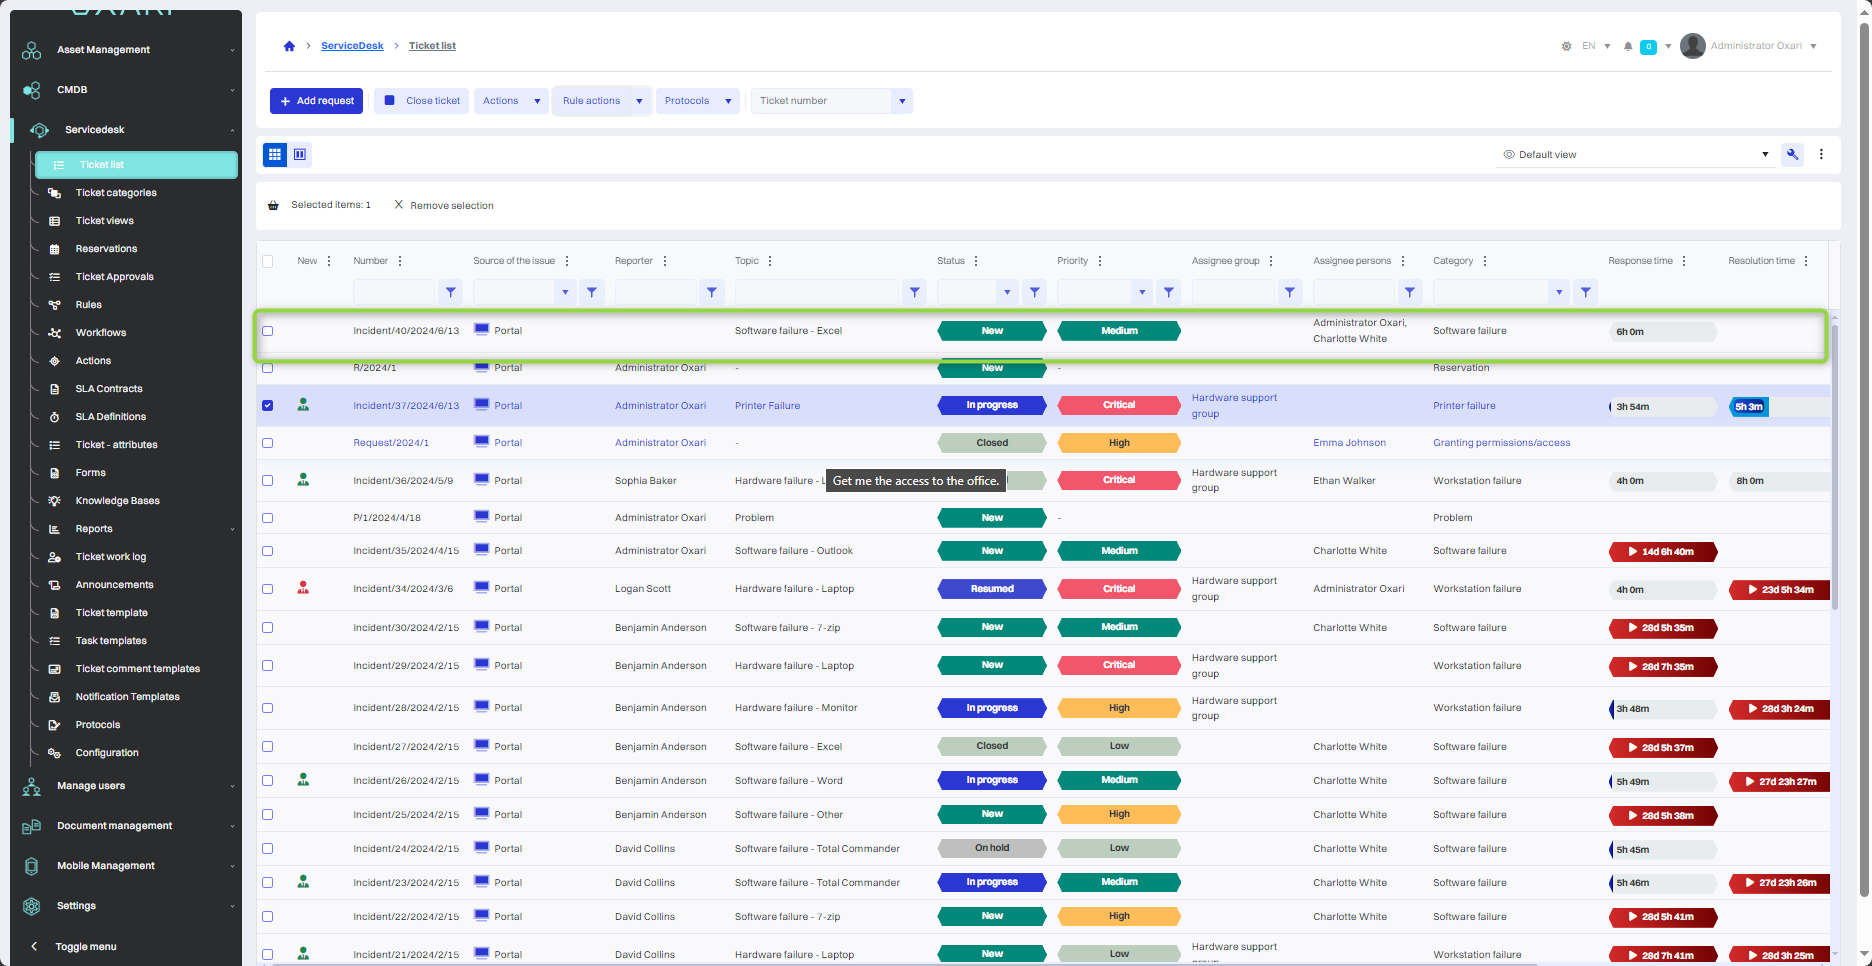
In this step, go to Servicedesk > Ticket list, then select any request, click on the “Rule actions” drop-down list and select the desired rule.

The incident according to the template has been added.
Editing/Deleting ticket templates
To edit/delete ticket templates, go to Servicedesk > Ticket templates, then hover over the desired ticket template. The edit/delete buttons will be displayed.