Profiles in OXARI mobile management are used to configure and apply specific settings to a group of mobile devices. They allow you to define a predefined application, or an environment with limited access to applications, Wi-Fi settings, location, contact management and other aspects of device usage. Profiles enable simplified management of multiple devices, providing uniform security settings and application configurations. They can be assigned to devices under Mobile Management > Devices. Profiles are divided into: Location, WiFi, predefined application, Contacts.
Create a new profile
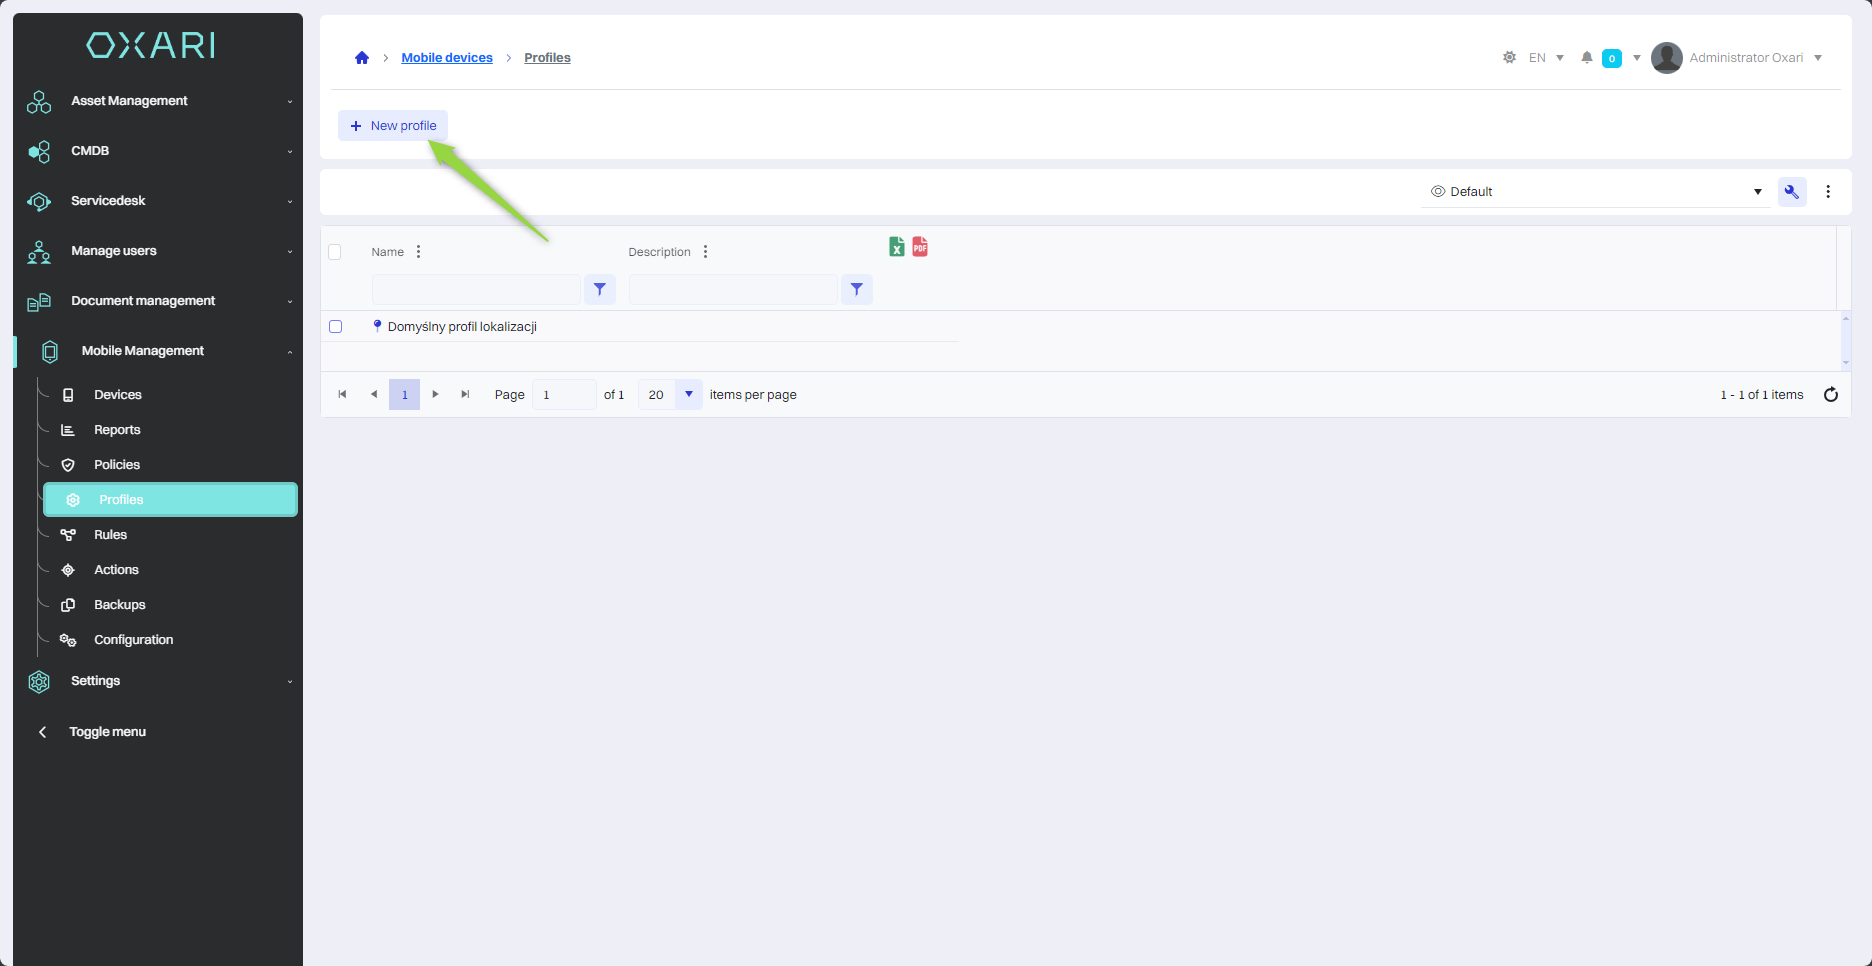
To add a new profile, go to the section in question and then click the “New Profile” button.
Creating a location profile
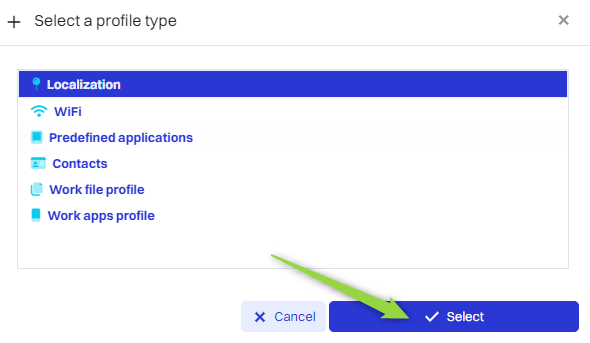
To add a location profile in the “Select profile type” window, select the “Location” profile and then click the “Select” button.
The Location Profile in OXARI allows you to manage how you track the location of your mobile devices. In order to use the Location Profile at specific times, for example, a workday from 8:00 a.m. to 4:00 p.m., it is required to create a Schedule.
To create a schedule: Go >
|
1 |
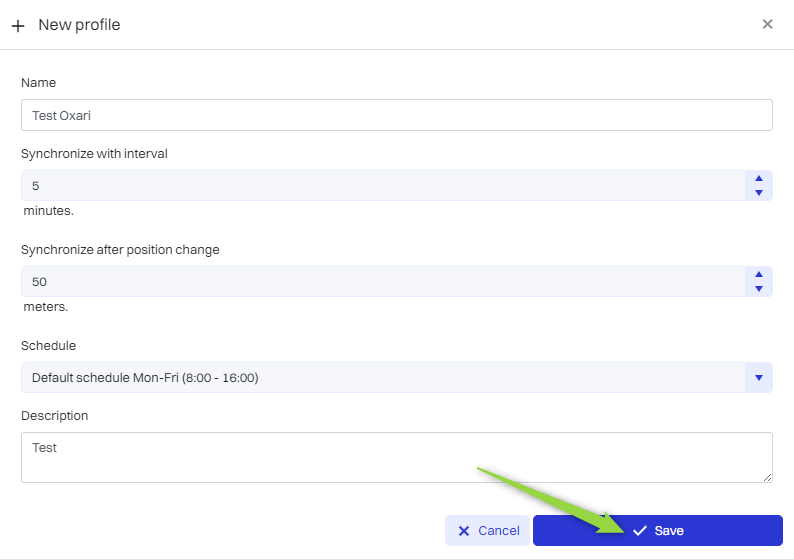
Name - A unique name that identifies the location profile in the system. |
|
2 |
Sync with interval - Specifies how often the location information will be updated (in minutes). |
|
3 |
Synchronize after location change - Sets the system's response to a change in the device's location (in meters). |
|
4 |
Synchronize after location change - Sets the system's response to a change in the device's location (in meters). |
|
5 |
Description - Additional information describing the profile, its purpose or specific instructions for use. |
Fill in the desired fields and then click the “Save” button.
The profile has been added to the “Profiles” table.
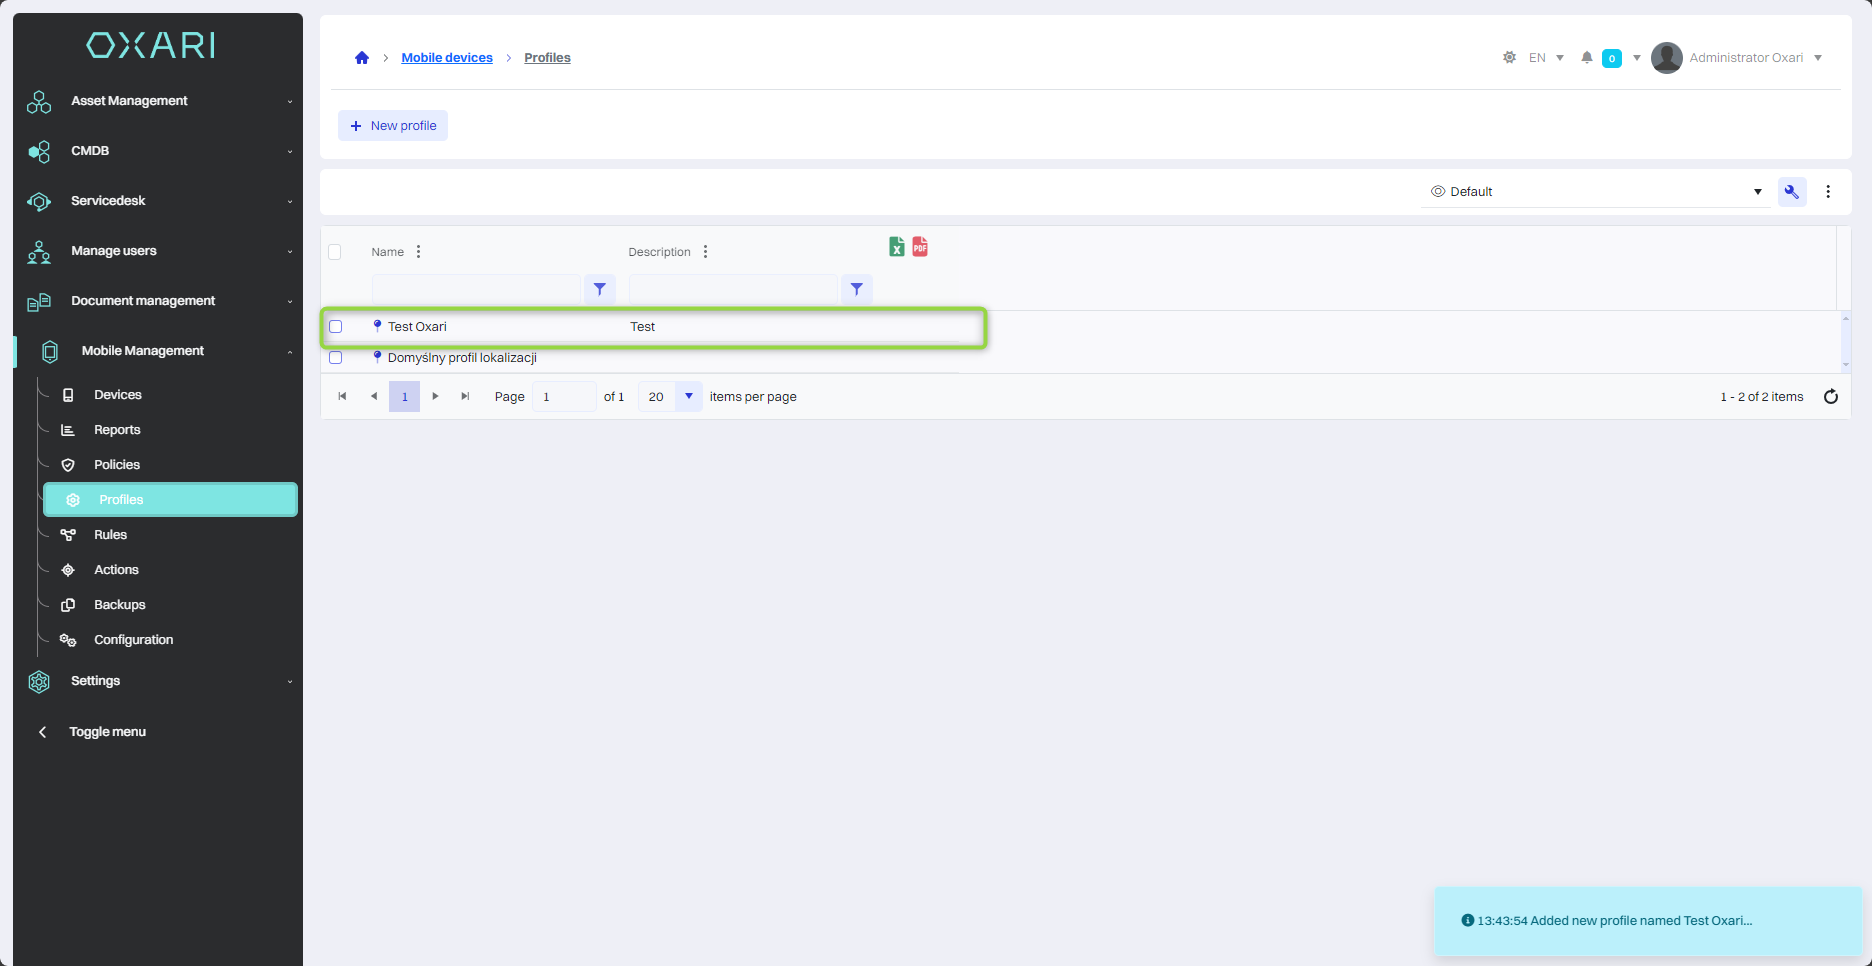
Creating a WiFi profile
To add a location profile in the “Select profile type” window, select the “Location” profile and then click the “Select” button.
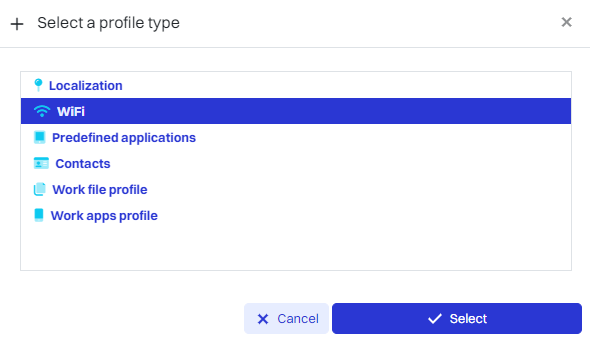
OXARI's WiFi profile allows central management and automatic configuration of wireless networks on mobile devices in the organization. When creating a new WiFi profile, users can specify:
|
1 |
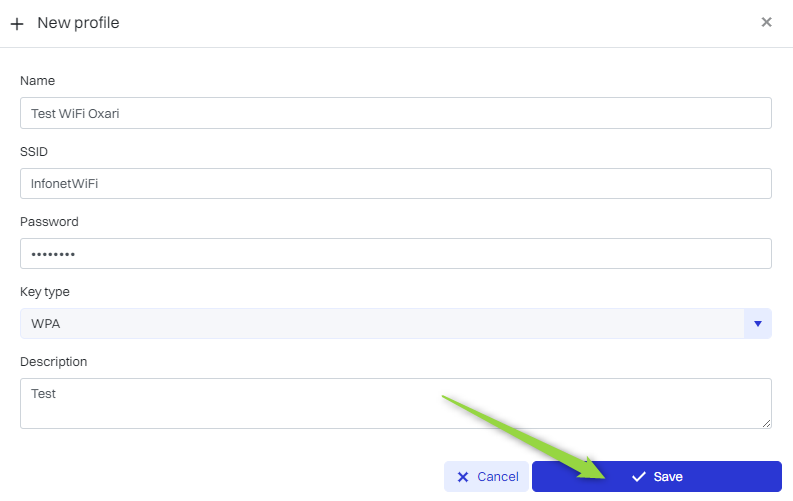
Name - A unique name that identifies the WiFi profile in the system. |
|
2 |
SSID - The name of the wireless network (SSID) to which devices will automatically connect. |
|
3 |
Password - Secure WiFi network password that will be used by devices to establish a connection. |
|
4 |
Key type - Network security method, e.g. WEP, WPA, where “NONE” means no security. |
|
5 |
Description - Additional information describing the profile, its purpose or specific instructions for use. |
Fill in the desired fields and then click the “Save” button.
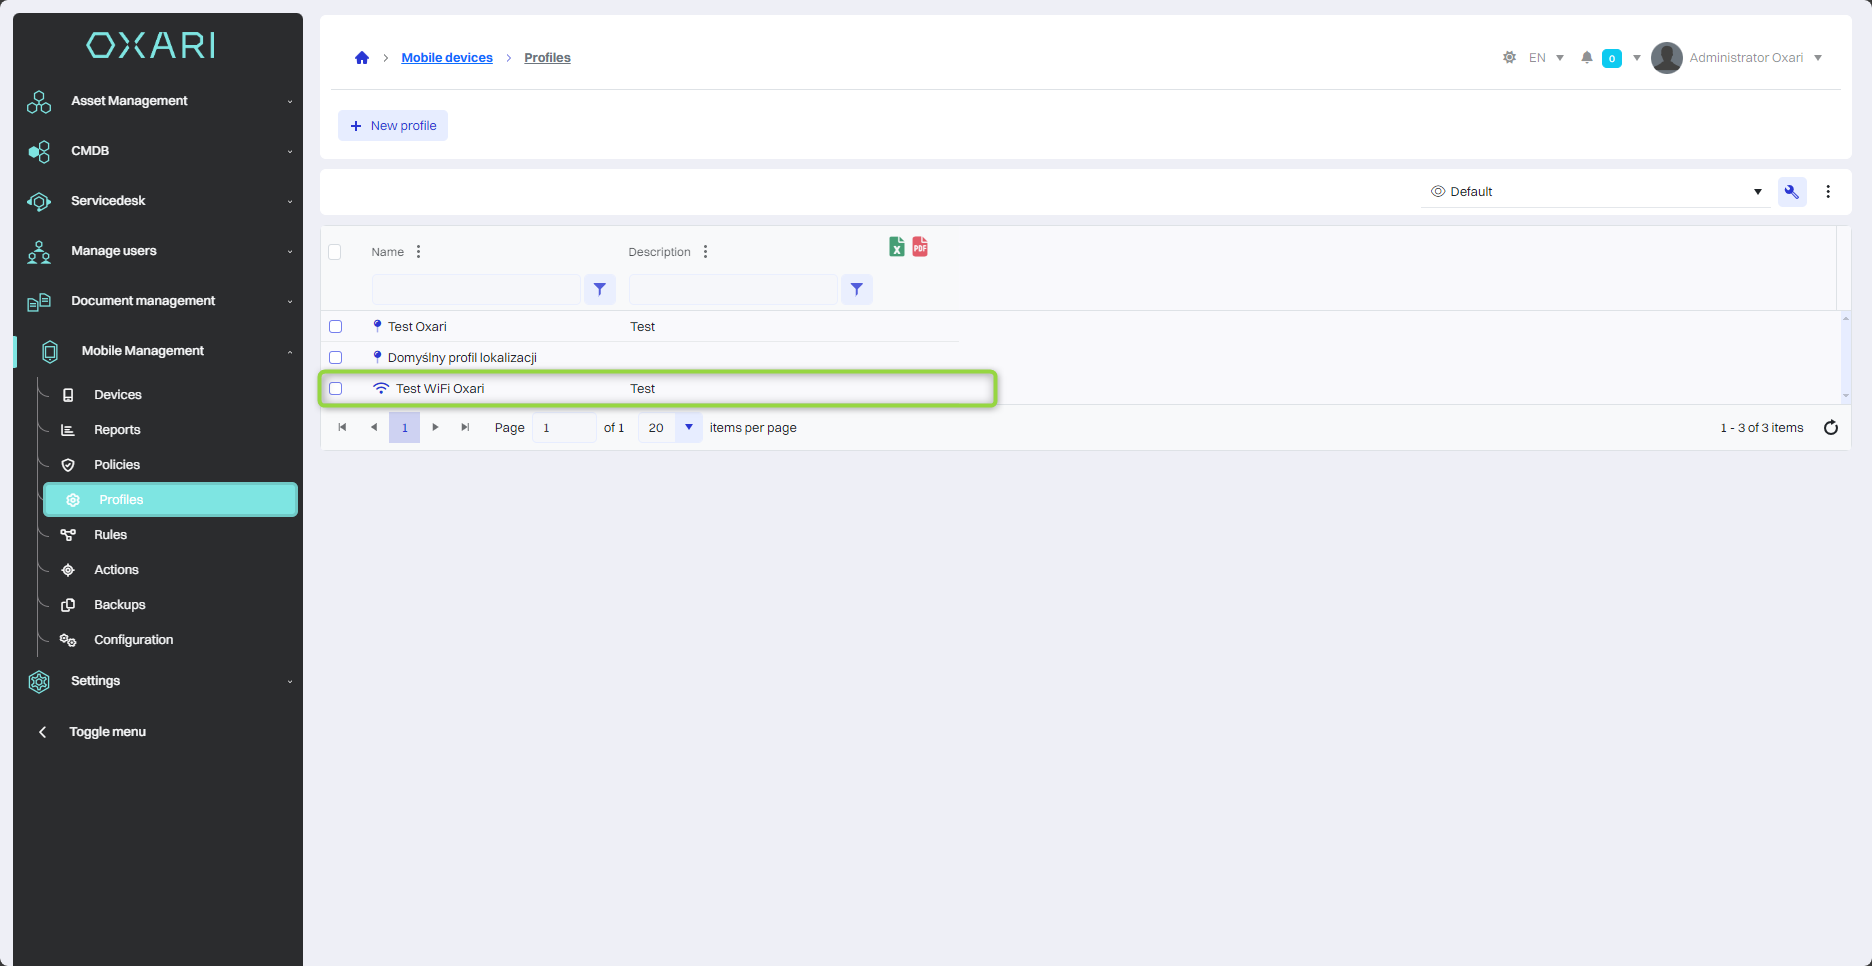
The profile has been added to the “Profiles” table.
Creating a predefined application profile
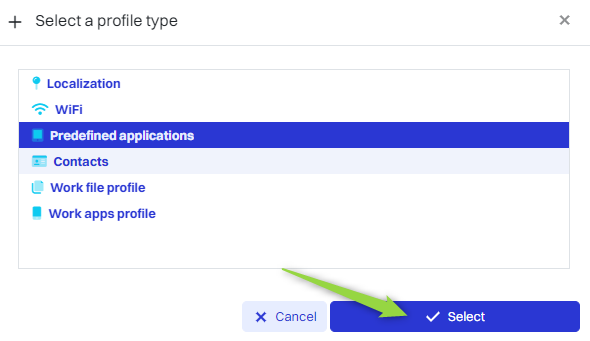
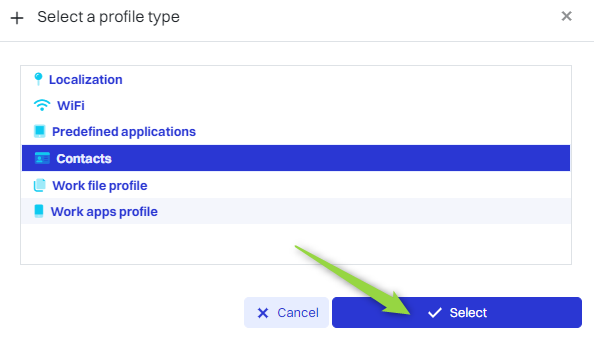
To add a predefined application profile in the “Select profile type” window, select the “predefined application” profile and then click the “Select” button.
OXARI's predefined application profile is used to create a restricted environment on mobile devices. The user has access only to selected applications. The predefined application profile allows you to limit the device's operation to only one specific or multiple applications.
OXARI's predefined application mode locks the user into a dedicated application environment, limiting interaction with other parts of the system. With the Home button disabled, the user must perform a special sequence of actions to exit the predefined application, such as pressing the back button repeatedly in rapid succession, which can lead to the display of the Home dashboard or a prompt for the exit password, if one has been set. This process is a safeguard against unauthorized exit from predefined application mode. Restarting the device or using the Home button will not disable predefined application mode, but will restart it, ensuring security continuity.
|
1 |
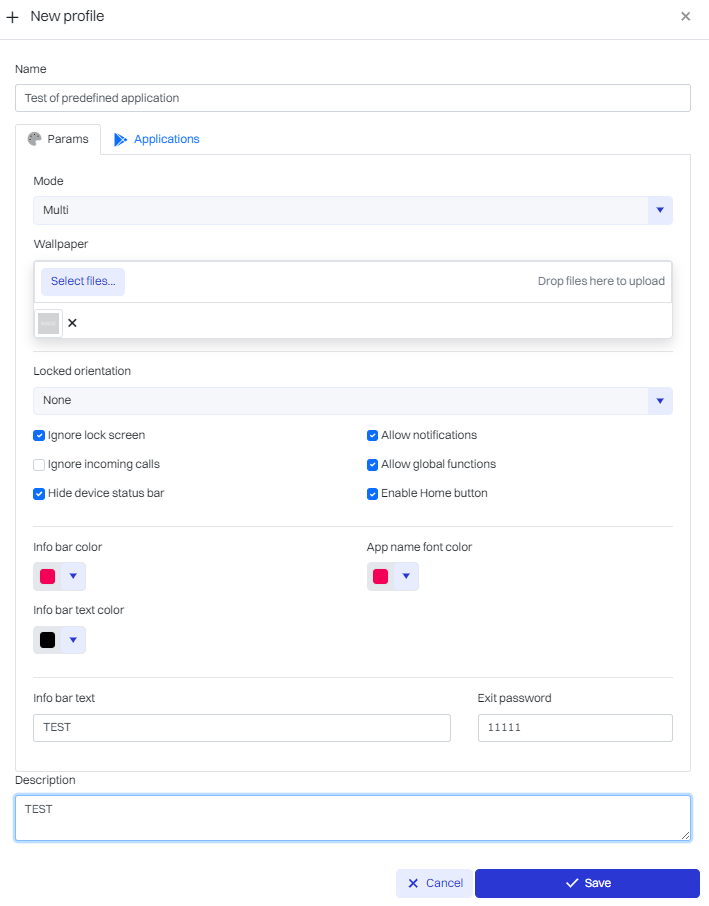
Name - The name of the profile that the user gives for identification purposes. |
|
2 |
Mode - Determines whether the predefined application should be single (running one application) or multiple (allowing access to multiple applications). |
|
3 |
Wallpaper - Allows you to select a wallpaper for predefined application mode. |
|
4 |
Ignore lock screen - Allows access to applications without unlocking the screen. |
|
5 |
Ignore incoming calls - Prevents incoming calls from disturbing you. |
|
6 |
Hide device status bar - Hides the top status bar on the device. |
|
7 |
Allow notifications - This setting defines whether apps in predefined application mode have permission to display notifications on the device. |
|
8 |
Allow global functions - Allows predefined application applications to access the device's system functions, such as settings or system controls. |
|
9 |
Home button enabled - Allows you to use the Home button to exit predefined application mode, providing quick access to the device's home screen. |
|
10 |
Information bar color - Adjust the color of the information bar. |
|
11 |
Information bar text color - Adjust the color of the text on the information bar. |
|
12 |
Information bar text - Define custom text to appear on the information bar. |
|
13 |
Exit password - Allows you to set a password to exit predefined application mode. |
|
14 |
Description - Additional information describing the profile, its purpose or specific instructions for use. |
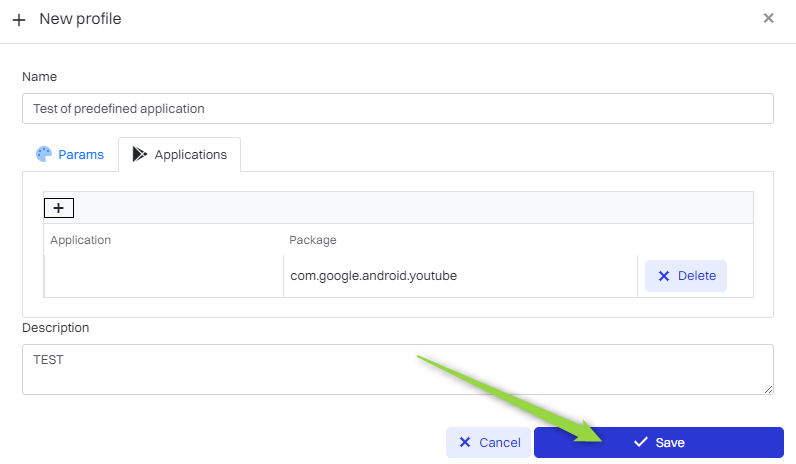
Fill in the desired fields and then click the “Applications” tab.
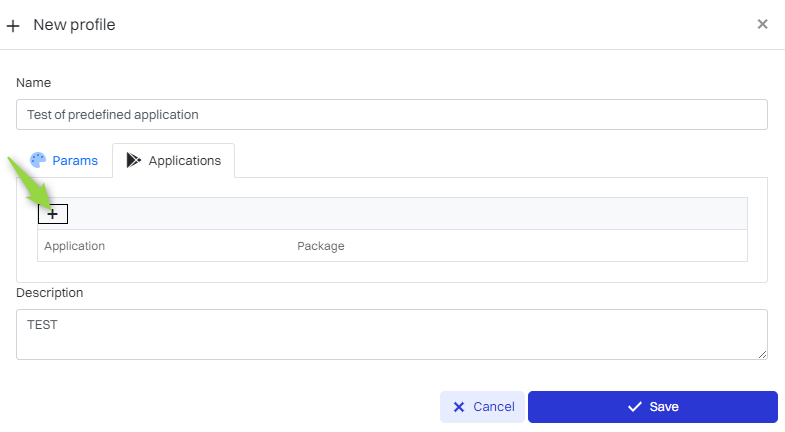
Then, to add the desired applications, click the “+” button.
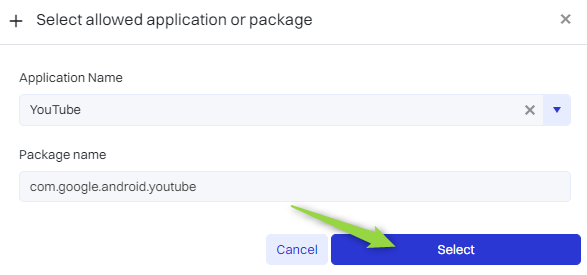
In the “Select allowed application or package” window, select a specific application from the list and click the “Select” button.
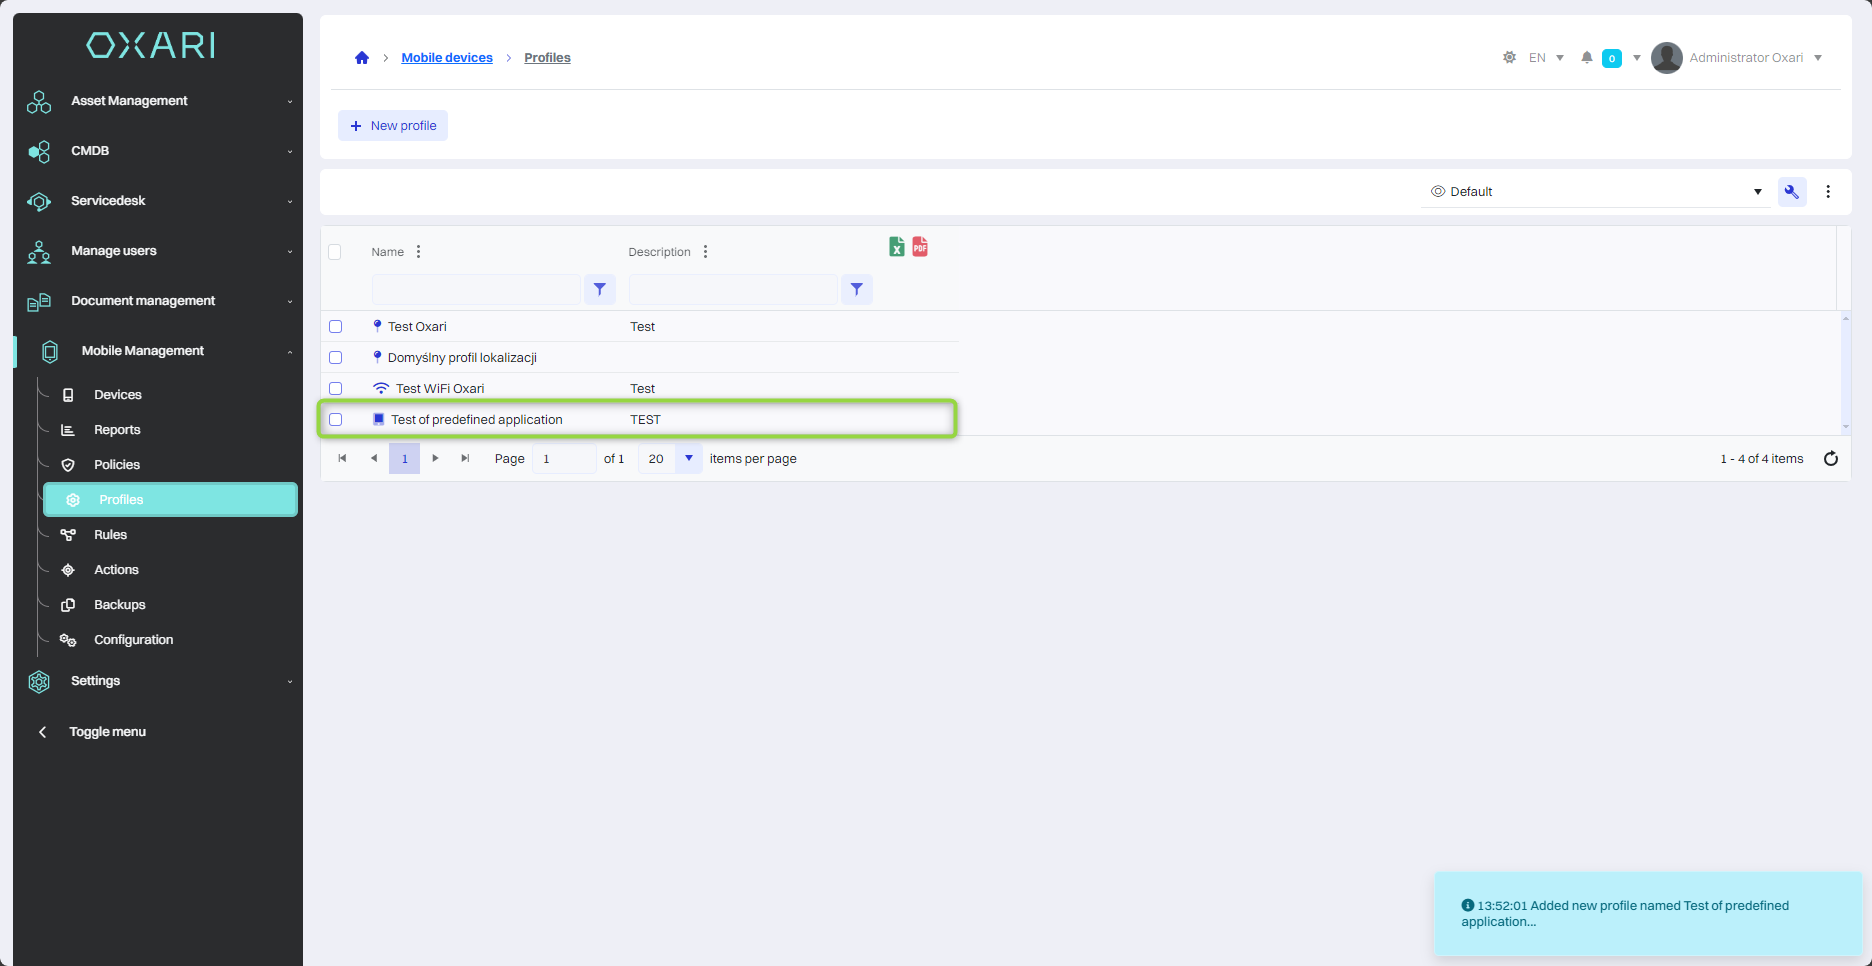
Finally, save the predefined application profile by clicking the “Save” button.
The predefined application profile has been added to the “Profiles” table.
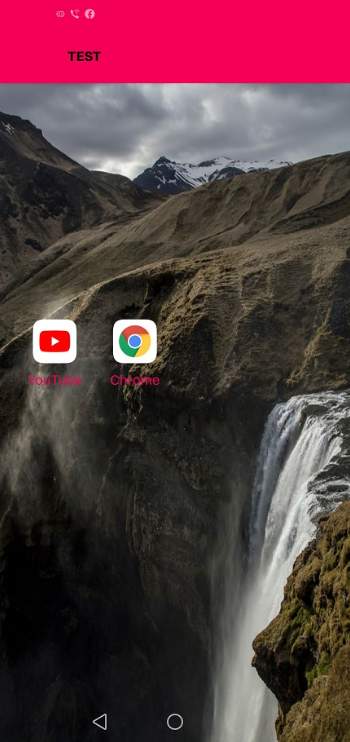
Appearance of the predefined application profile on the device
The dashboard configured for this particular predefined application will look as follows:
Creating a contacts profile
The “Contacts” profile in OXARI is used to manage contacts on mobile devices. It allows you to upload and distribute contact files in .vcf (vCard) format.
To add a contacts profile in the “Select profile type” window, select the “Contacts” profile and then click the “Select” button.
Then, in the window, enter the name of the profile, select the contact files from the disk, finally click the “Save” button.
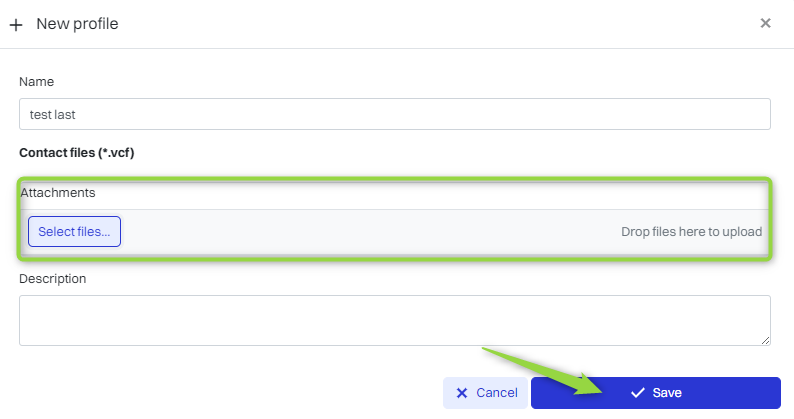
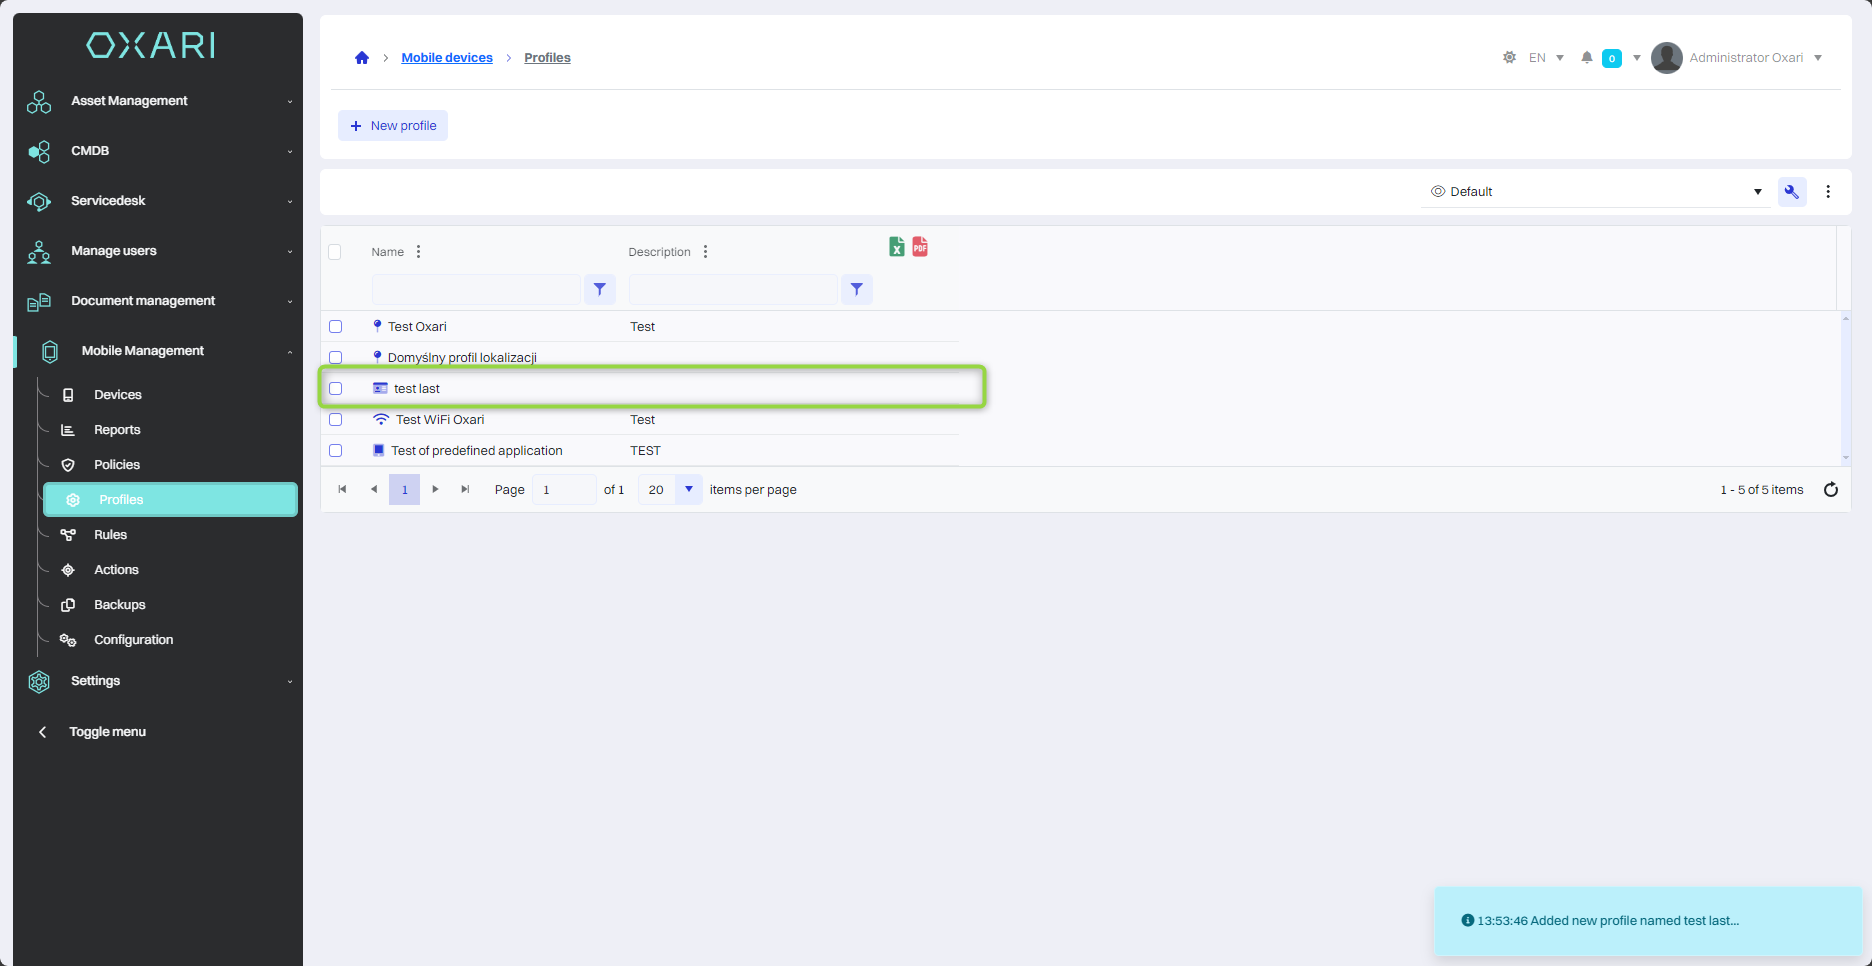
The contact profile has been added to the “Profiles” table.
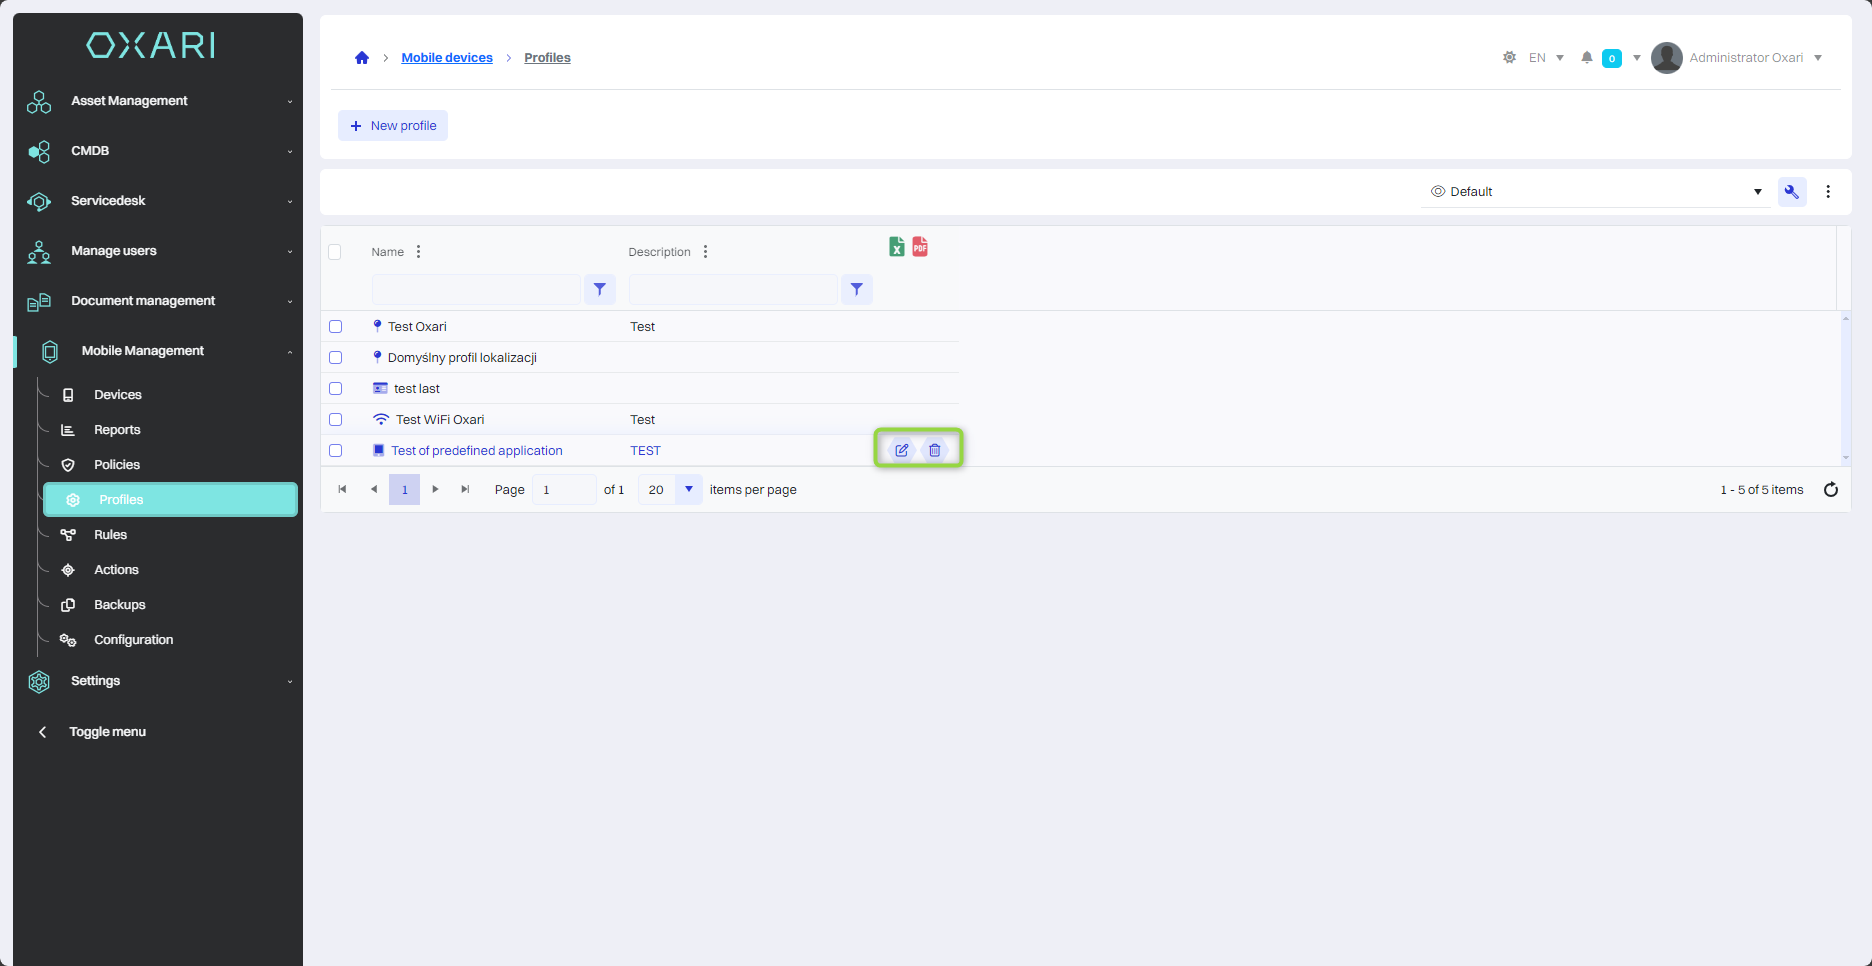
Edit/Delete
A profile can be edited or deleted using the following buttons.
Assigning a profile to a device
You can assign a created profile to a device under Mobile Management > Devices in two ways.
The first way to assign a profile to a device
Go to Mobile Management > Devices and then select the device in question from the list.
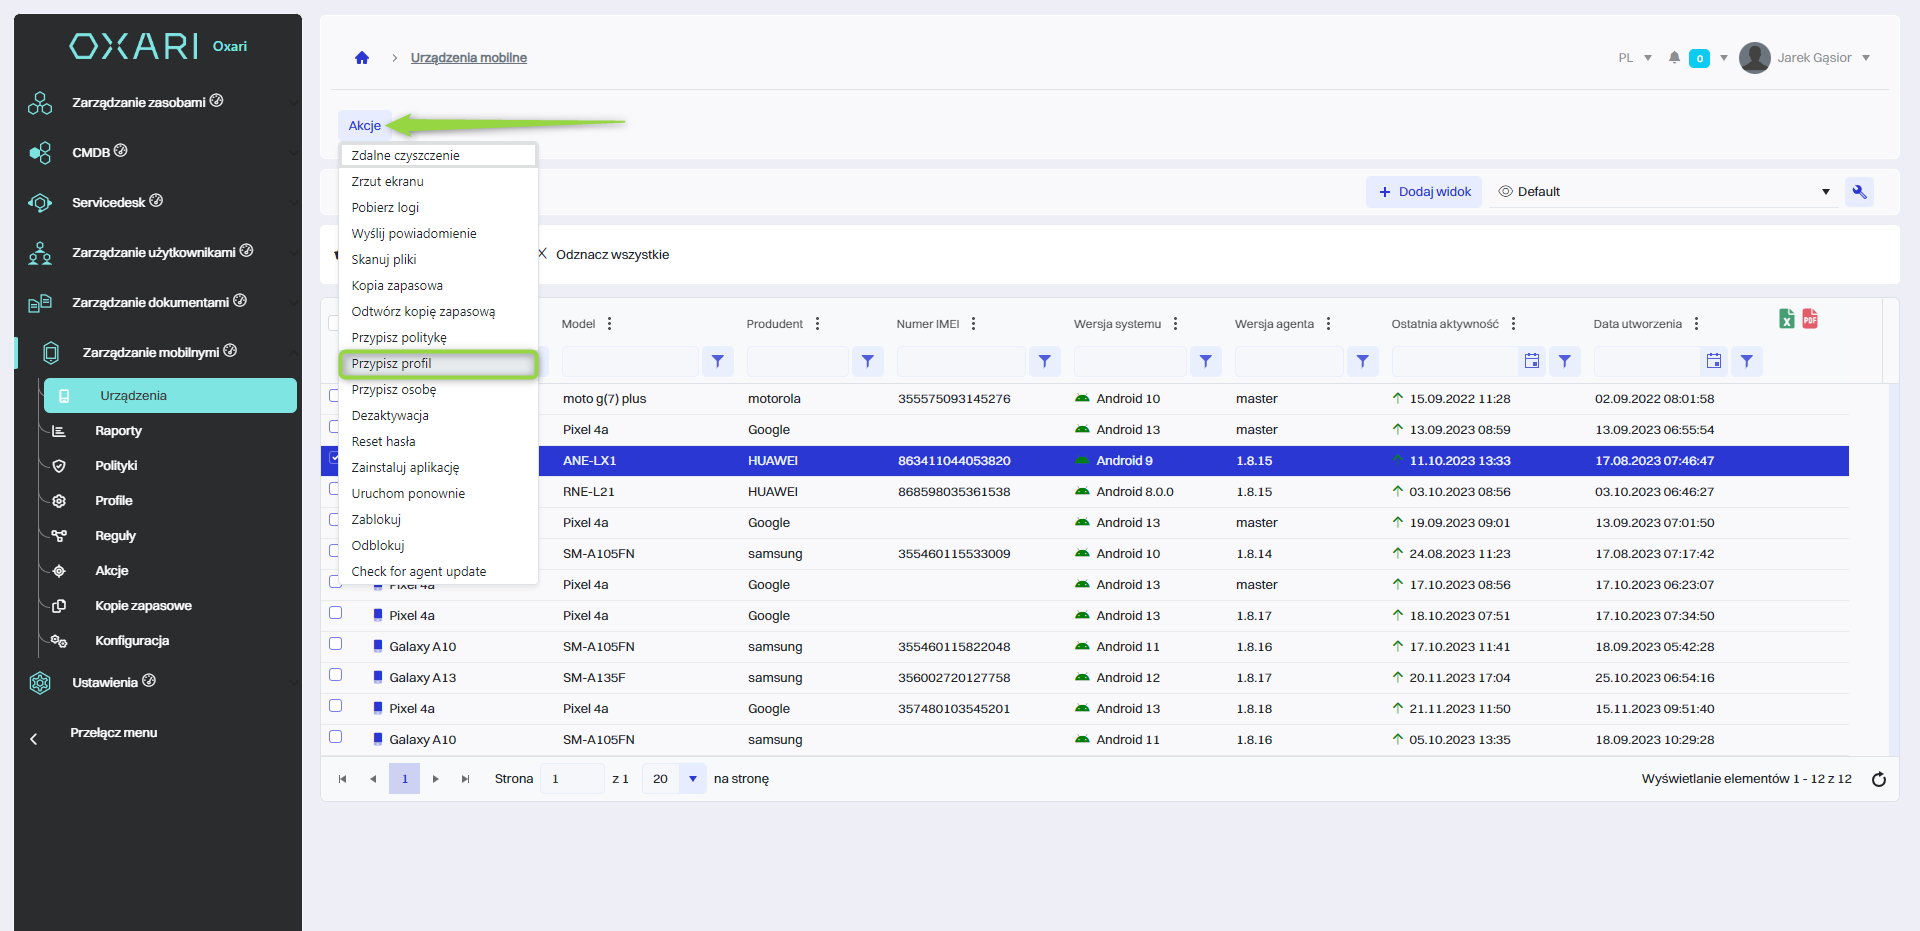
Then click the “Actions” button and select the “Assign Profile” option.
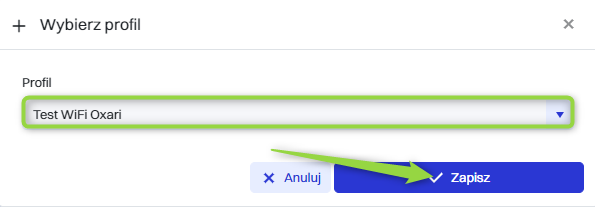
Finally, in the “Select Profile” window in the “Policy” field, select the desired profile from the list and click the “Save” button.
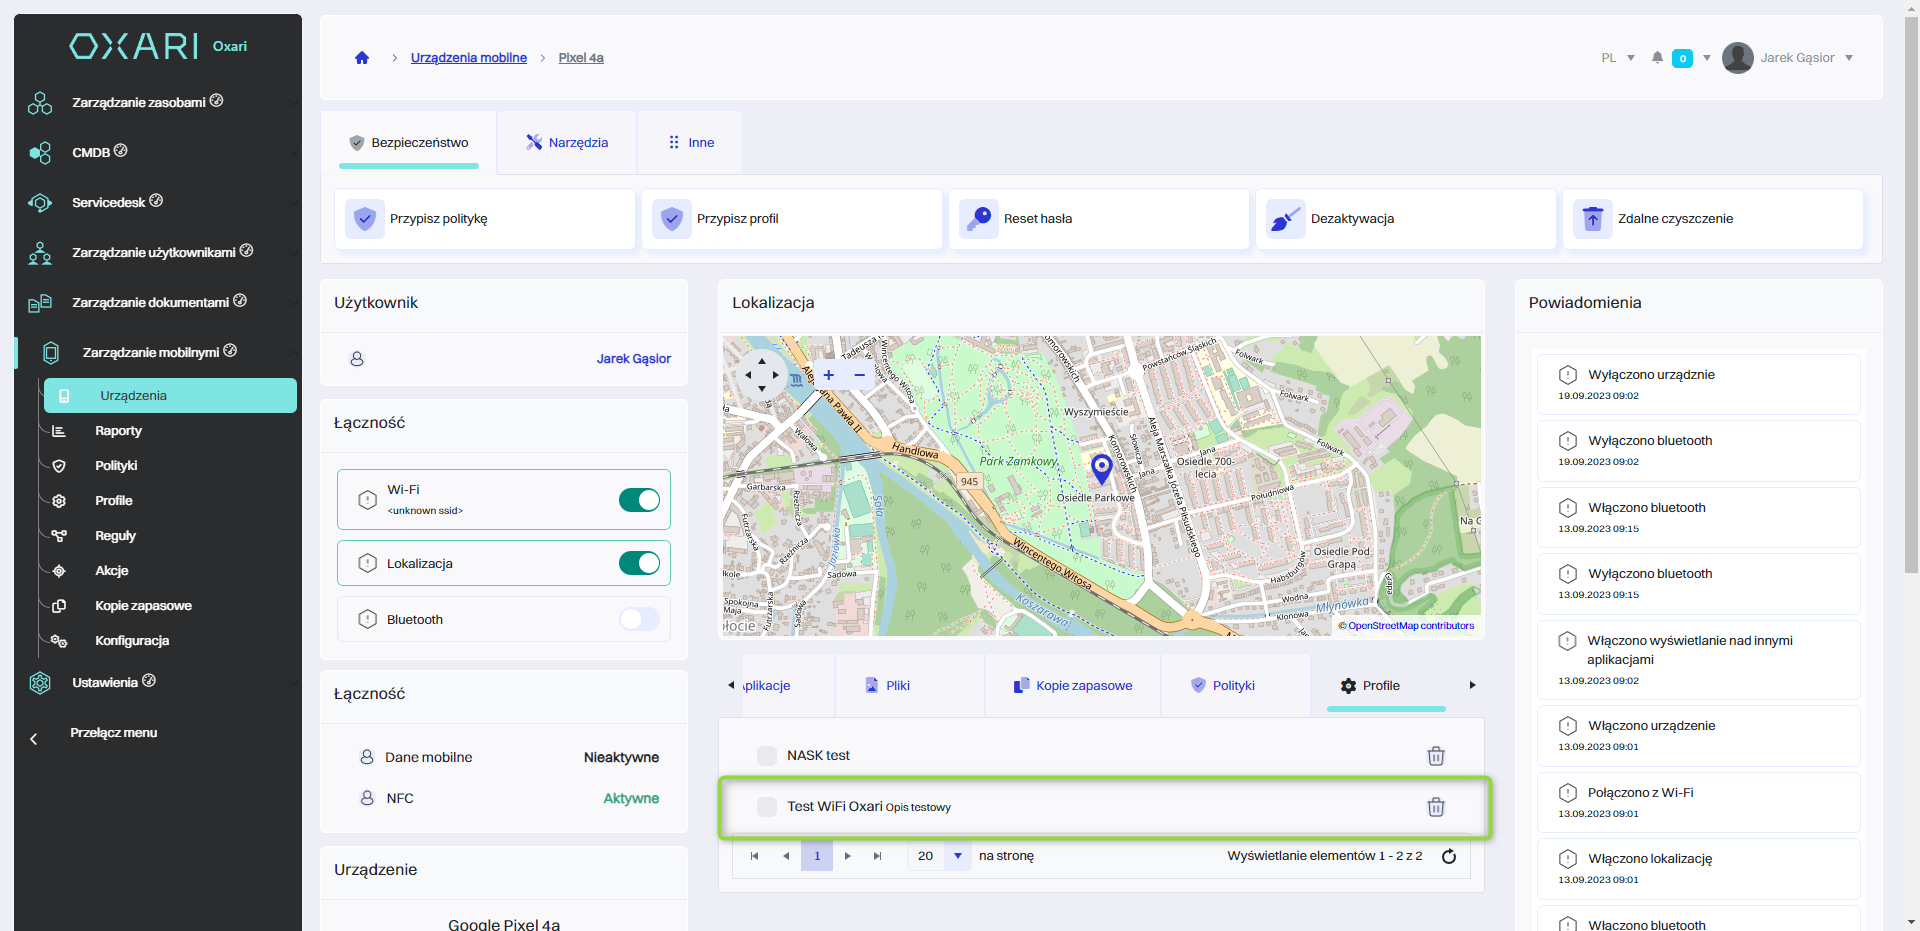
The profile has been added to the device.
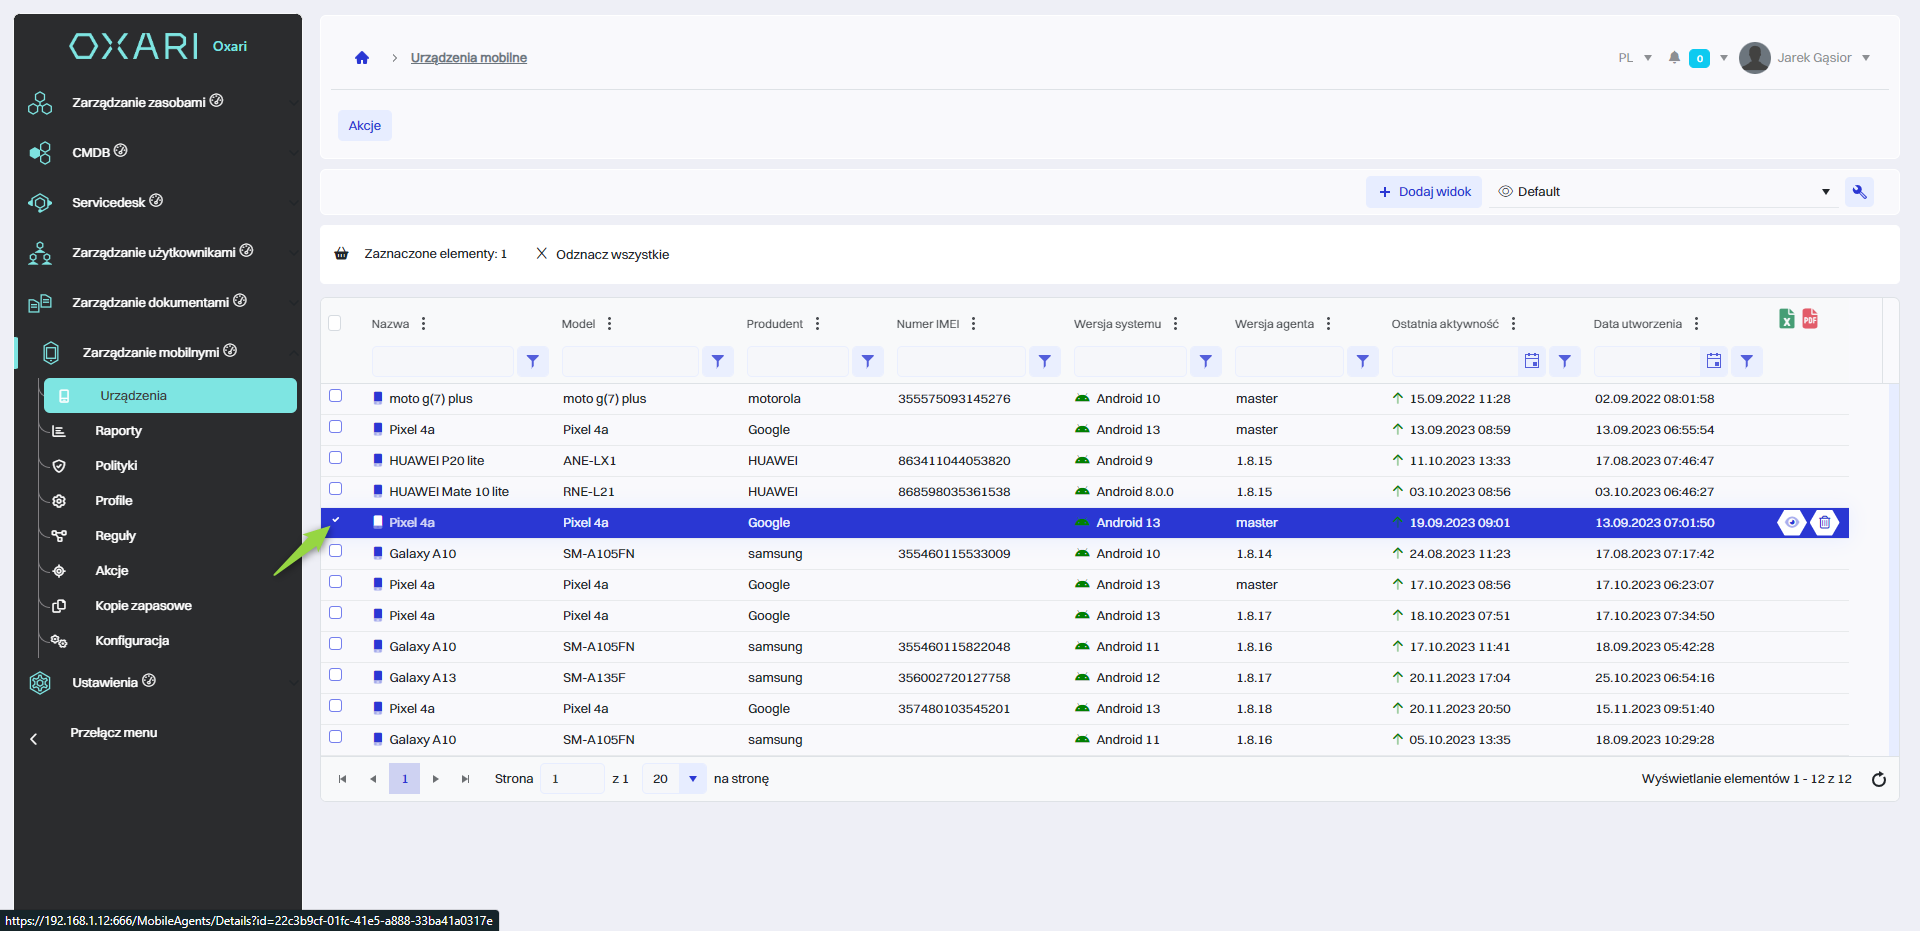
The second way to assign a profile to a device
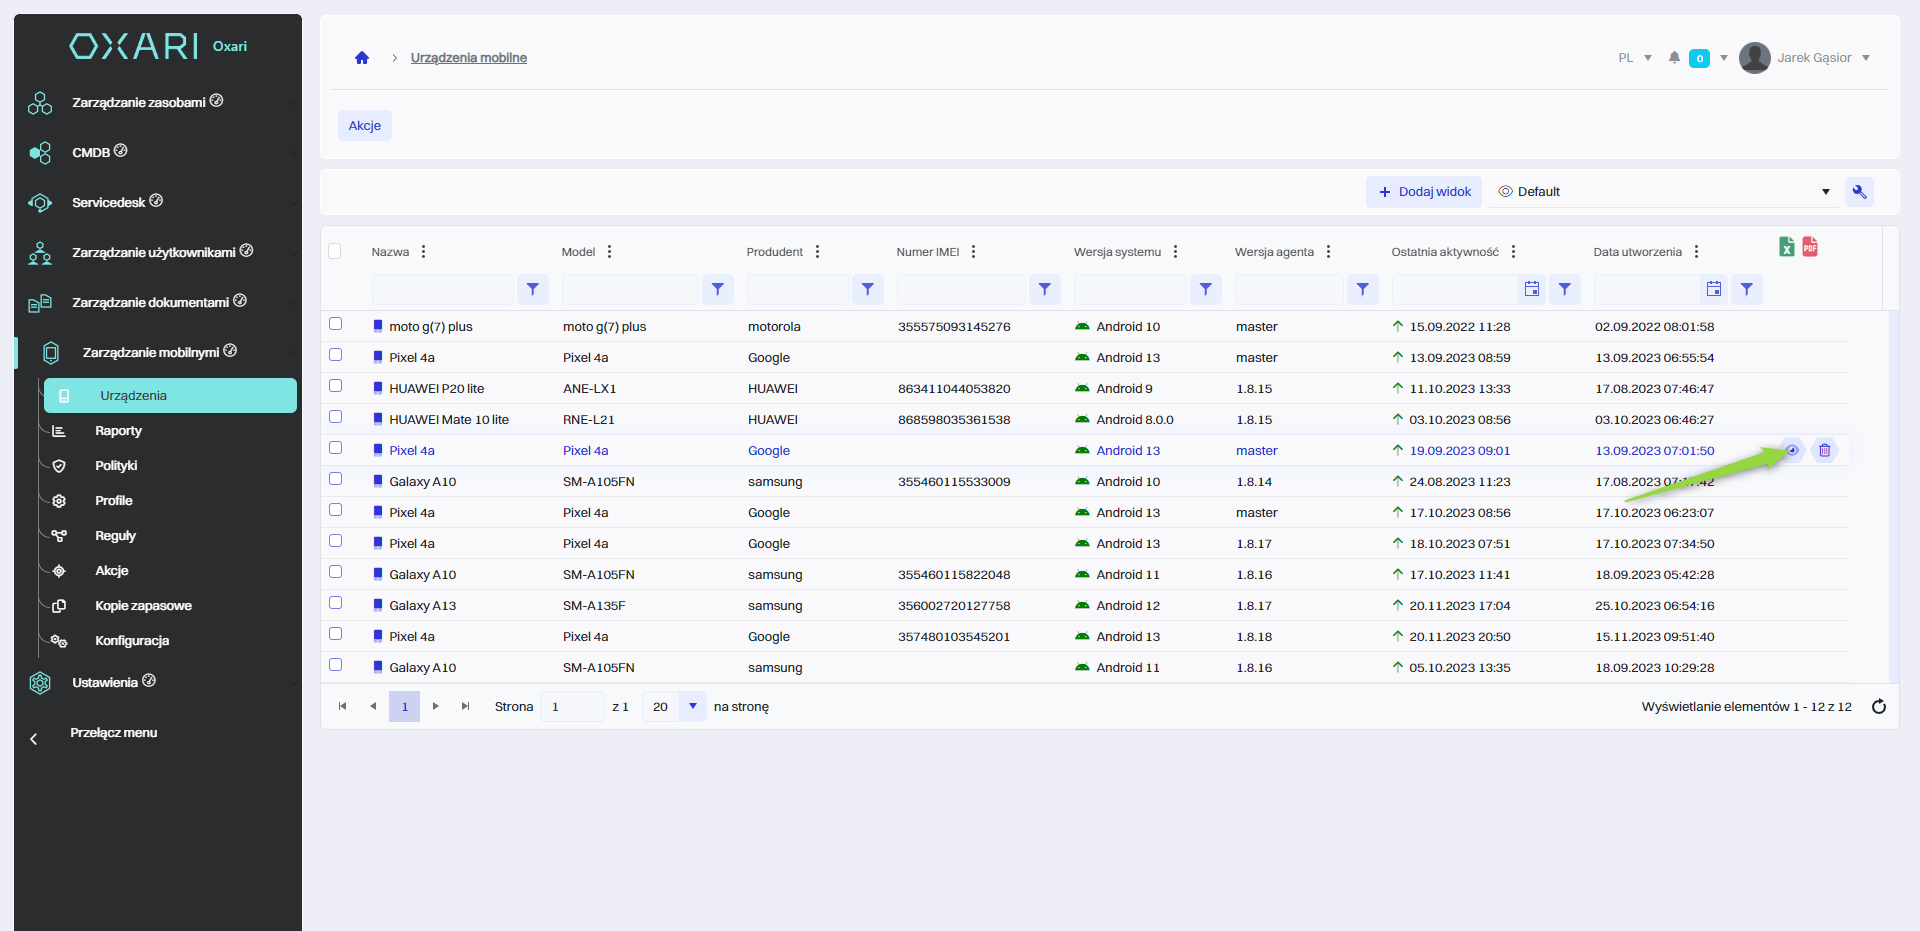
Go to Mobile Management > Devices and then click the “Details” button next to the device in question.
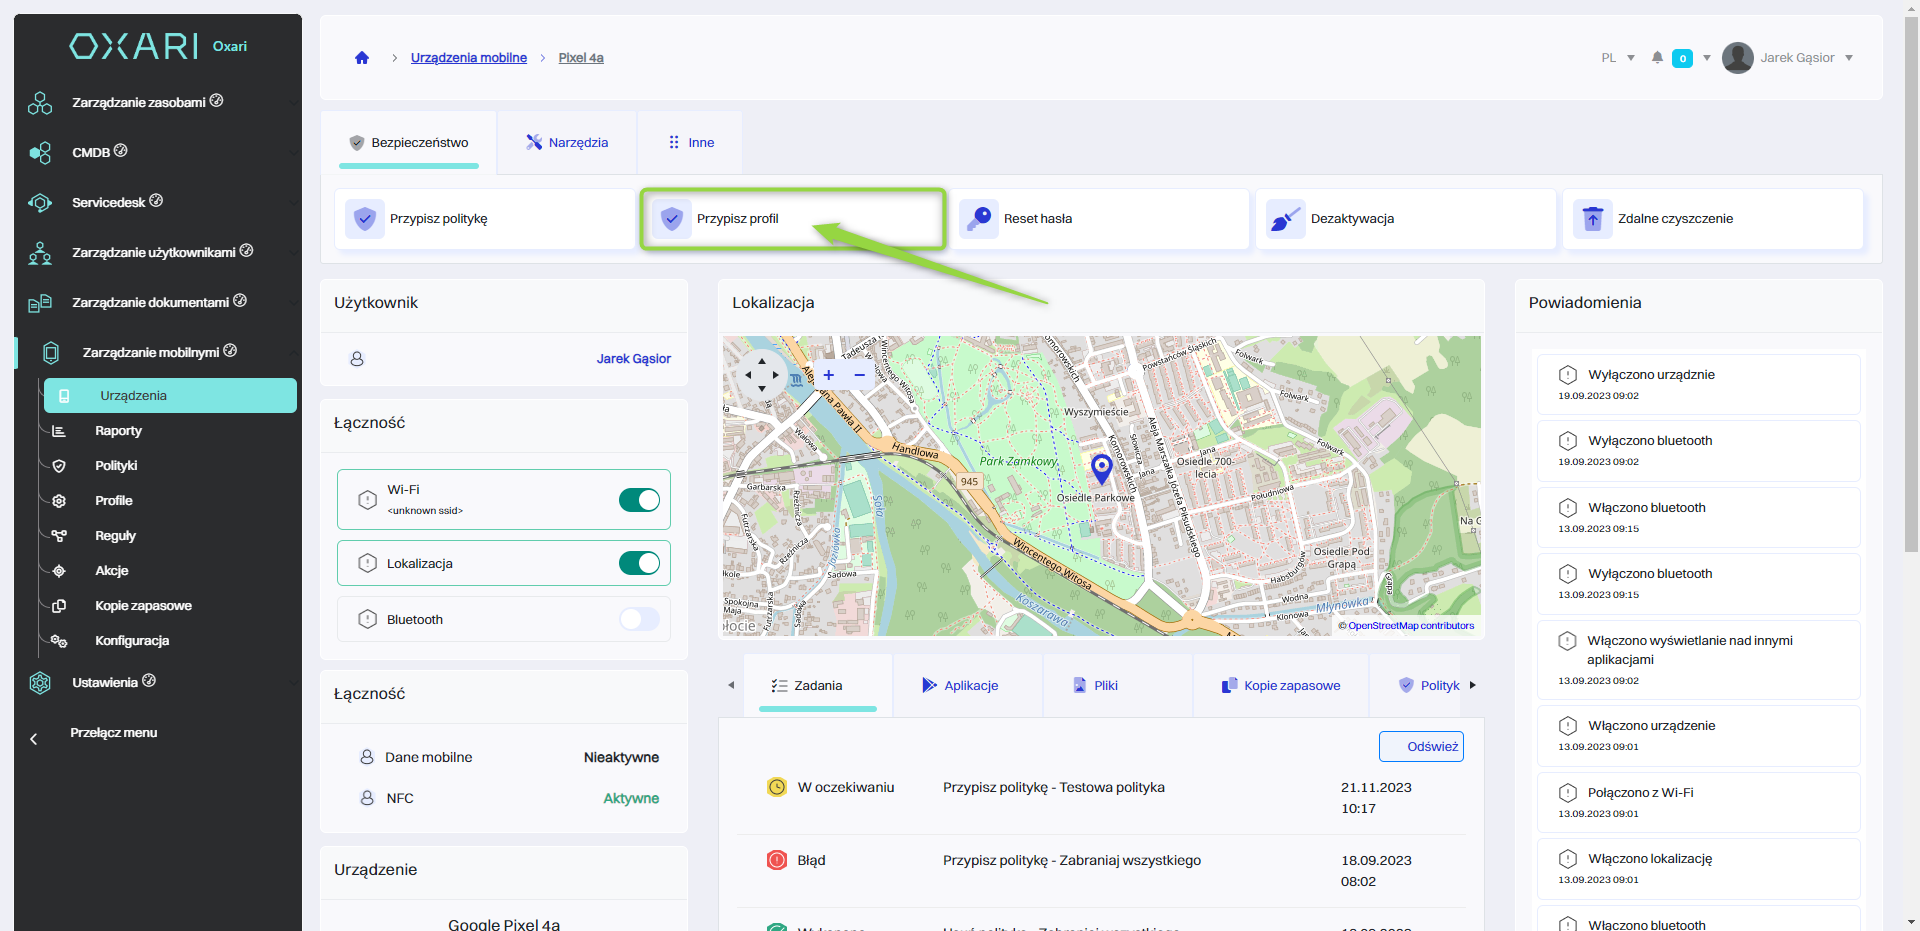
Then, in the detailed section of the device, click the “Assign Profile” button.
Finally, in the “Select Profile” window in the “Policy” field, select the desired profile from the list and click the “Save” button.

The profile has been added to the device: