Configuration in OXARI allows you to customize the application to meet your organization's specific requirements. It includes options to customize various settings and parameters of the application handling system.
Dictionaries - types section
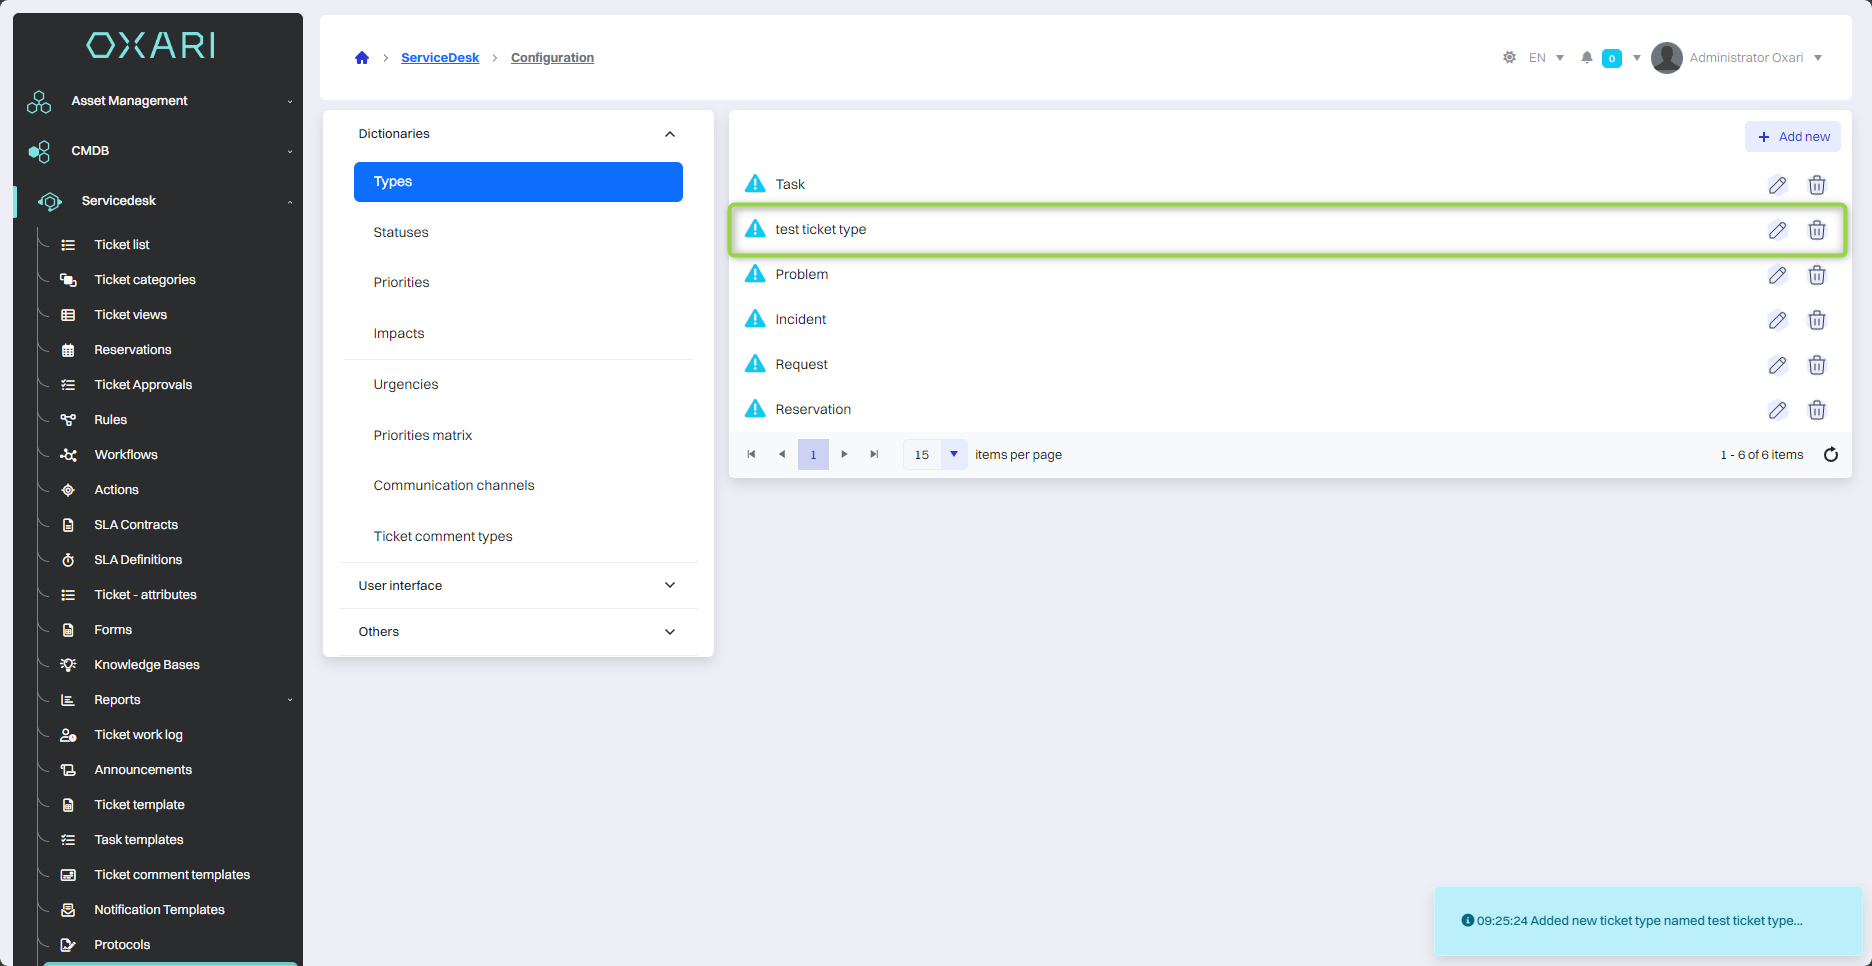
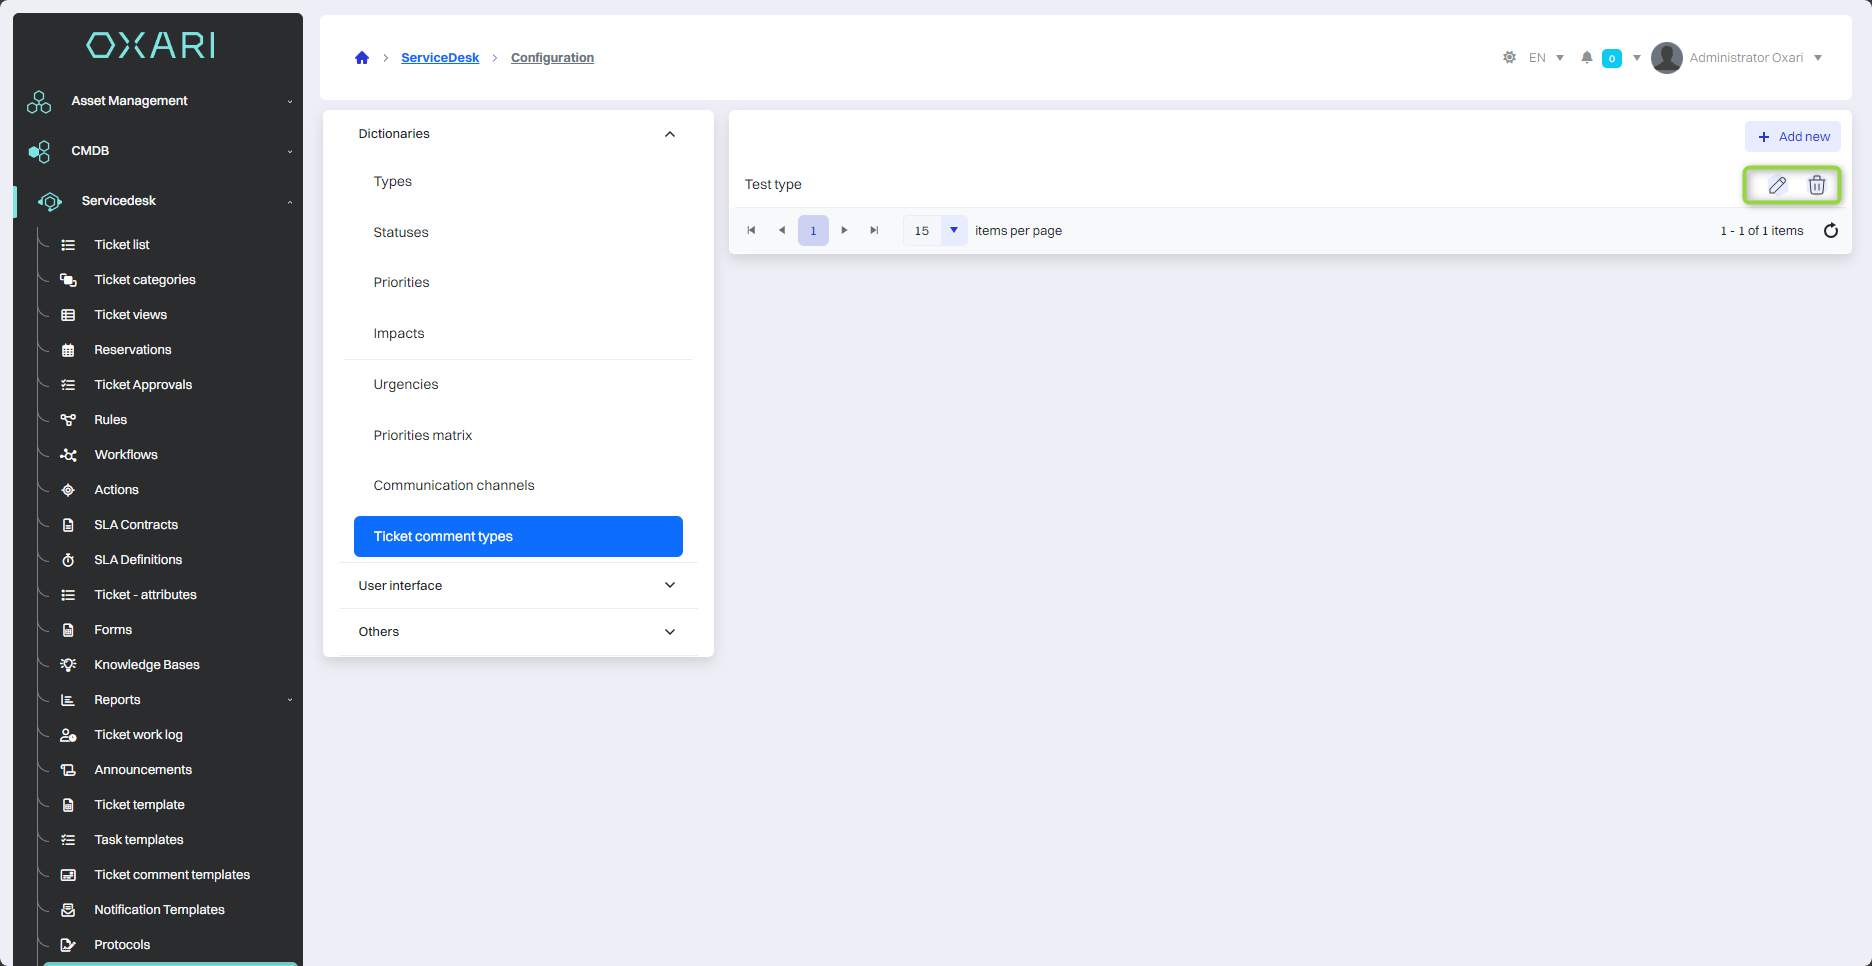
In this section, the user can define or modify various ticket types, such as “Incident”, “Task”, “Problem”, “Booking”, “Service”, which allows to classify and better manage tickets.
Editing/Deleting a ticket type
Use the following buttons to edit or delete ticket types.
Dictionaries - statuses section
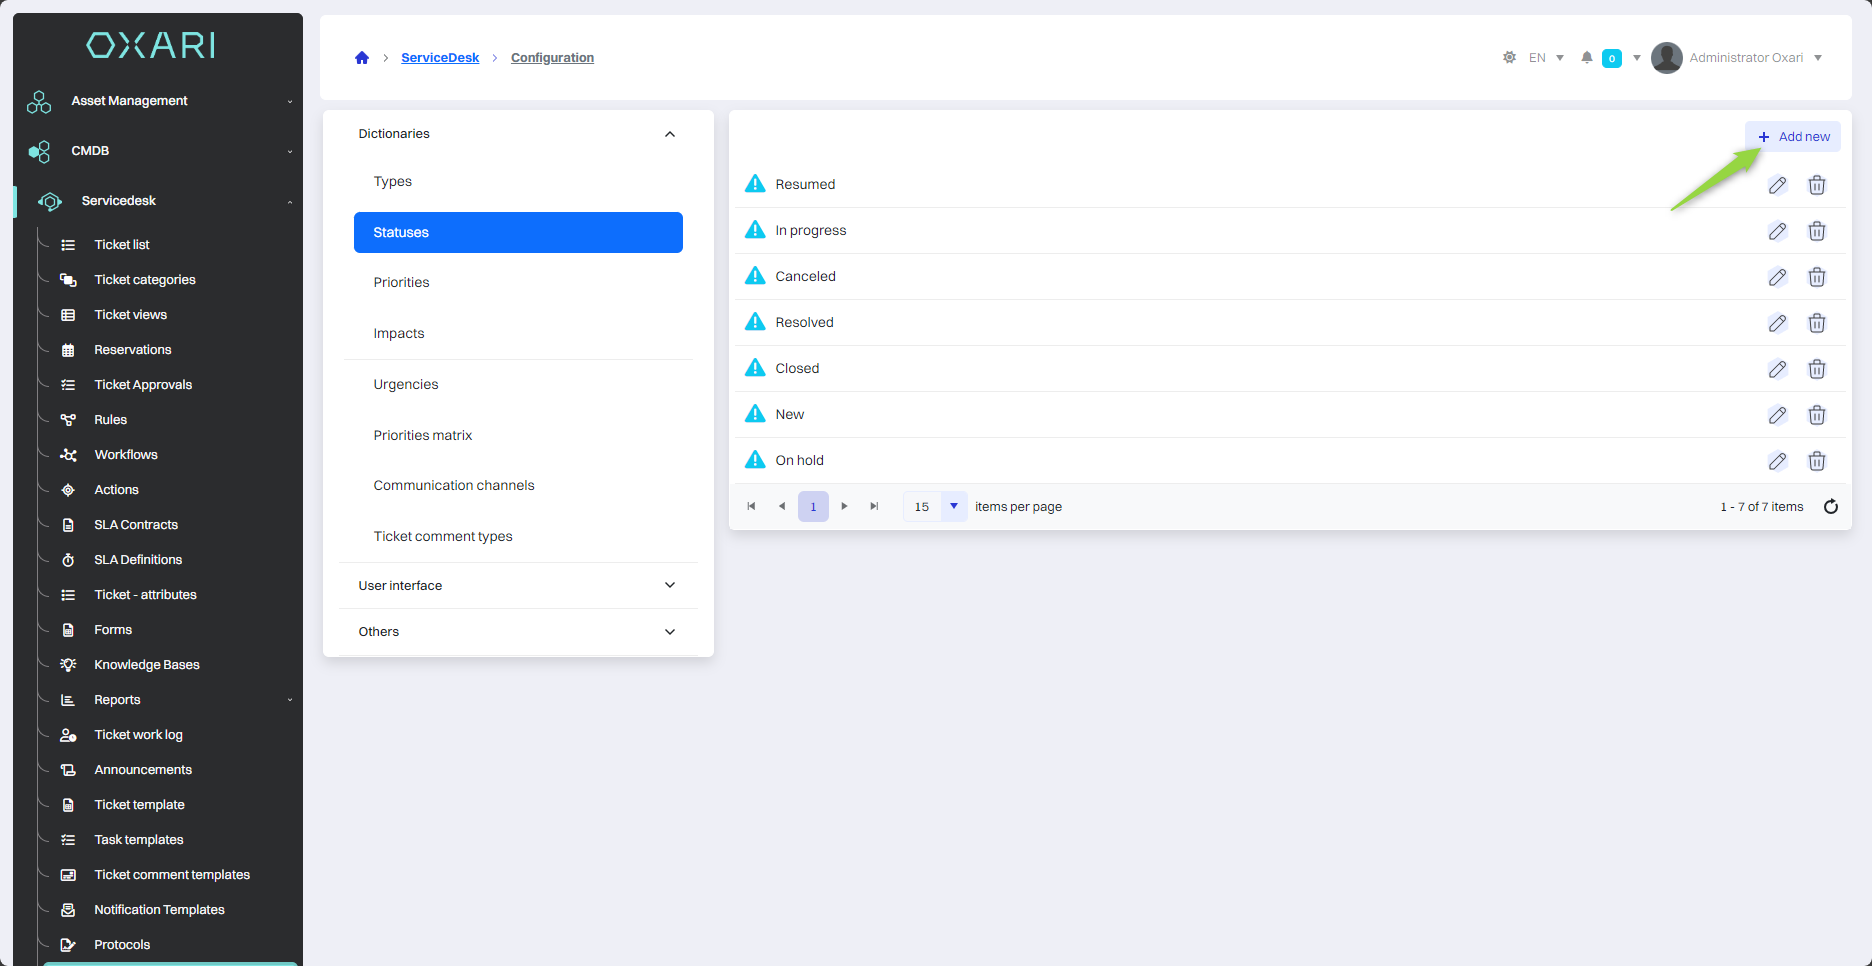
In this section, the user can specify different statuses for tickets to help track progress and manage workflow.
New ticket status
To add a new ticket status, click the “Add new” button.
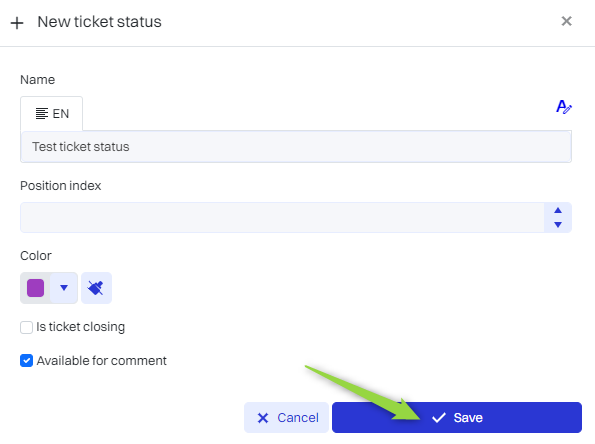
Next, the “New ticket status” window contains the items:
|
1 |
Name - A place where the user can enter the name of the new ticket status. |
|
2 |
Position - A checkbox to specify the order of the new status within the list of statuses. |
|
3 |
Color - A color selector where you can choose the color that will represent the status in the system. |
|
4 |
Closes ticket - Checkbox which, if checked, indicates that this status is the final status for the ticket and selecting it results in closing the ticket. |
|
5 |
Available for comment - Checkbox, which means that with this status the ticket is still open for comments. |
Fill in the desired fields and click the “Save” button.
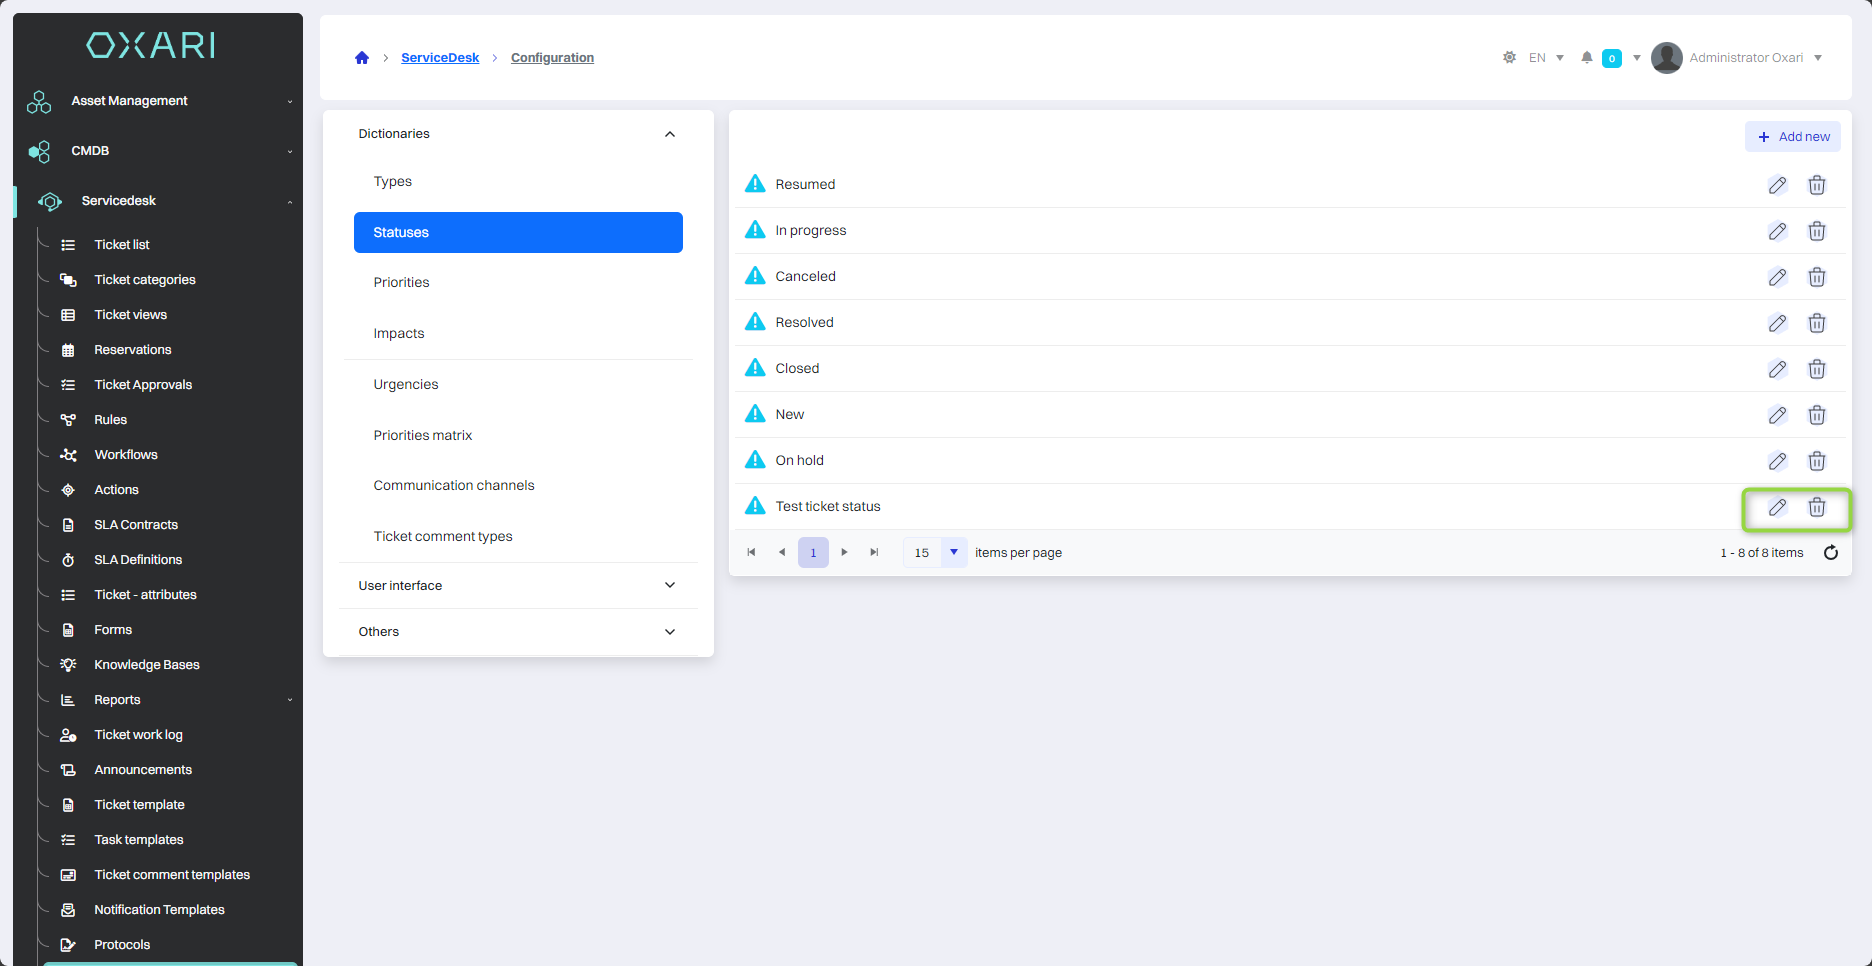
Editing/Deleting a ticket status
Use the following buttons to edit or delete ticket statuses.
Dictionaries - priorities section
This section allows you to set priorities for tickets, which is crucial for efficient troubleshooting and resource allocation.
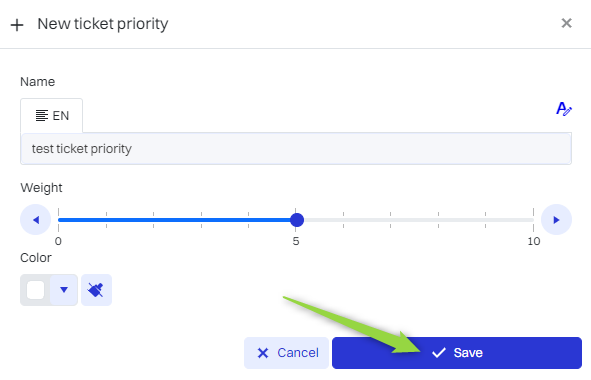
New ticket priority
To add a new ticket priority, click the “Add new” button.

Then the “New ticket priority” window contains the items:
|
1 |
Name - A text field where you can enter the name of the new ticket priority. |
|
2 |
Scale - A slider with a range of values that allows you to determine the importance of the priority. The scale is numeric, with a range from 0 to 10. The position of the slider indicates how urgent or important a ticket with the priority is in relation to others. |
|
3 |
Color - A color selector that allows you to assign a specific color to a priority. |
Fill in the desired fields and click the “Save” button.
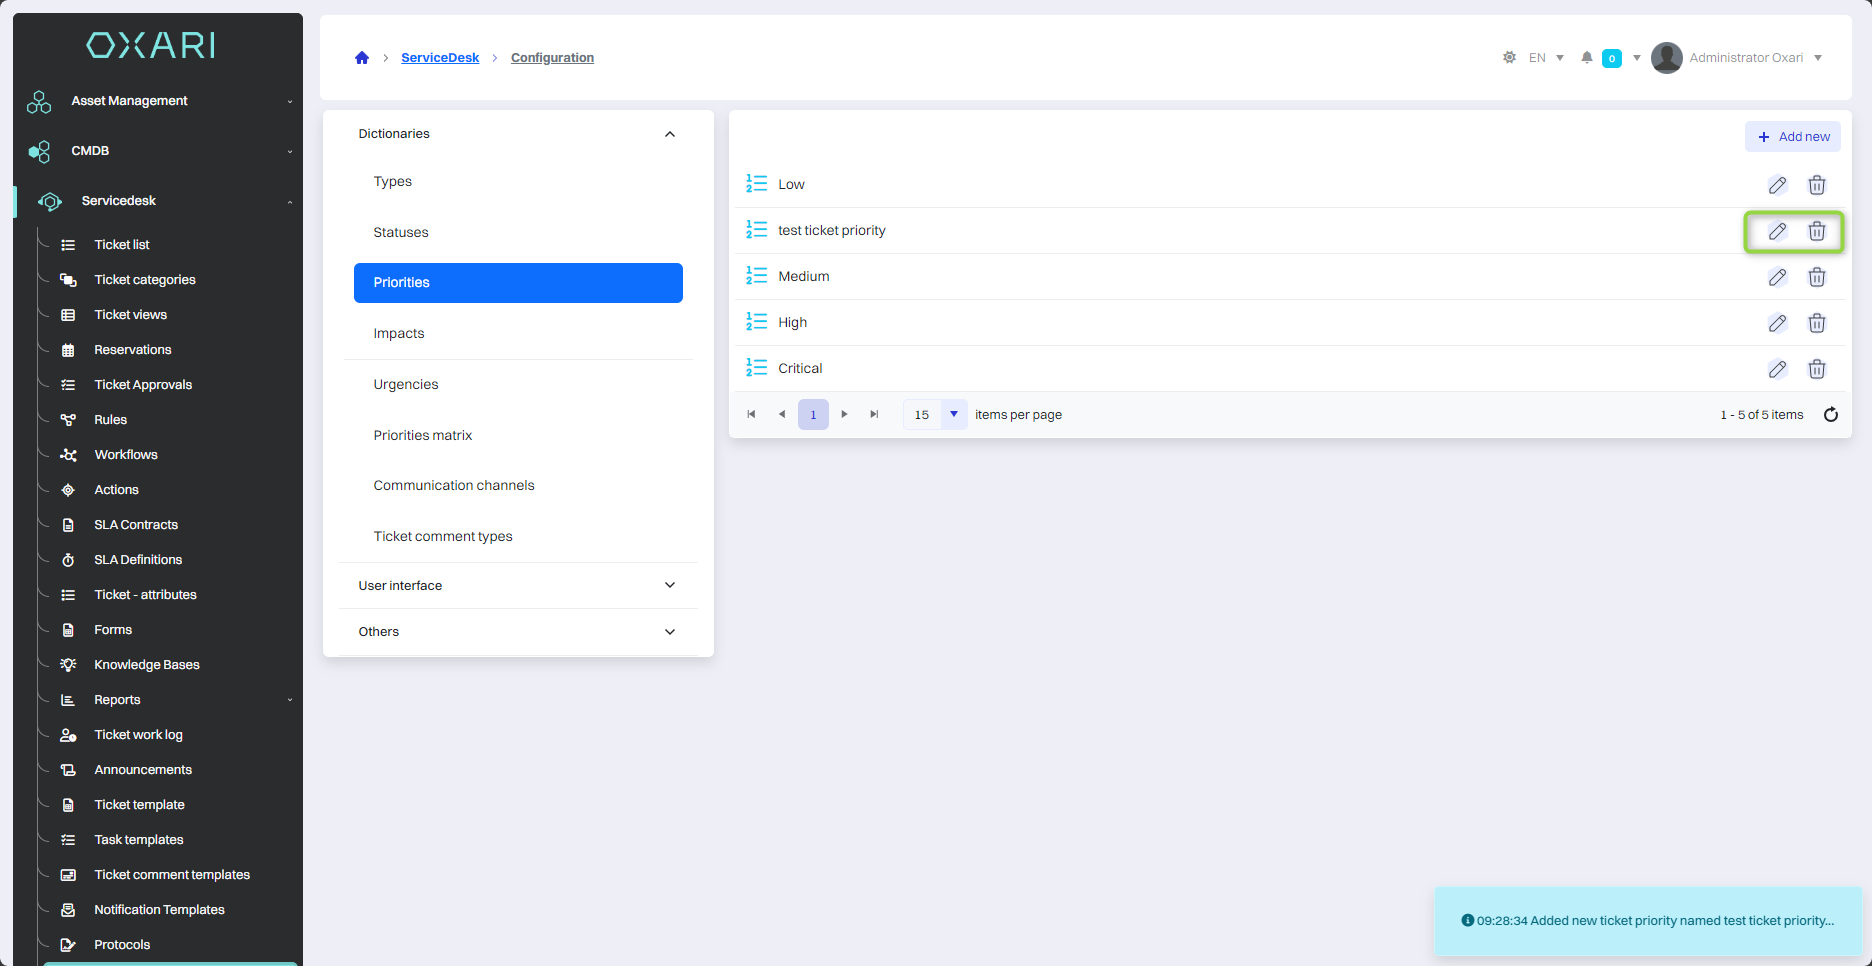
Editing/Deleting the priority of a ticket
Use the following buttons to edit or delete ticket priorities.
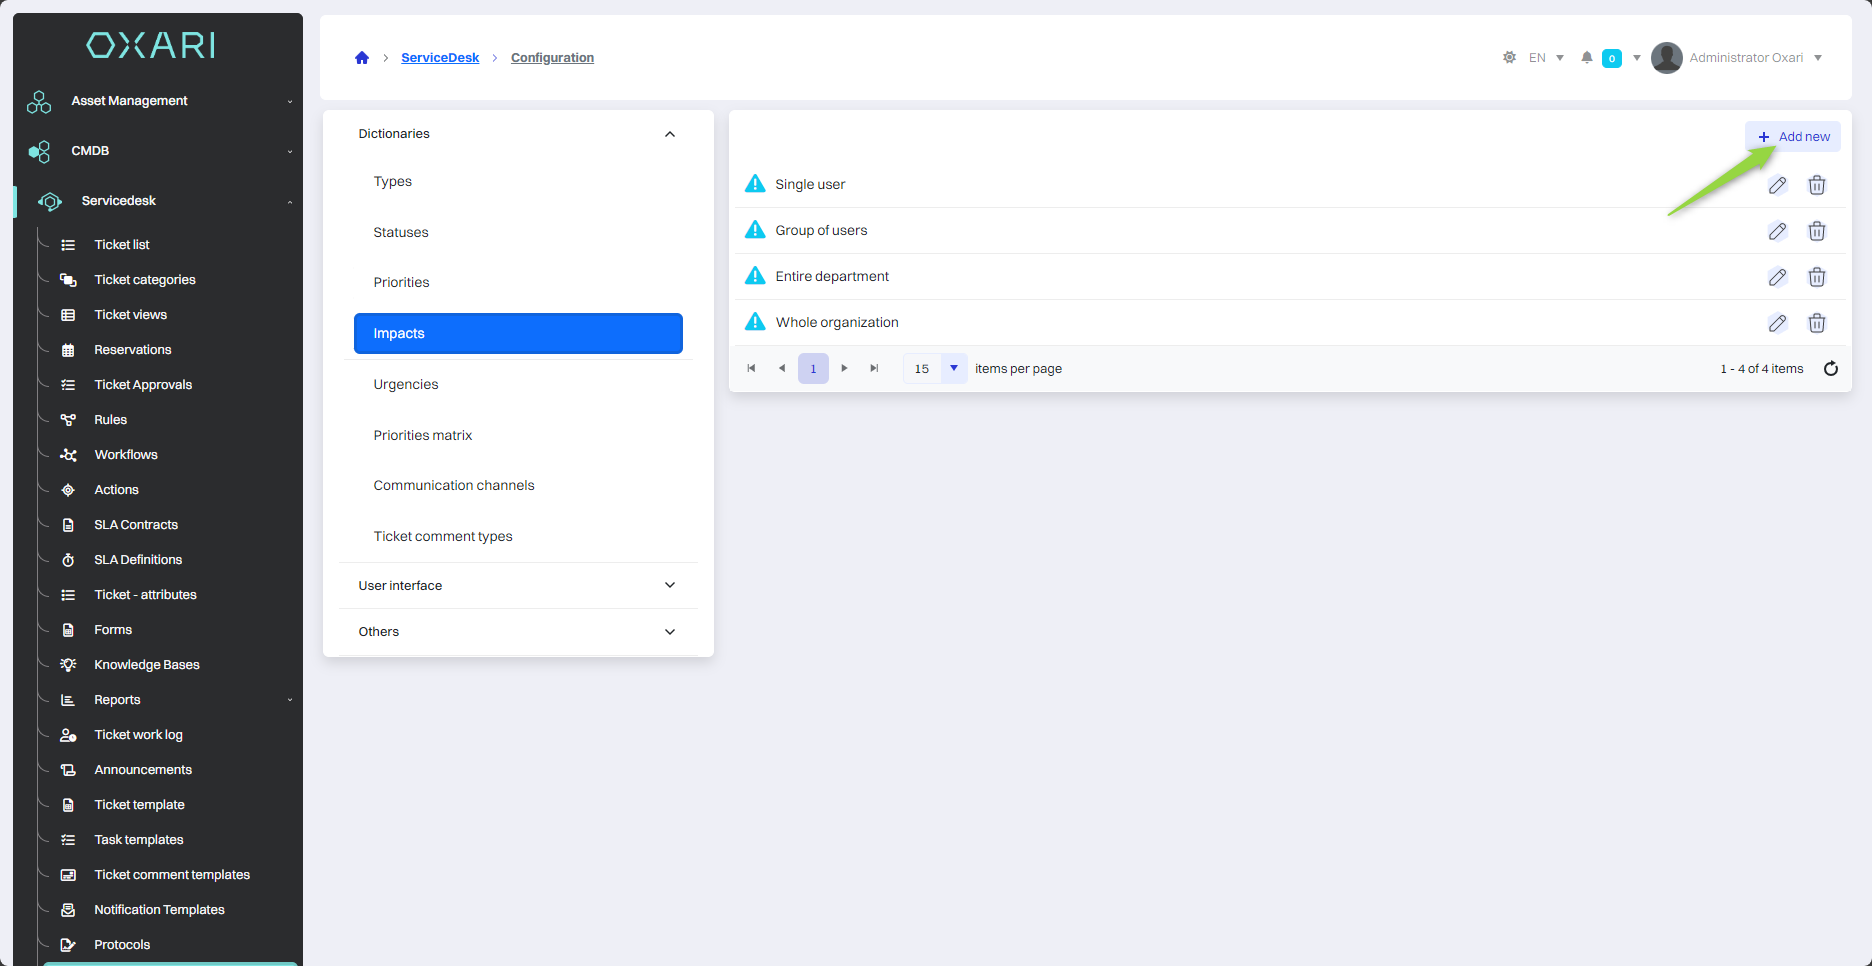
Dictionaries - impact section
The impact section allows you to determine how widely a ticket affects your organization. It allows you to classify tickets according to their scope, from the impact on a single employee, to user groups and departments, to the entire organization.
New ticket impact
To add a new ticket impact type, click the “Add new” button.
Next, the “New ticket impact” window contains the items:
|
1 |
Name - A text field where you can enter the name of the new ticket impact. |
|
2 |
Scale - A slider with a range of values that allows you to specify the size of the impact. The scale is numerical, with a range from 0 to 10. The position of the slider indicates how much impact the ticket has on organizations. |
|
3 |
Color - A color selector that allows you to assign a specific color to the impact. |
Fill in the desired fields and click the “Save” button.

Editing/Deleting the ticket impact
Use the following buttons to edit or delete ticket impacts.

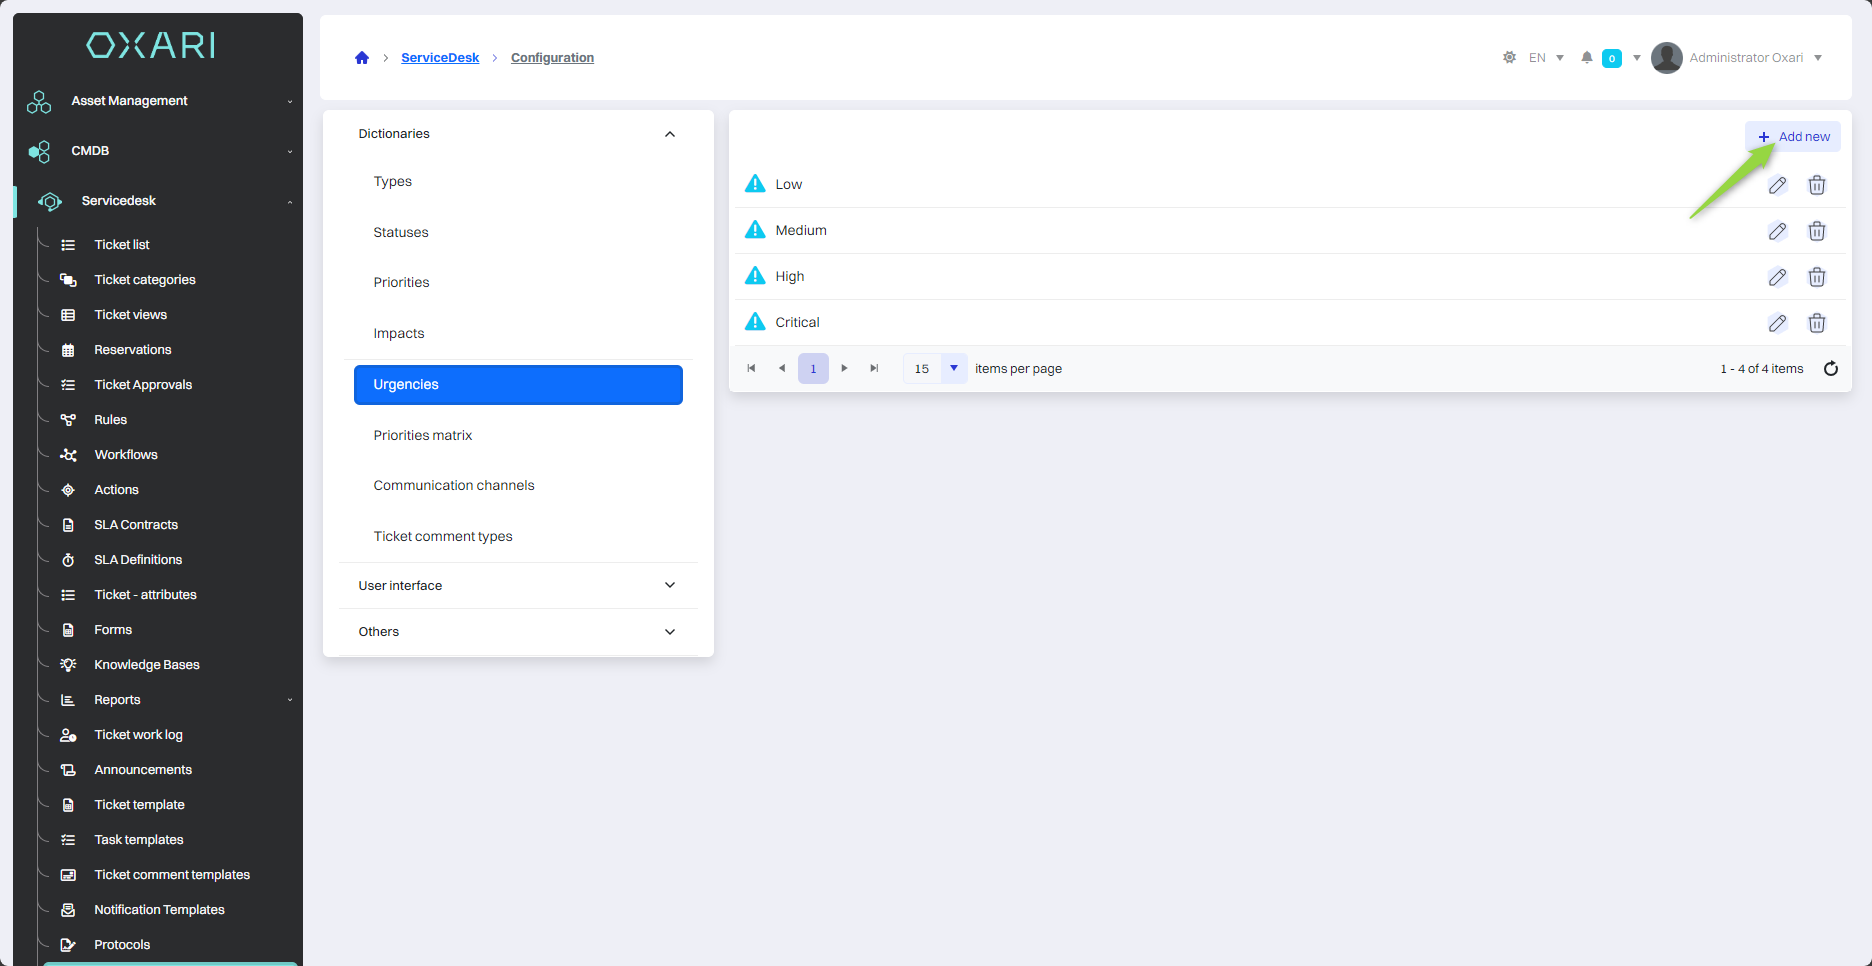
Dictionaries - urgency section
The urgency section is where you define the degree of urgency of tickets. The options in this section allow you to specify how quickly a ticket requires a response, with a choice between several levels, such as “Low”, “Medium”, “High” and “Critical”.
New ticket urgency
To add a new urgency to a ticket, click the “Add new” button.
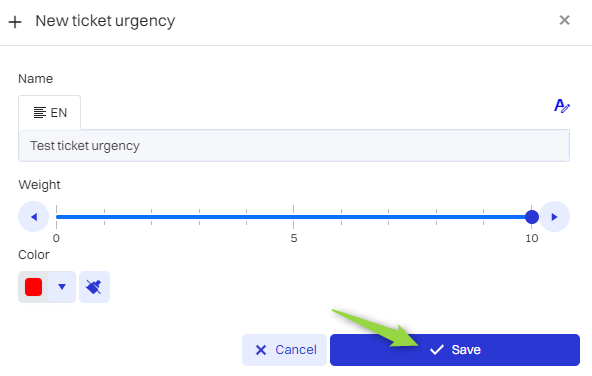
After that, the “New ticket urgency” window contains the items:
|
1 |
Name - A text field where you can enter the name of the new filing urgency. |
|
2 |
Scale - A slider with a range of values that allows you to specify the scale of urgency. The scale is numeric, with a range from 0 to 10. The position of the slider indicates in which order the ticket should be processed. |
|
3 |
Color - Color selector that allows you to assign a specific color to the urgency. |
Fill in the desired fields and click the “Save” button.
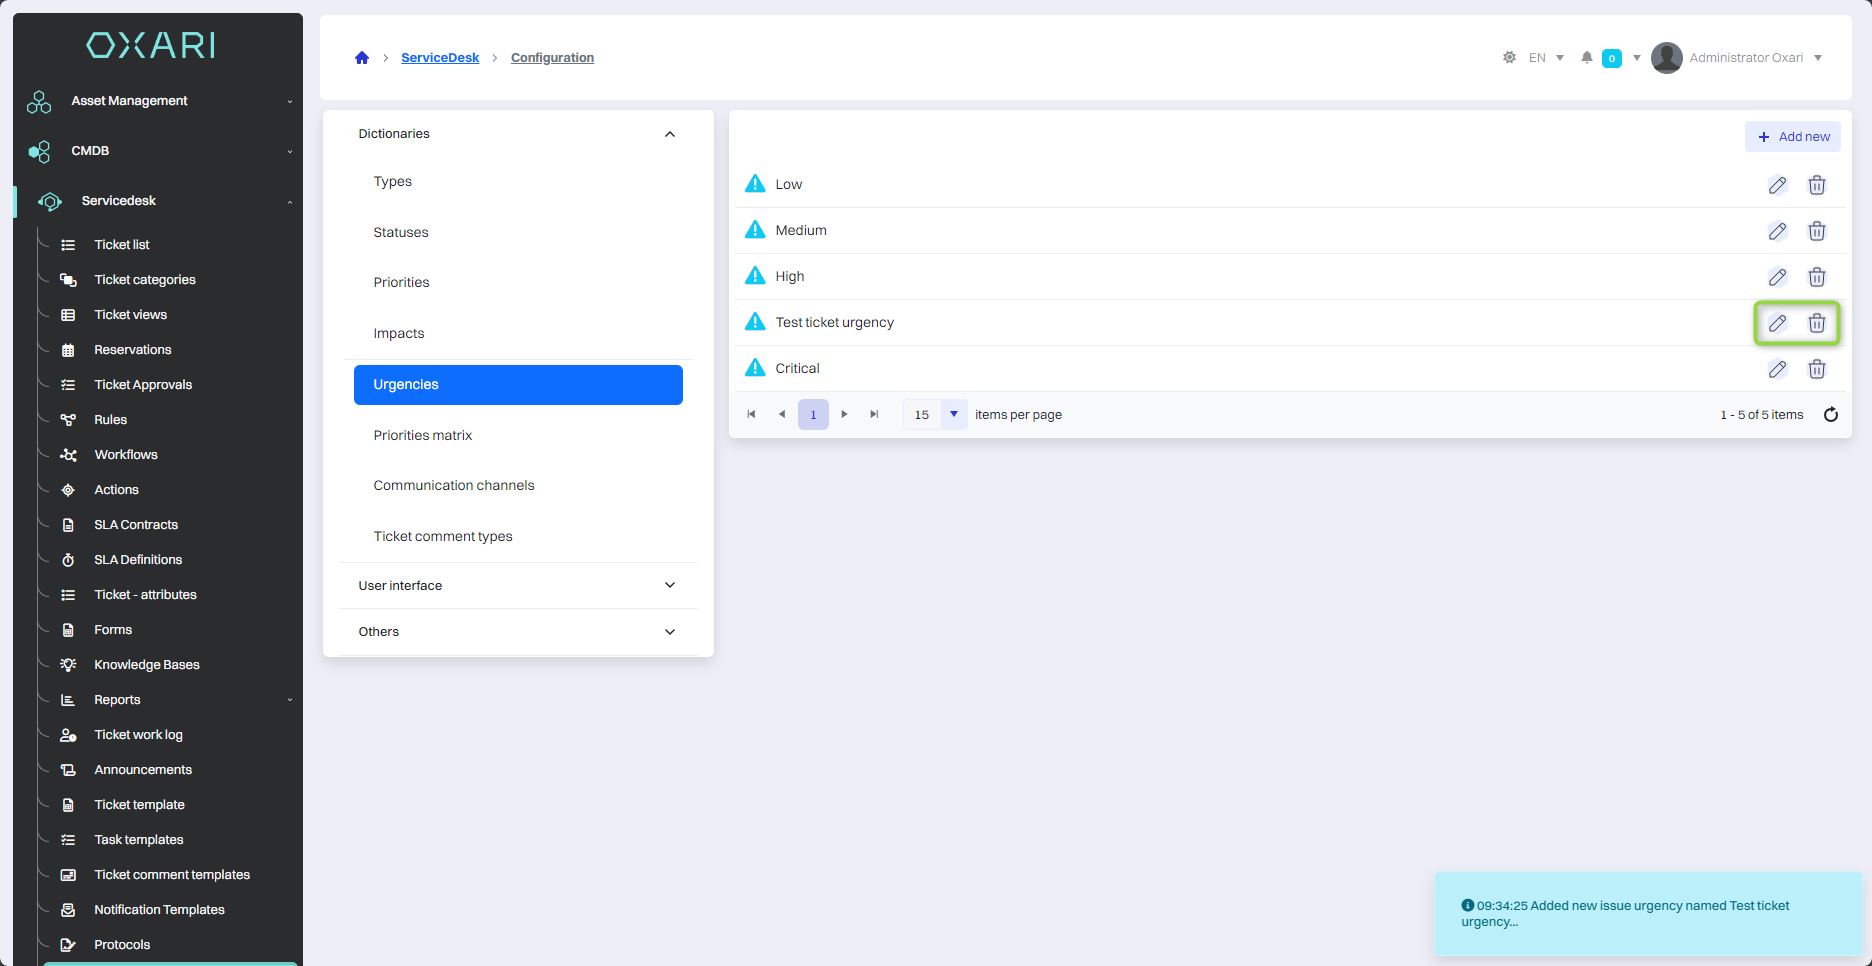
Editing/Deleting the urgency of a ticket
Use the following buttons to edit or delete the urgency of tickets.
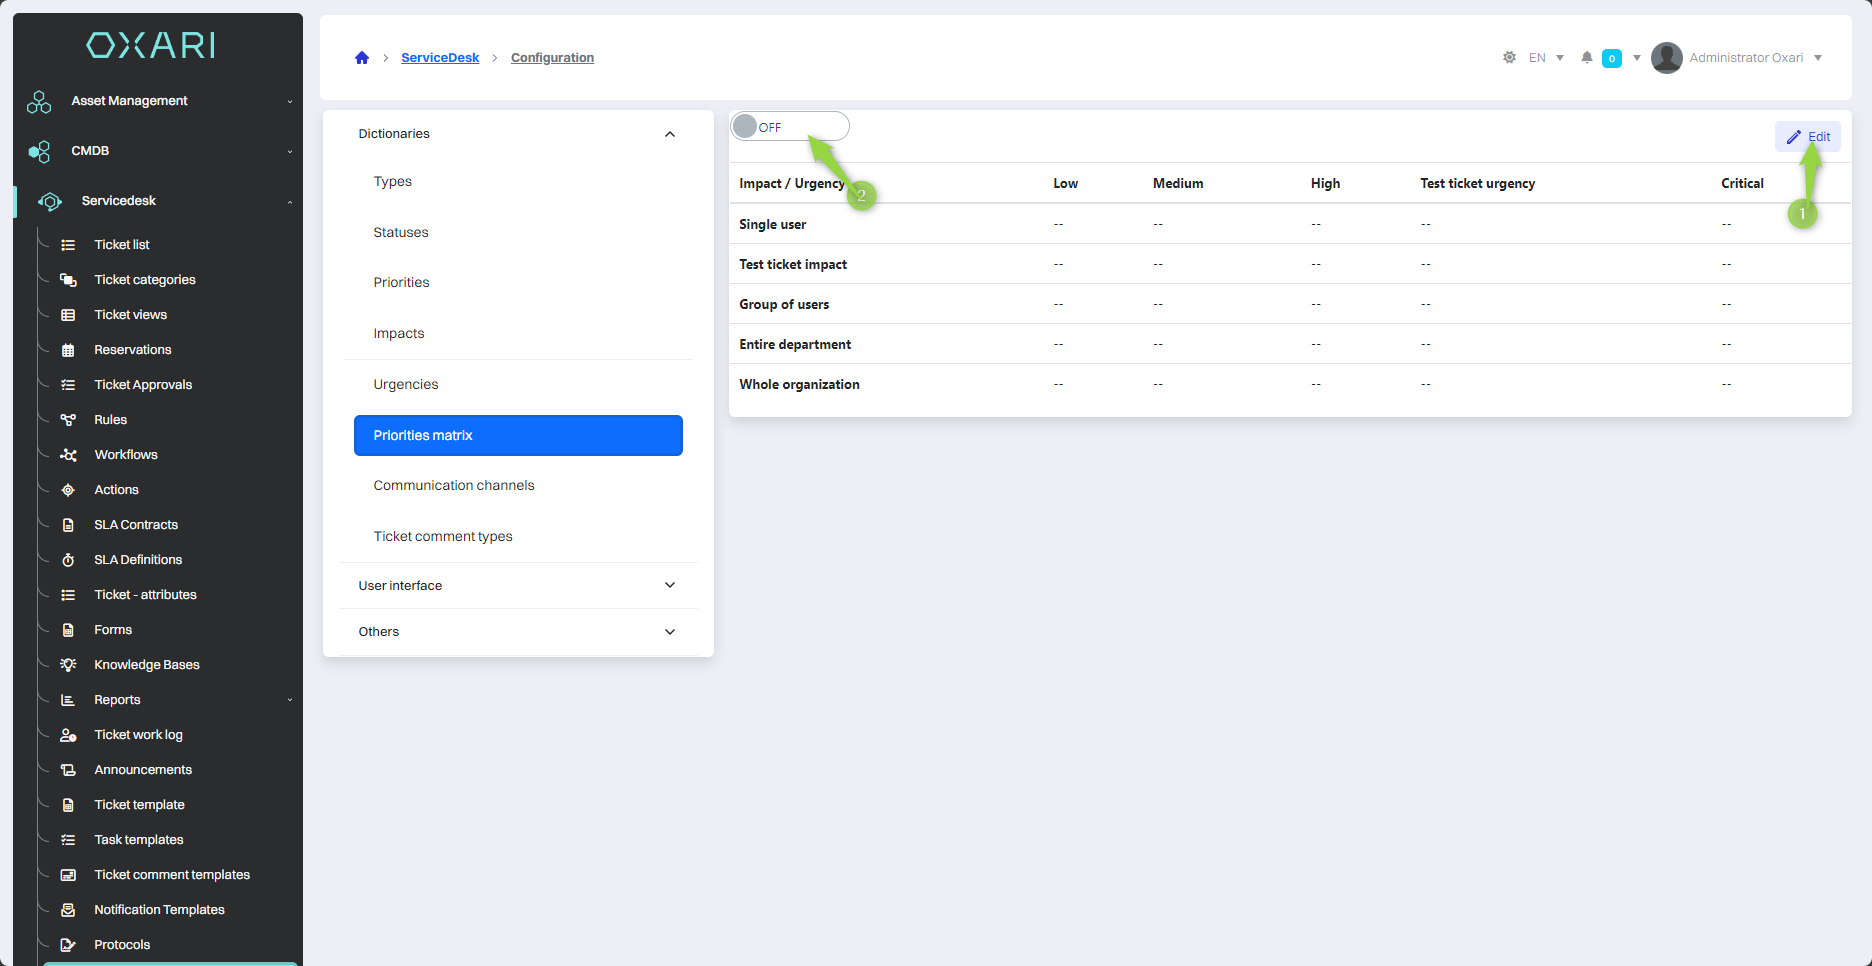
Dictionaries - priority matrix section
The priority matrix section is used to define how the combination of impact and urgency of a ticket translates into its final priority. It allows you to set rules by which notifications are classified as “Low”, “Medium”, “High” or “Critical” depending on how much the problem affects an employee, a group of users, an entire department or the entire organization, and how urgently it needs to be resolved.
Edit the priority matrix
To edit the priority matrix, click the “Edit” button. To activate the priority matrix, click on the slider.
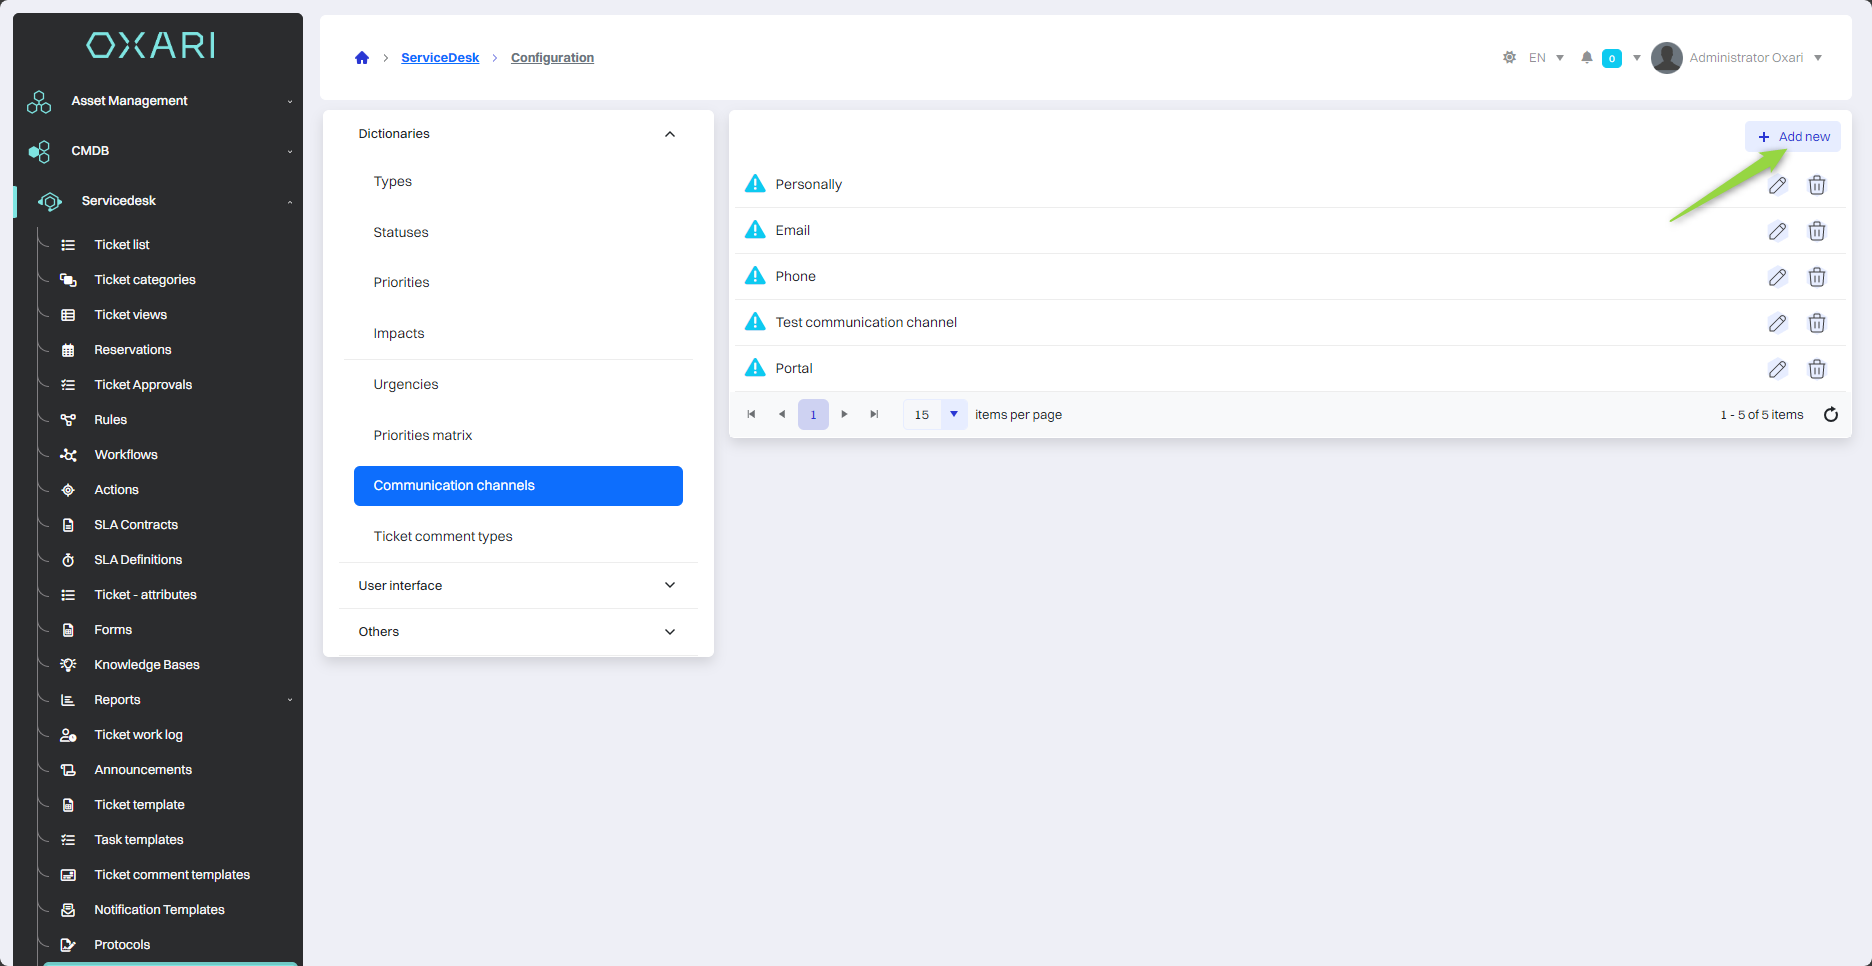
Dictionaries - communication channel section
The communication channel section is where the user can define the various channels through which tickets can enter the system.
New communication channel
To add a new communication channel, click the “Add new” button.
Then in the “New communication channel” window, name the source and click the “Save” button.

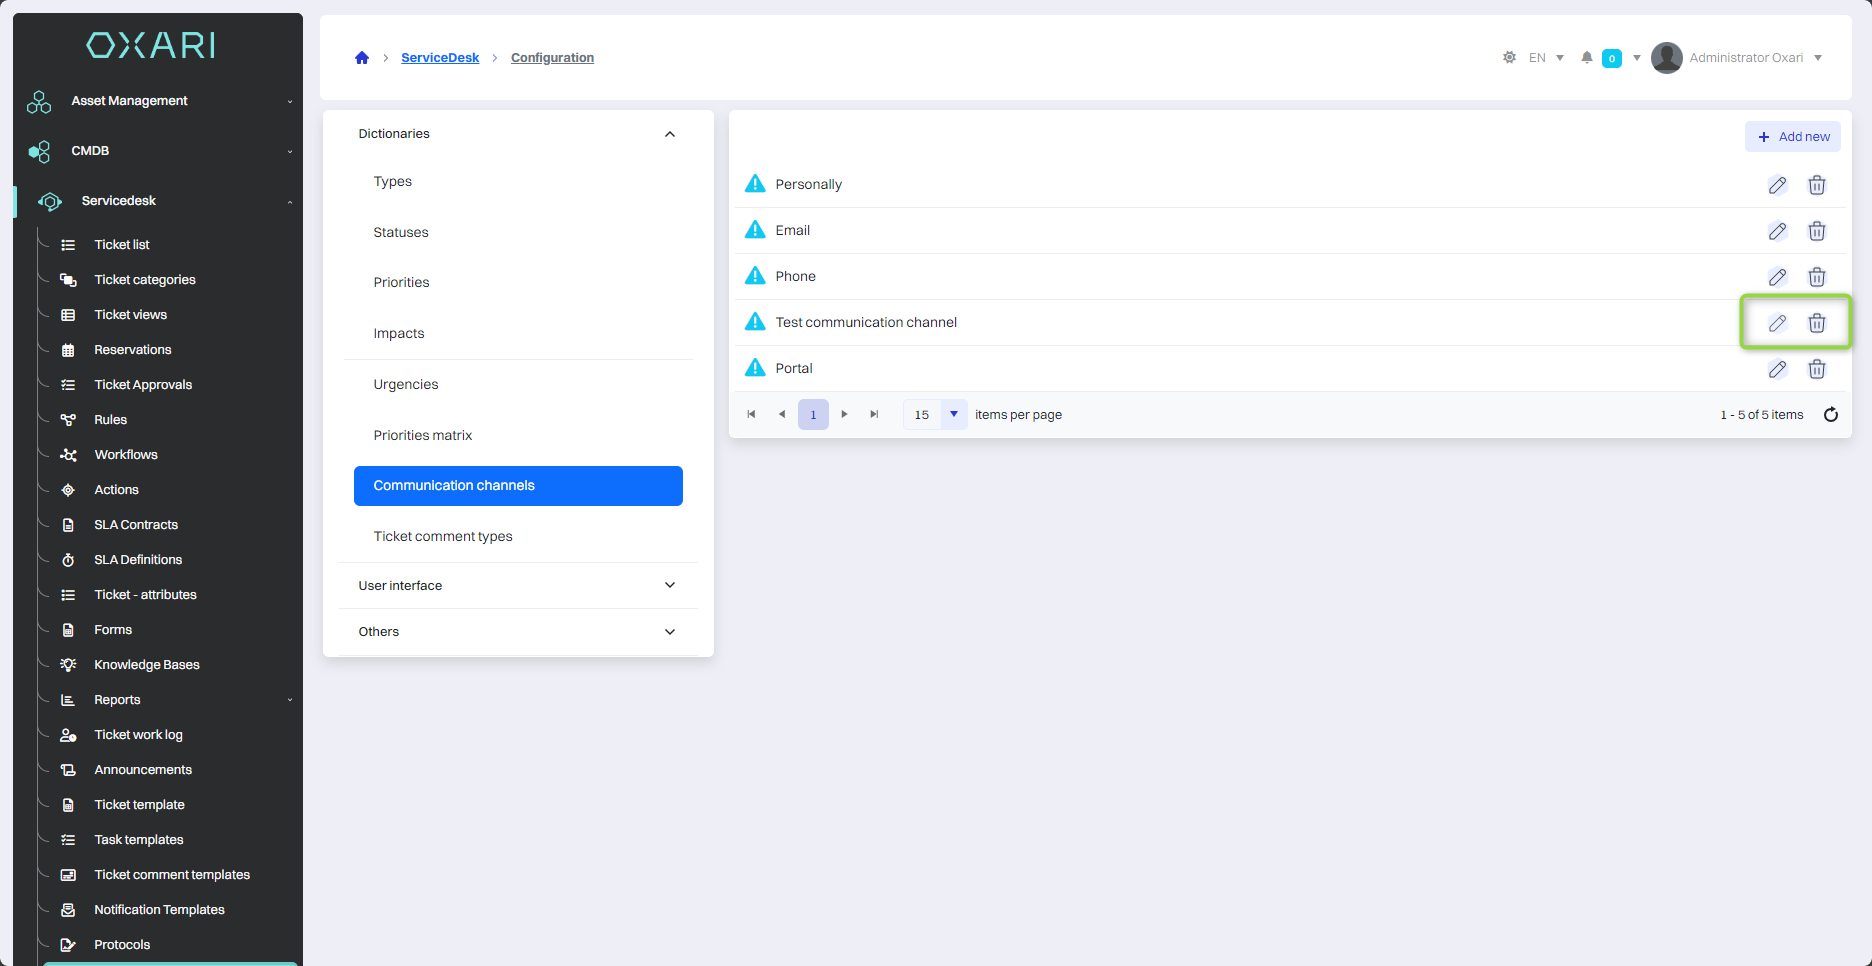
Editing/Deleting a communication channel
Use the following buttons to edit or delete the communication channel.
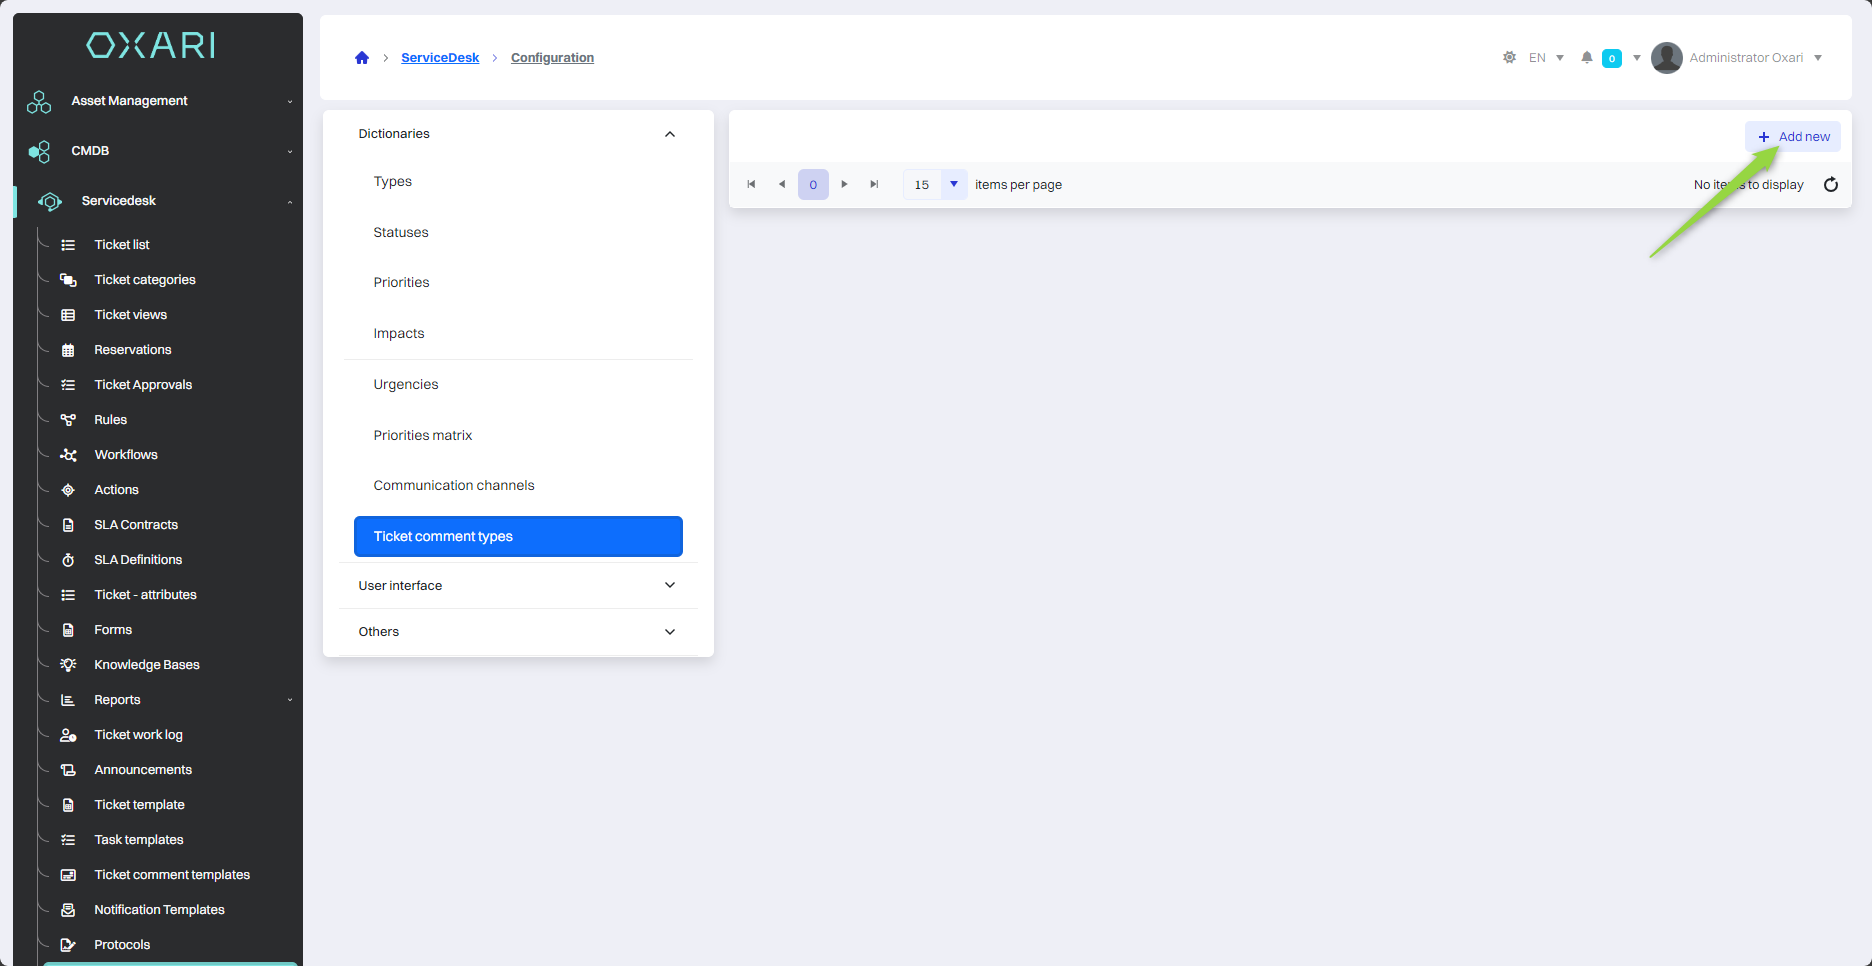
Dictionaries - problem comment types section
The problem comment types section is used to define and manage different comment categories that can be applied to problem reports.
New problem comment type
To add a new problem comment type, click the “Add new” button.
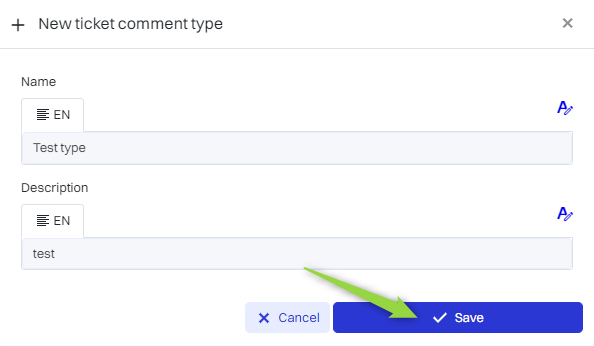
Then in the “New comment type” window, name and describe the comment type and click the “Save” button.
Editing/Deleting a comment type
Use the following buttons to edit or delete a comment type.
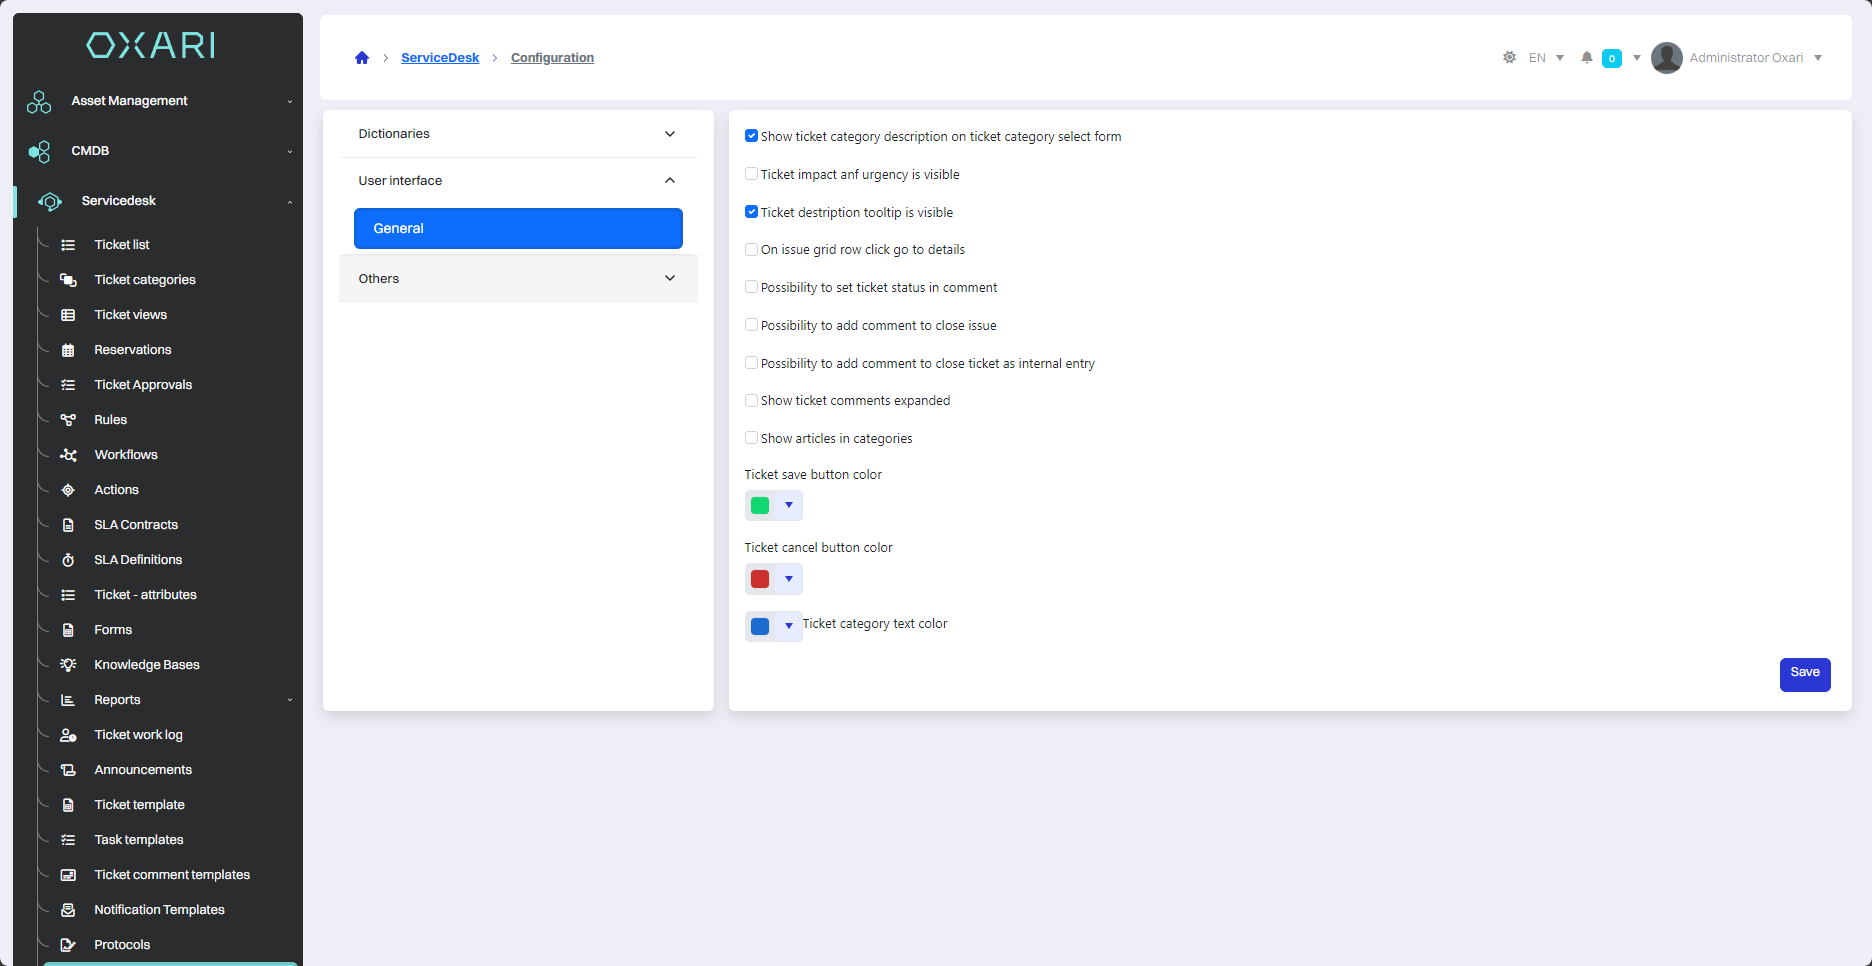
User interface section - general
This section contains general user interface settings that affect how information is presented and what actions are available in the system. You can customize the following options here:
|
1 |
Display the category description on the category selection formats. |
|
2 |
Display of urgency and impact in the ticket details. |
|
3 |
Display the description of the ticket when hovering over the selected line of the ticket list. |
|
4 |
Clicking on a line in the ticket list opens the details of the selected ticket. |
|
5 |
Ability to set the status of a ticket in a comment. |
|
6 |
Ability to add a comment to a closed ticket. |
|
7 |
Show extended comments for tickets. |
In addition, the section includes color selection options for the “save” and “cancel” buttons on the ticket forms and the color of the category name in the selection window. The “save” button allows you to save your changes.
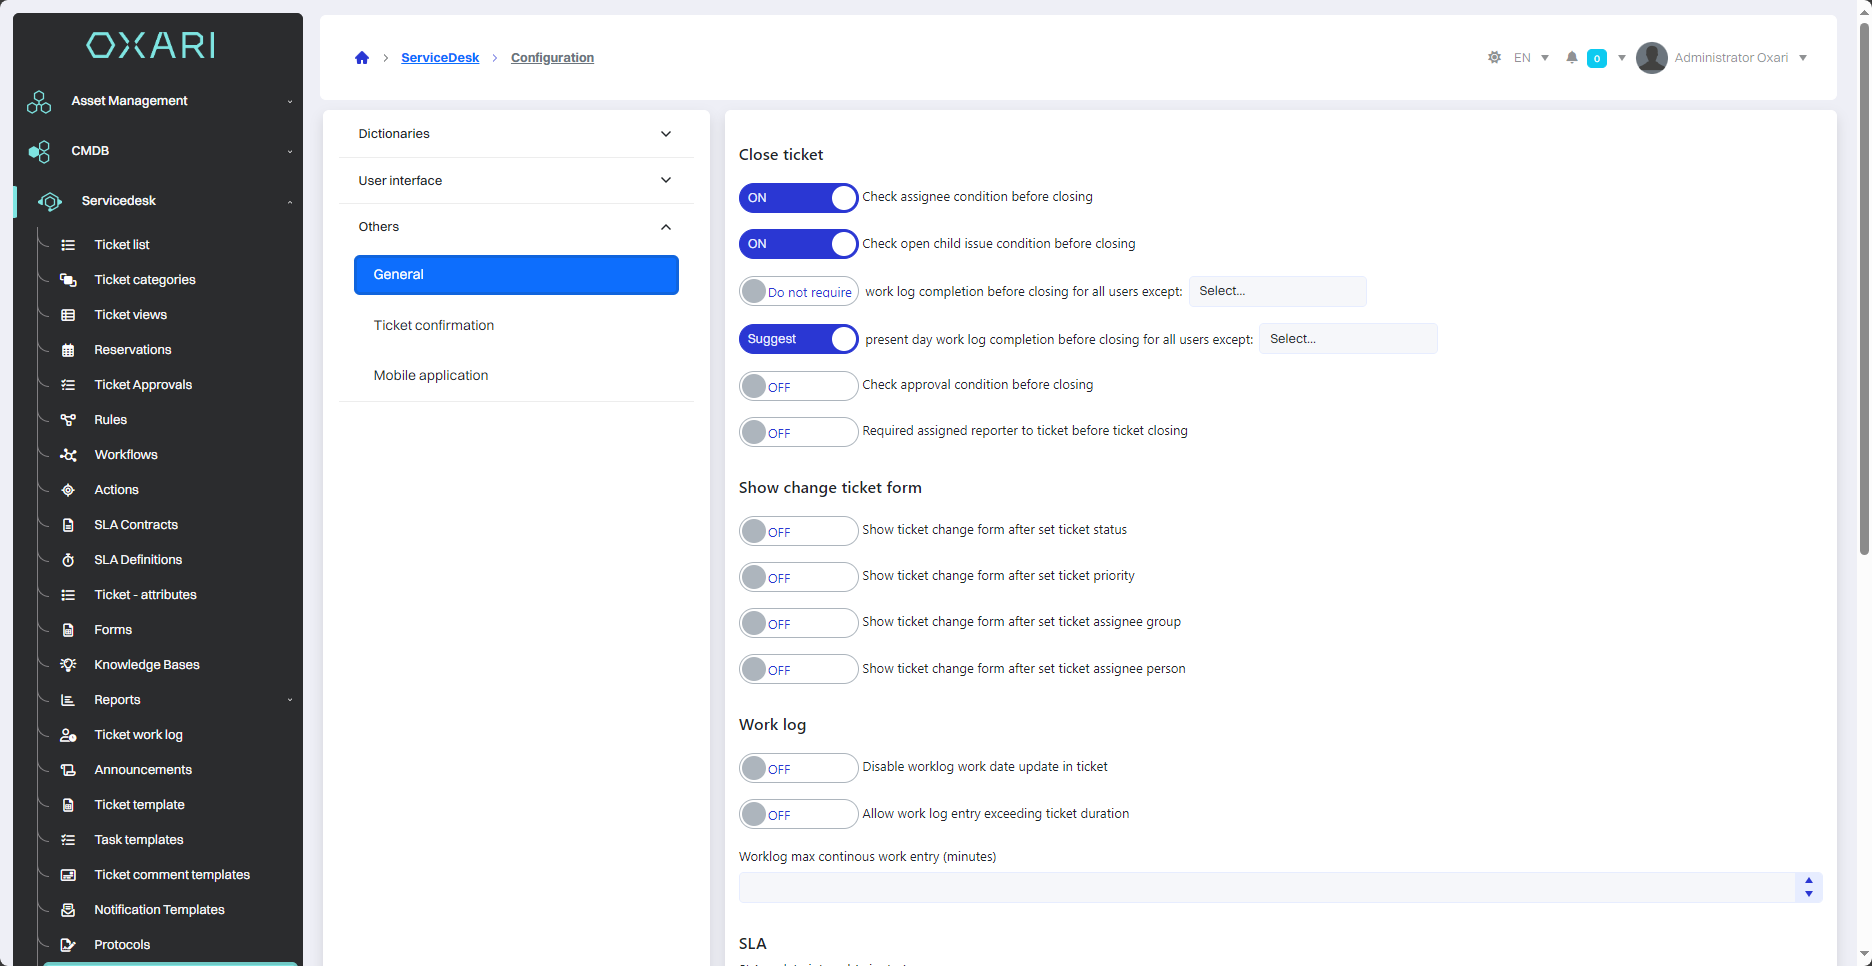
Other section - general
The general section contains general settings for system functionality. It allows you to configure various aspects of system operation, such as:
|
1 |
Ticket closure - Settings for requirements for closing tickets, such as requiring a custodian to be assigned to a ticket before closure, requiring all subtickets to be closed, or requiring all acceptances to be responded to before a ticket is closed. |
|
2 |
Ticket change form display option - Configure options for displaying changes to a ticket, such as status, priority, or guardian assignment. |
|
3 |
Work log - Settings for how the work log is made available, such as disabling the ability to complete the start time in the ticket log or allowing entries that exceed the ticket's duration. |
|
4 |
SLA (Service Level Agreement) - Settings regarding the intervals for calculating SLA times. |
|
5 |
Ticket list - Options for automatically refreshing the ticket list and configuring the ticket number mask. |
|
6 |
Ticket categories - Settings for updating categories throughout the configuration after a change. |
There is a “Save” button at the bottom of the screen to save the changes made.
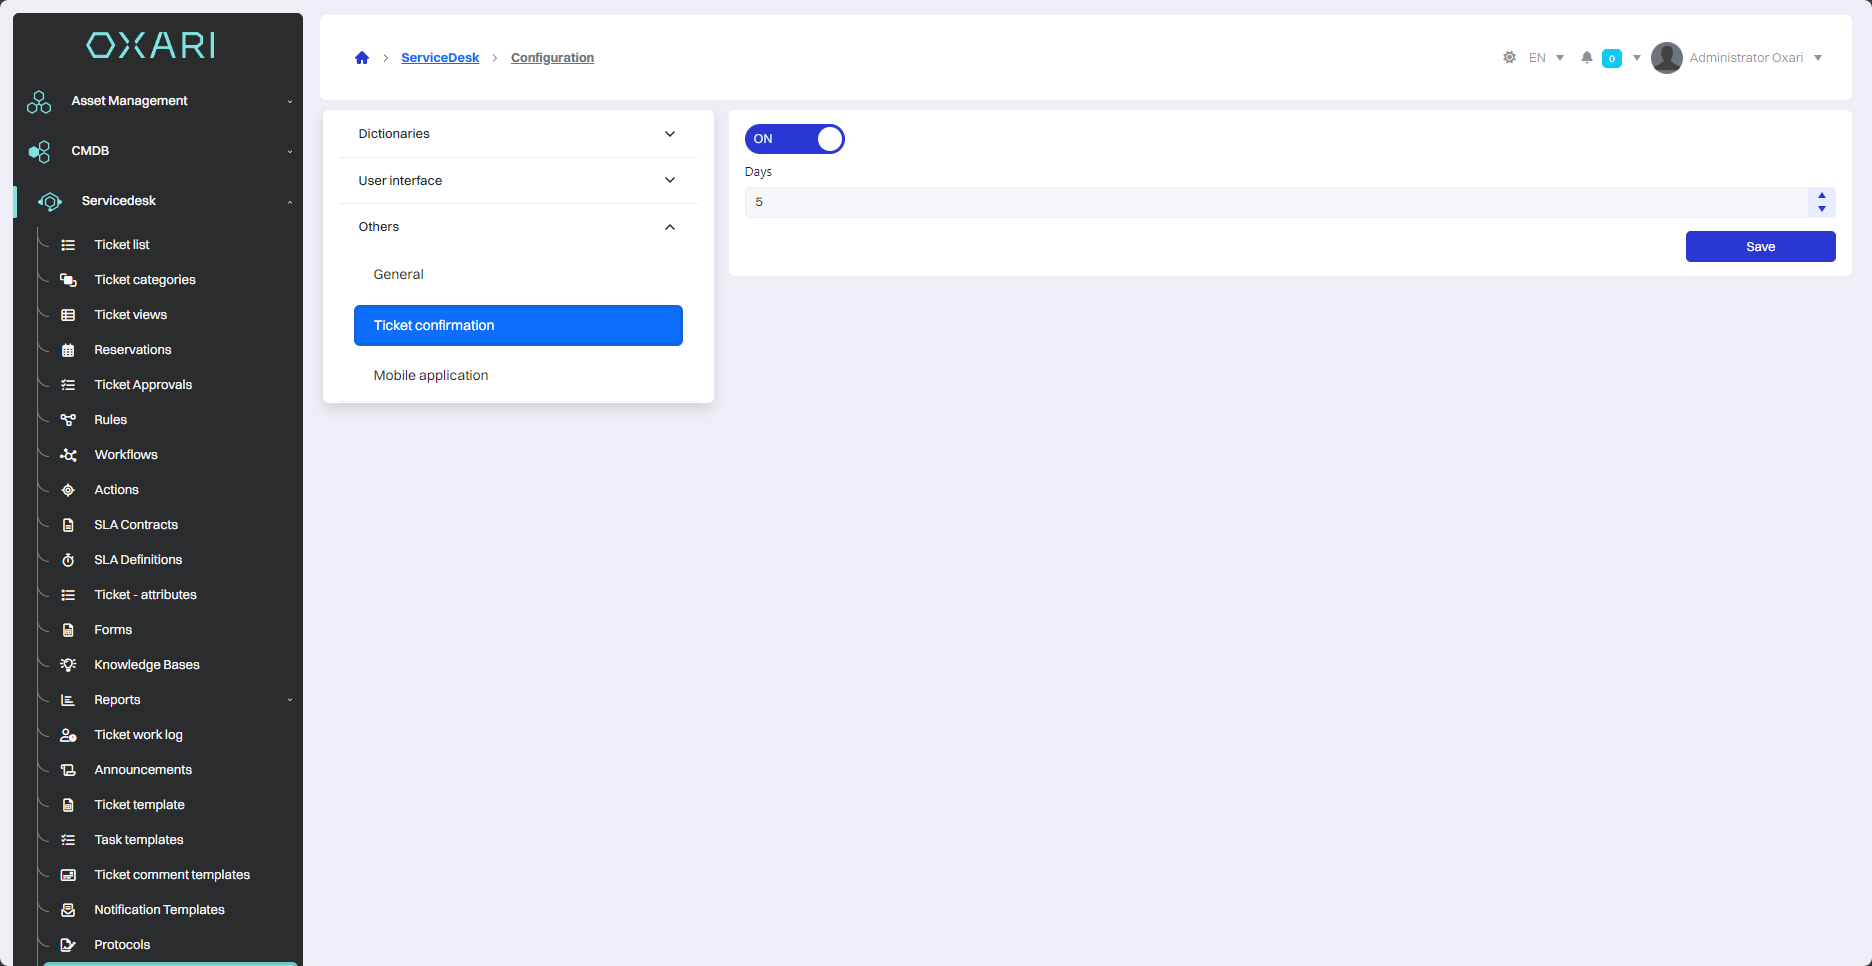
Other section - automatic approval of applications/tasks
In this section you can set the number of days after which closed tickets/tasks are automatically approved.
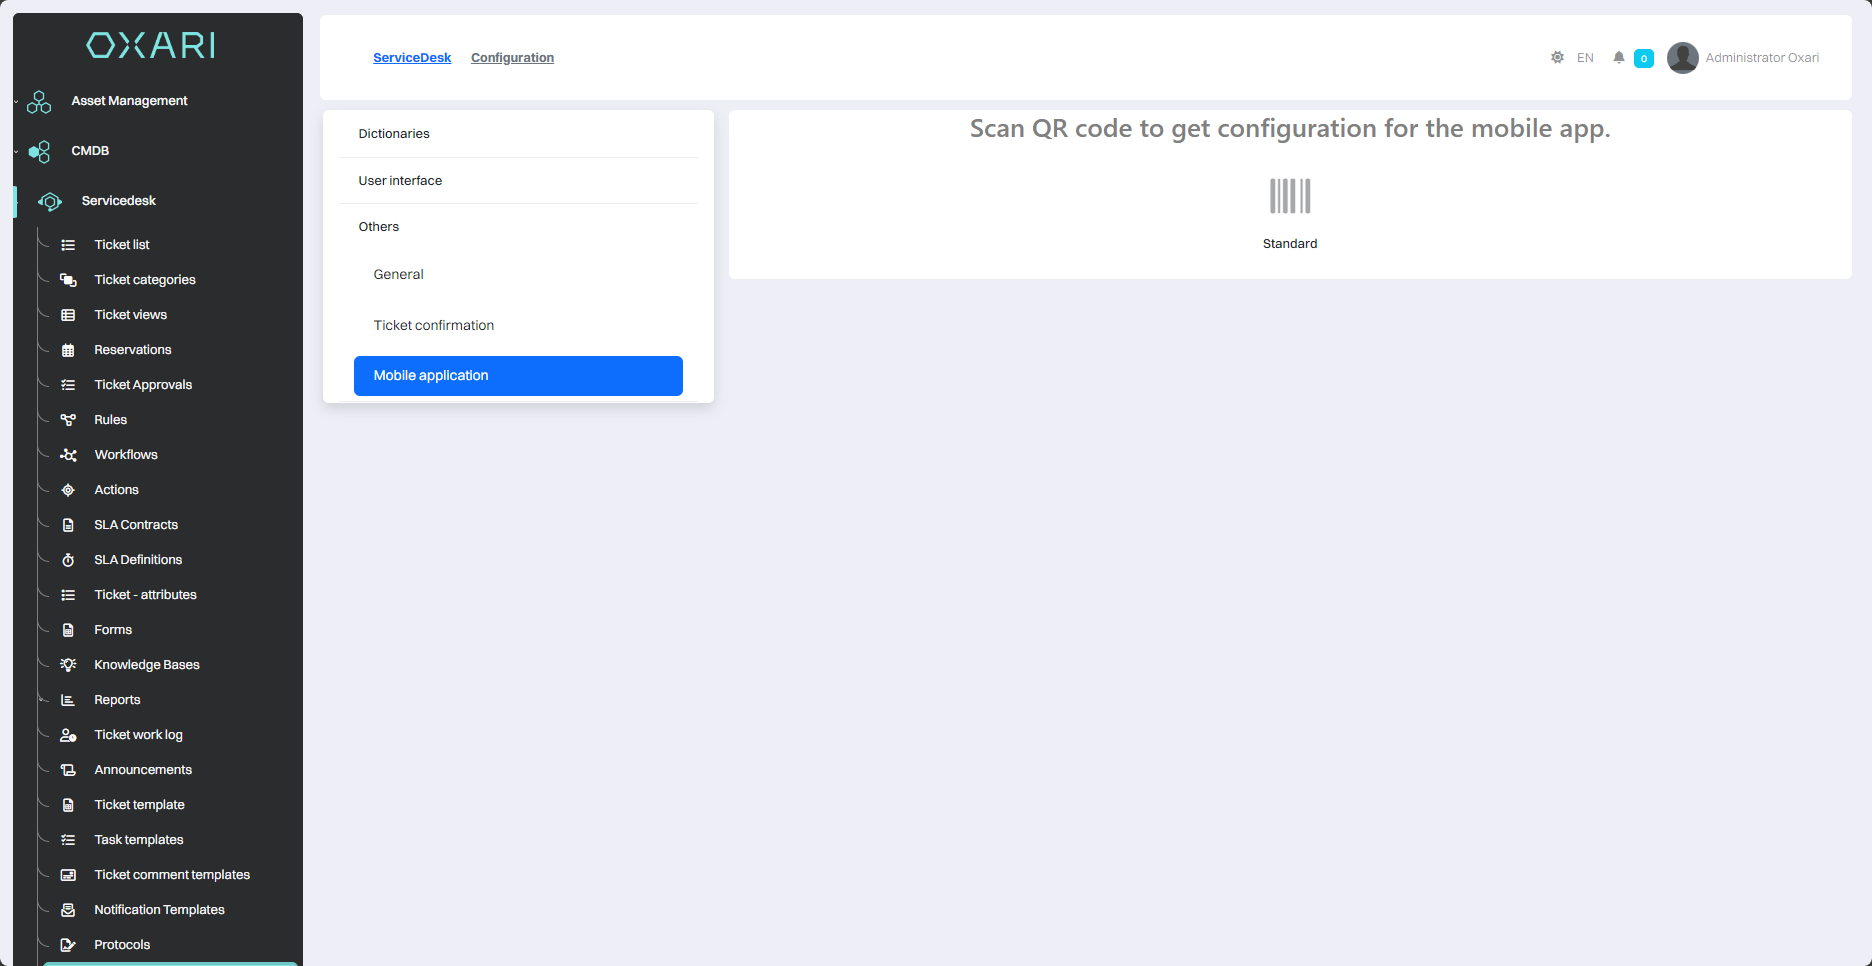
Other section - mobile application
In this section, you can scan the QR code to get the configuration of the mobile application.
More about the mobile application: Go >