eActions in the OXARI system's assets management module are automated operations that play a key role in effective asset lifecycle management. They are closely linked to rules and procedures, creating an agile system that improves the organization and control of assets. These predefined actions can be performed automatically by the system, covering a range of activities from updating asset data, to assigning responsible individuals, to changing asset statuses. They are the foundations of automation mechanisms, triggered based on specific events or when specific criteria in the system are met.
More about the rules: Go >
New action
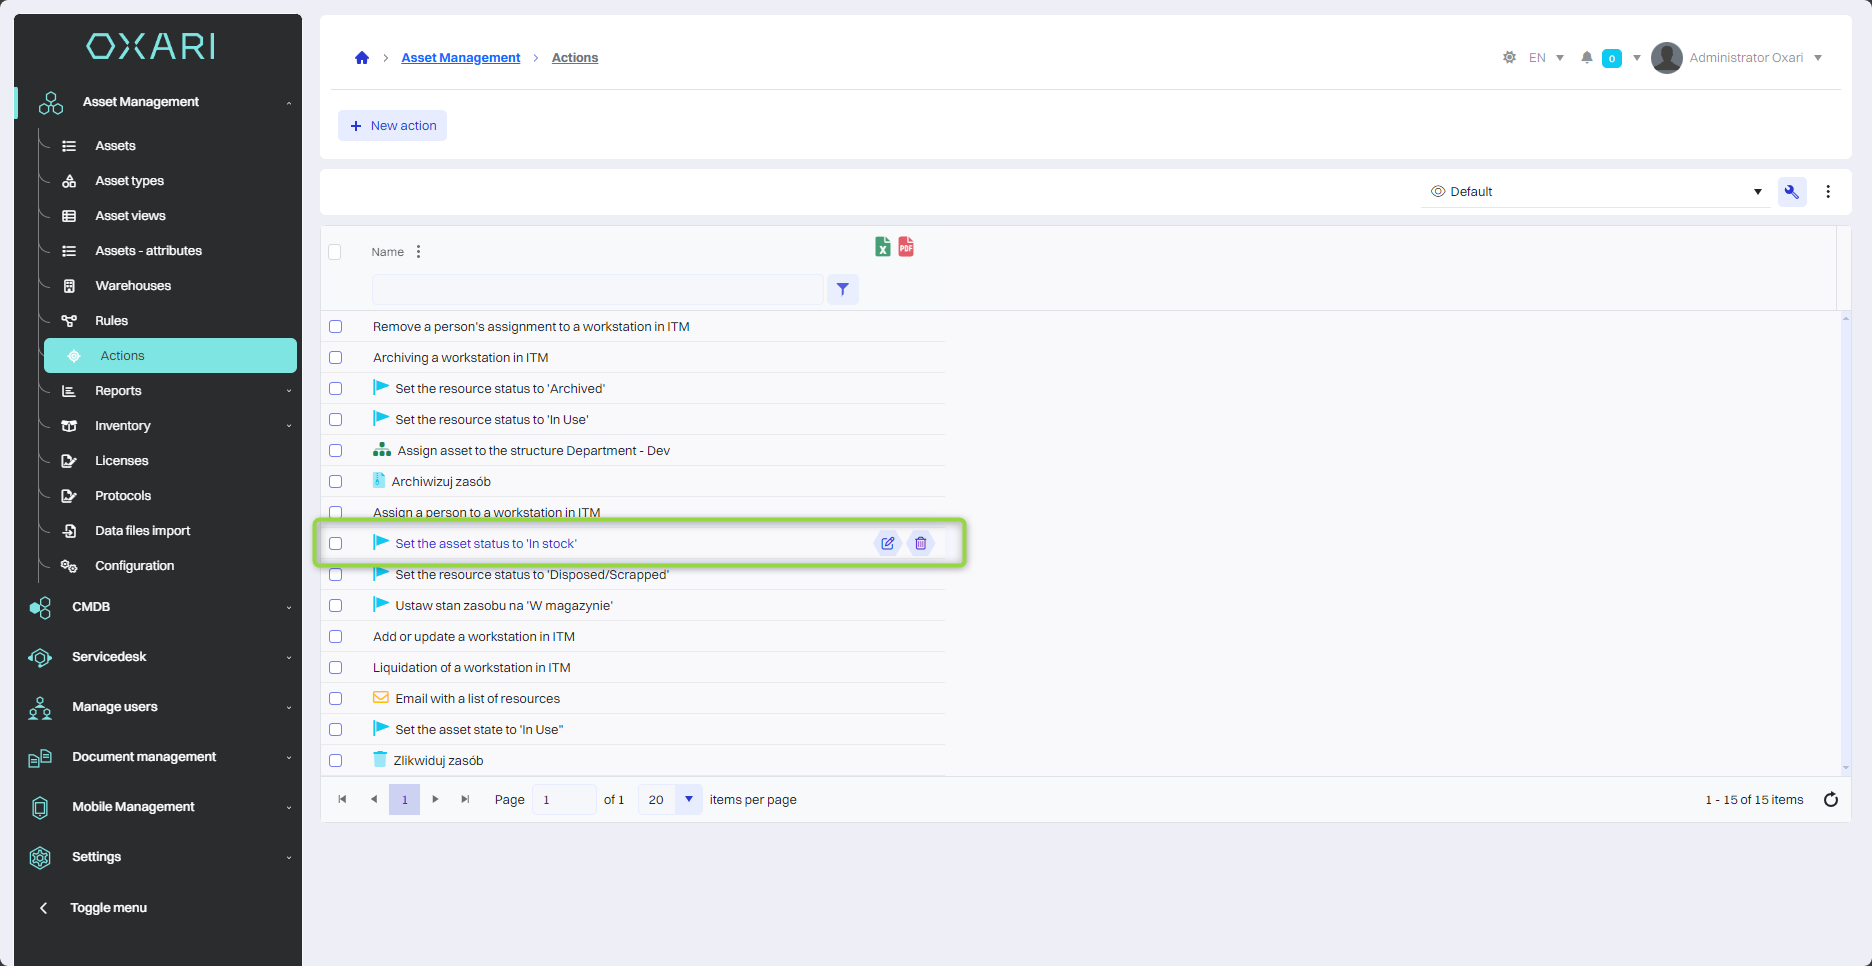
To add a new action, go to Assets Management > Actions, and then click the “New Action” button.

Action selection
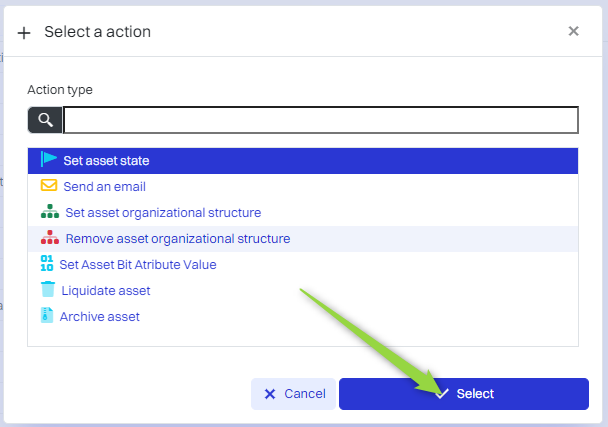
Next, in the “Select Action” window, there are action types to choose from, such as:
|
1 |
Set asset status - Allows you to change the status of a asset, such as from “in stock” to “in use.” More on assets: Go > |
|
2 |
Send Email - Enables automatic sending of email notifications in connection with a asset. |
In the example in question, the action “Set the state of the asset” is assigned, click in the field, and then click the “Select” button.
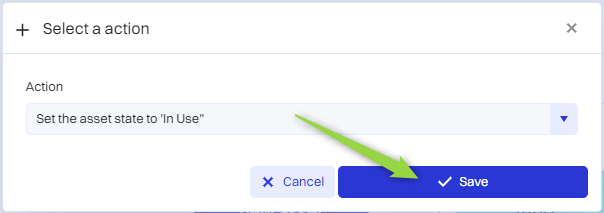
In this step, in the “Set asset state” window, name the action, select the desired asset state and click the “Save” button.
More on assets: Go >
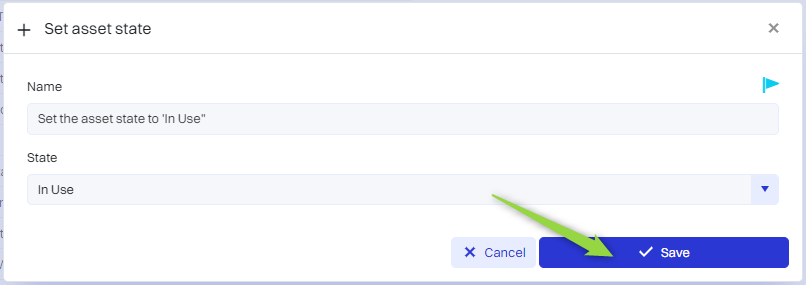
The action has been added to the list.
Description of actions
The following table describes the actions from the Assets Management section:
|
1 |
Set asset status - Allows you to change the status of a asset, such as from “in stock” to “in use.” More on assets: Go > |
|
2 |
Send Email - Enables automatic sending of email notifications in connection with a asset. |
|
3 |
Set asset organizational unit - Assigns the asset to a specific organizational unit. |
|
4 |
Remove the organizational unit of the asset - Disconnects the asset from the assigned organizational unit. |
|
5 |
Set bit attribute value for the asset - Changes the value of the specified binary attribute (yes/no, true/false) of the asset. |
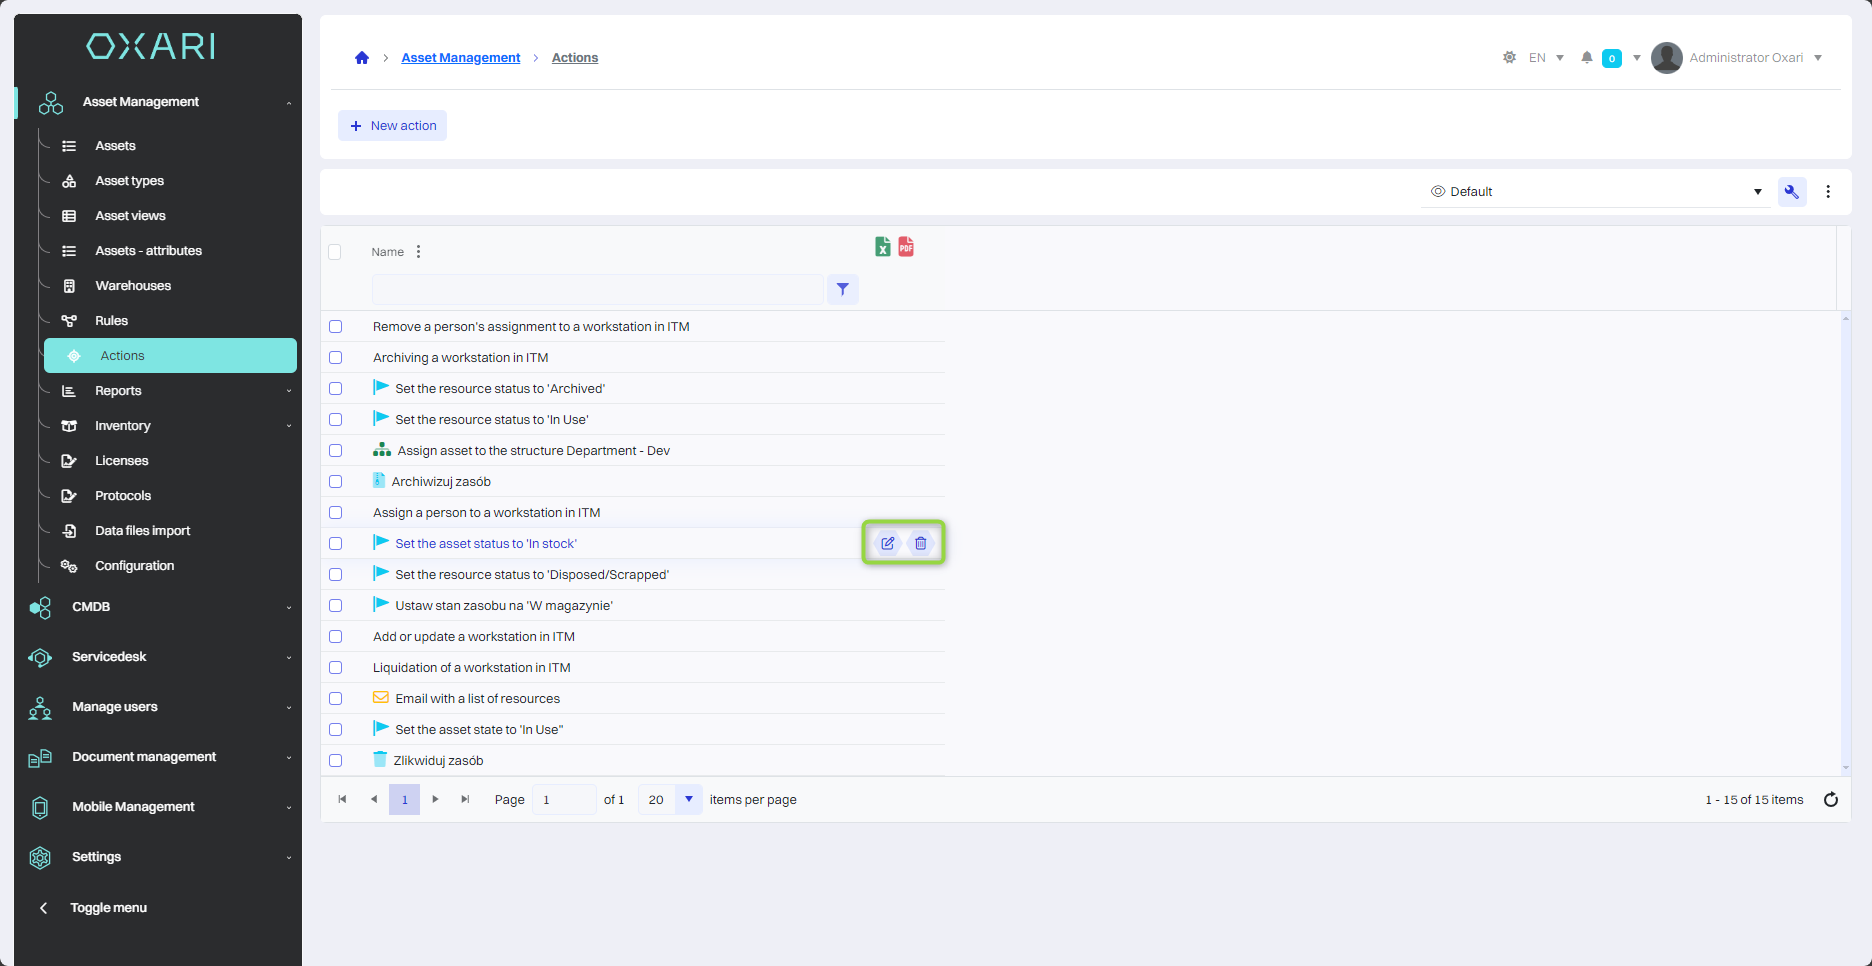
Editing/Deleting Actions
To edit or delete actions, go to Assets Management > Actions. Hover over the desired action. The edit/delete buttons will appear.
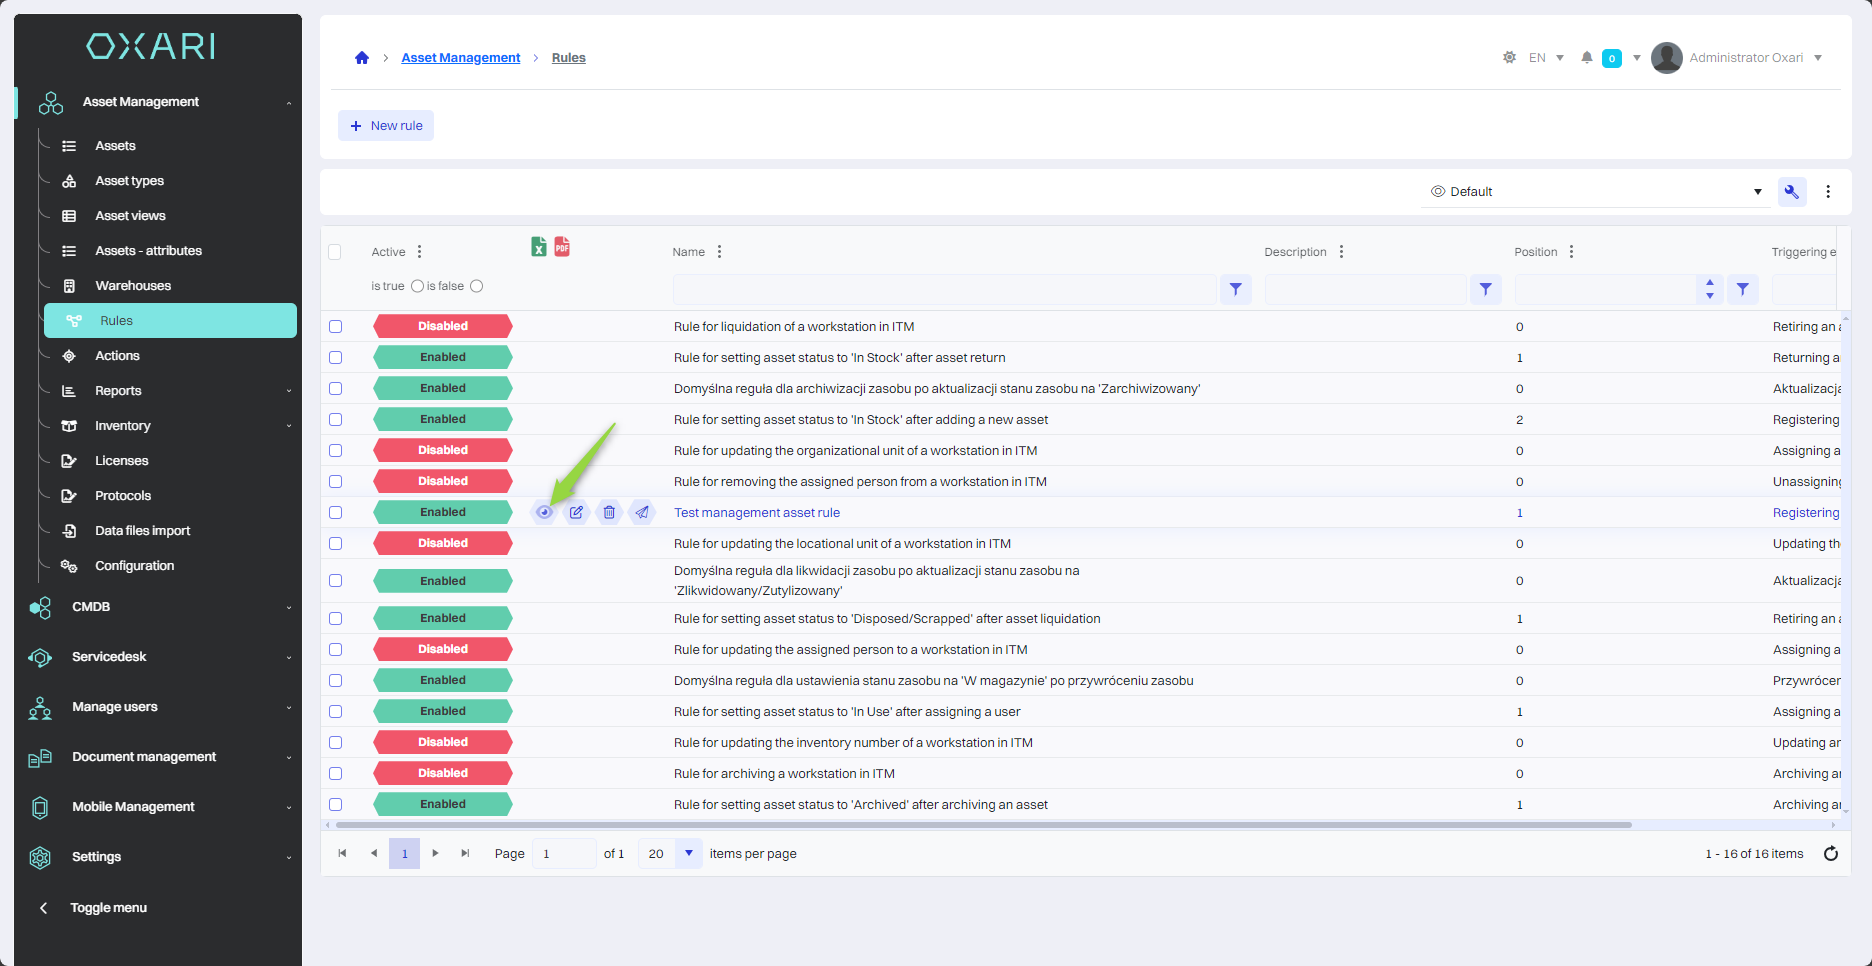
Assigning actions to a rule
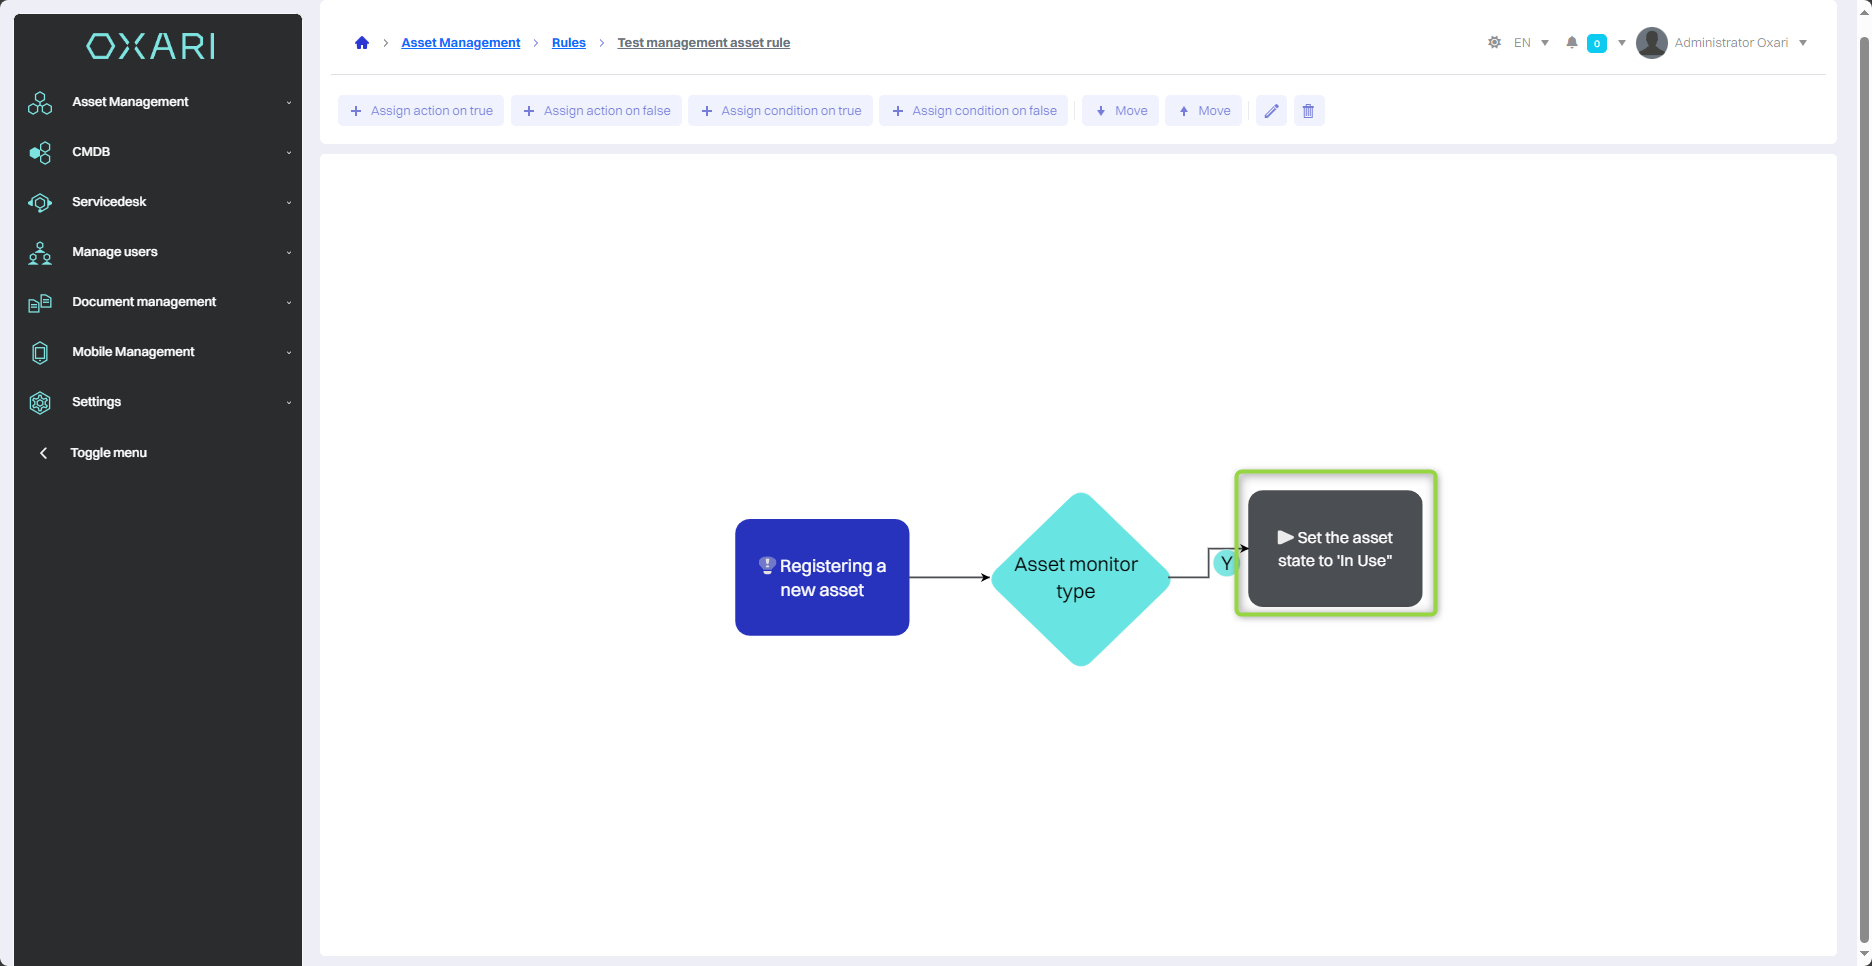
Assigning actions to rules allows you to automate tasks. To assign a created action to a rule, go to Assets Management > Rules, then click the “Details” button next to the rule.
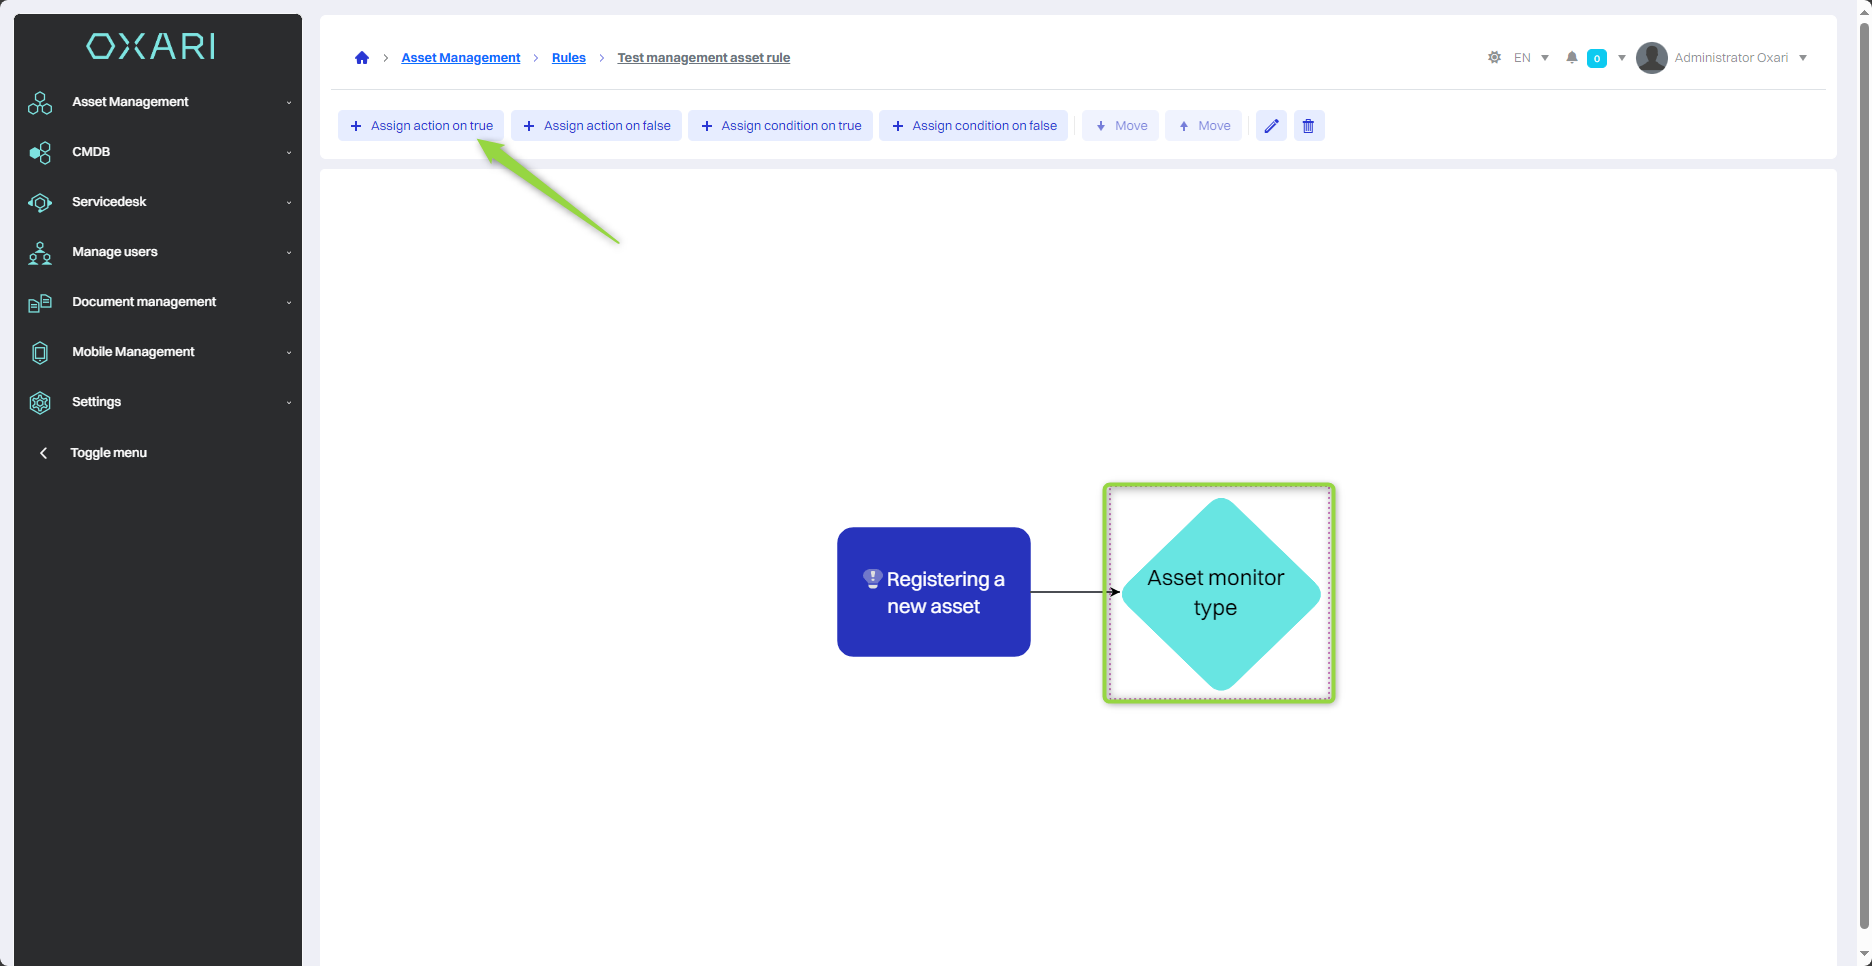
Then assign an action to the rule, click on the tile in question and click the “Assign action for TRUE” button.
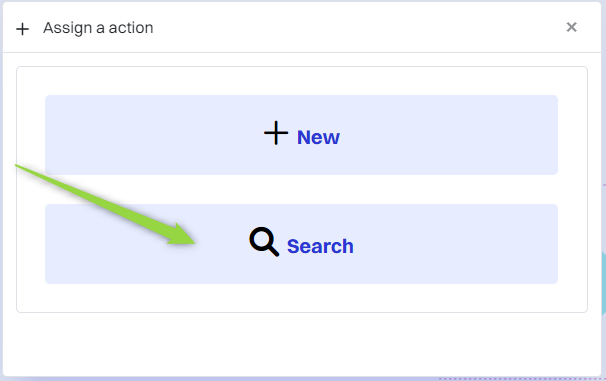
In the “Assign Action” window, click the “Search” button.
Then, in the “Select Action” window, select the appropriate action from the list in the “Action” field and click the “Save” button.
The action has been assigned to a rule: