These roles are an essential element in managing security and access control in the system, allowing fine-tuning of what users can see and do within OXARI. Roles are used in User Identities, User Groups and Dynamic User Groups. There are four predefined roles in the system:
-
Anonymous portal user role - Users with this role are assigned limited access privileges to the portal without logging in.
-
Service Request Supervisor - This role allows you to manage service requests, which indicates access to specialized request handling functions.
-
User - A basic role with general access privileges, provided for most system users.
-
Administrator - Individuals with this role have the broadest possible privileges, including user management and system configuration.
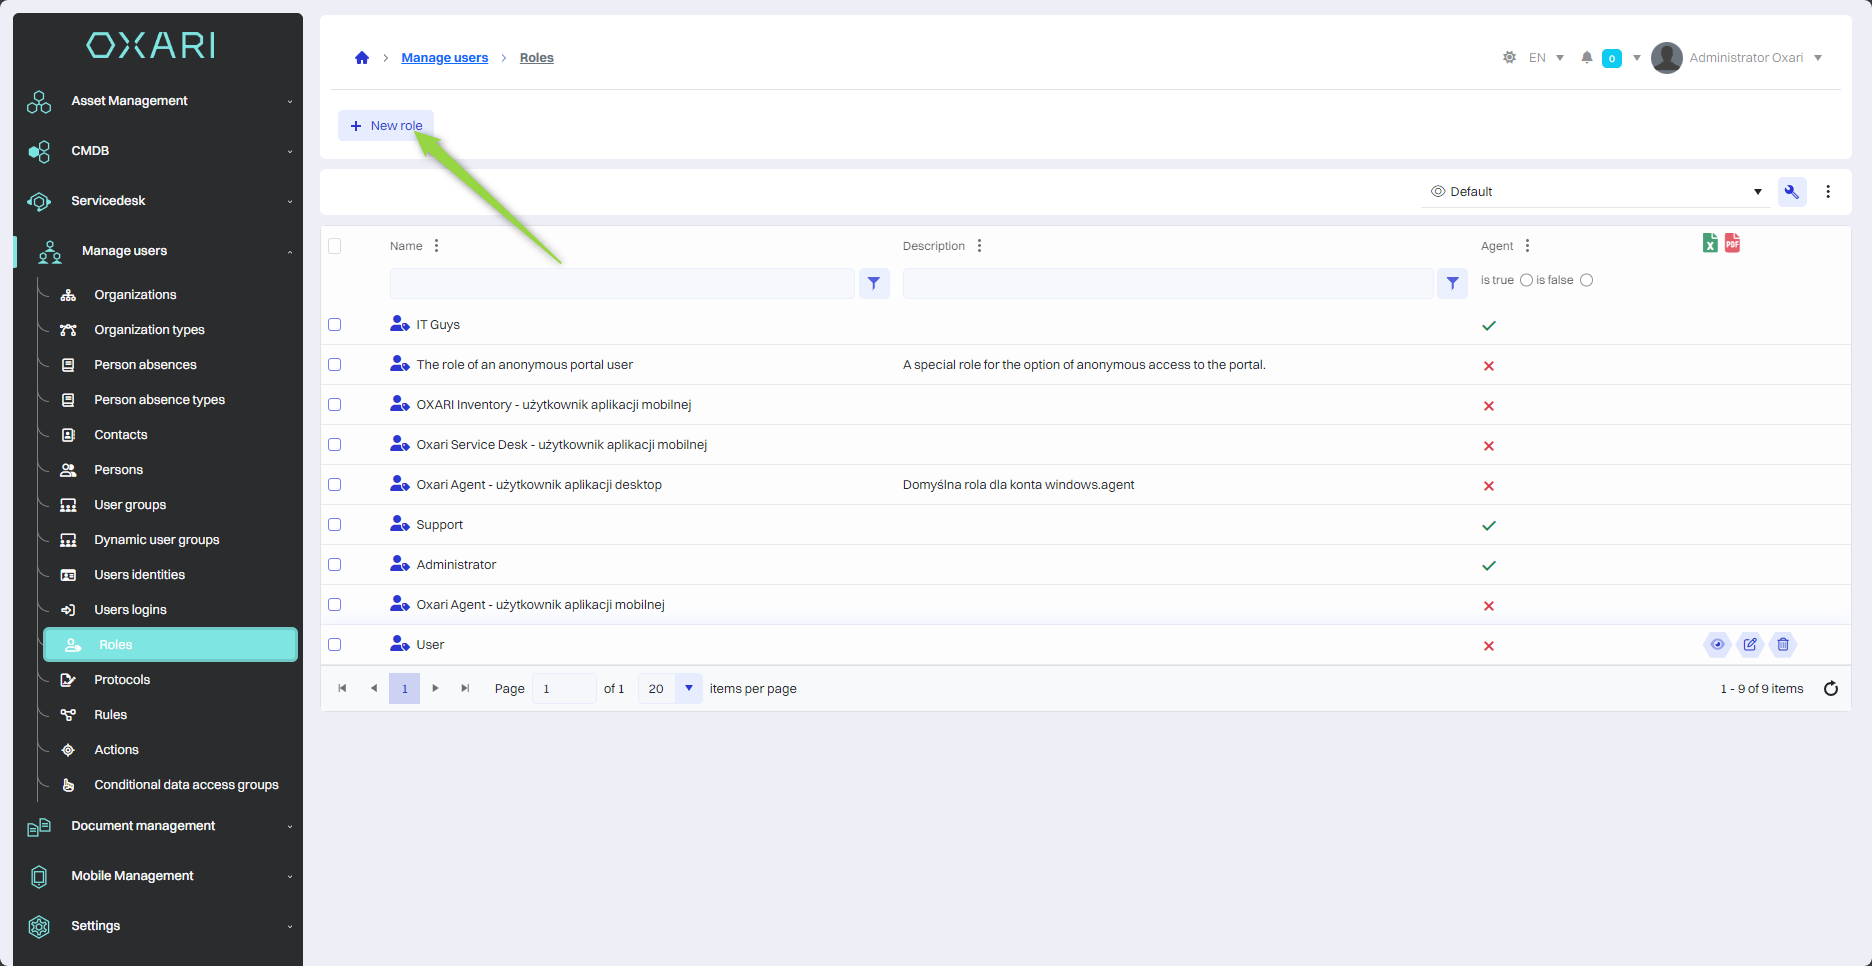
New role
To add a new role, go to User Management > Roles, and then click the "New Role" button.
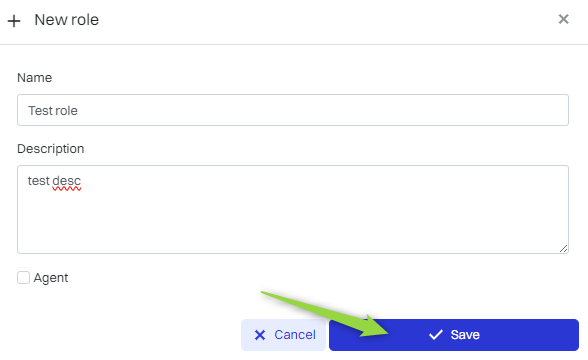
Then the "New role" window contains the following items:
|
1 |
Name - A field to enter the name of the new role, which will identify the set of permissions and functions assigned to this role. |
|
2 |
Description - In this field you can enter a description of the role that explains its purpose or the permissions it covers. |
|
3 |
Agent - A checkbox, checking this option may mean that the new role will have a relationship with agents, such as customer service or technical support staff. |
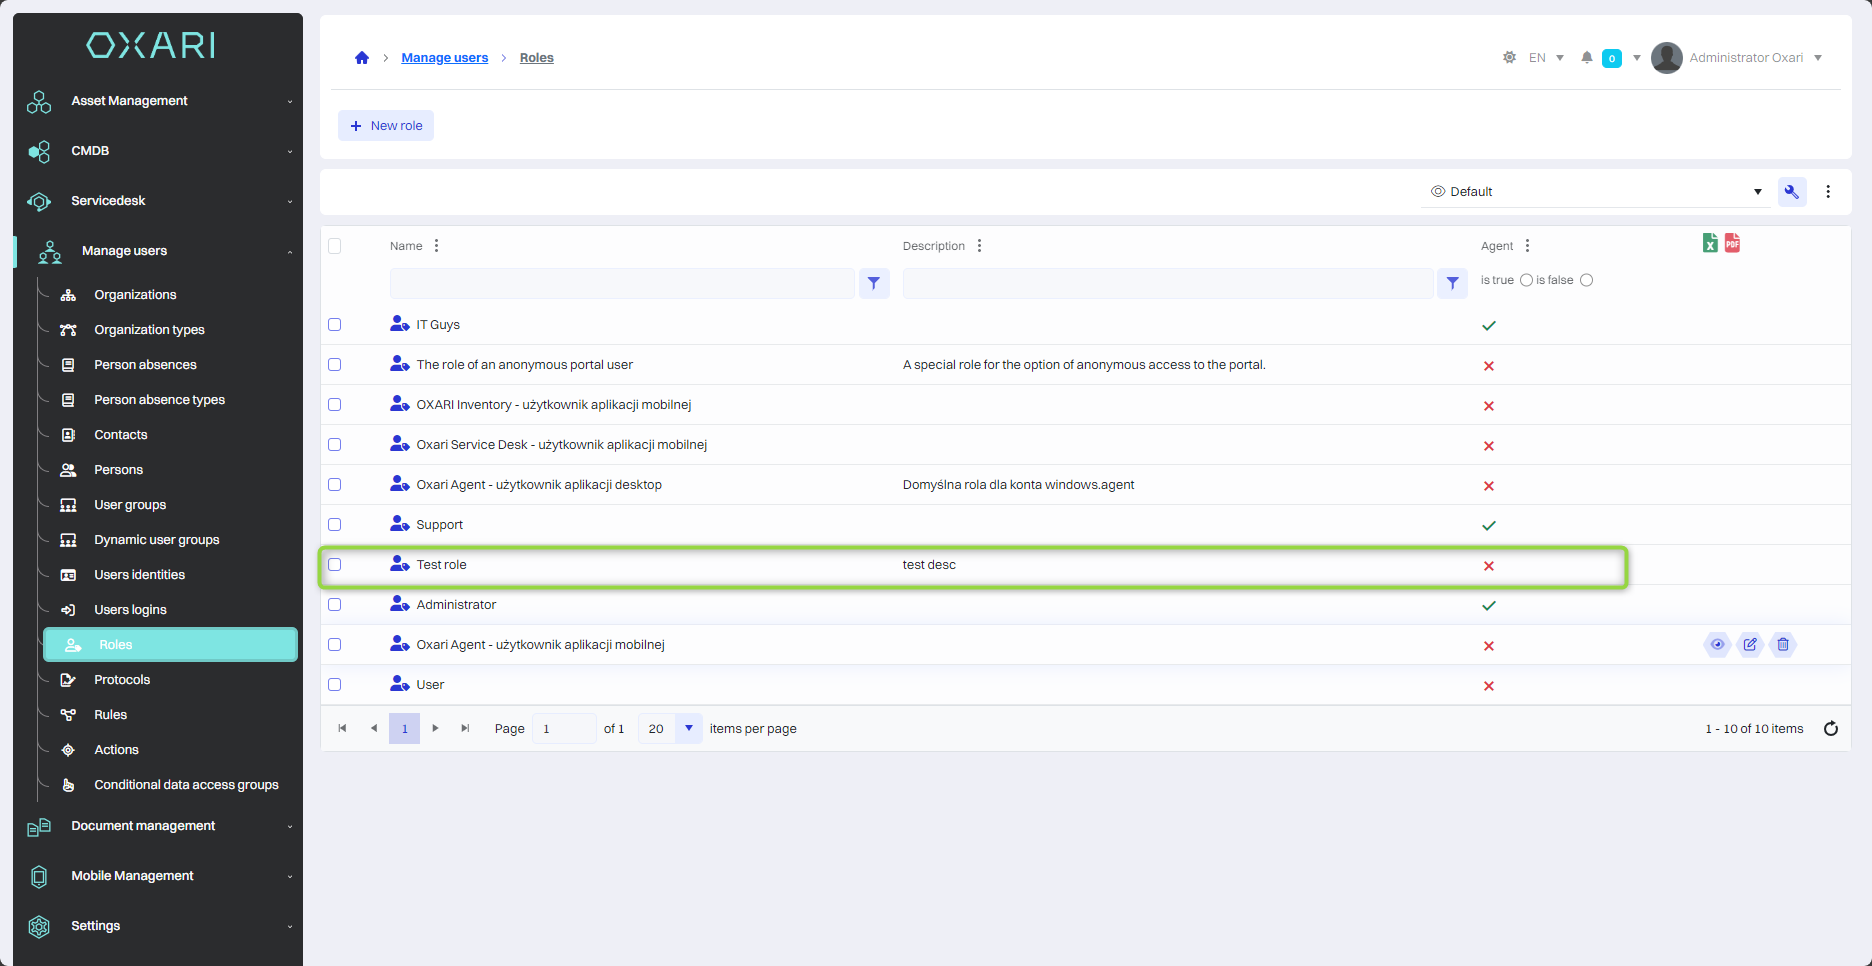
The role has been assigned to the list.
Granting permissions
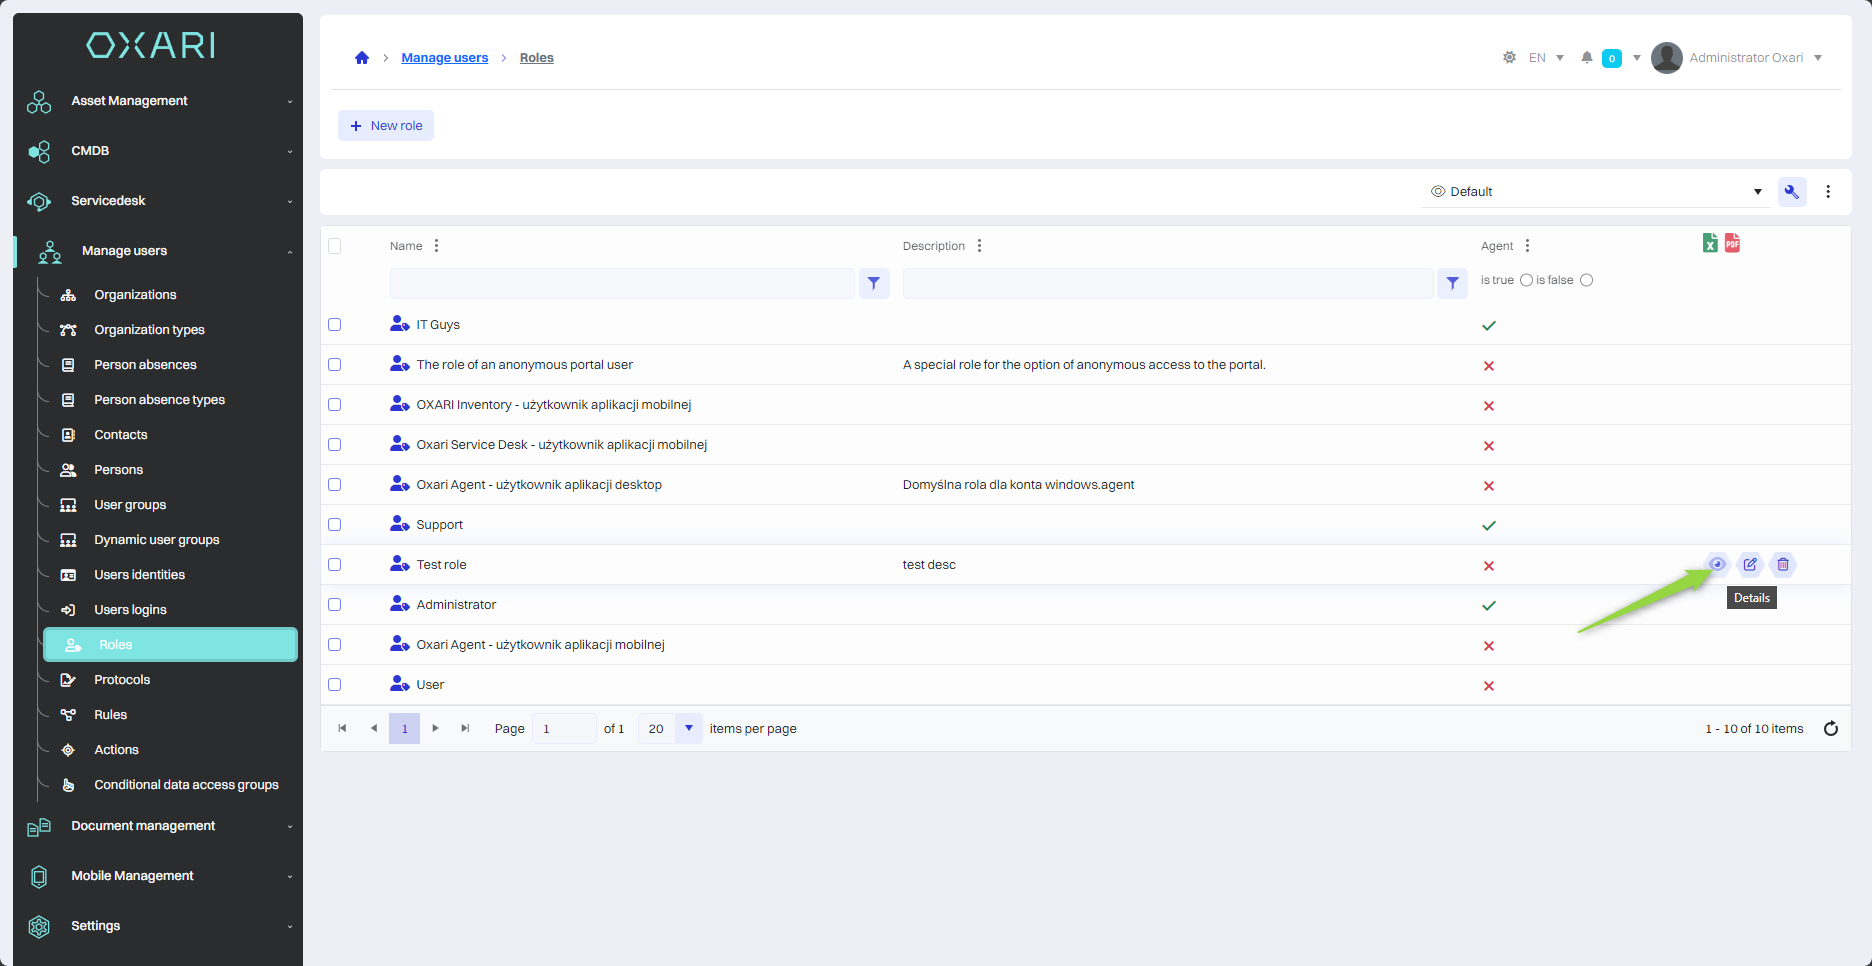
To add permissions to a role, go to User Management > Roles, then use the "Details" button next to the desired role.
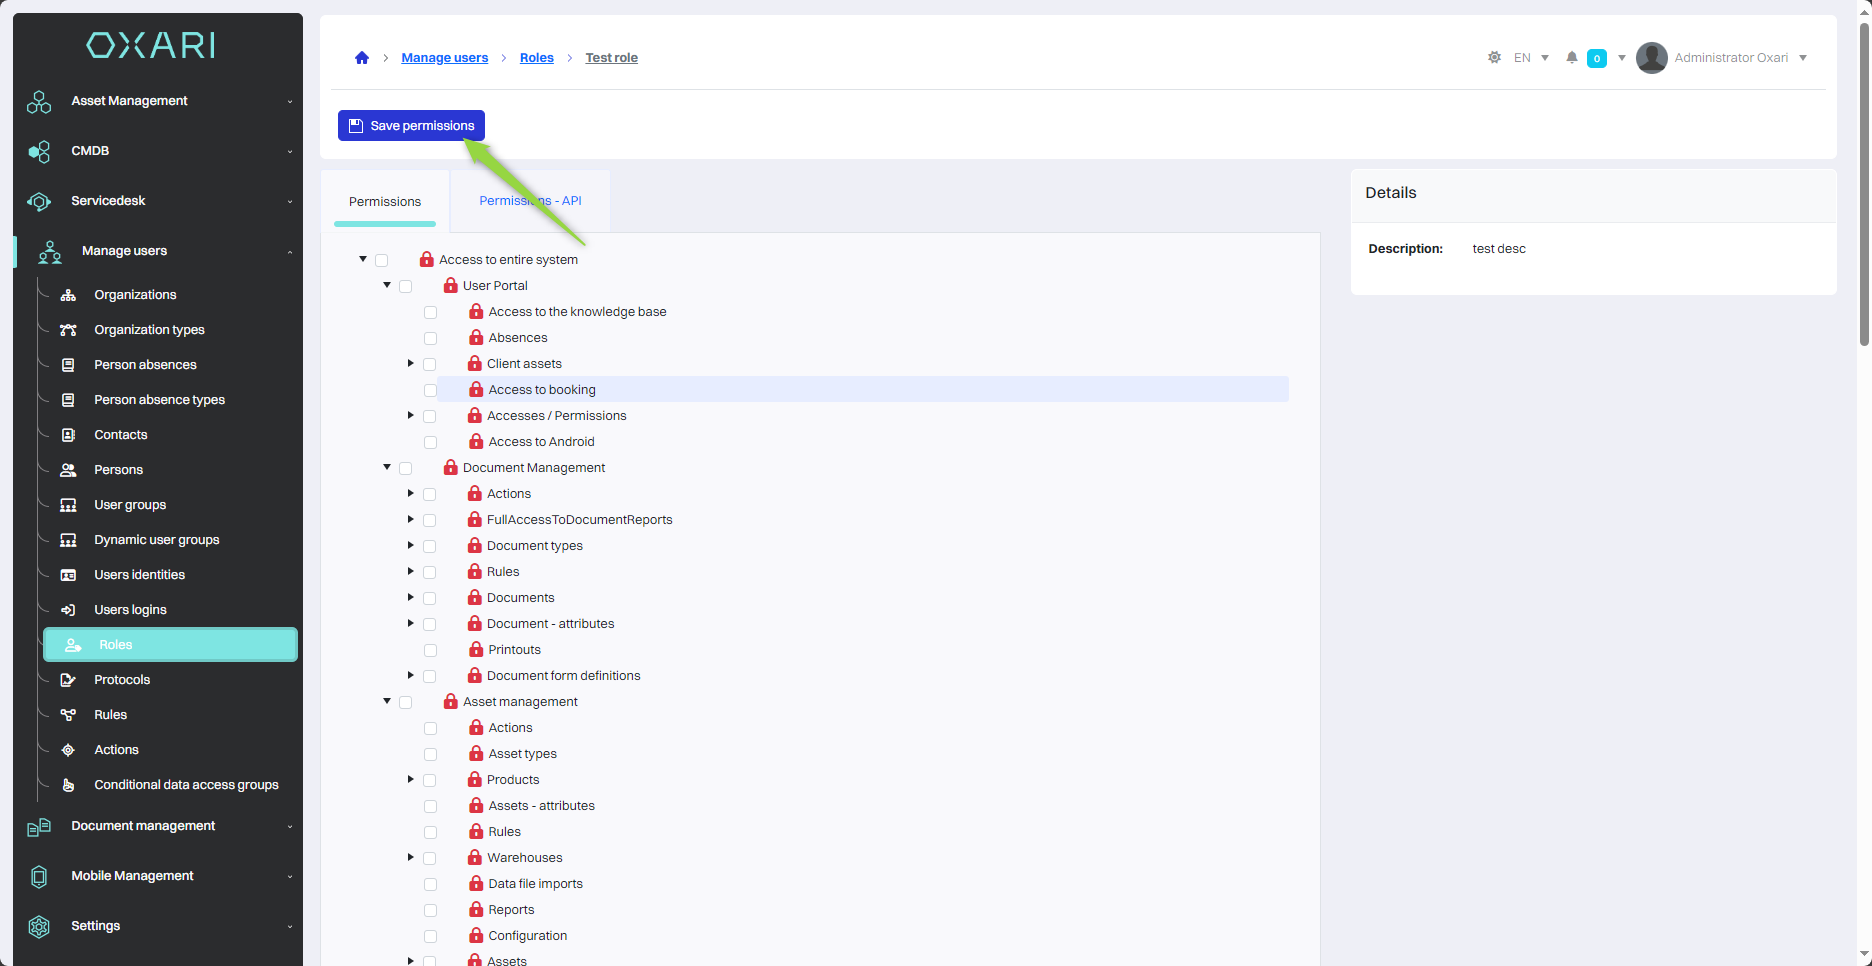
Then in the role detail view. Clicking on the arrow next to the category name expands the list, revealing more detailed options and permissions that can be individually assigned. To assign a permission, check the box next to the desired category.
|
1 |
Green padlock - Indicates complete access to the category. |
|
2 |
Yellow padlock - Indicates partial access to a category. |
|
3 |
Red padlock - Indicates no access to the category. |
After selecting the appropriate categories, click the "Save permissions" button. A message about saving permissions for the role will appear.
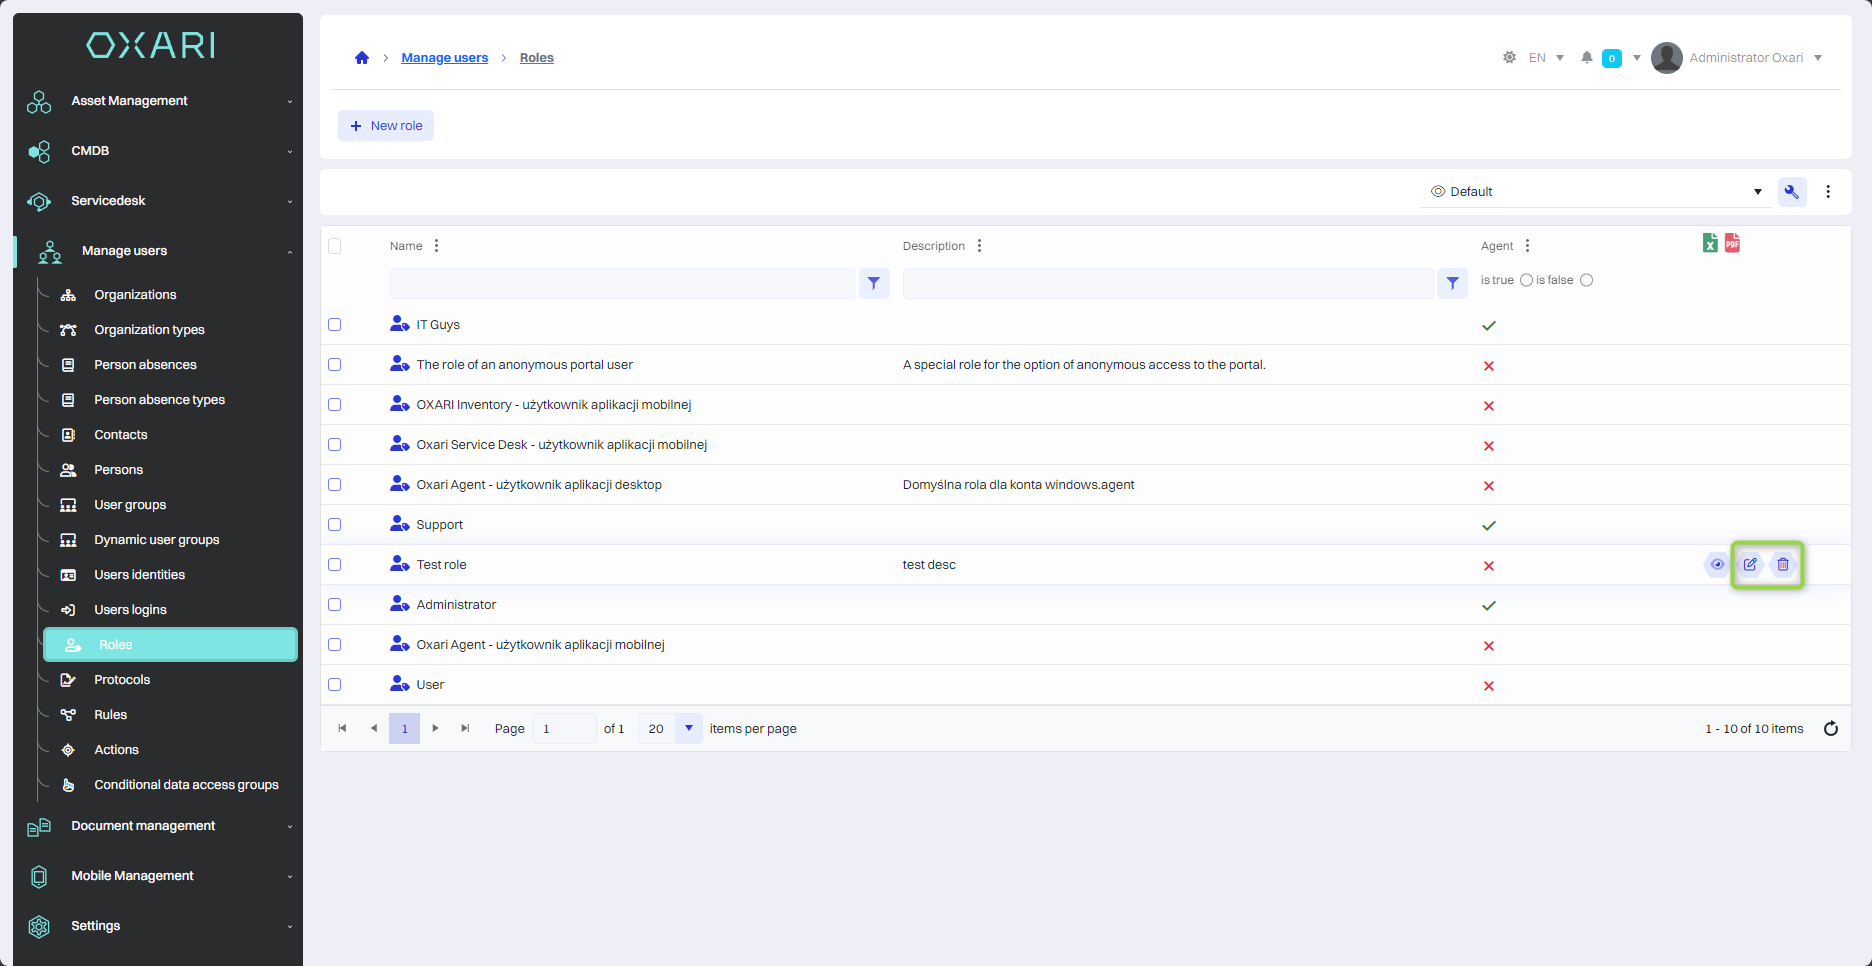
Editing/Deleting Roles
To edit or delete a role, hover over the desired role. The edit/delete buttons will be displayed.