Notifications in OXARI are automatic email alerts sent to users in response to specific system events. They can be sent based on a variety of criteria and events, e.g. Change in ticket status, New ticket, Replies or comments, as well as Personalized alerts based on set rules. Notifications can be configured under Servicedesk > Rules.
List Tools
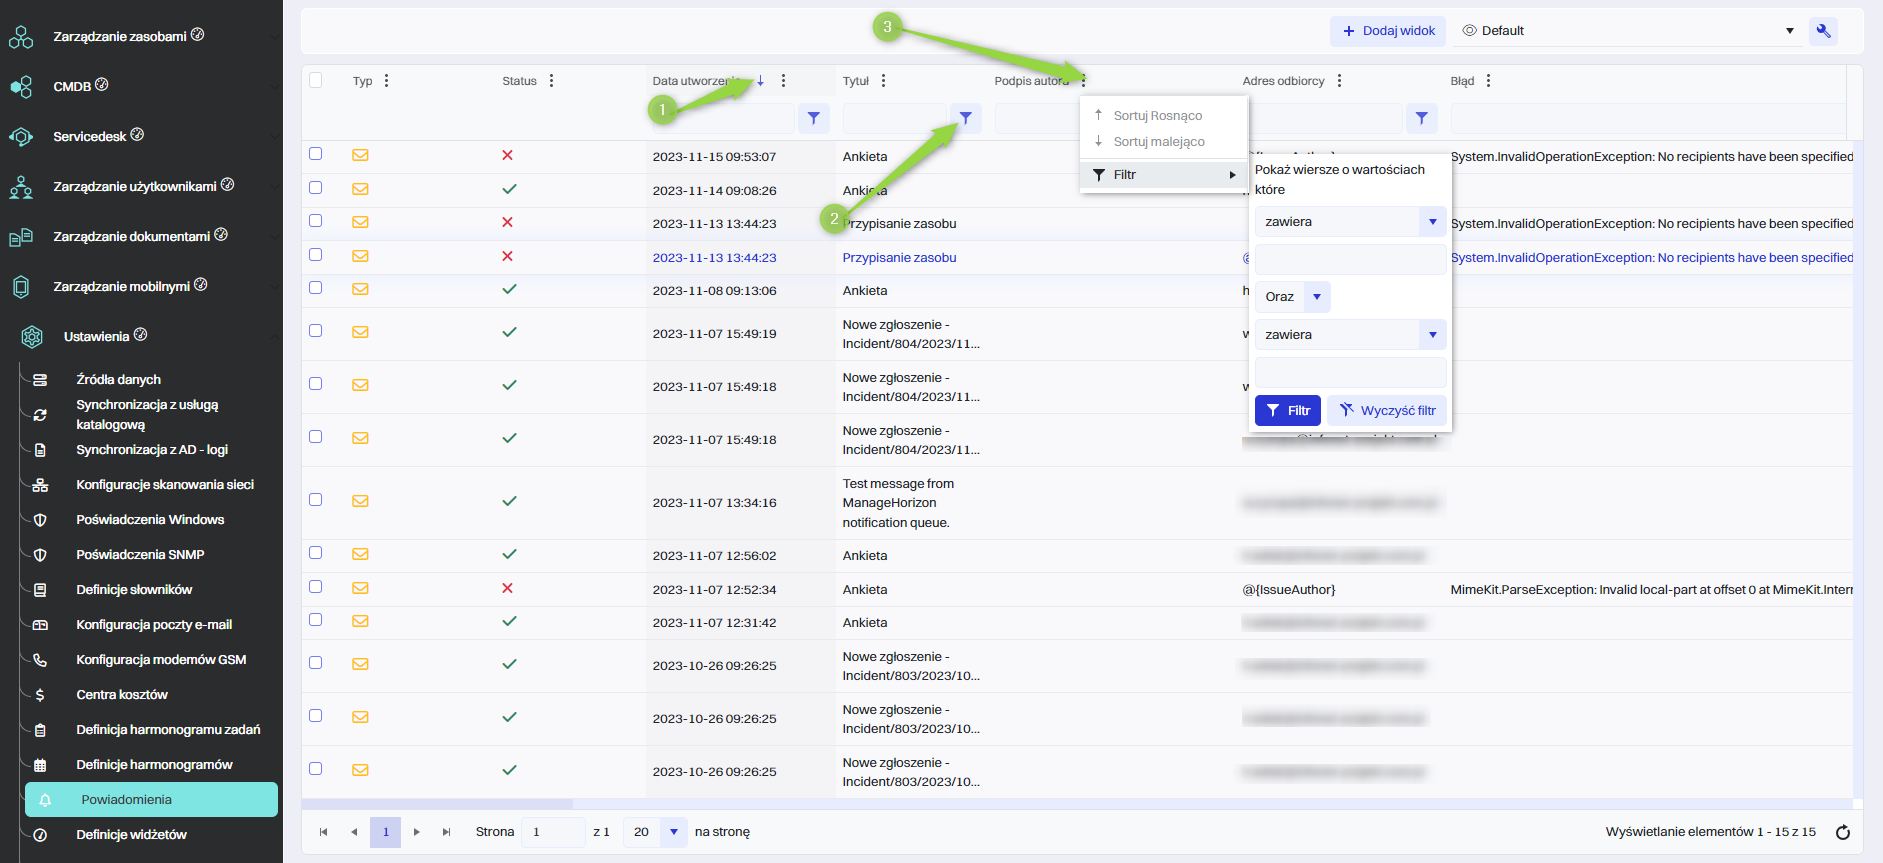
The section shows a list of notifications, it consists of columns, in order to efficiently read the desired information it is worth using the tools included in the list of notifications.
|
1 |
The sorting indicator of the column (for example, in this case, sorting the column is a small). Sorting Ascending/Descending - this function allows you to sorting, according to different criteria, such as the date of sending, above or type of notification. Sorting out the growing notification of the oldest to the latest, and sorting out the opposite. |
|
2 |
An indicator indicating that a column has filtering capabilities. Filters allow you to narrow the displayed notifications to those that meet specific criteria. For example, you can filter notifications by date, keywords, sender or status, making it easier to find specific information. |
|
3 |
A button next to each column with which we can show and select all possible tools. |
Adding a new list view
To edit the list of notifications, go to the section in question and then click the “Add view” button.
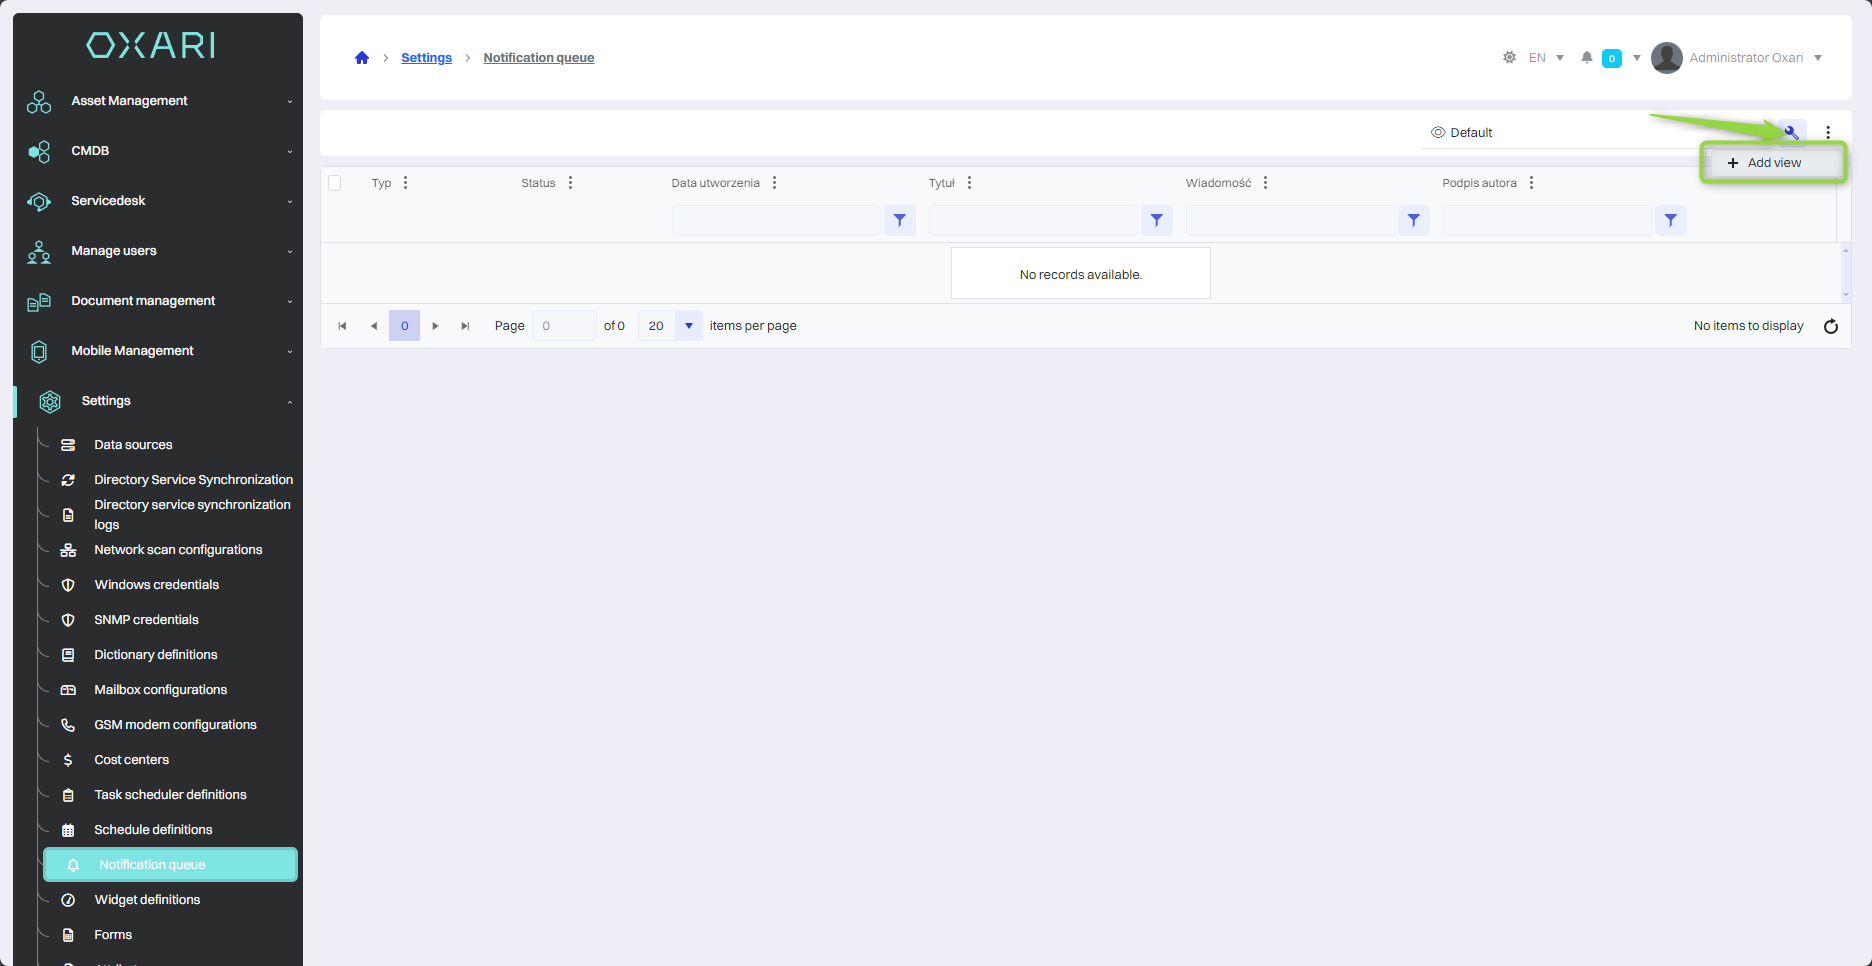
And then enter the desired view name and click the “Save” button.
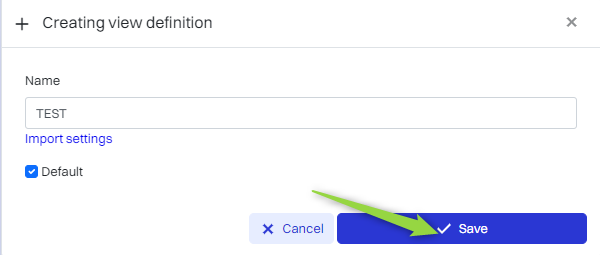
The view will be added, you can choose to click on the field and edit.
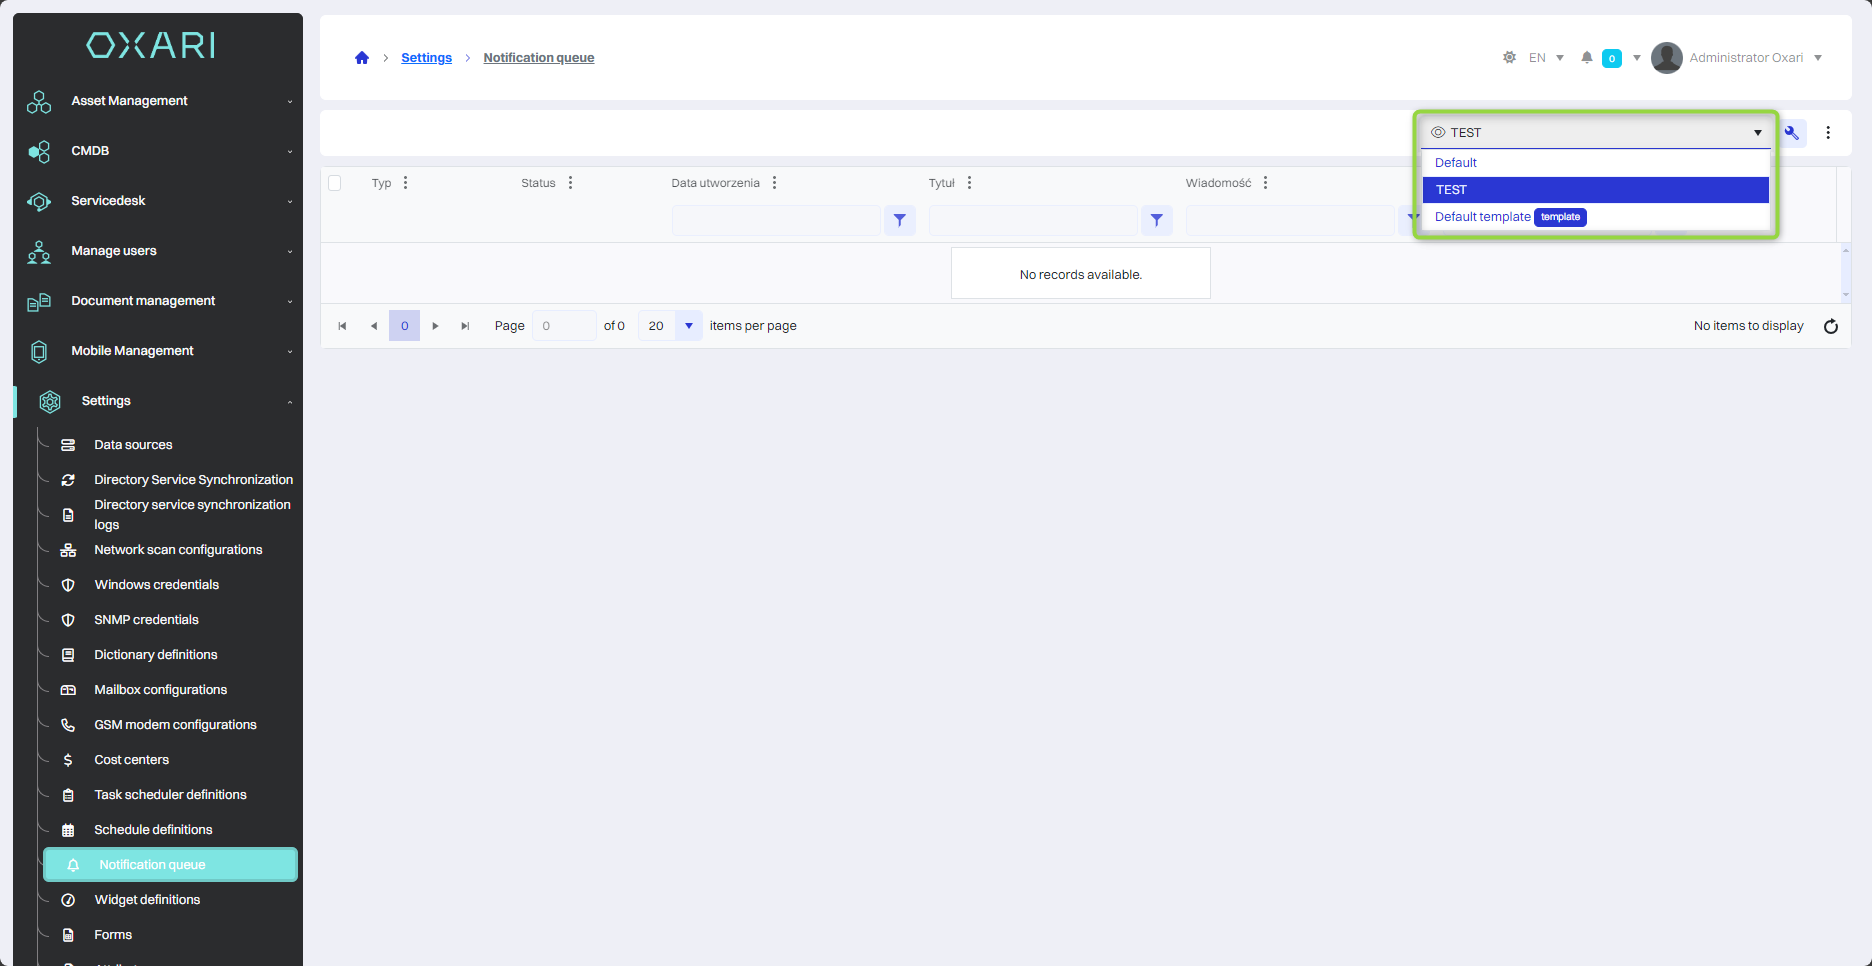
Importing a list view
To import a list of notifications, navigate to the section in question and then click the “Add View” button.
Next, click on “Import settings.”
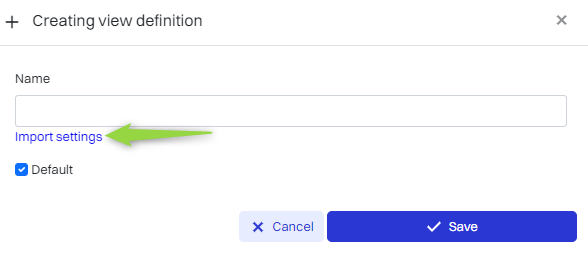
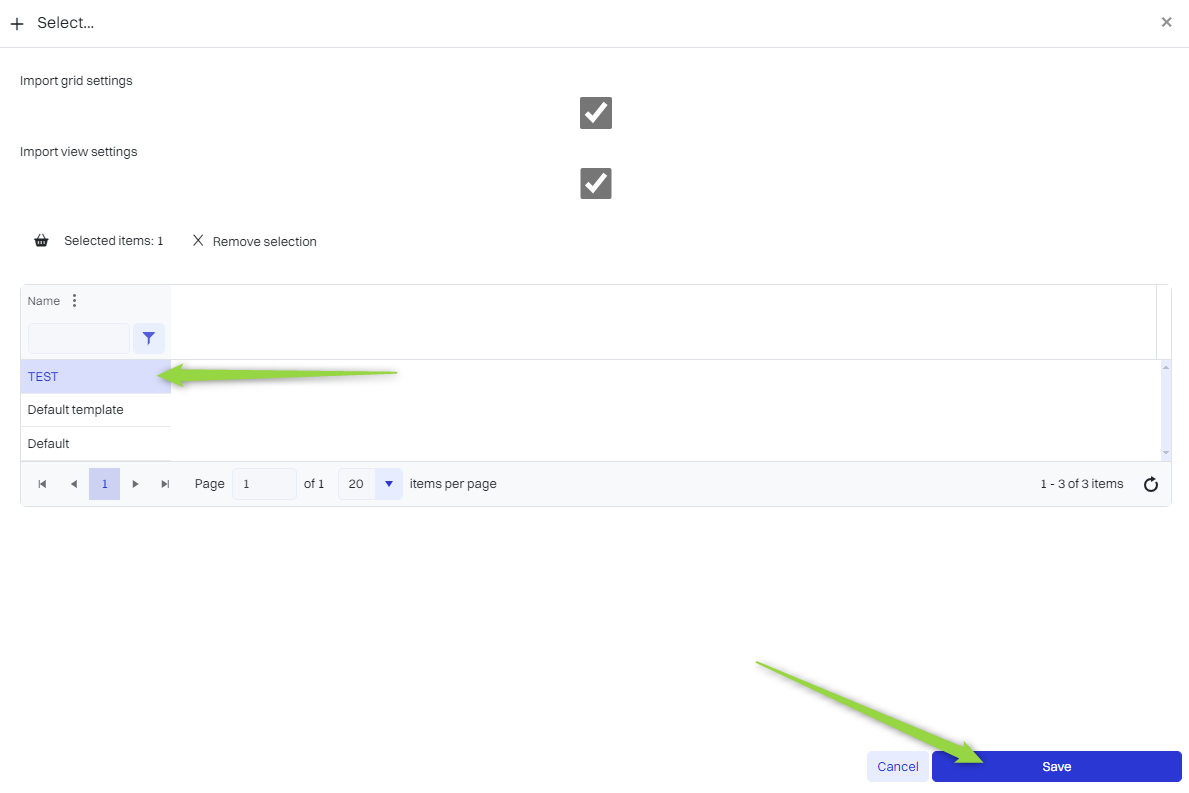
You then select the view to import and click the “Save” button.
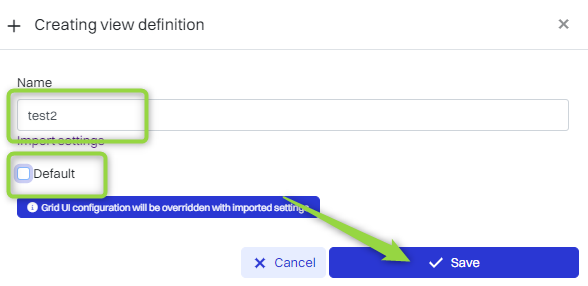
Finally, enter the desired view name, mark the “Default” checkbox and click the “Save” button.
Editing the table view
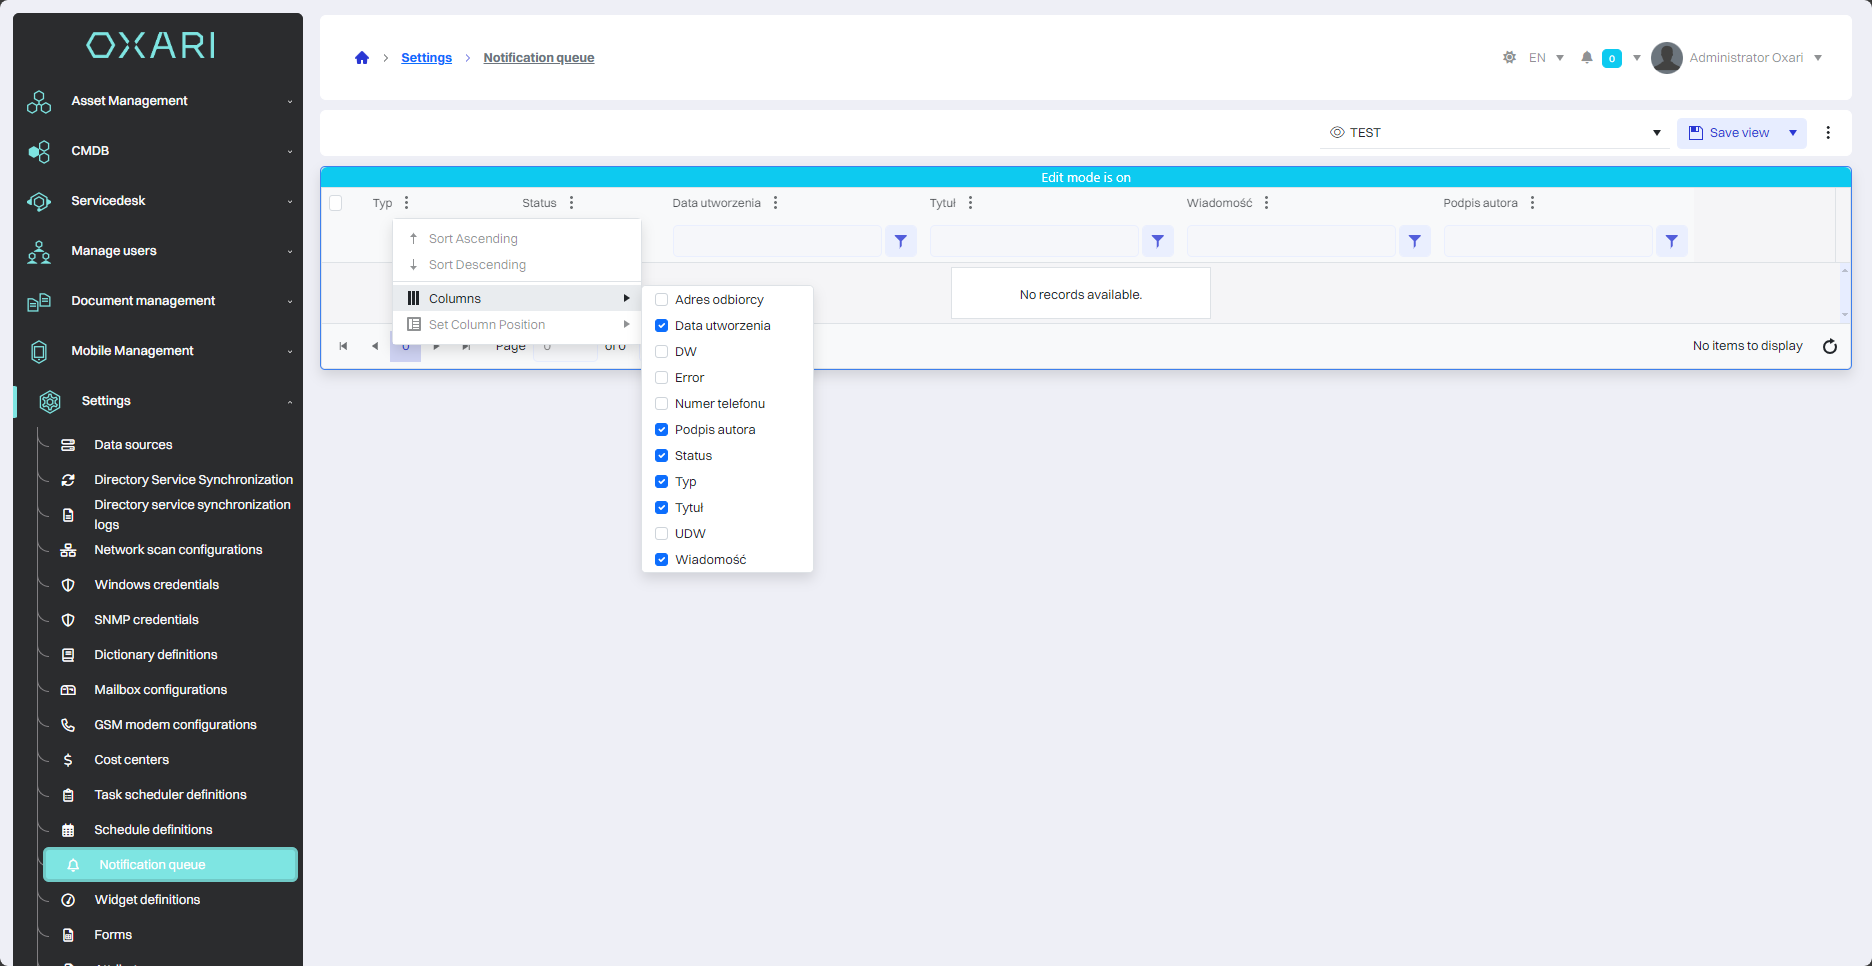
To edit the list of notifications, go to the section in question and then click the button in question.
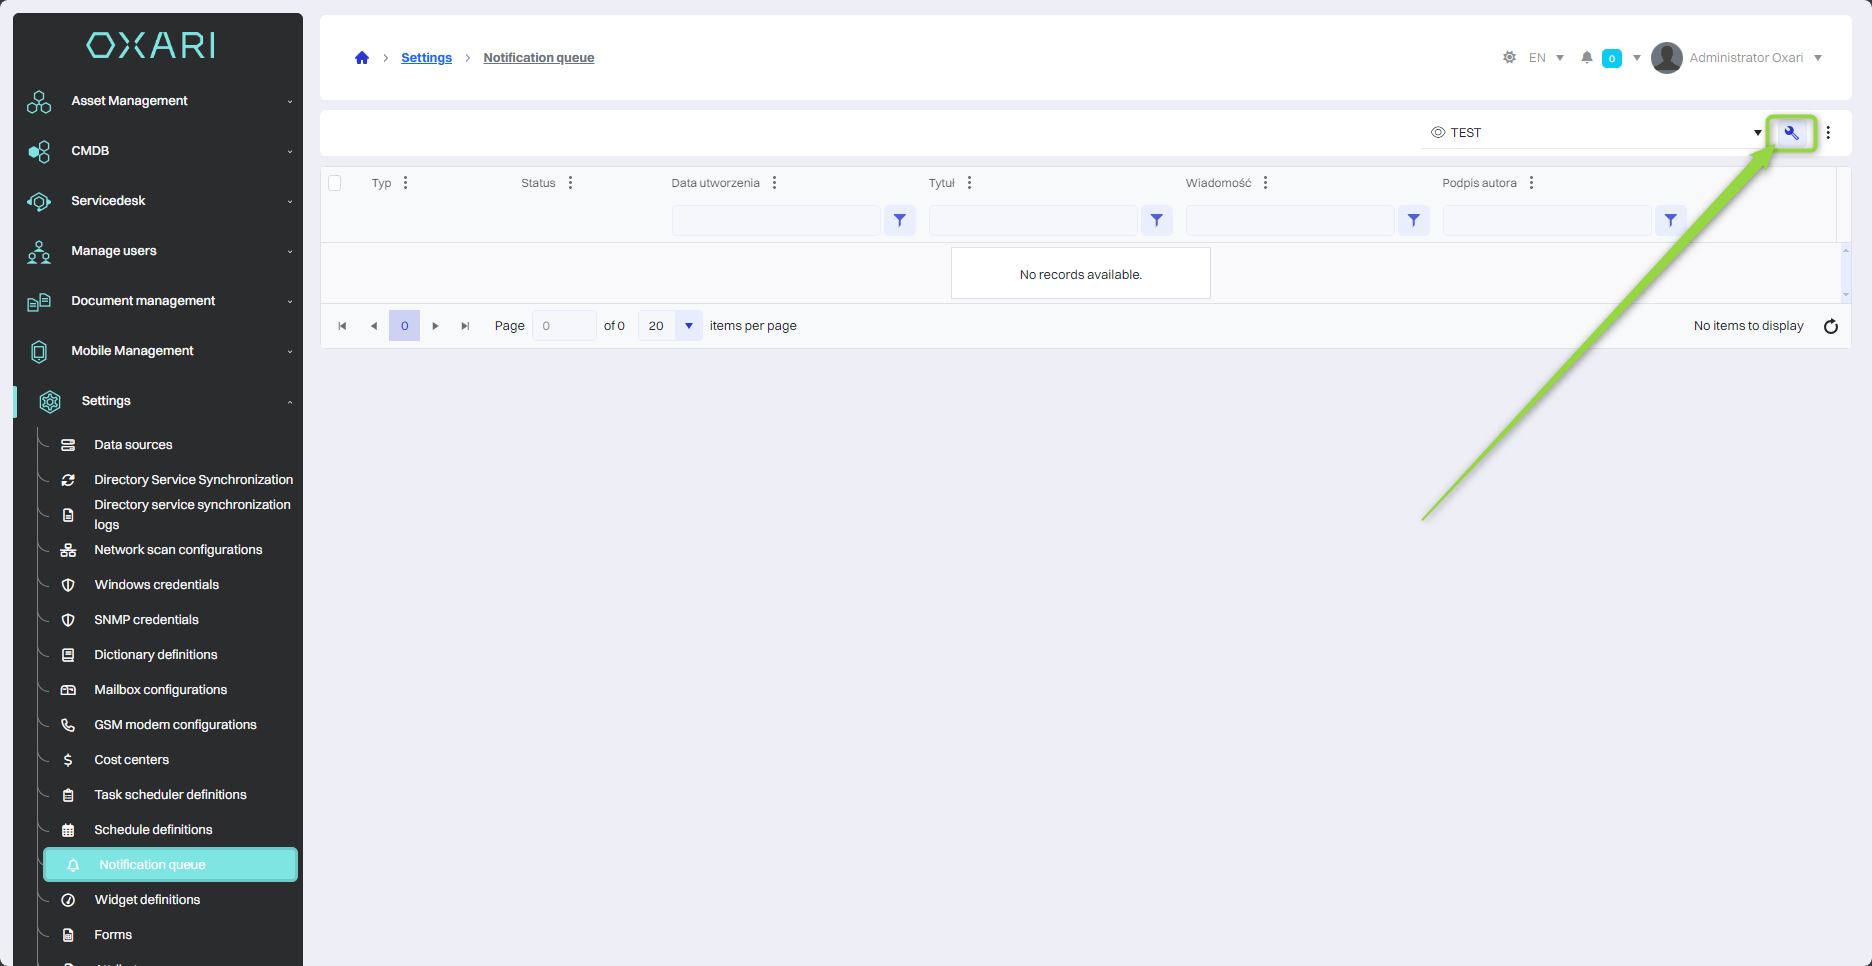
Then you can click the three dots button next to the columns to open the editing tools (button number 1).
|
1 |
A button next to each column with which we can show and select all possible tools. |
|
2 |
Show Columns - You can choose which columns to display in the notification list. For example, it is possible to choose to display only certain columns, such as date, sender, notification title, which improves browsing through the list. |
|
3 |
Set Column Position - This function allows you to change the order in which the columns are displayed in the notification list. This allows you to customize the layout of the list according to your preferences, for example, placing the most important information at the beginning. |
|
4 |
Save view button - After customizing a view, clicking on this button will save and use the configuration of that view. |