A knowledge base is a tool that allows you to collect, organize and share articles and information on specific topics or procedures. It is a knowledge resource that supports system users by providing easy access to key data, guides and best practices.
New Knowledge Base
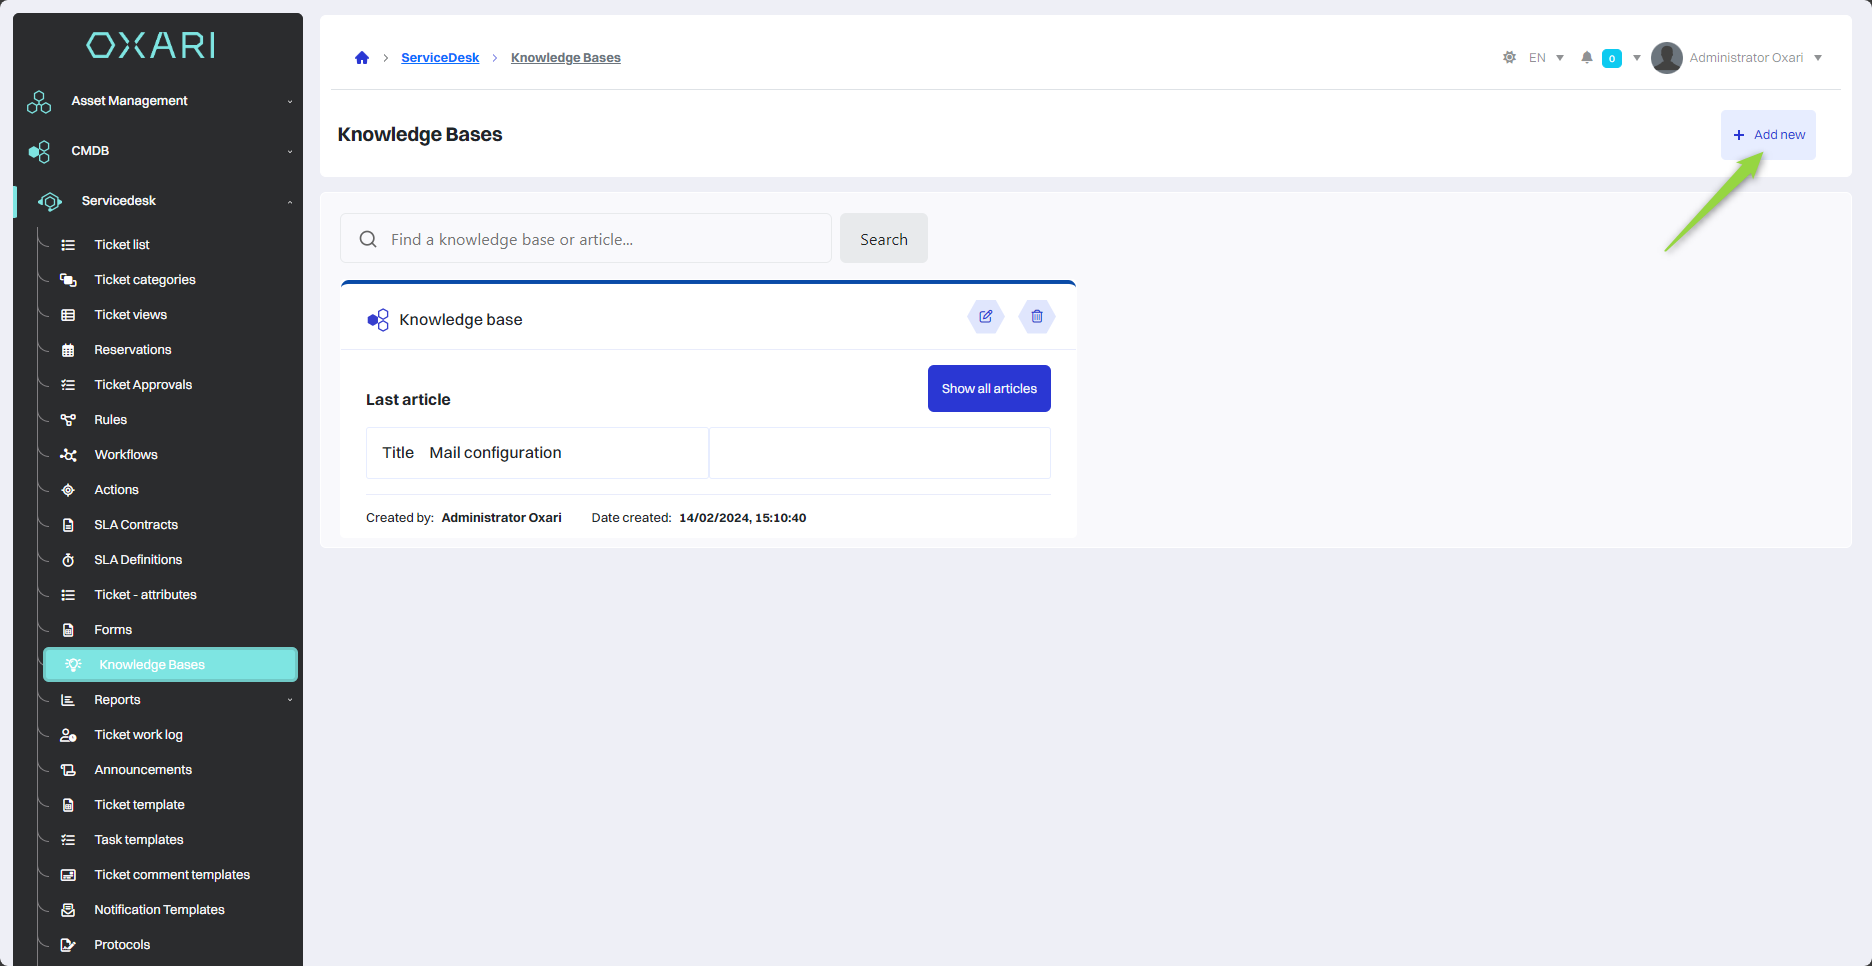
To add a new Knowledge Base, go to Servicedesk > Knowledge Bases, then click the “Add new” button.
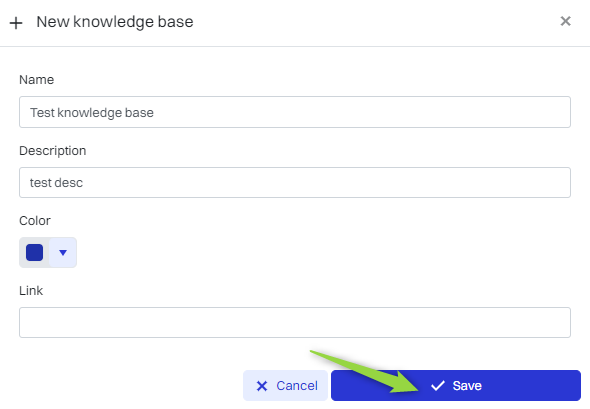
Then the “New Knowledge Base” window contains the items:
|
1 |
Name - A place for a unique name for the new Knowledge Base, which will be used to identify it. |
|
2 |
Description - In this field you can enter a description of the content or purpose of the Knowledge Base, making it easier to understand its context. |
|
3 |
Color - You can select a color to represent the Knowledge Base in the user interface, helping to distinguish it visually. |
|
4 |
Link to external Knowledge Base - If there is an associated external Knowledge Base, you can paste a link to it here. |
Fill in the desired fields and click the “Save” button.
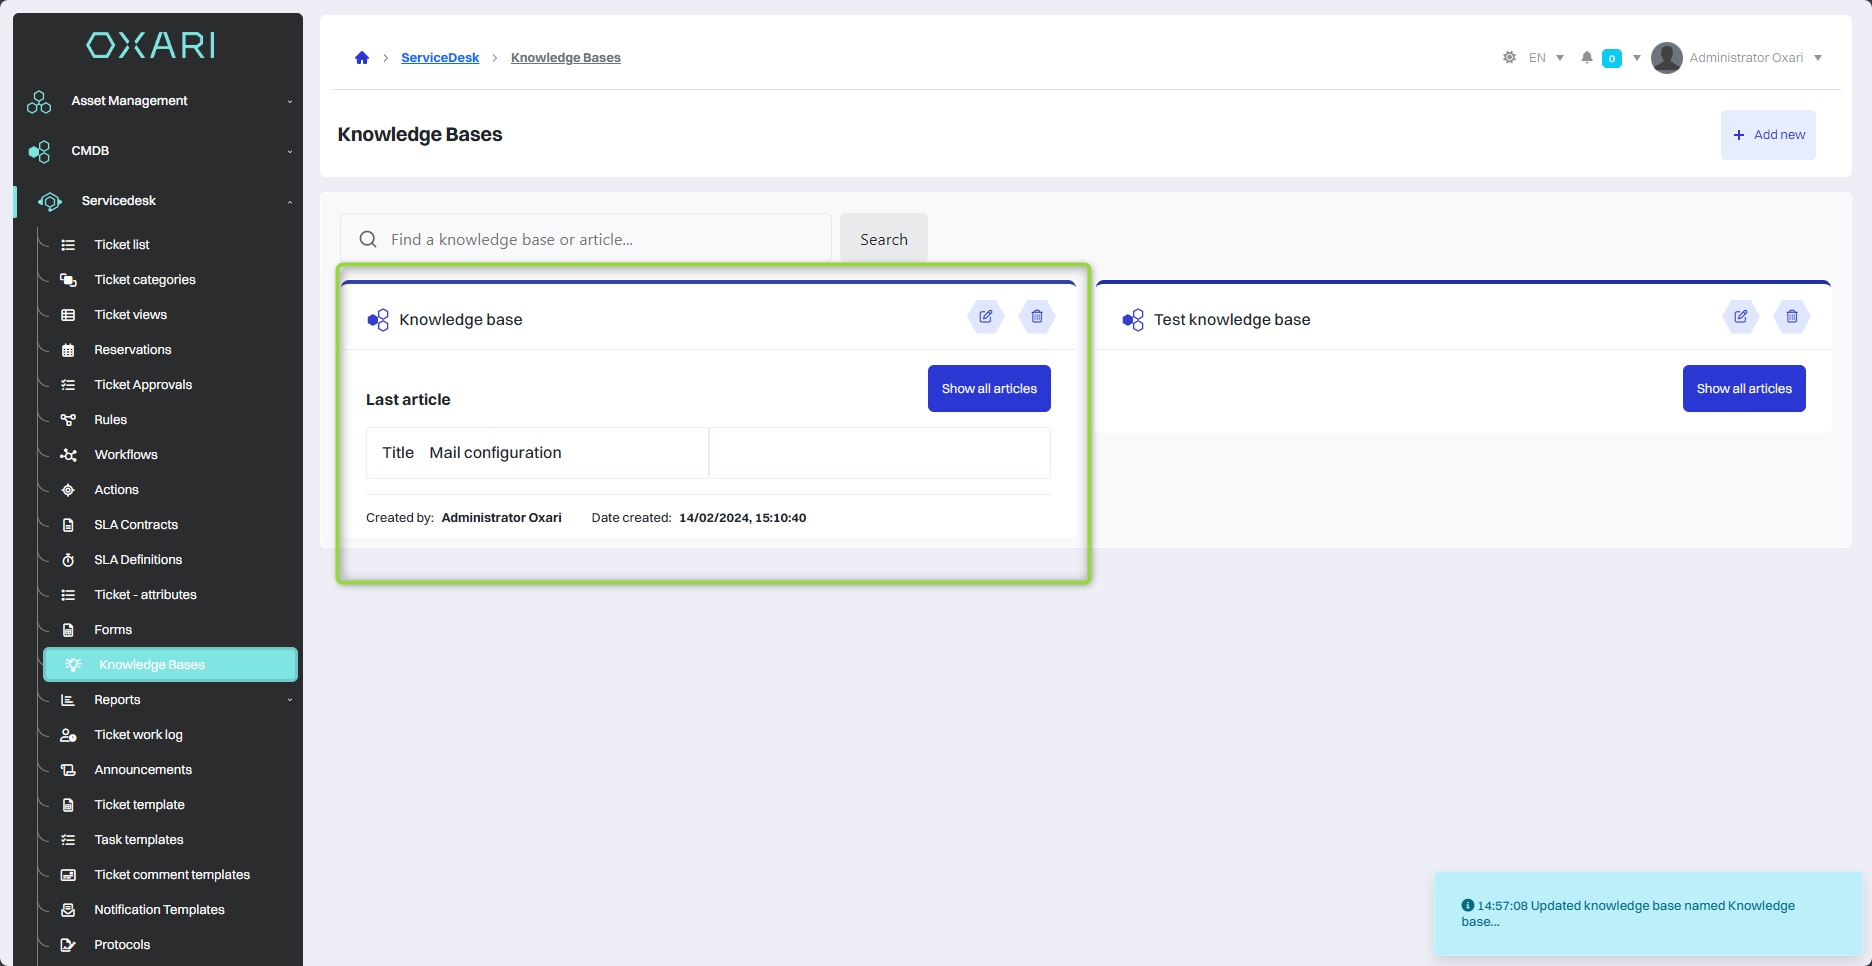
The Knowledge Base has been added.
Adding Knowledge Base categories
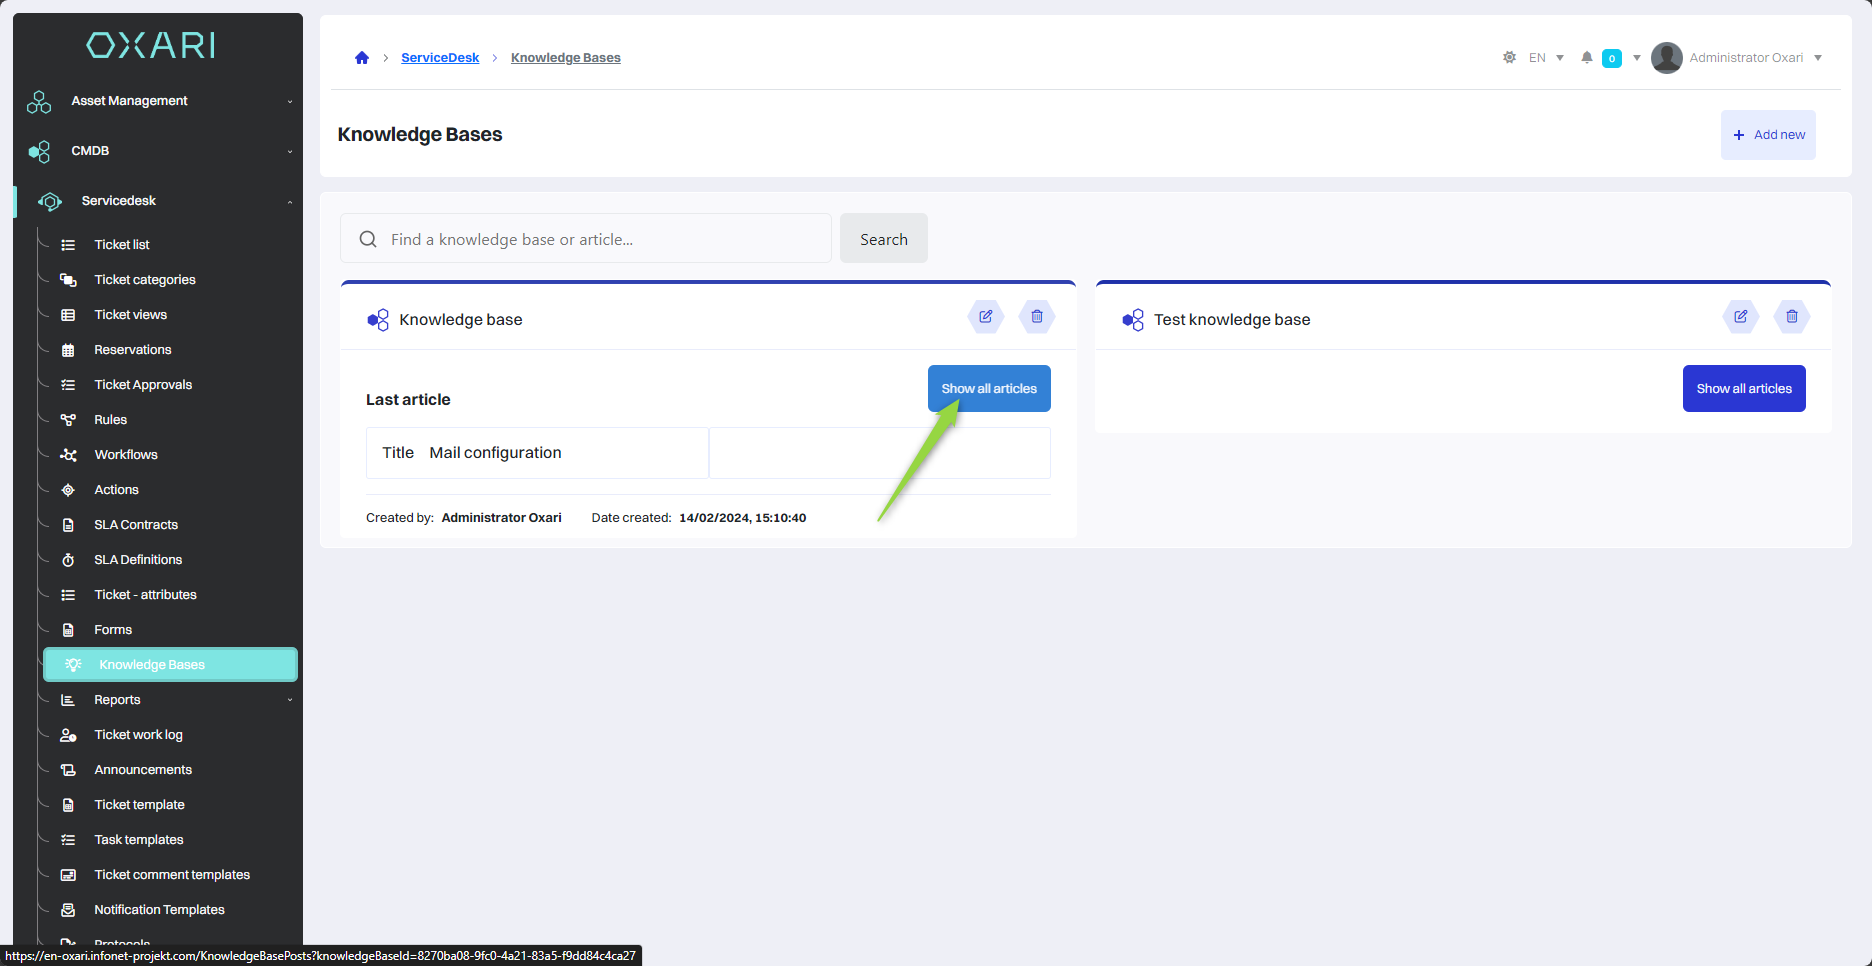
Categories in the Knowledge Base are used to group articles, making them easier to organize and search. To add a new category, go to Servicedesk > Knowledge Bases, and then access the desired Knowledge Base by clicking the “Show articles” button.
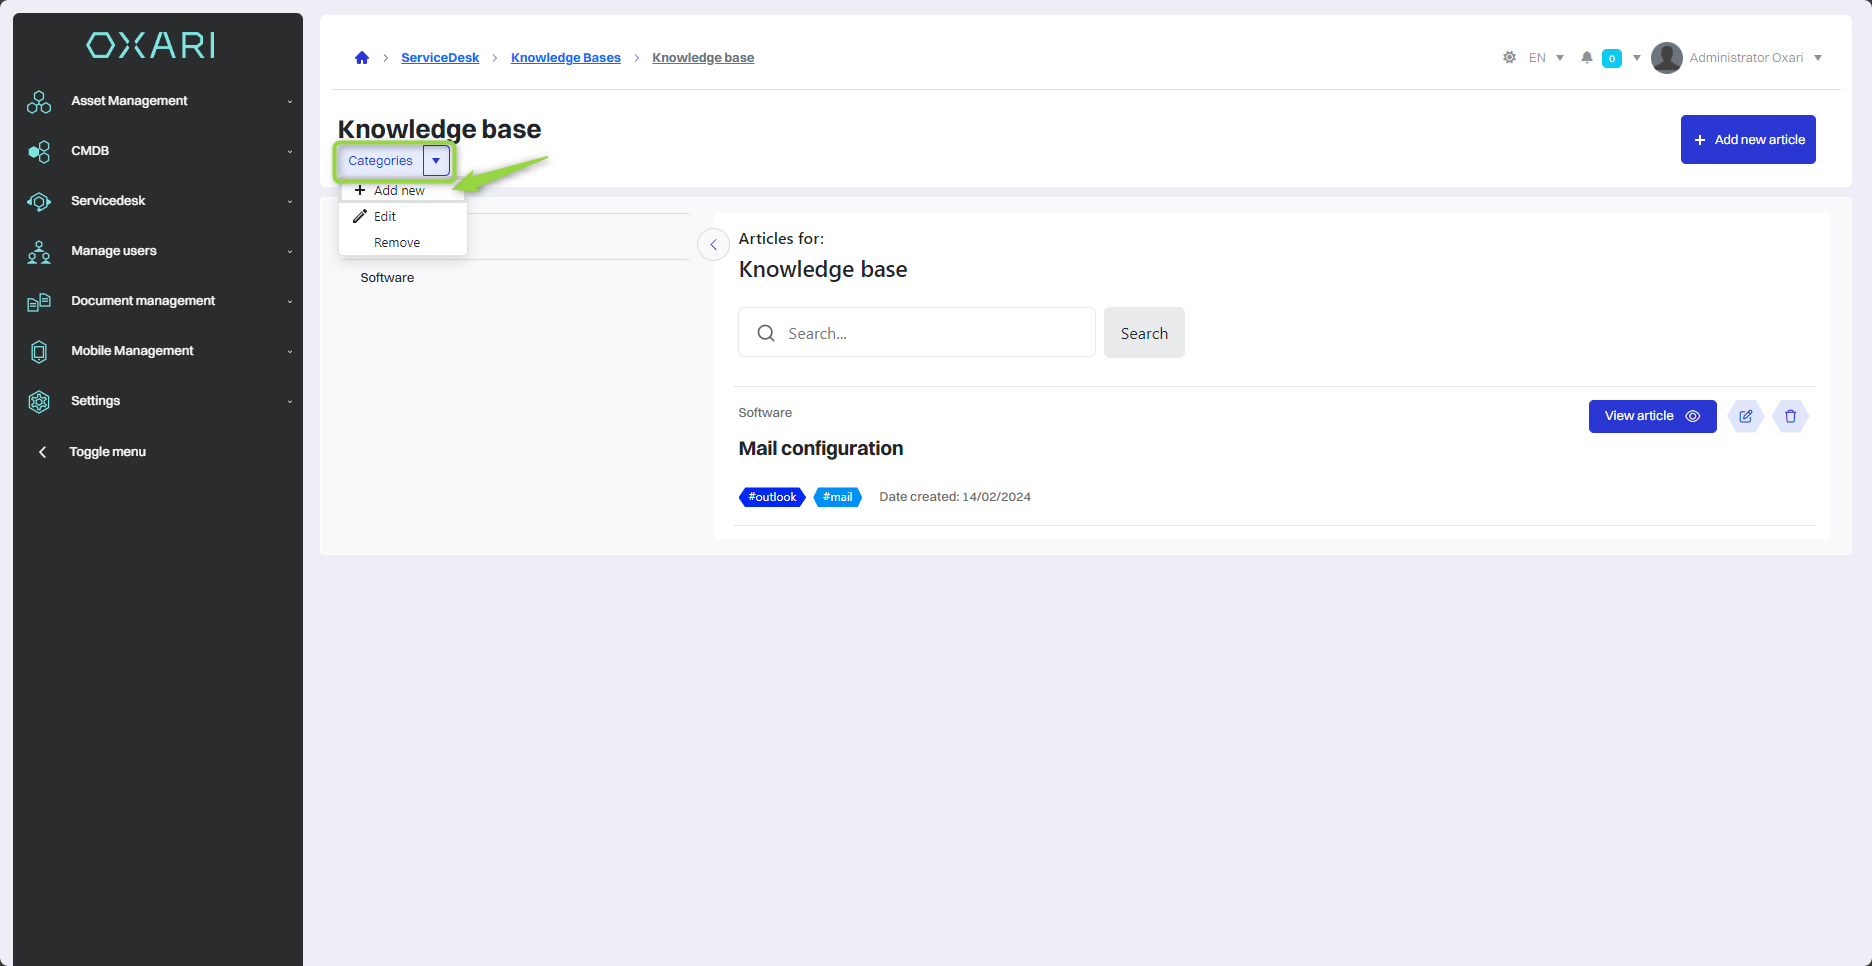
And then click the “Categories” drop-down list, at the end click the “Add” button.
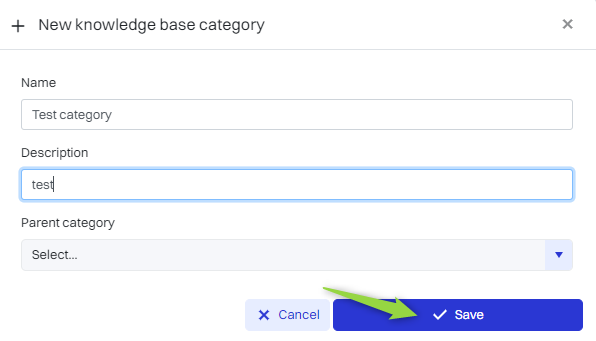
In this step, the “New Knowledge Base category” window contains the items:
|
1 |
Name - A field for entering the name of the new category. |
|
2 |
Description - A place for a brief description, explaining the scope or subject matter of the category. |
|
3 |
Parent category - A drop-down menu for selecting a parent category, if the new category is part of a larger thematic set. |
Fill in the desired fields and click the “Save” button.
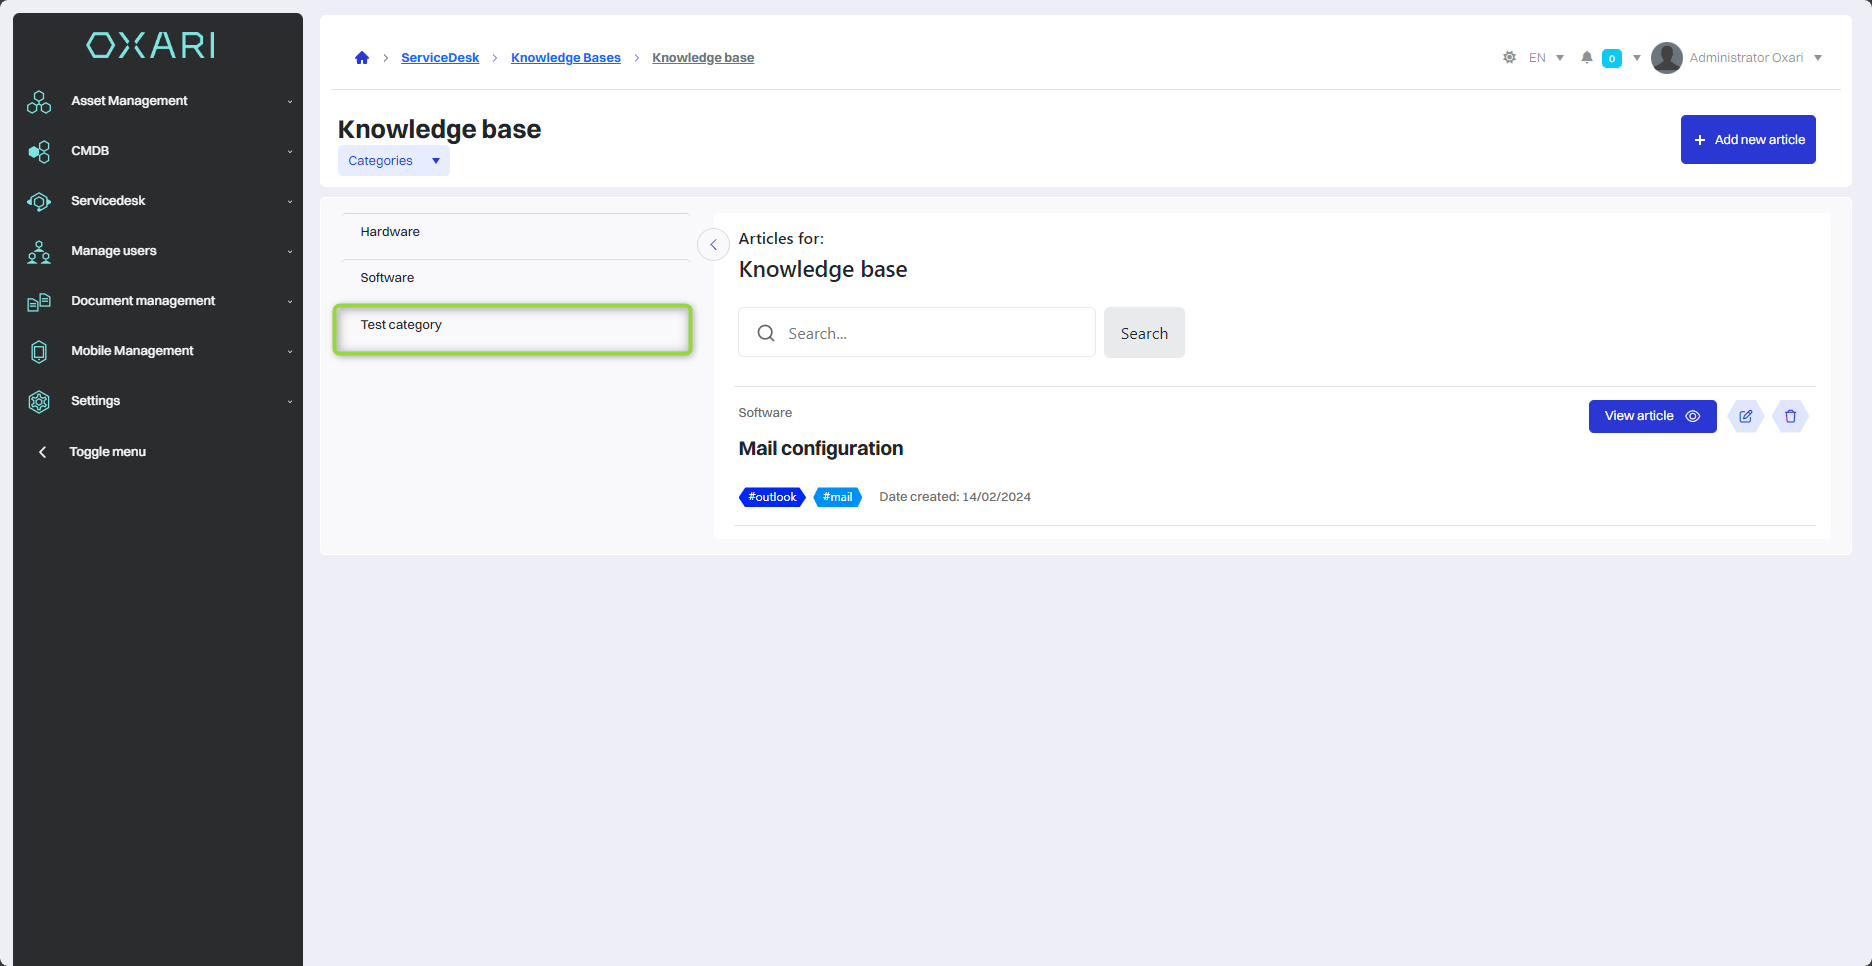
The Knowledge Base category has been added.
Adding a new article
To add a new article, go to Servicedesk > Knowledge Bases, and then access the desired Knowledge Base by clicking the “Show articles” button.
And then click the “New article” button.

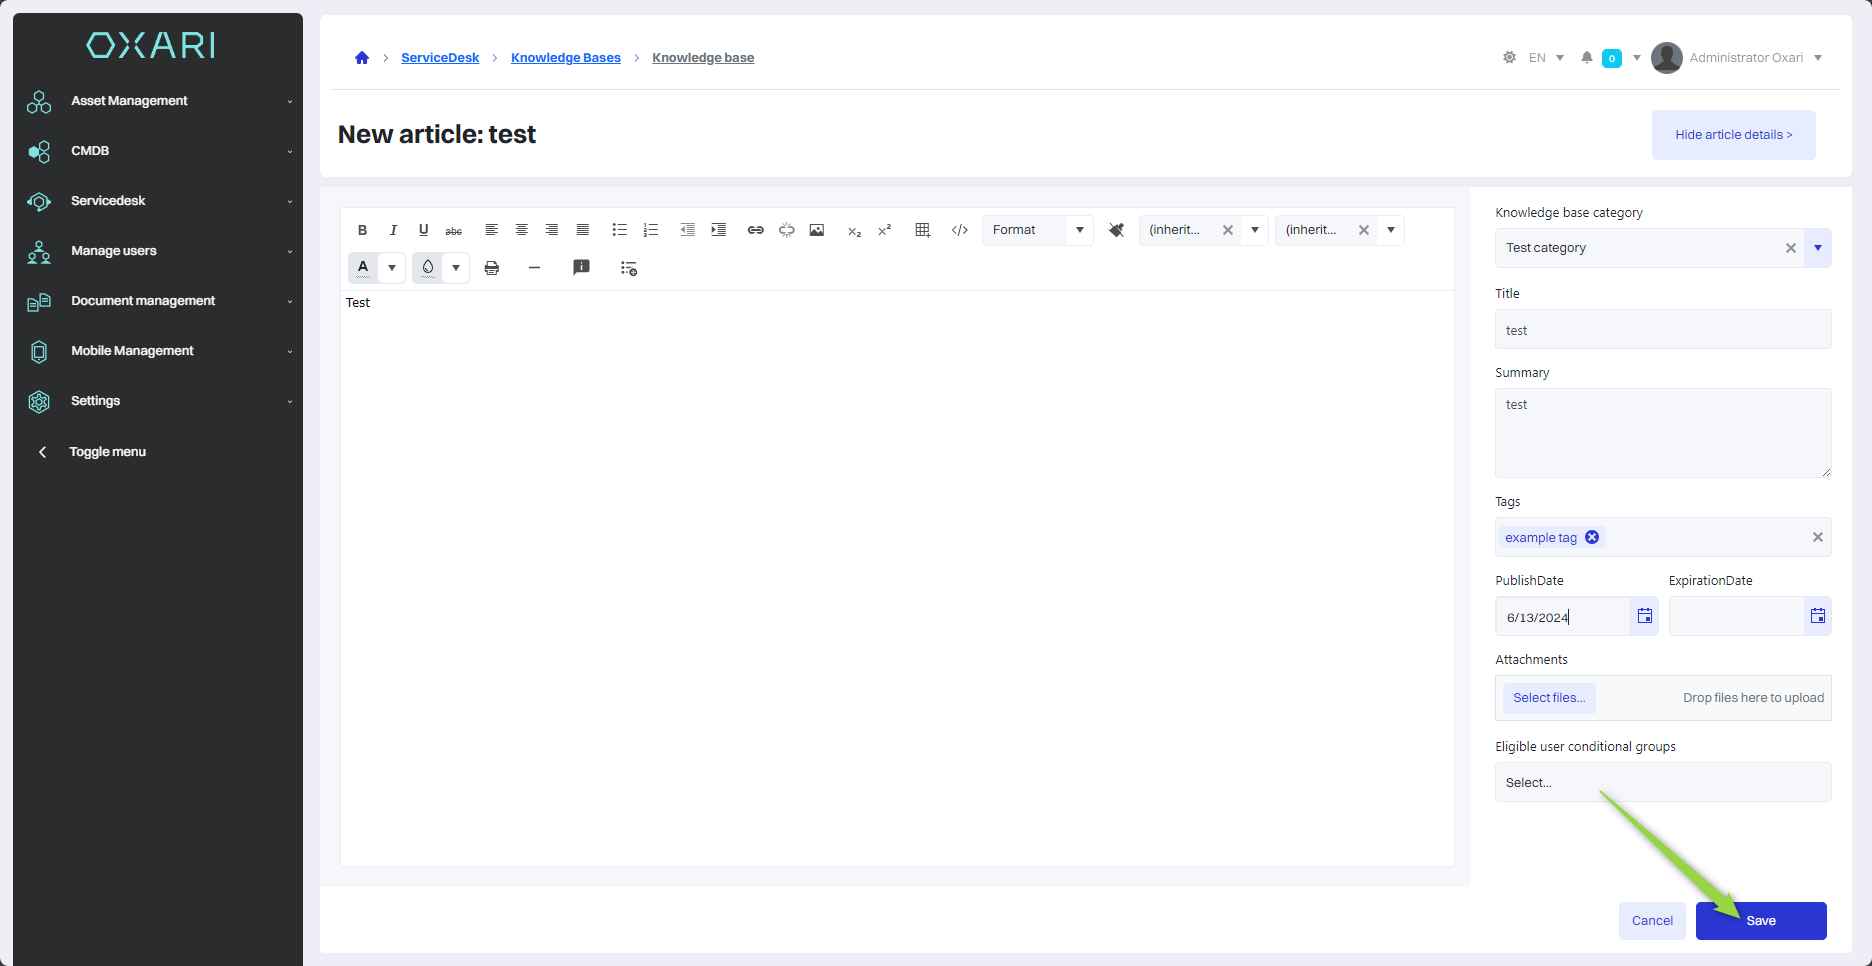
In this step, the “New Knowledge Base article” window contains the items:
|
1 |
Knowledge Base category - Select the category to which the article will belong. |
|
2 |
Title - A field for entering the title of the article, which will be displayed as a headline. |
|
3 |
Description - A brief description of the article's content or purpose. |
|
4 |
Tags - Ability to add tags for easier searching and categorization of the article. |
|
5 |
Publication date - The date when the article is to be published. |
|
6 |
Expiration date - The date when the article is to expire. (Optional). |
|
7 |
Attachments - Option to add files to the article. |
|
8 |
Content - A text field for entering the full content of the article, with a text editor offering various formatting options. |
After filling in the desired fields, click the “Save” button.
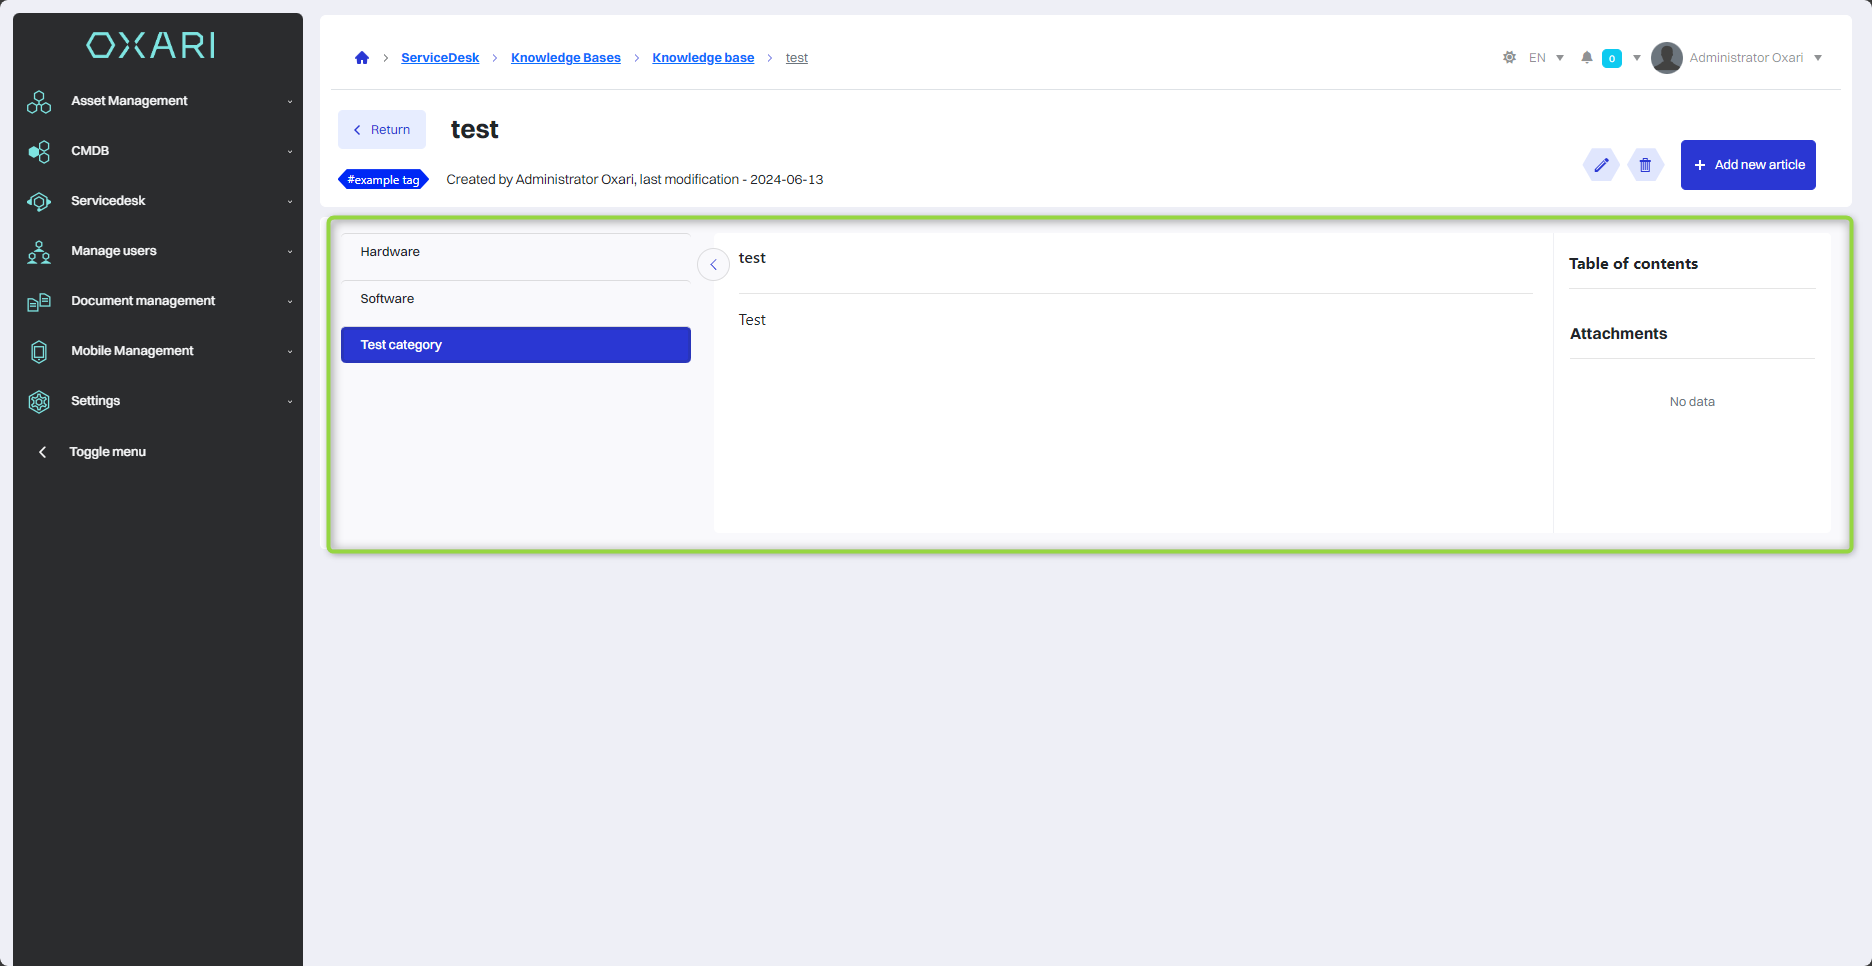
The article has been added to the Knowledge Base.
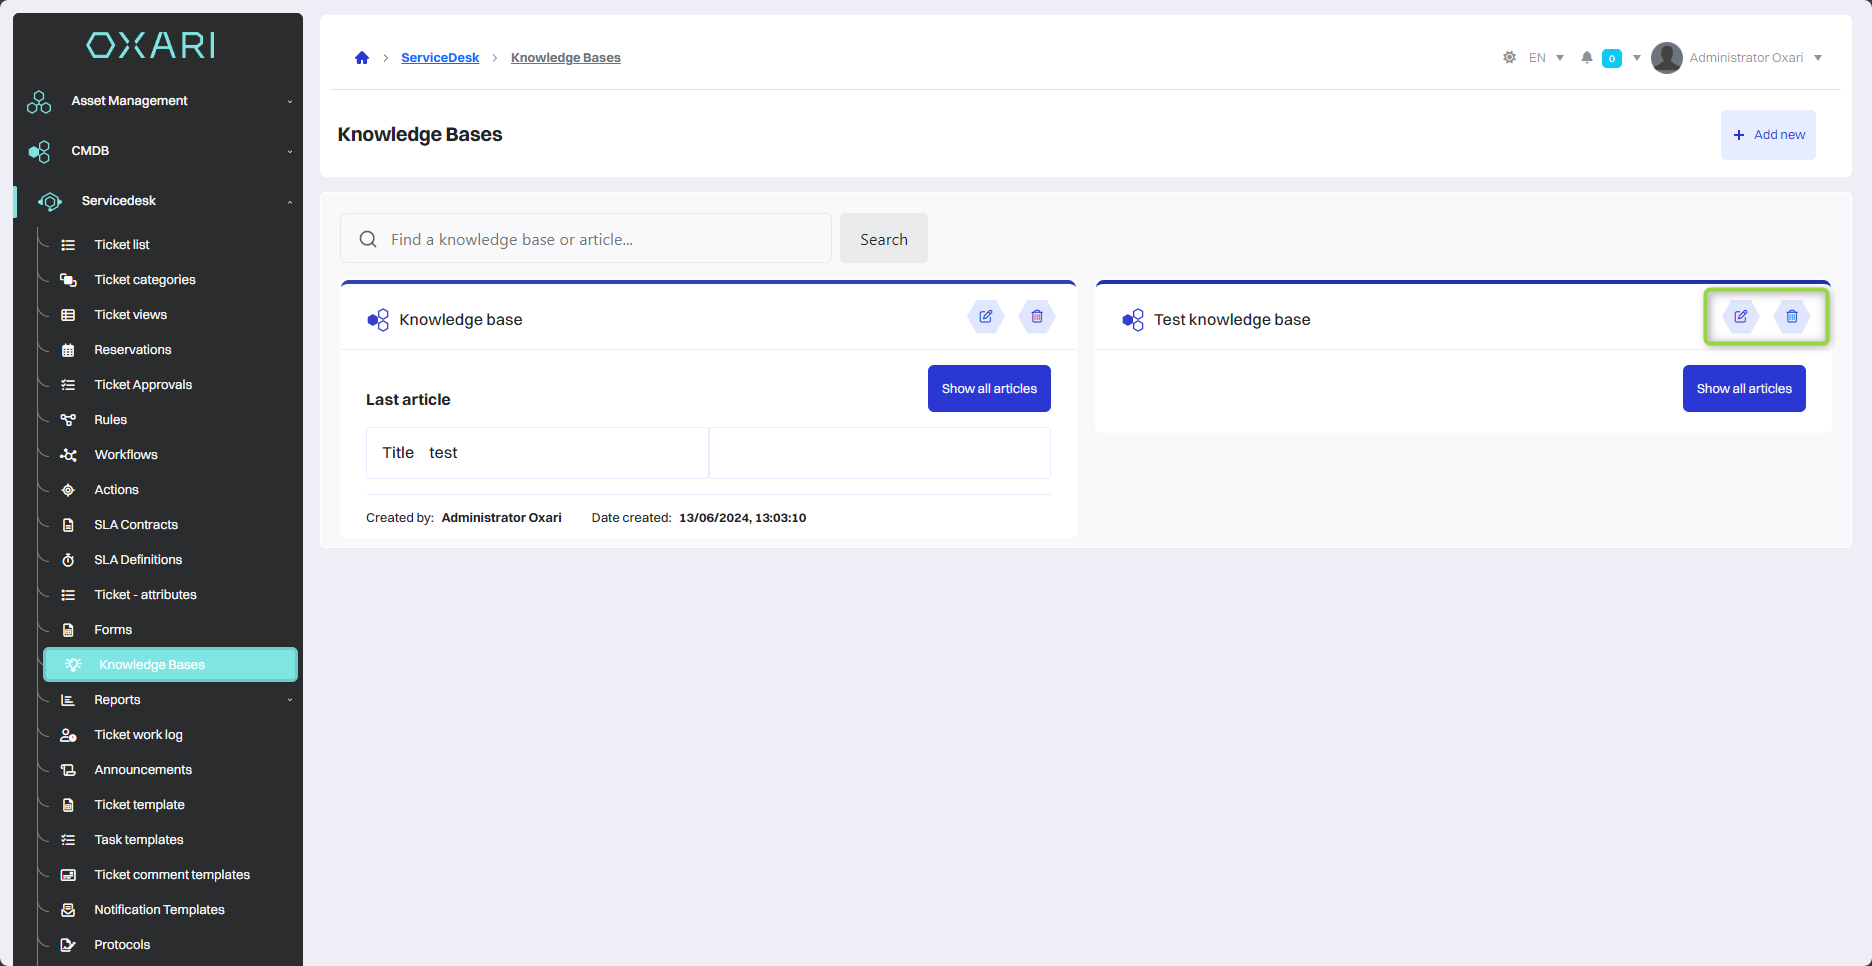
Editing/Removing the Knowledge Base
To edit/delete a Knowledge Base, go to Servicedesk > Knowledge Bases, then hover over the desired Knowledge Base. The edit/delete buttons will be displayed.