Forms
Forms in settings in OXARI allow you to create customized templates that can be tailored to your specific needs. These forms are used when adding a cost center, organization, contacts, registering a user with an organization, and adding people to the OXARI system.
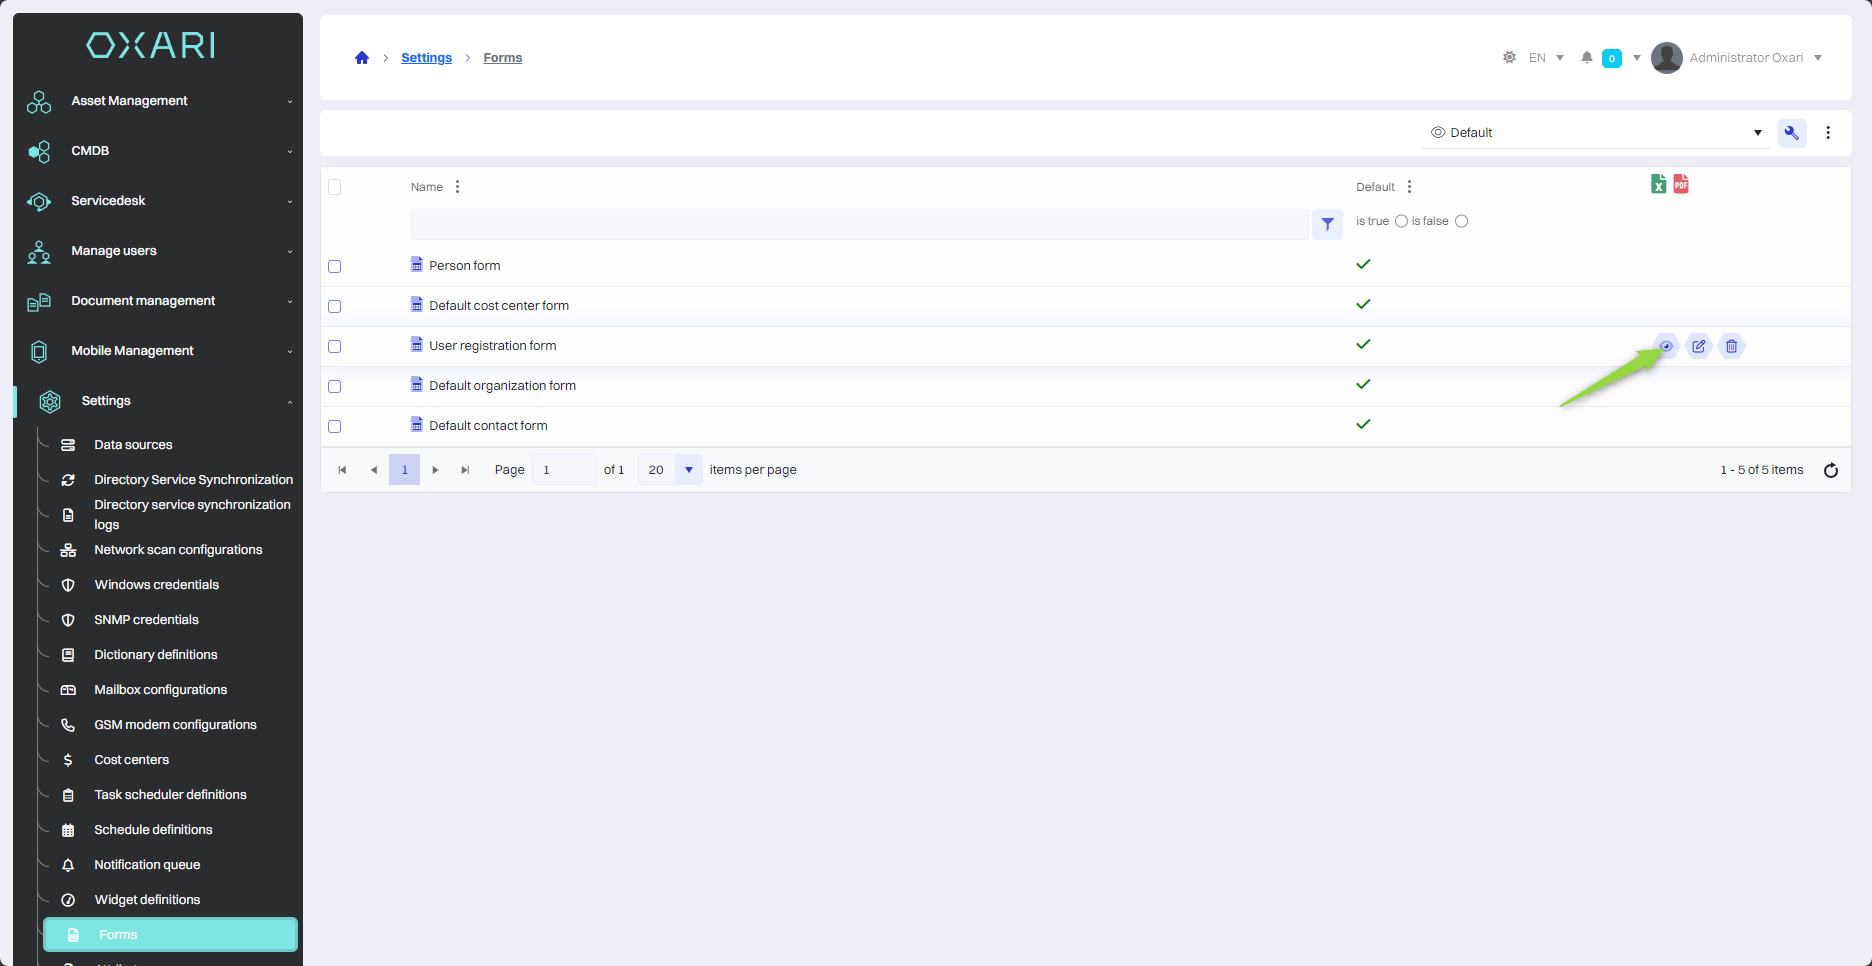
List of forms
Forms are located in the section, are editable, and there is an option to preview the form. To use the option, click on the button.
Editing form
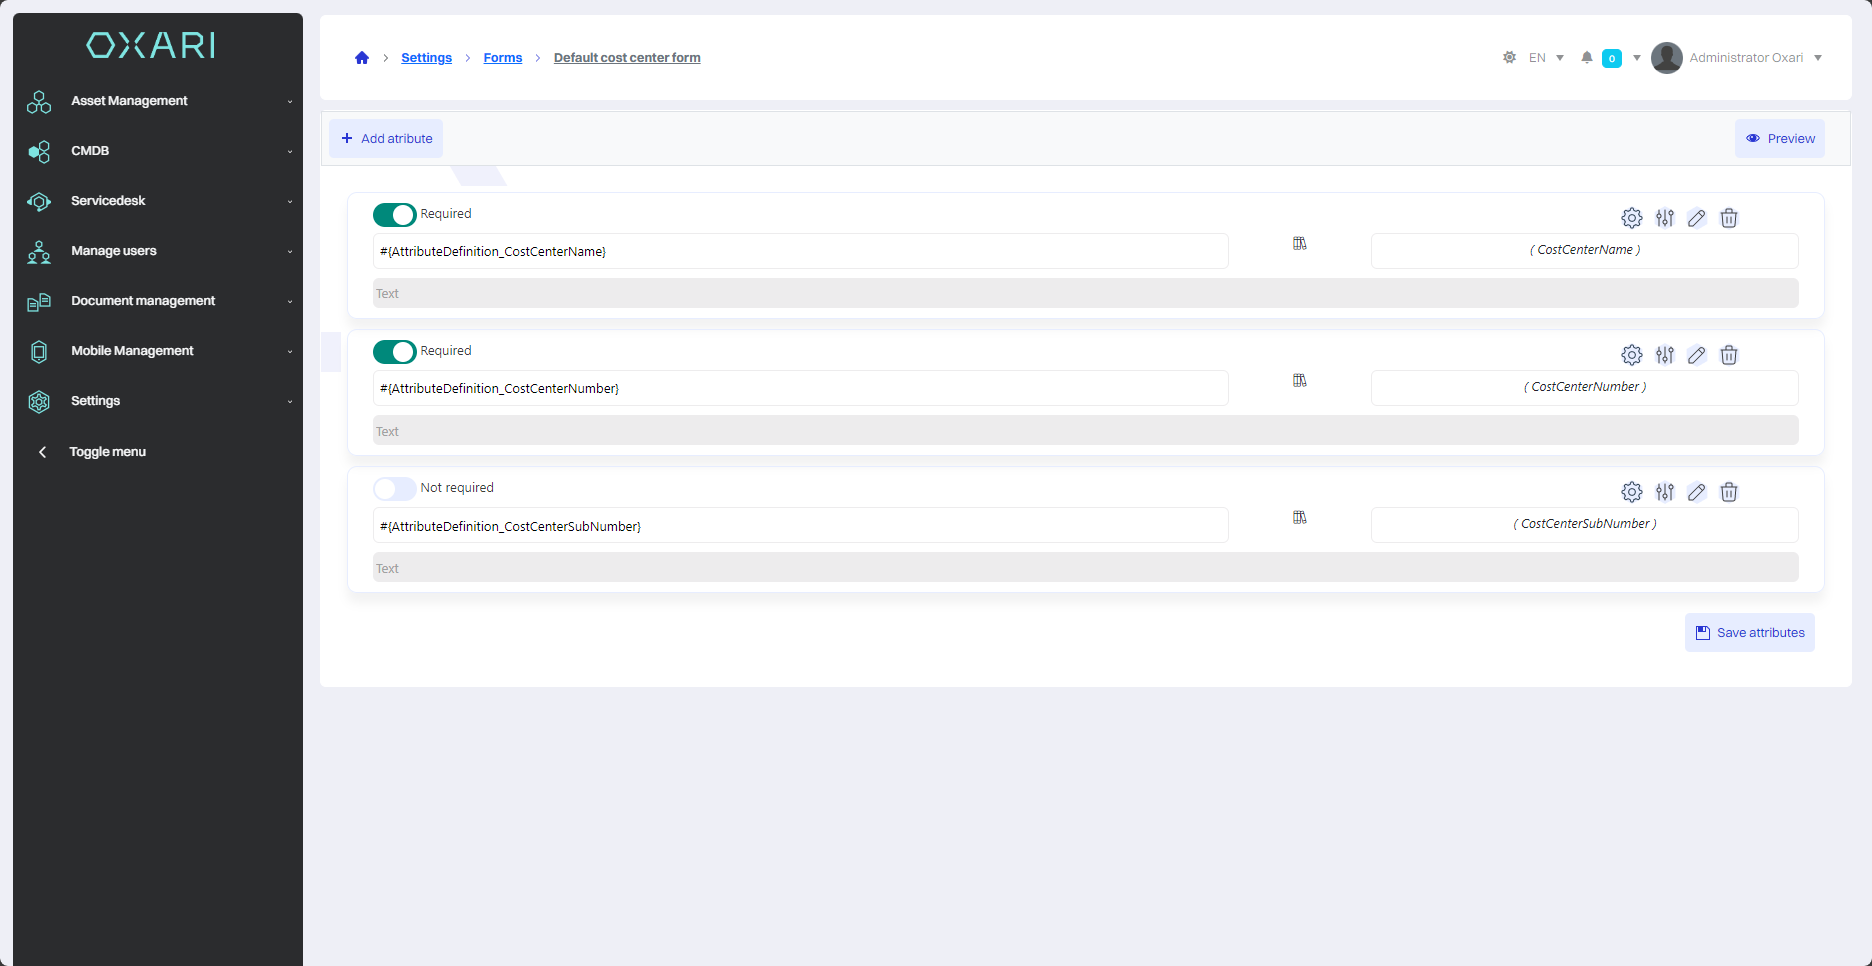
Based on the organization's default form, various editing forms will be shown.
Configuring attribute visibility
Setting visibility conditions for individual attributes according to the organization's needs is possible through the Required/Not Required sliders. To change the visibility condition for an attribute, click on the desired slider.
Adding an attribute from a list
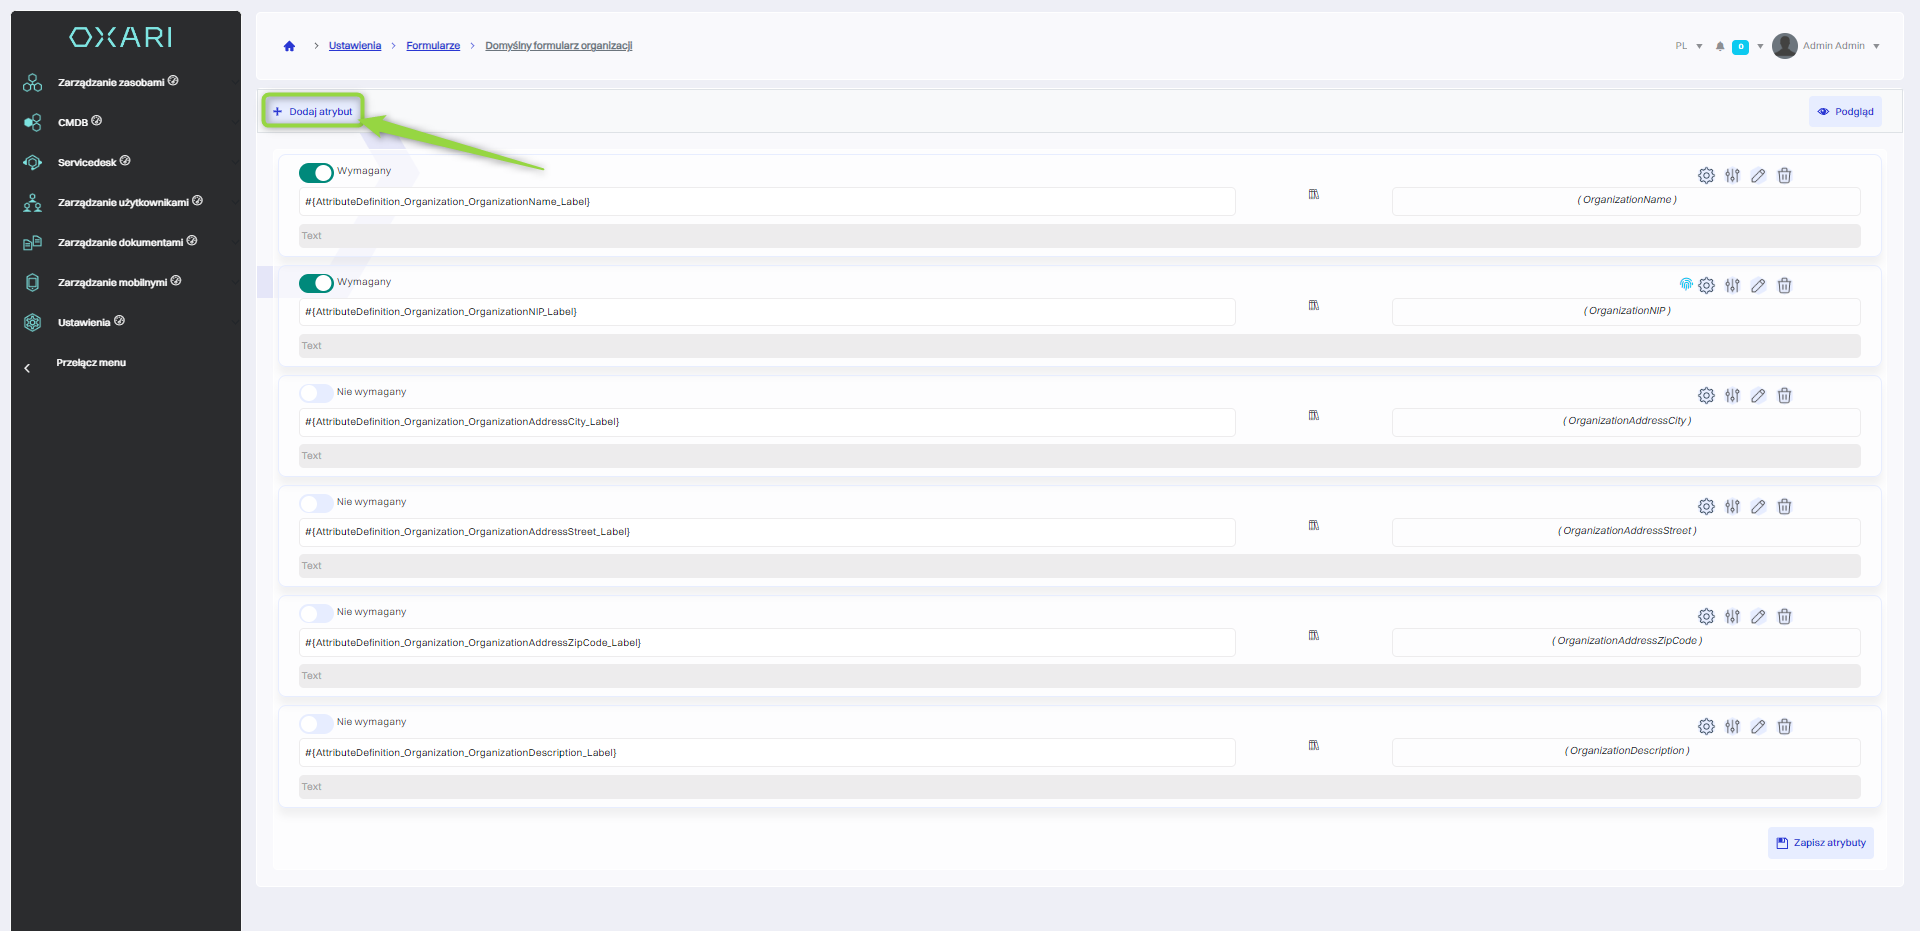
As part of editing the form, you can add new attributes to be used when creating or editing organization data. To add a new attribute, click the “New attribute” button.
Then select the attribute from the list of saved attributes, finally click the “Save” button.

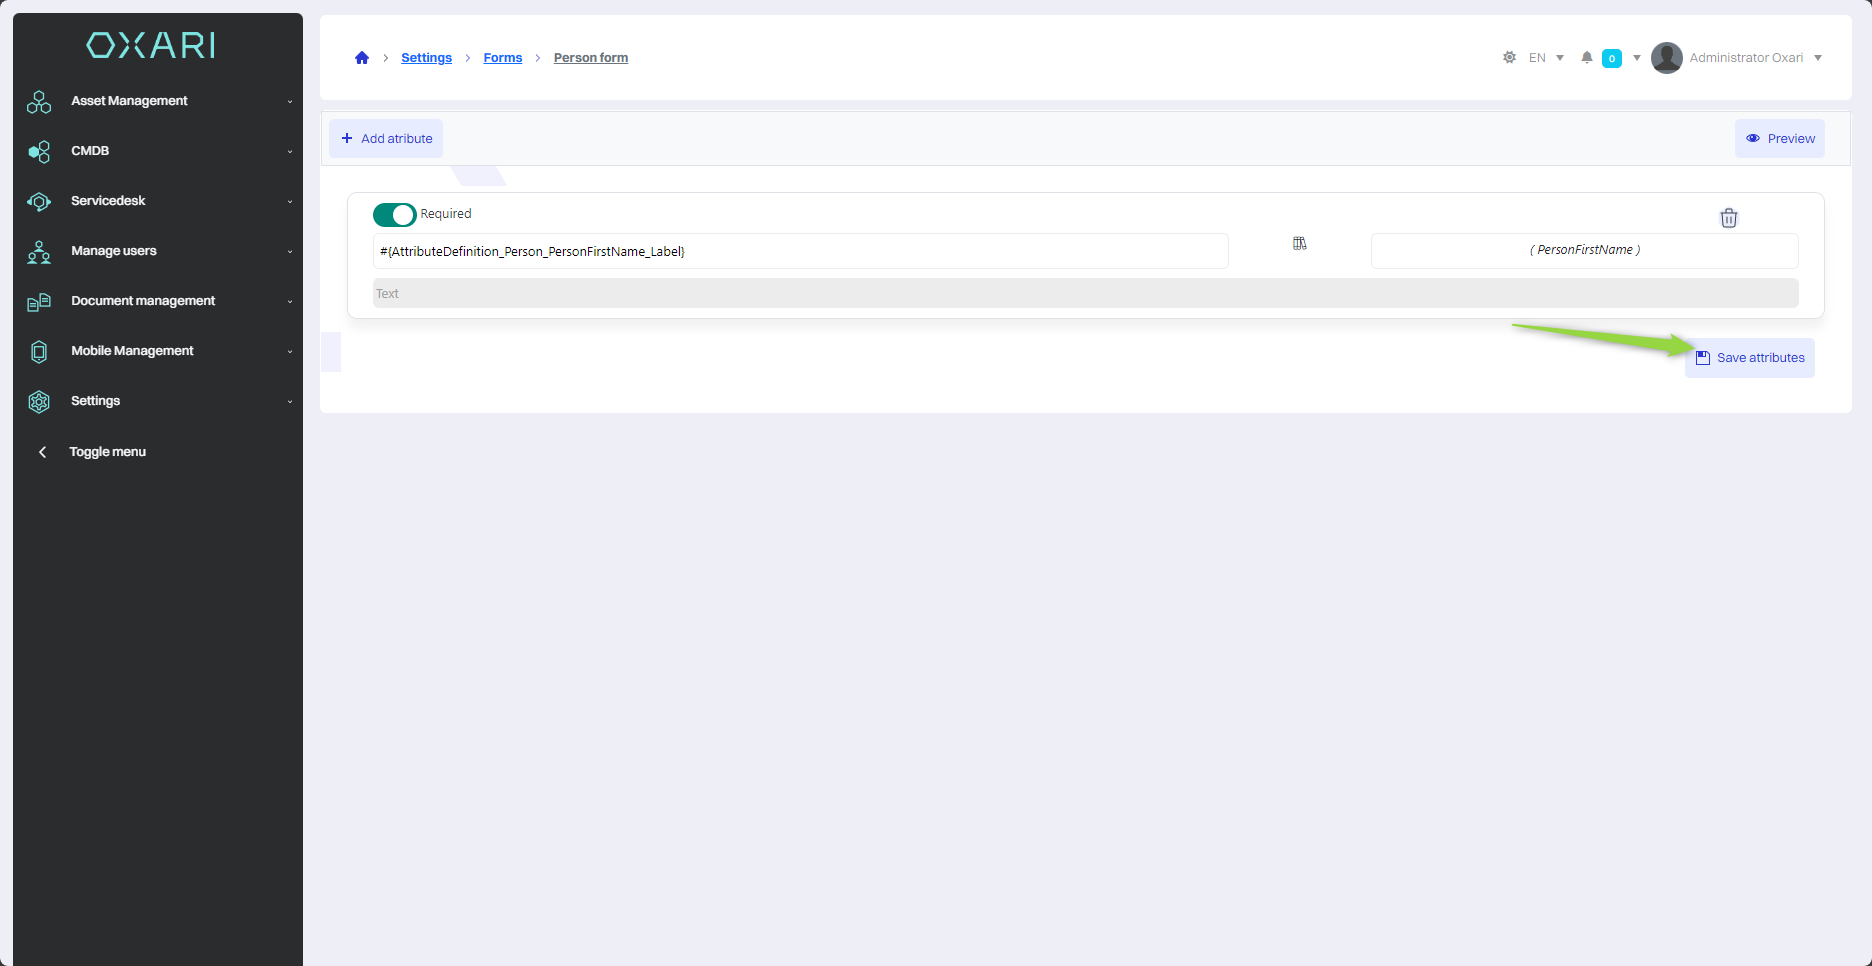
To save the attribute assignment to the form at the very end, you need to click the “Save Attributes” button.
Adding a new attribute
Possible attributes to add may include information such as the organization's name, TIN, registered office address, business description and other data specific to the organization. To add a new attribute in the “Select attribute” window, click the “+” button.

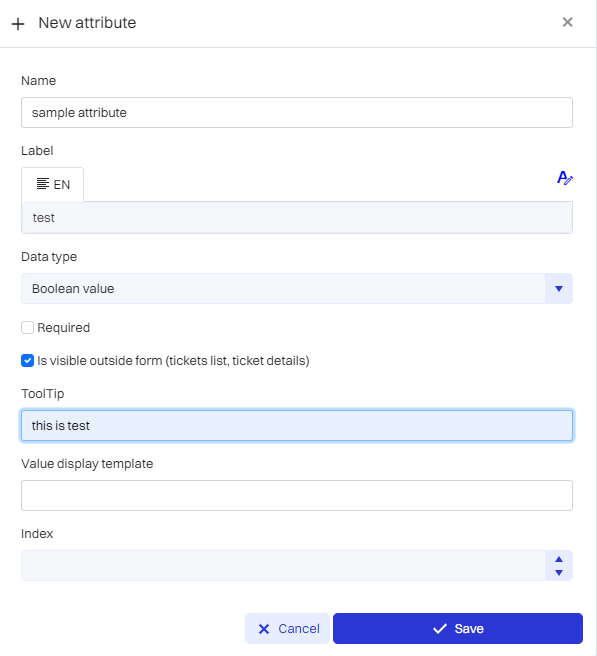
Next, in the New Attribute view, configure the attribute, and then click on the “Save” button.
| 1 | Name - A unique name for identifying the attribute in the system. |
| 2 | Label - Set the attribute label in different languages if the system offers multilingualism. |
| 3 | Data Type - Selection of the type of data that will be stored as an attribute, for example, “Boolean value” for yes/no type data. |
| 4 | Checkbox Required - Select the option if the attribute is mandatory in the form. |
| 5 | Visibility of the Attribute Outside the Form - Activate the option if the attribute is to be presented also in other places in the system, such as in the request lists. |
| 6 | Hint - Add a textual hint explaining what the user should enter in the field. |
| 7 | Value Display Template - Determine the format for presenting the attribute value, if required. |
| 8 | Position - Determine where in the form structure the attribute should go. |
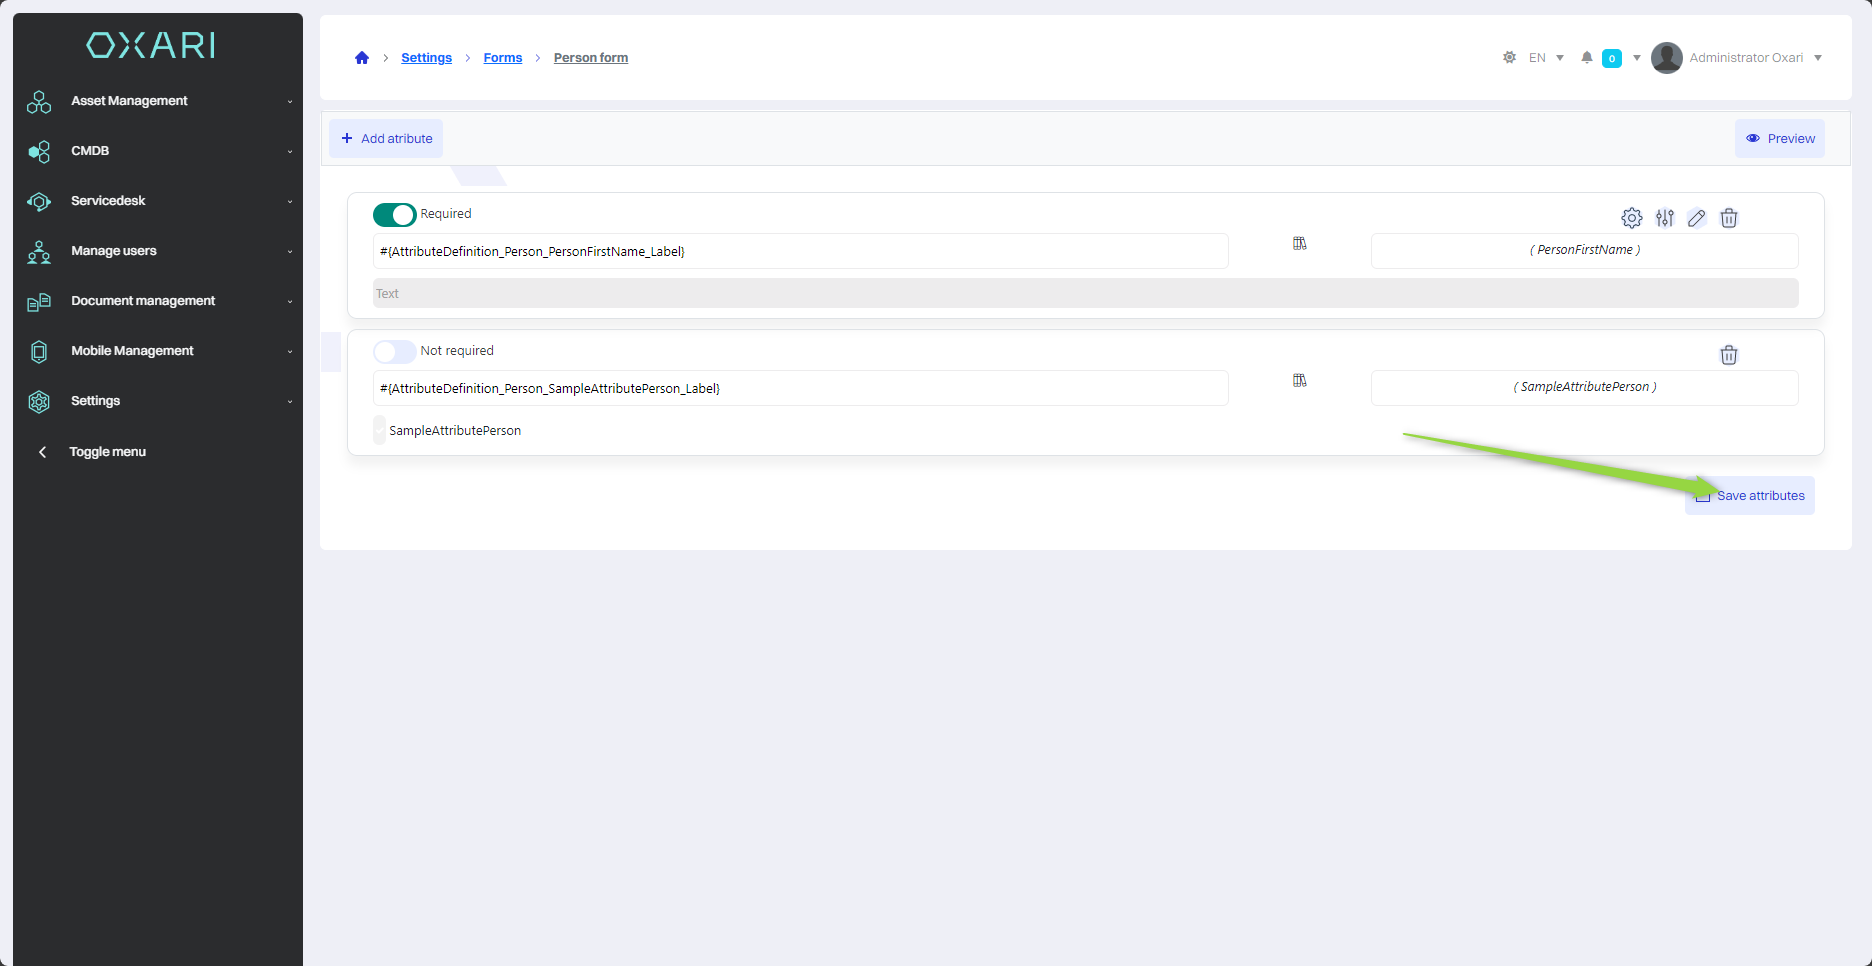
The attribute will be saved, it will be visible in the list of saved attributes. To use the attribute, select it from the list and click the “Save” button.

To save the attribute assignment to the form at the very end, you need to click the “Save Attributes” button.
Preview the form
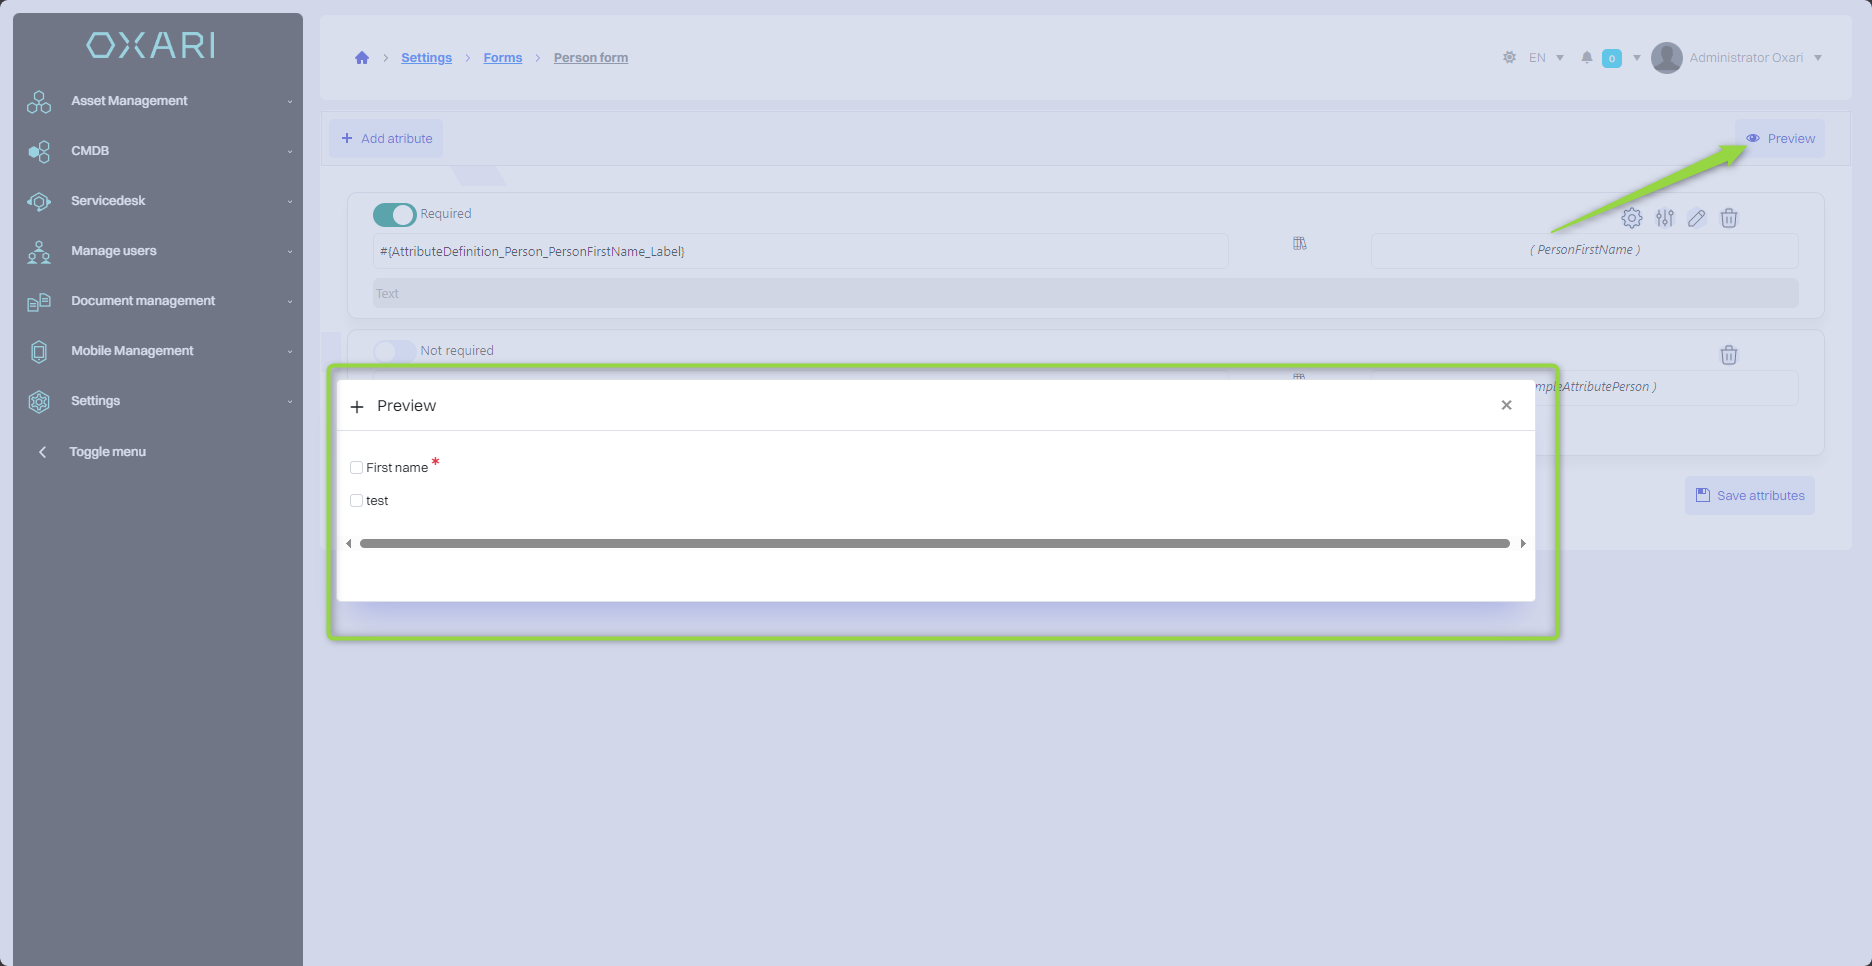
To preview. 1. click the “Preview” button. 2. the form will be displayed.
Combine the form in the setting.
This section will show where all forms from the settings are used.
Default cost center form
This form is used when adding a new cost center in: Settings > Cost centers.
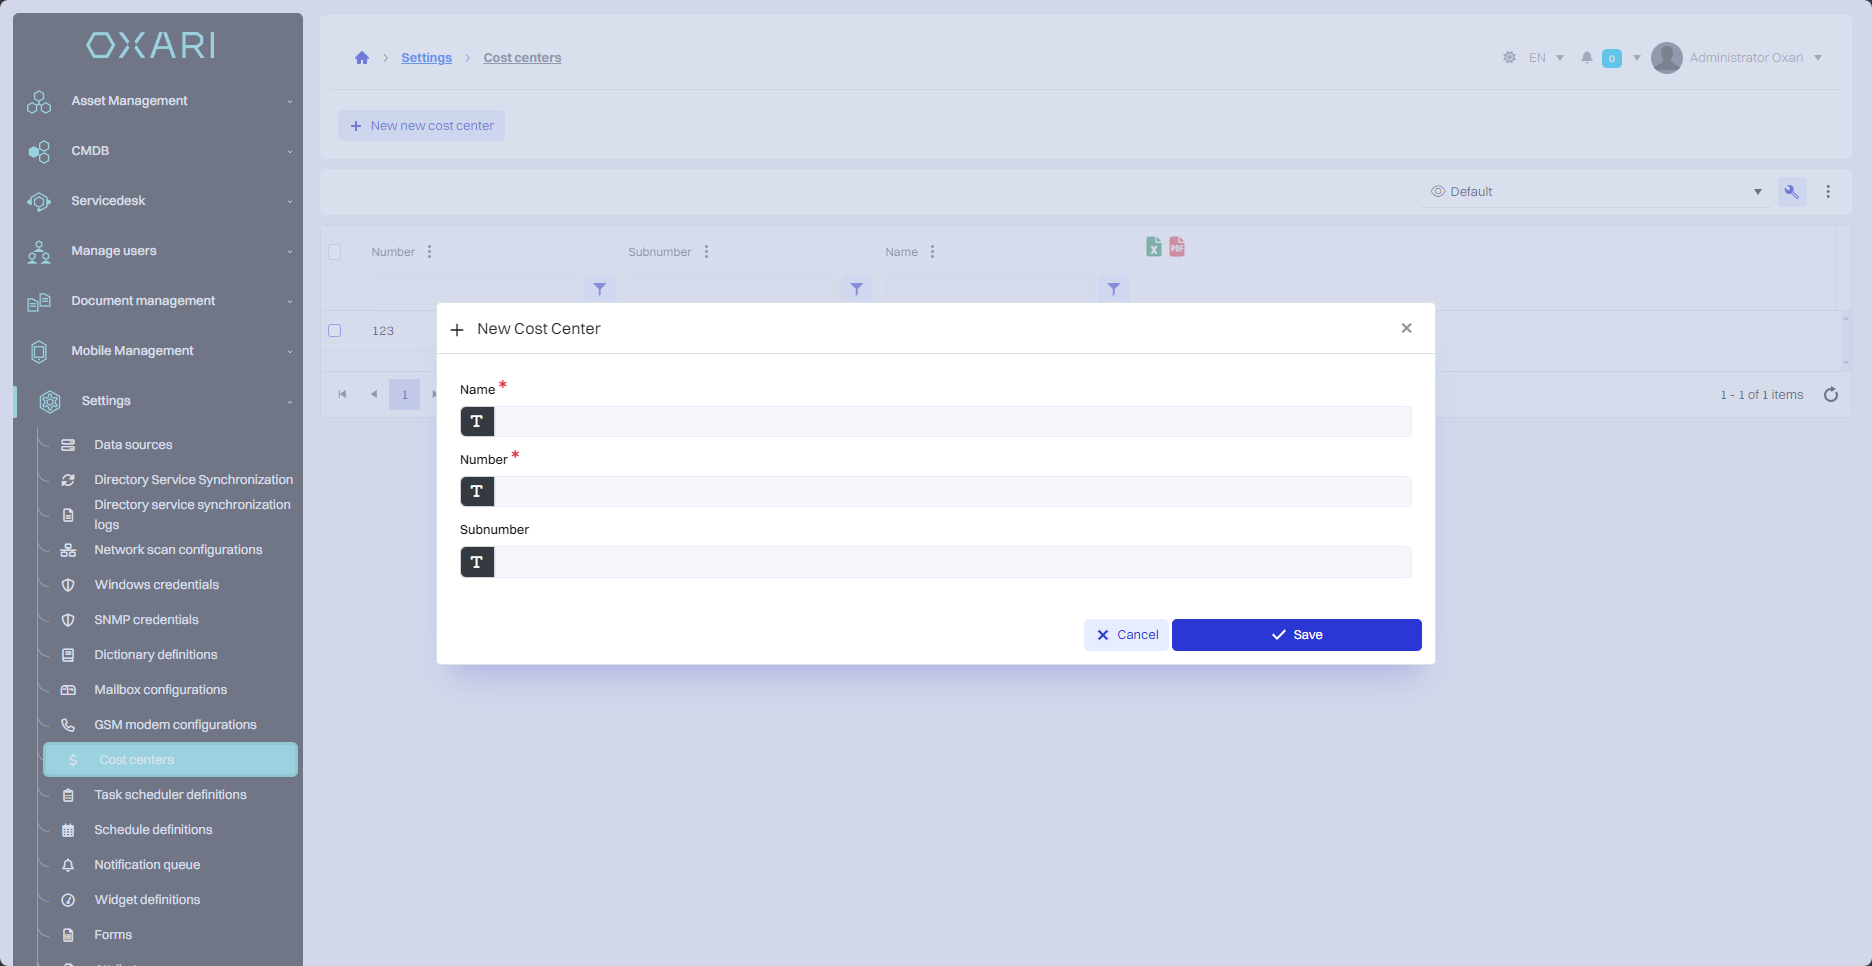
Default organization form
This form is used when adding a new organization in: Manage Users > Organizations.
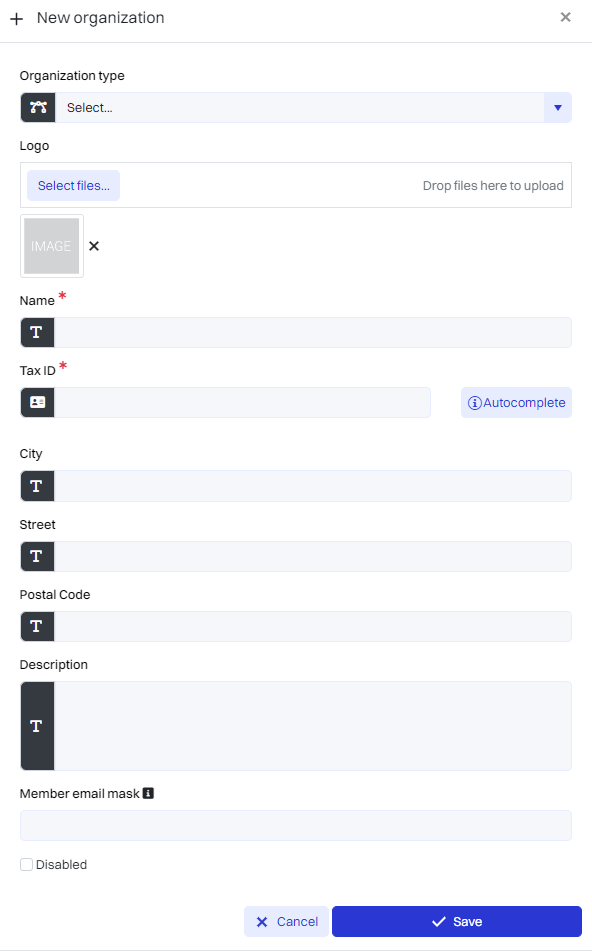
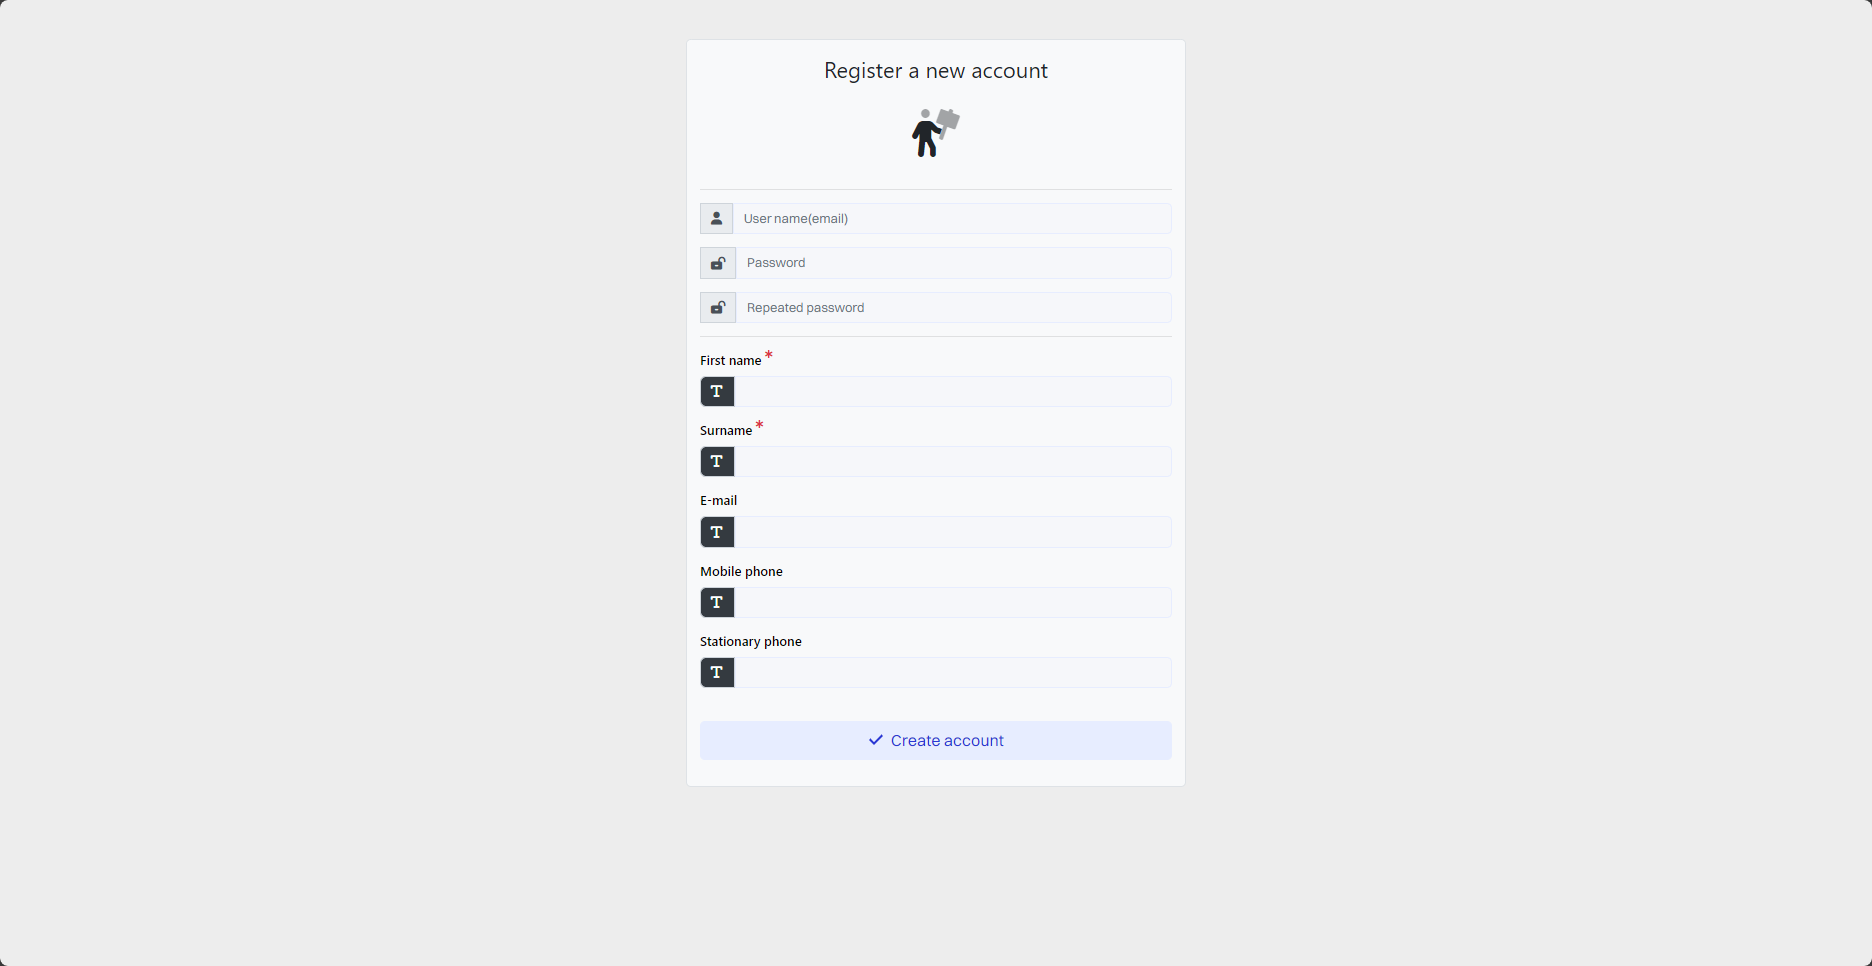
User registration form
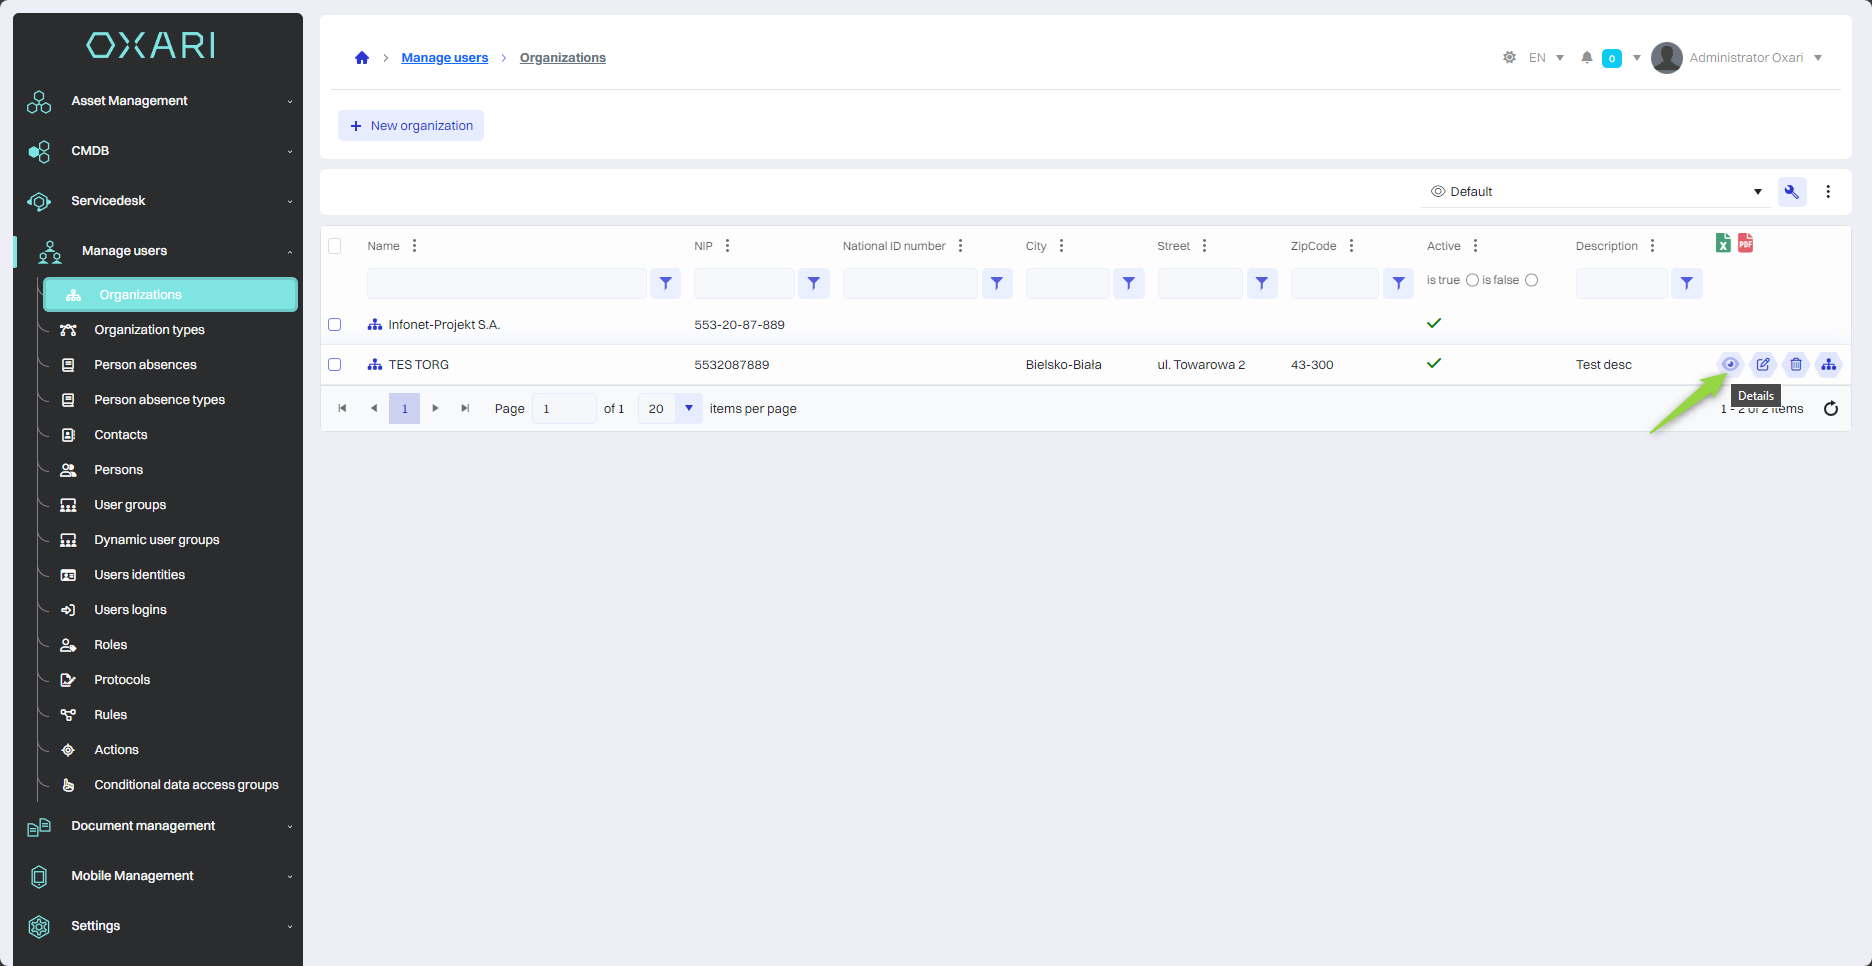
This form is used when registering a user under a particular organization in: User Management > Organizations.
At least one organization must be added to the list of organizations
To use this form, go to the section in question and click the “Details” button.
Then click the “User Registration Form” button.
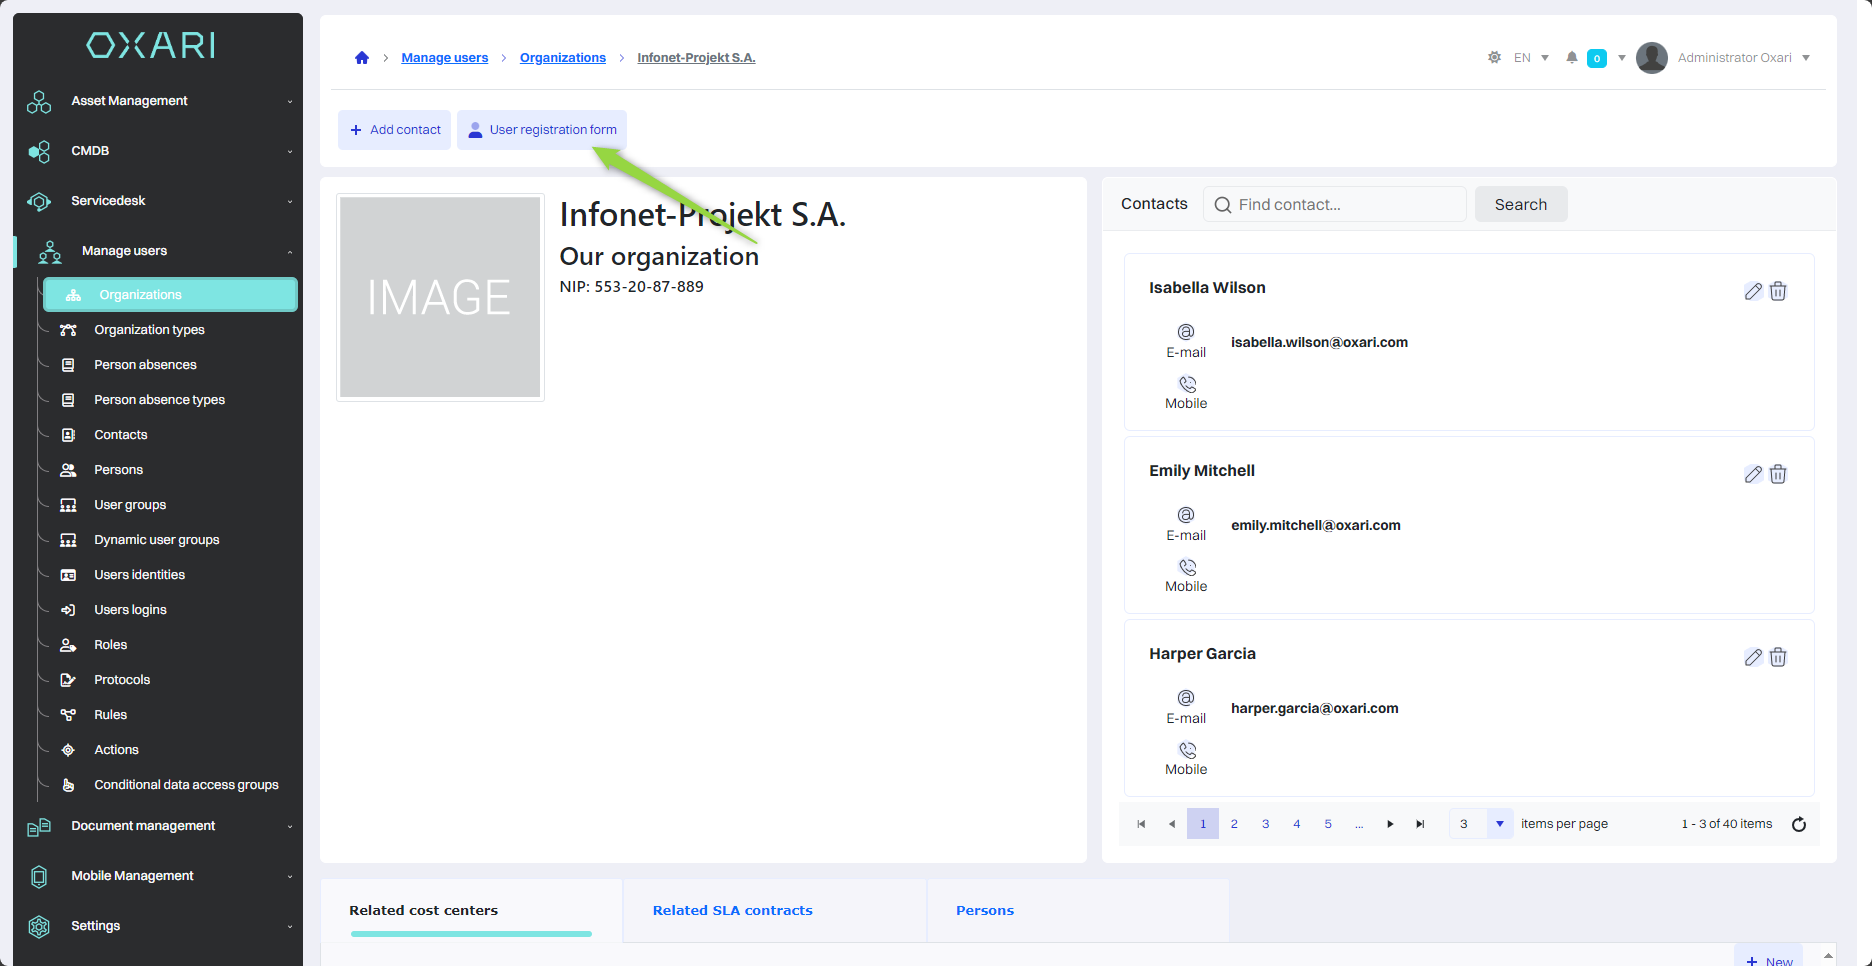
The user registration form will be displayed.
Default contact form
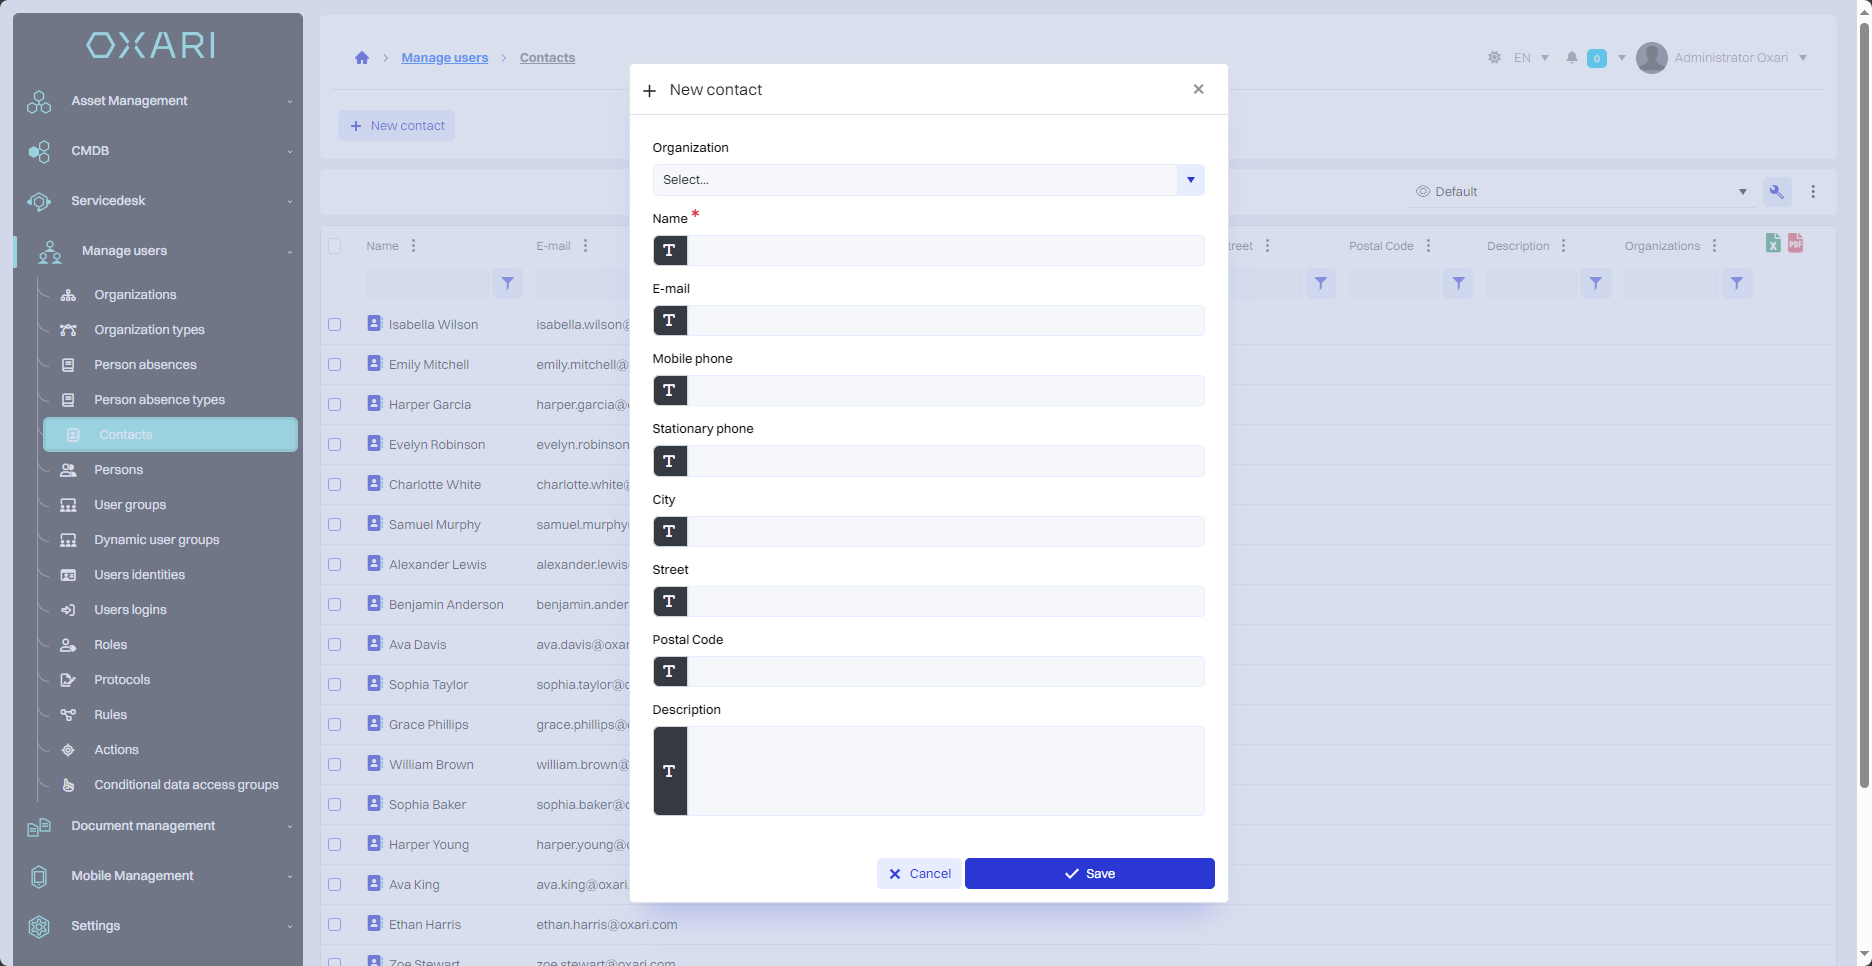
This form is used when adding a new contact in: Manage Users > Contacts.
Person form
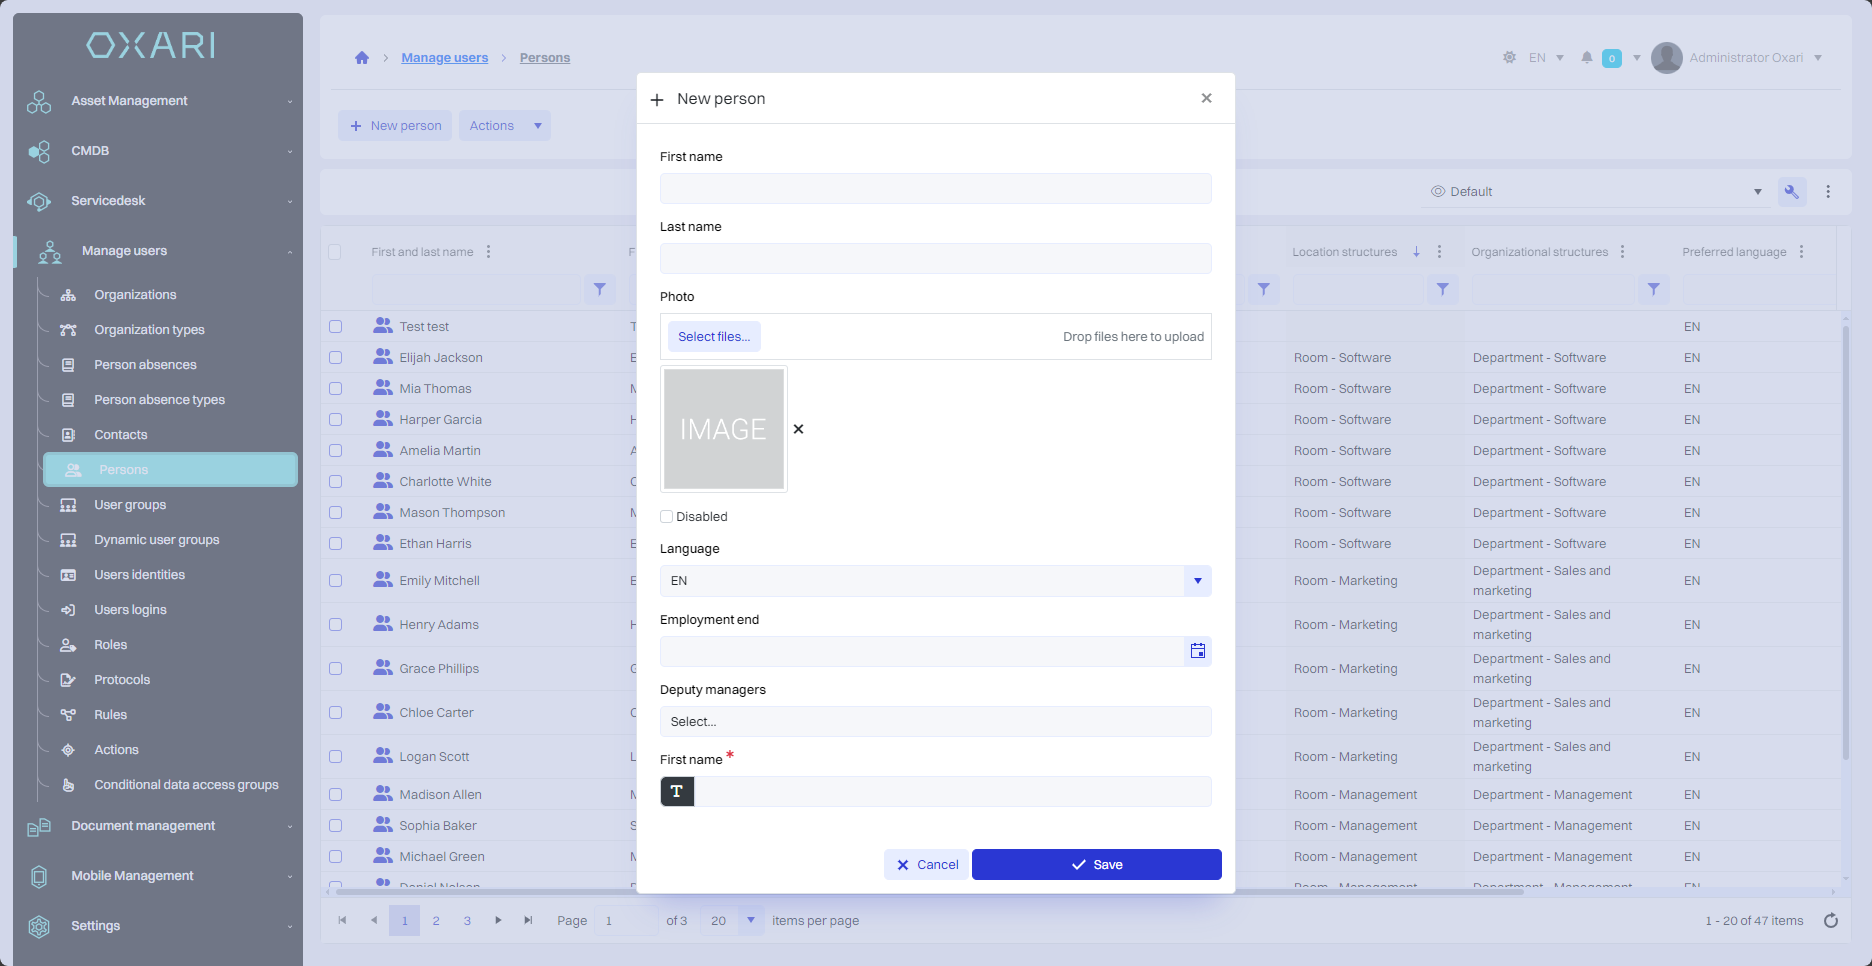
This form is used when adding a new person in: Manage Users > Persons.
