The section allows you to create comment templates that can be used when handling tickets. This makes it faster for employees to add standard responses or messages, which improves communication and ensures consistency in the information provided to users or team members.
New comment template
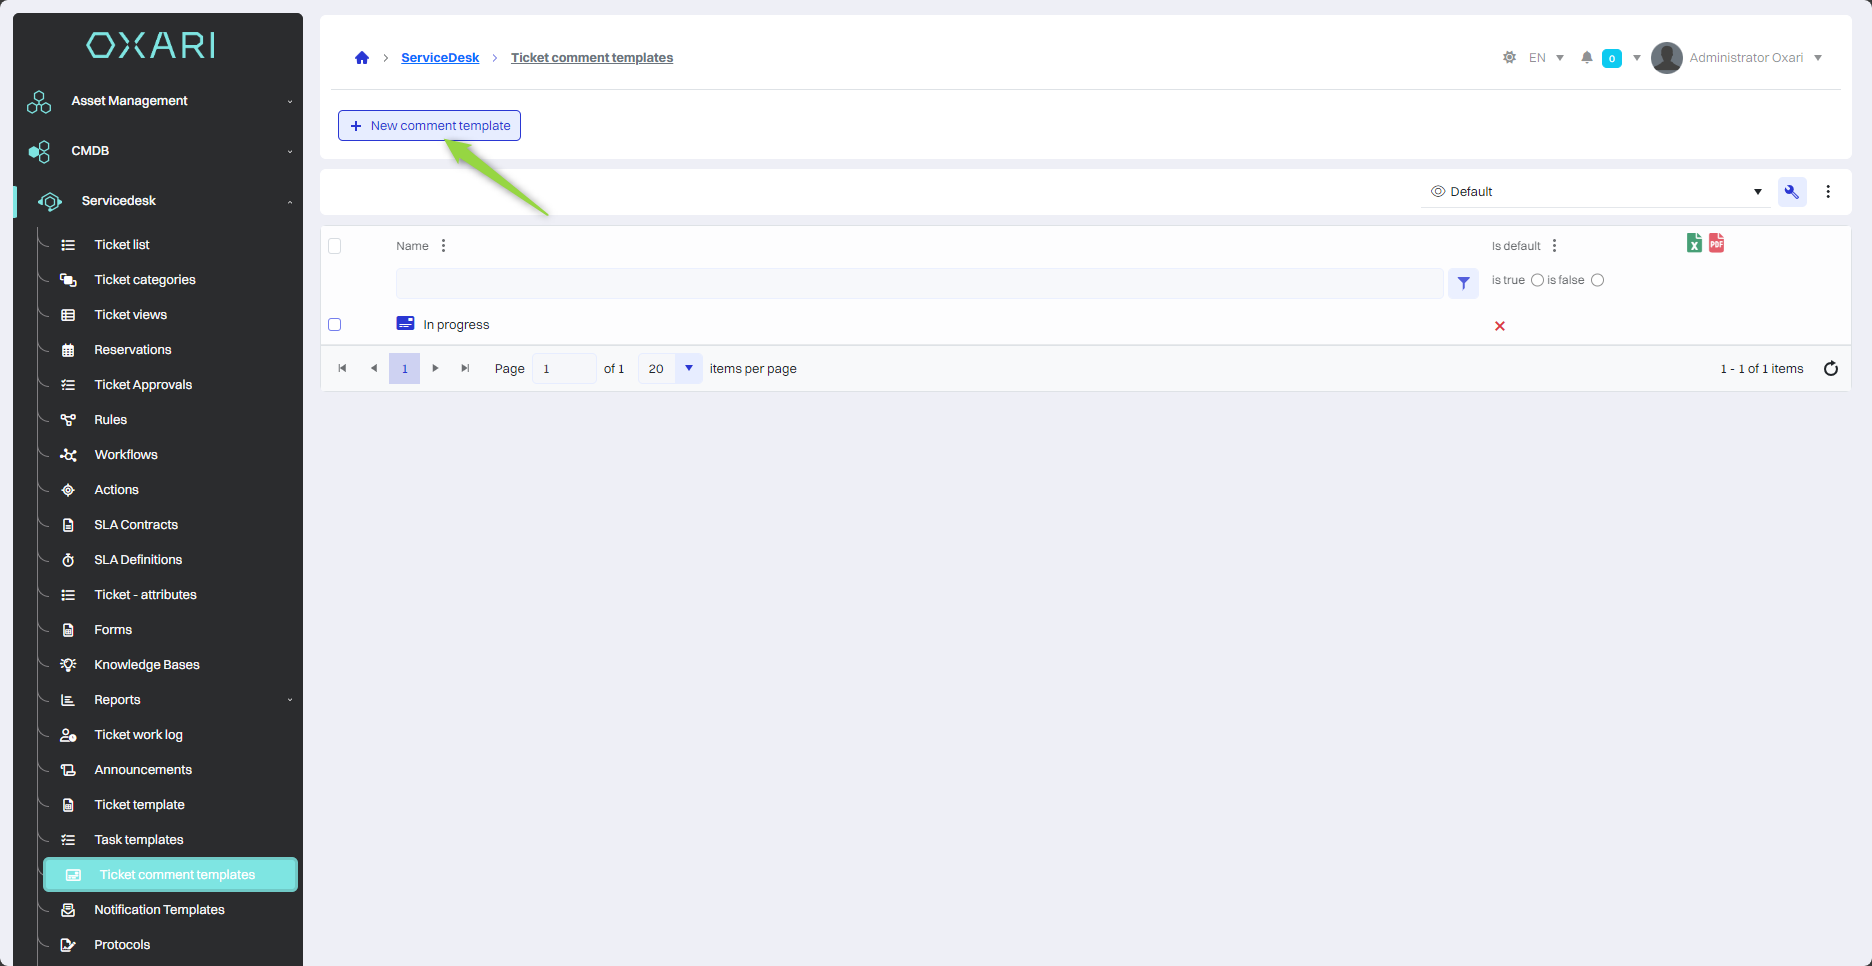
To add a new comment template, go to Servicedesk > Comment templates, then click the “New comment template” button.
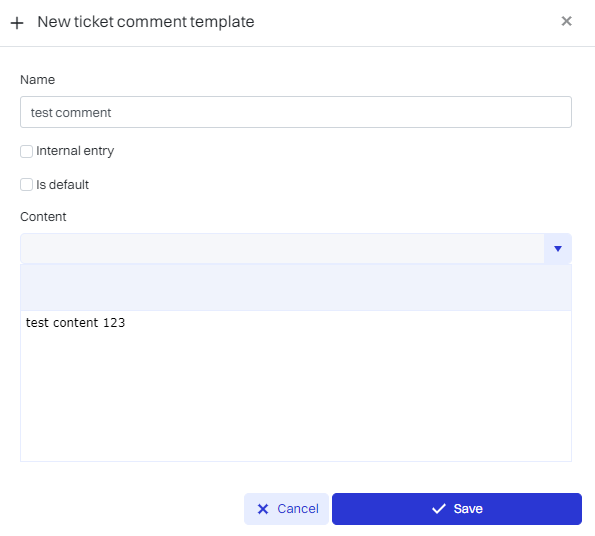
After that, the “New comment template” window contains the items:
|
1 |
Name - A unique name for the template for easy identification. |
|
2 |
Internal entry - An option that determines whether the comment is visible only to a particular group or to all system users. |
|
3 |
Is default - An option that, when checked, makes the template the default choice when adding new comments. |
|
4 |
Content - A field in which the user enters the text of the comment template, which will be automatically inserted when this template is selected in the application. |
Fill in the desired fields and click the “Save” button.
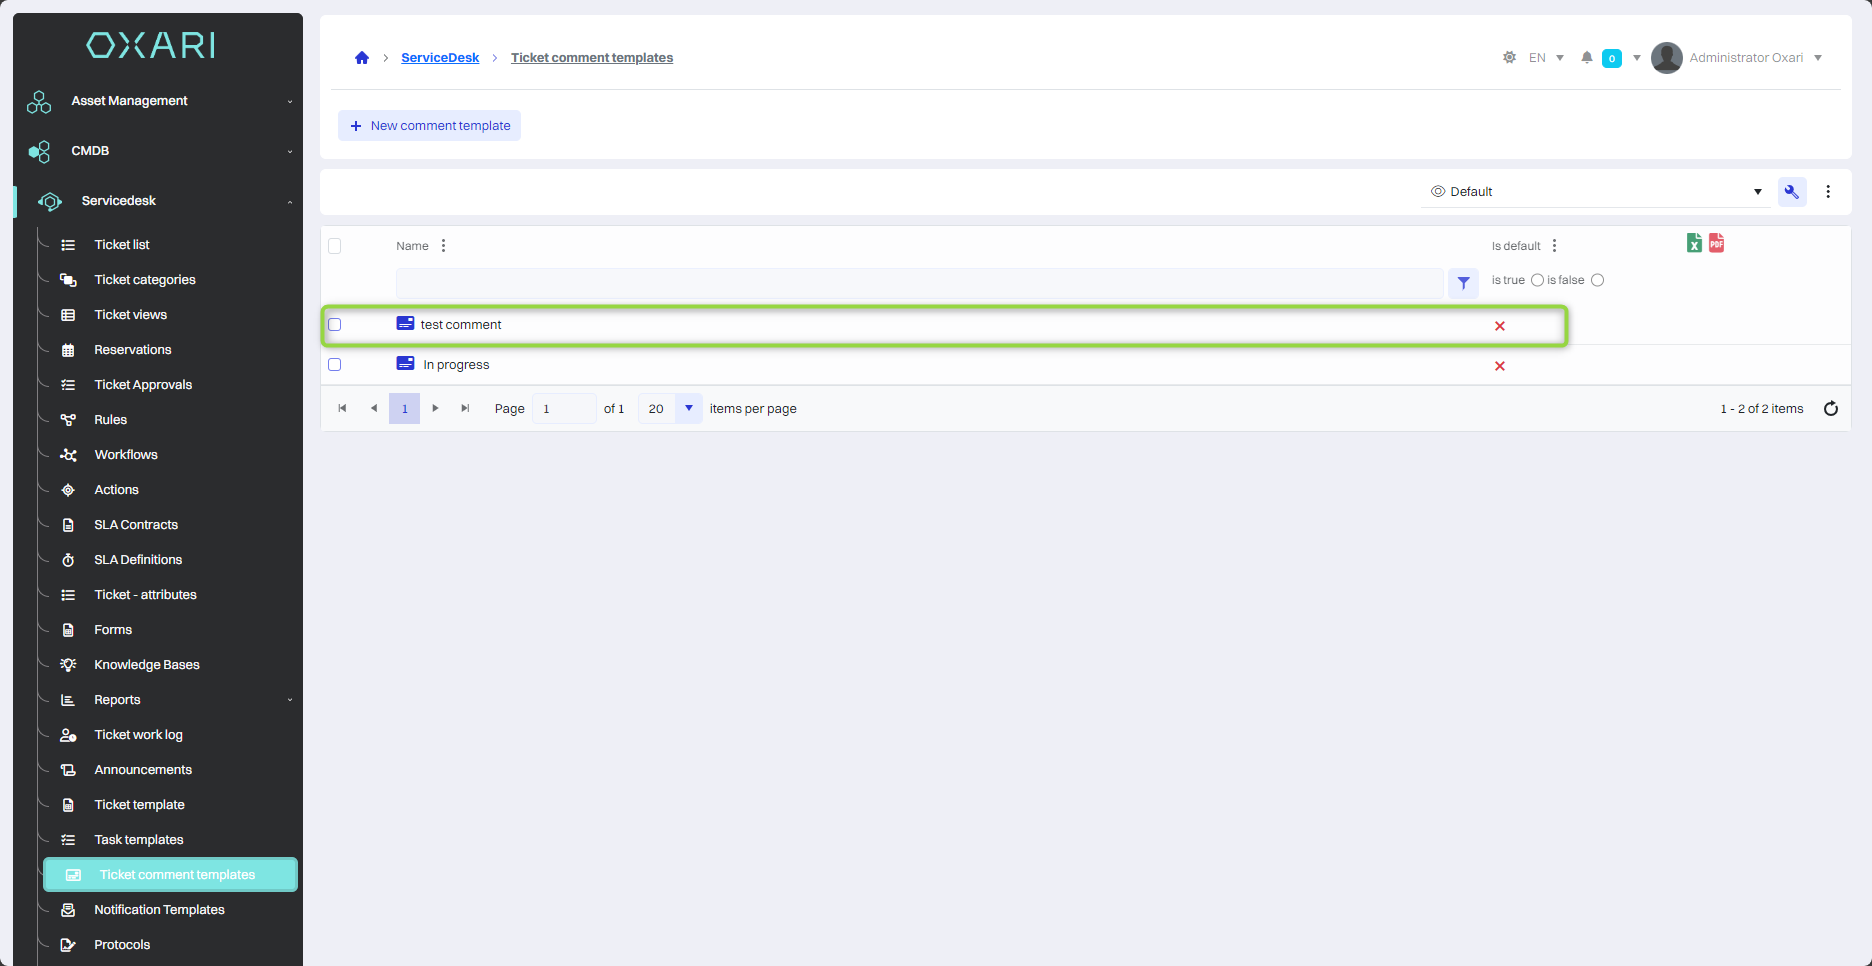
The comment template has been added.
Conditions for visibility of a comment template
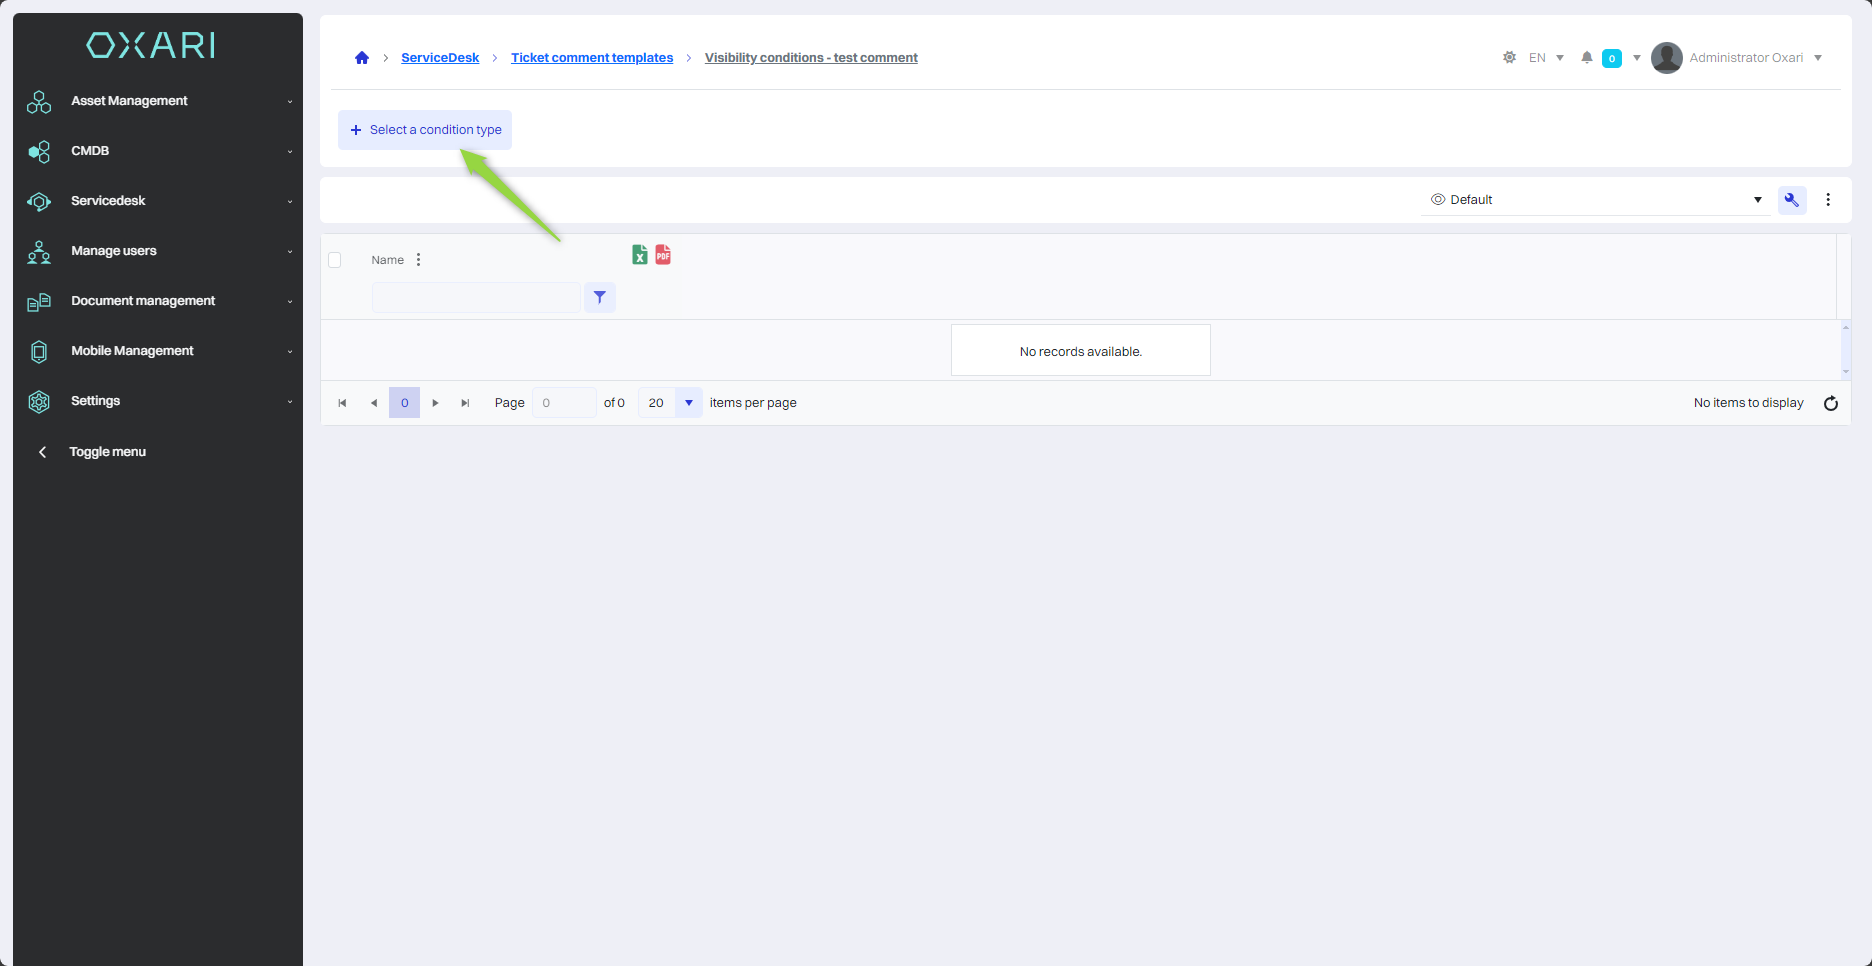
Each comment template can be visible only under certain conditions, for example, when the status of the ticket is “New”. To set the visibility conditions, go to the detail view of the desired comment template.
Then, in the detail view of the comment template, click the “Select condition type” button.
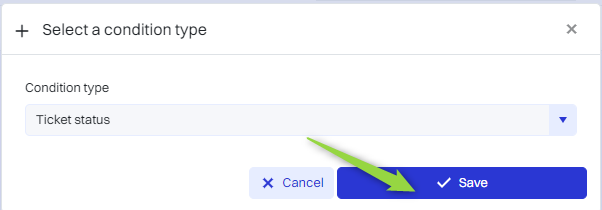
In this step, in the “Select condition type” window, there is a “Condition type” drop-down list, in which you can choose “Ticket category” or “Ticket status”. Select the desired condition type and click the “Save” button.
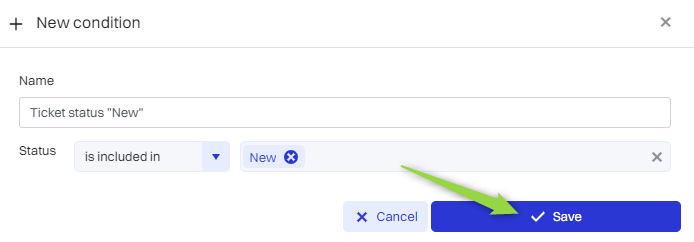
In this step, in the “New condition” window, name the condition and select the status of the ticket, in this case it will be “New”, and then click the “Save” button.
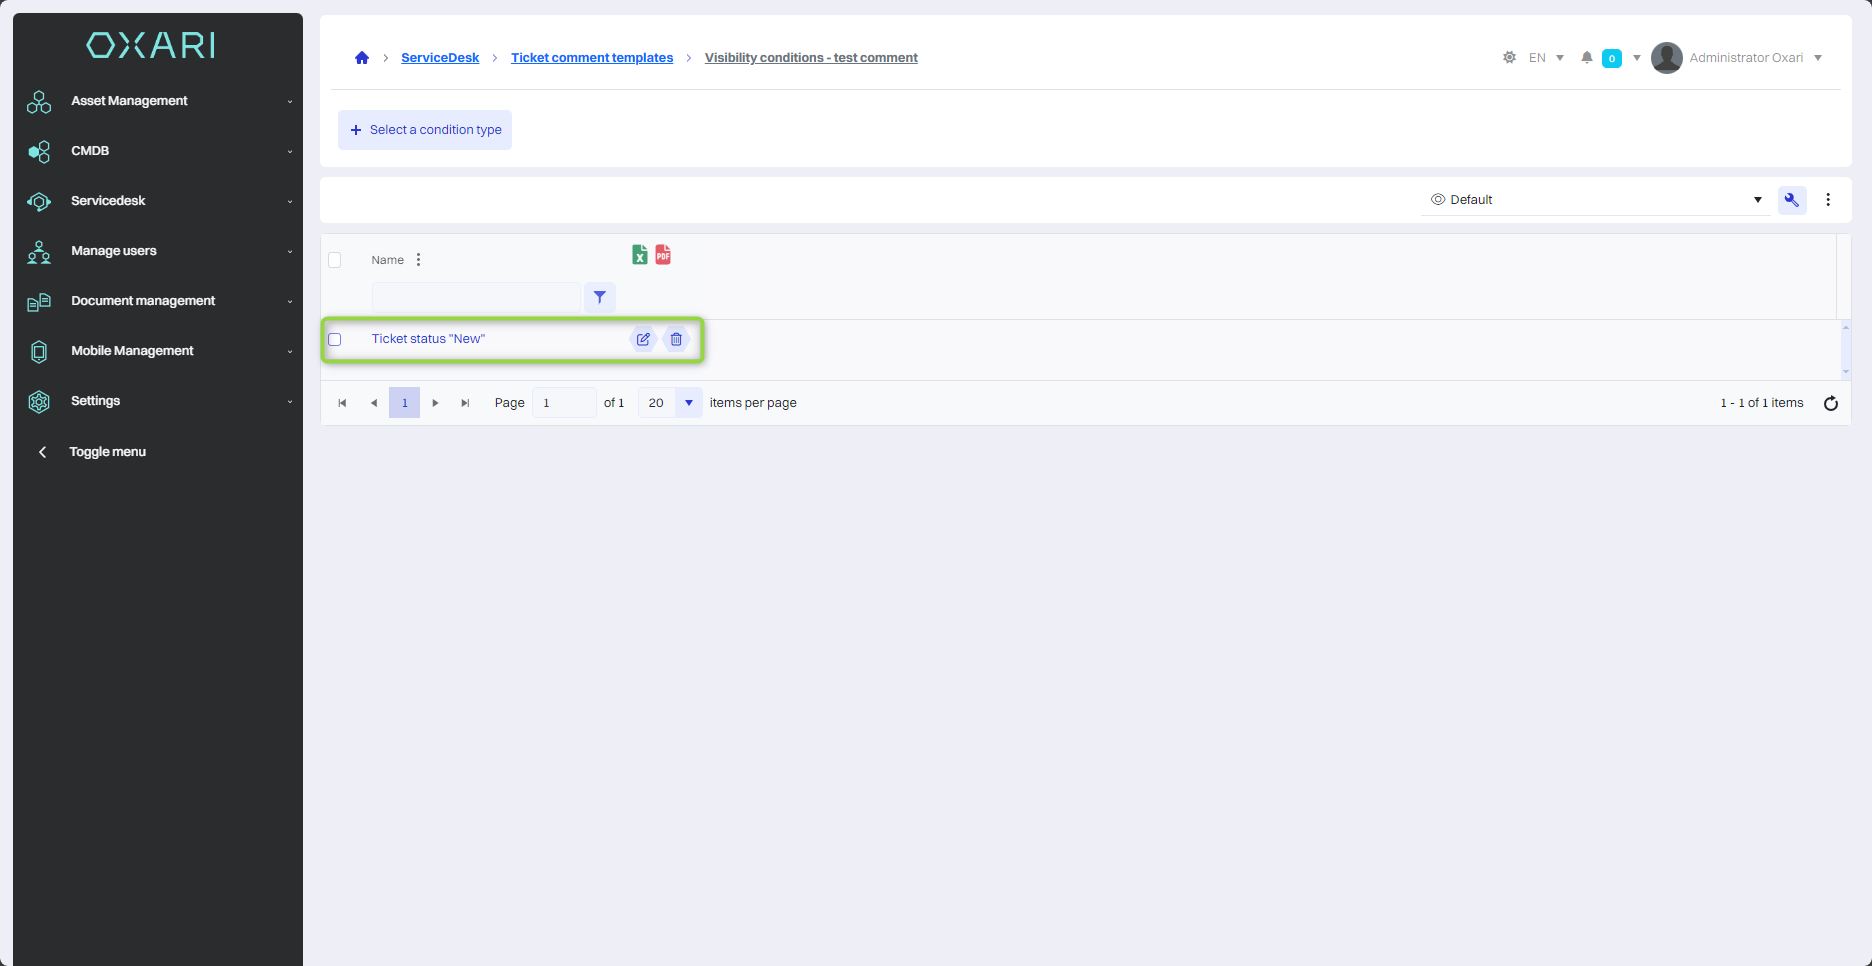
The visibility condition has been added.
Using the comment template
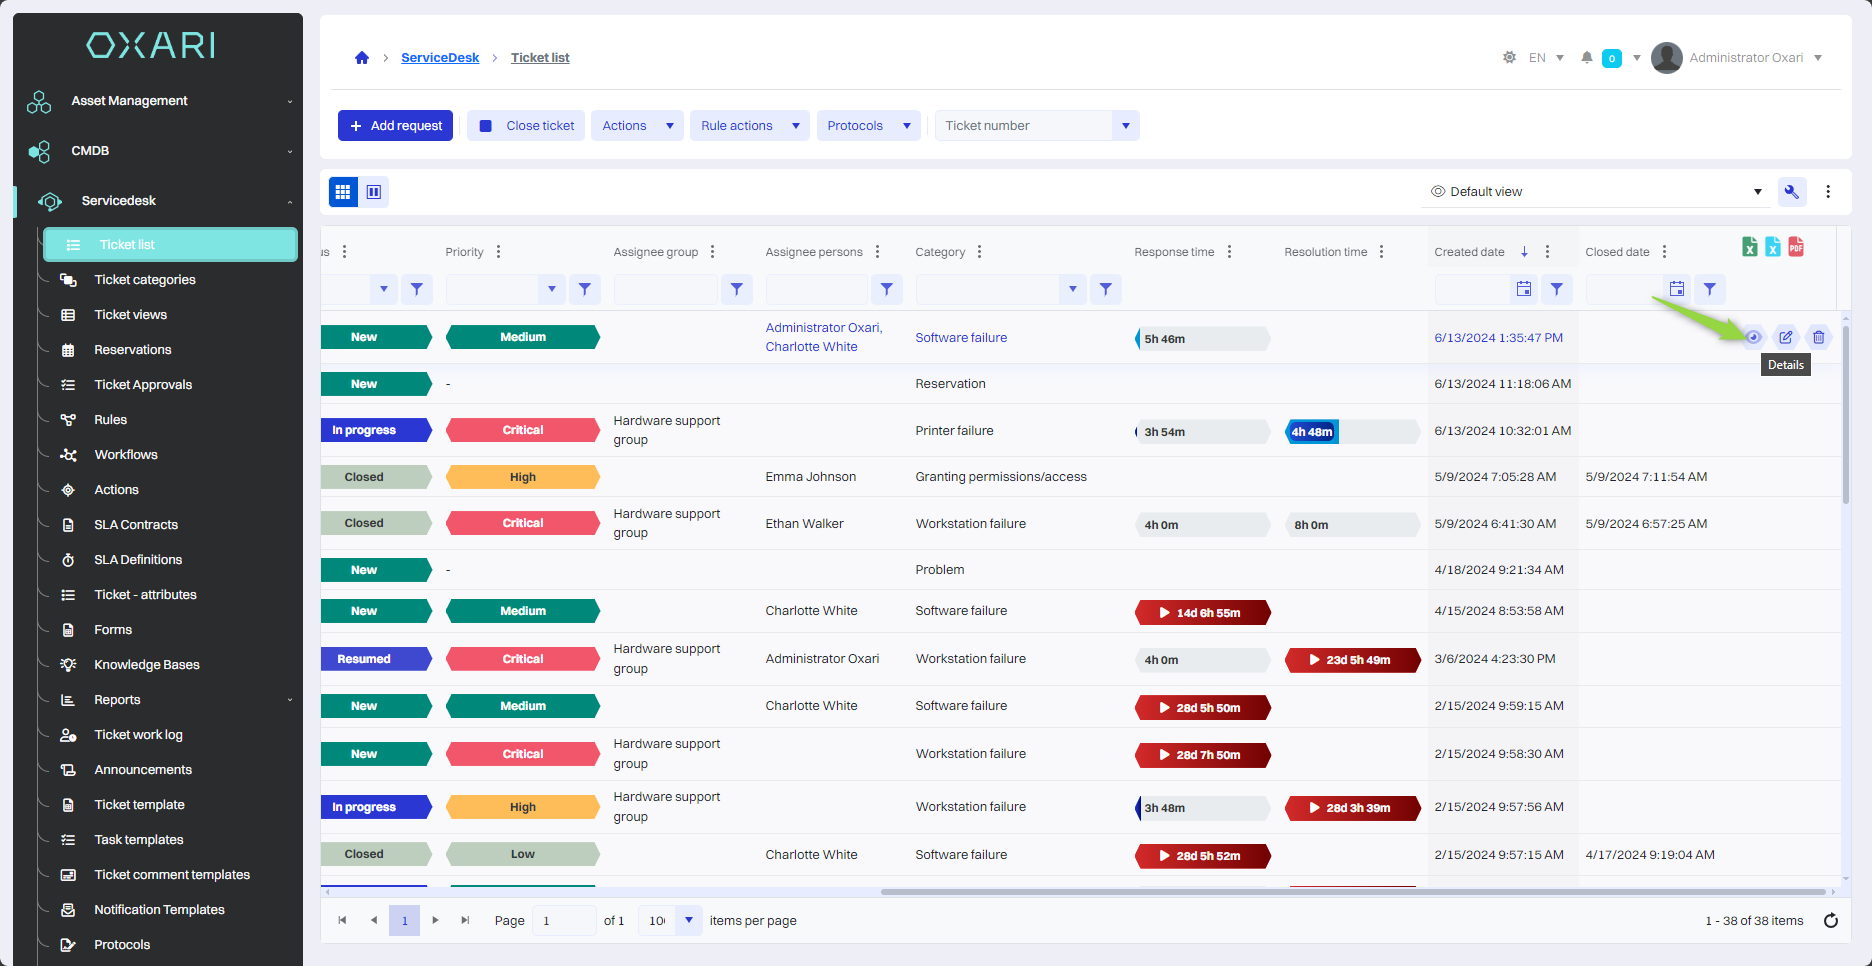
To use the comment template, go to Servicedesk > Ticket list, and then open the detail view of the ticket.
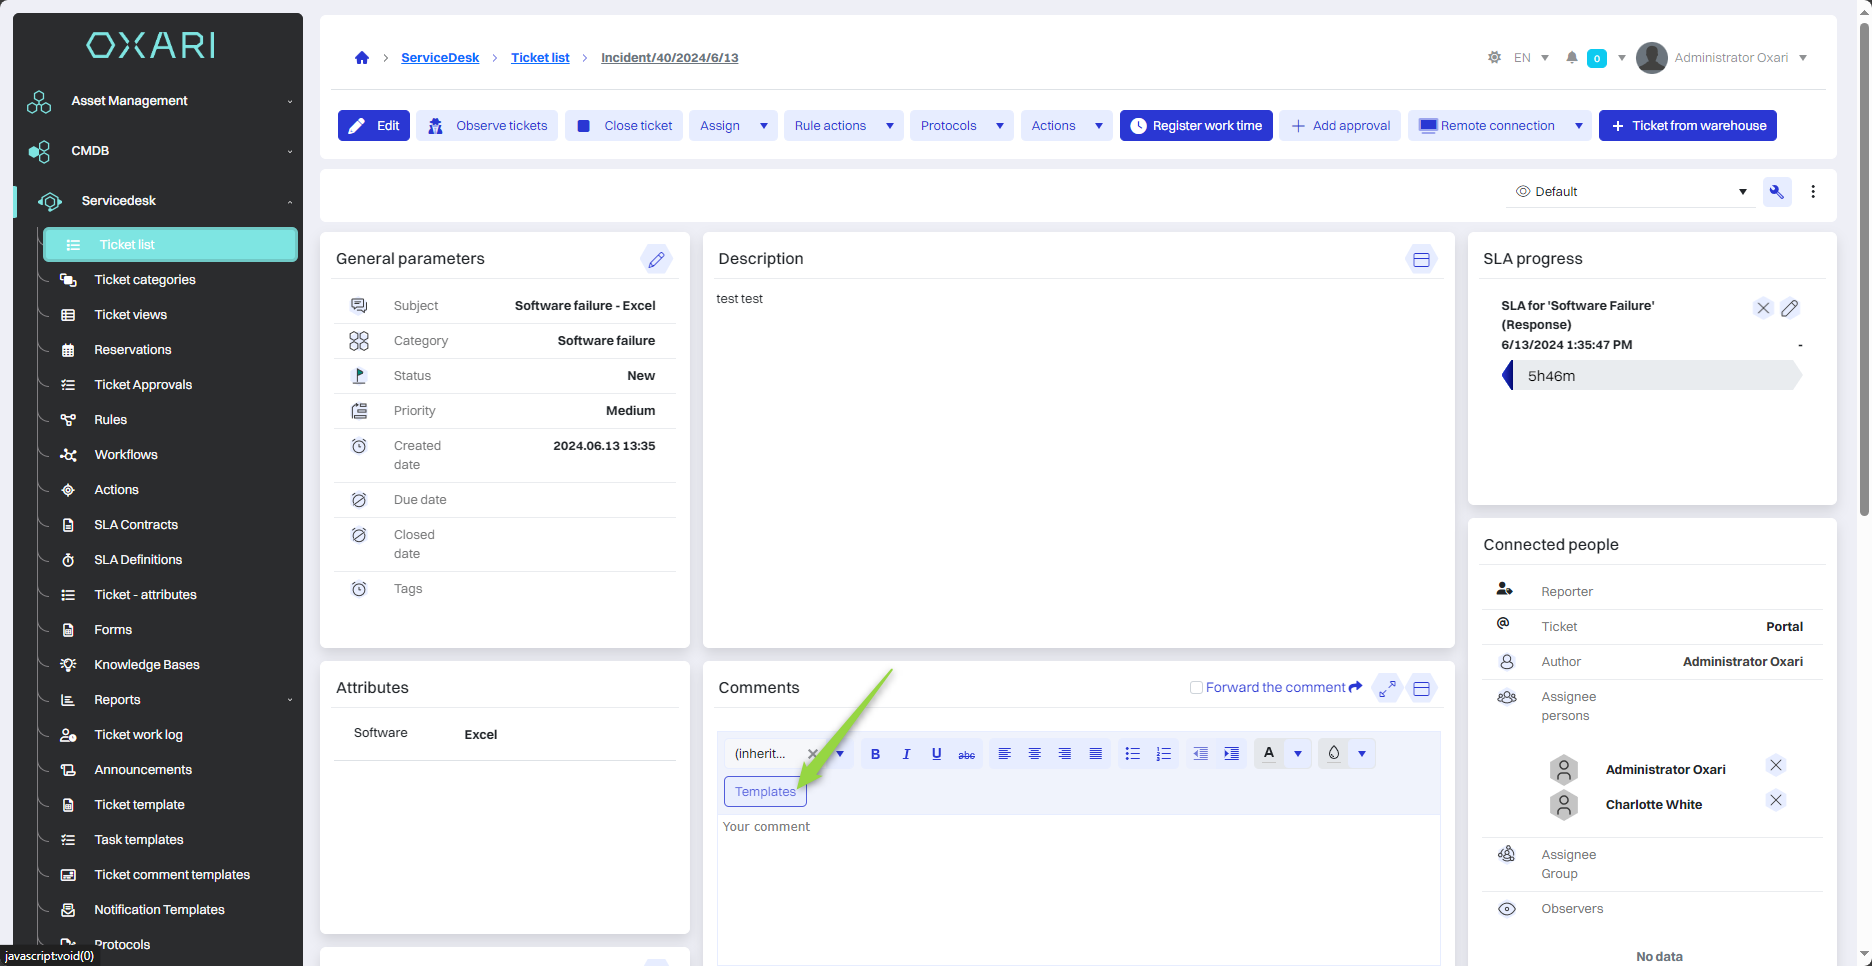
Next, in the ticket detail view, navigate to the comments tile and click the “Templates” button.
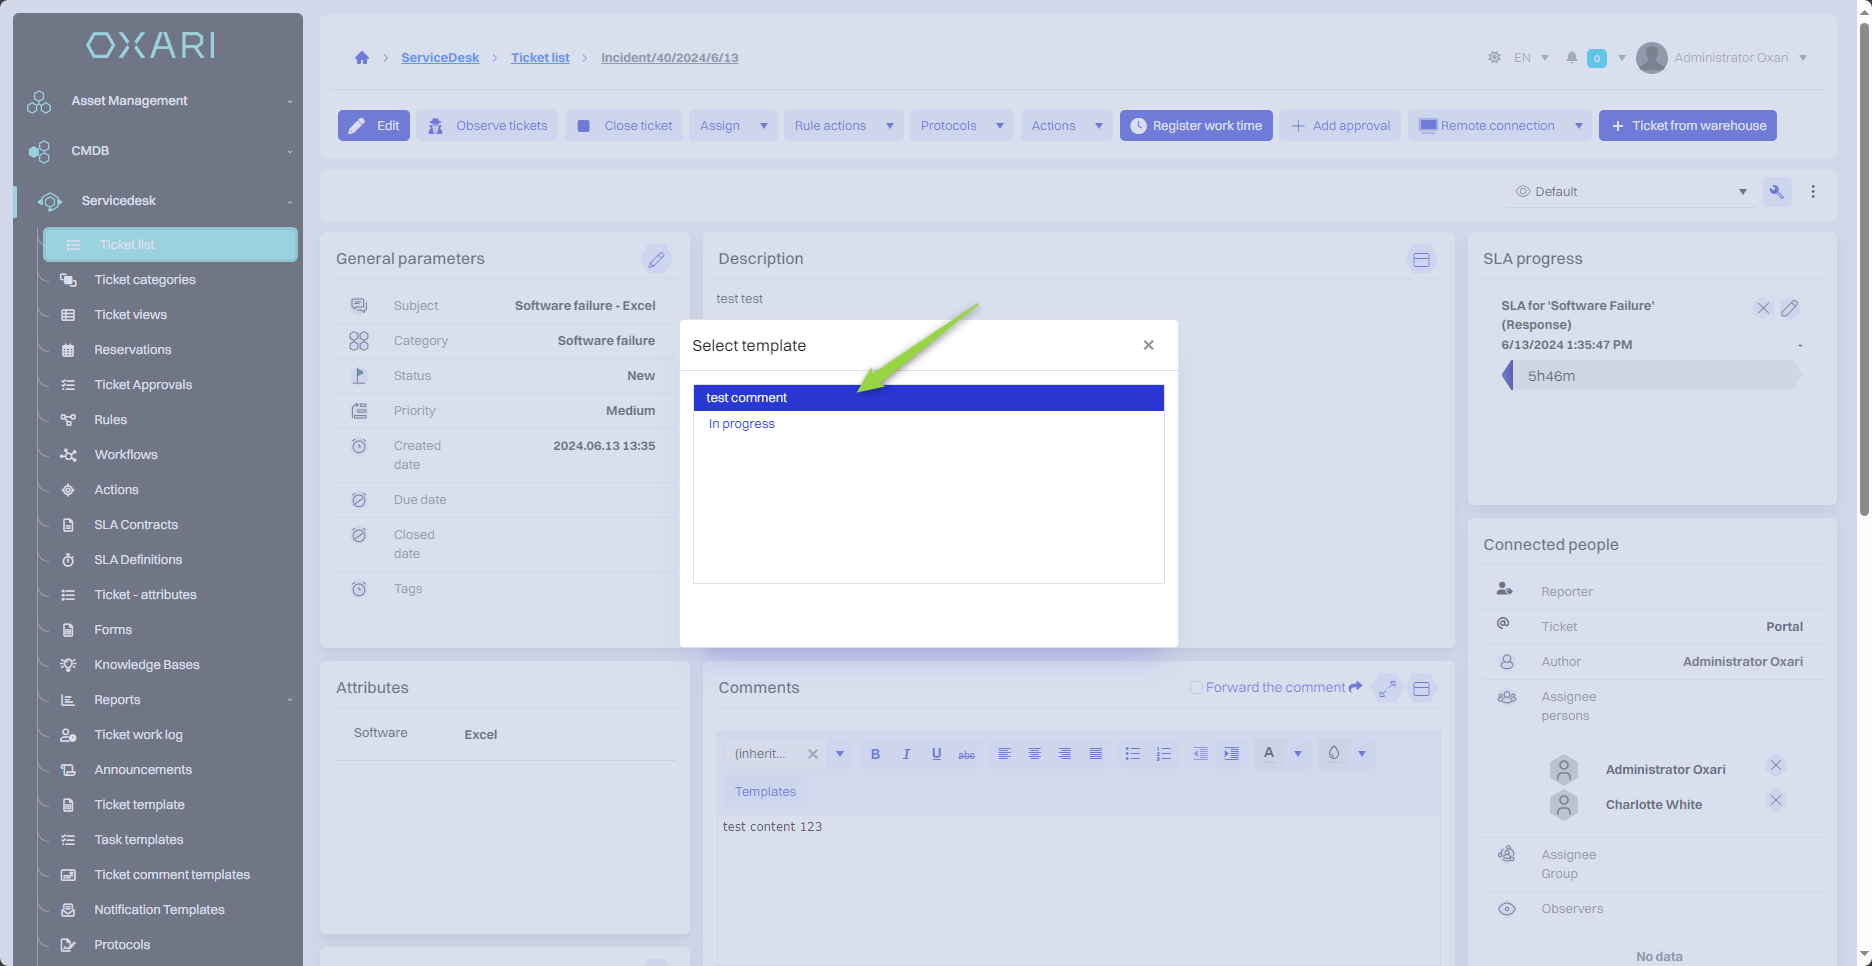
In this step, select the desired template.
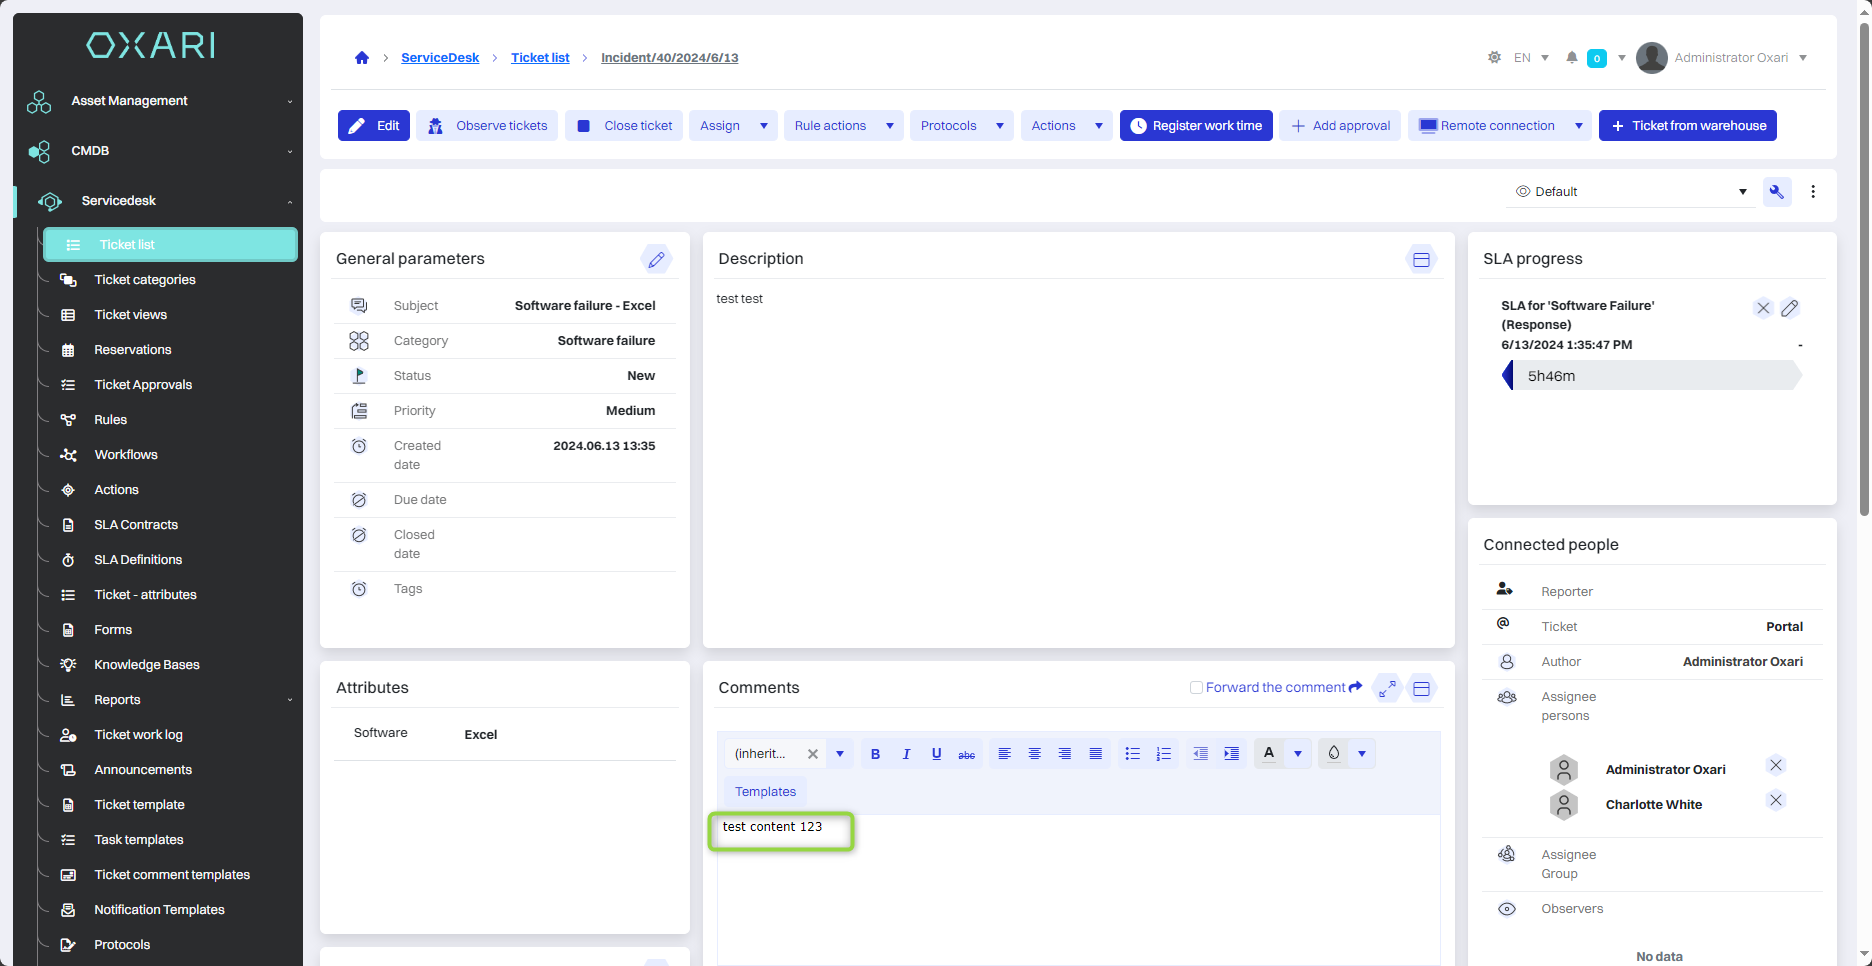
The message from the template has been added to the comment.
Editing/deleting the comment template
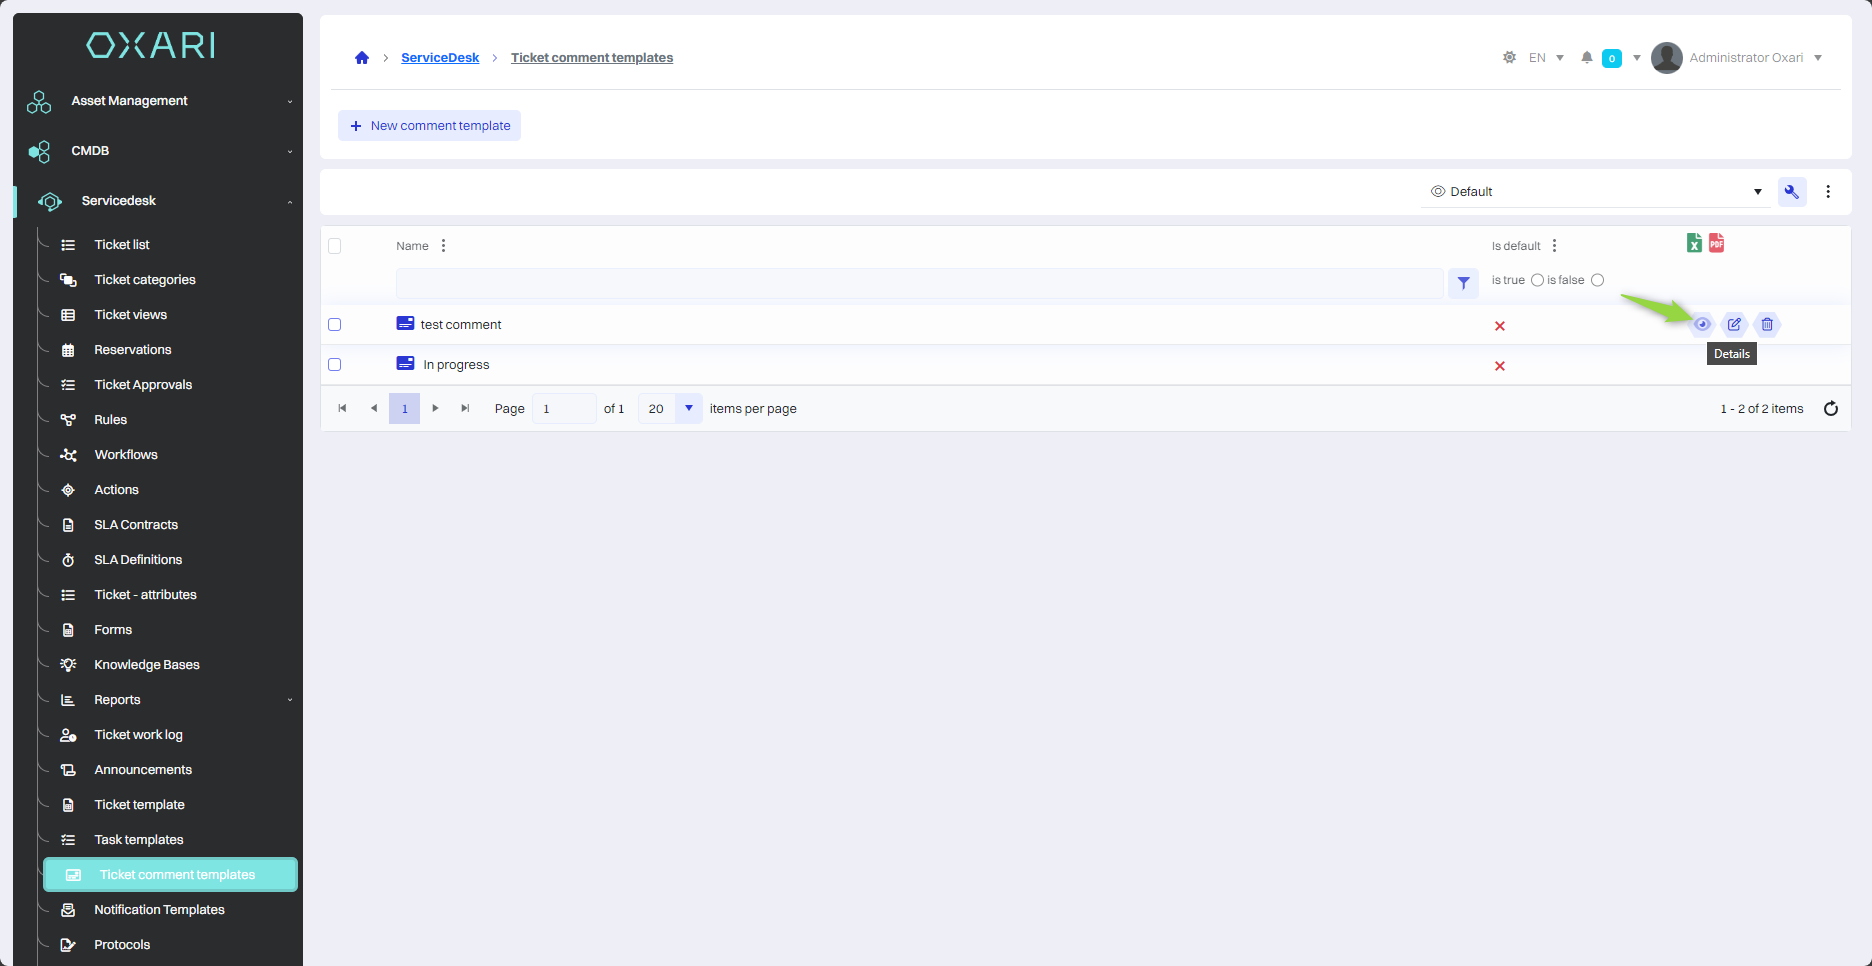
To edit/delete comment templates, go to Servicedesk > Comment templates, then hover over the desired comment template. The edit/delete buttons will be displayed.
